
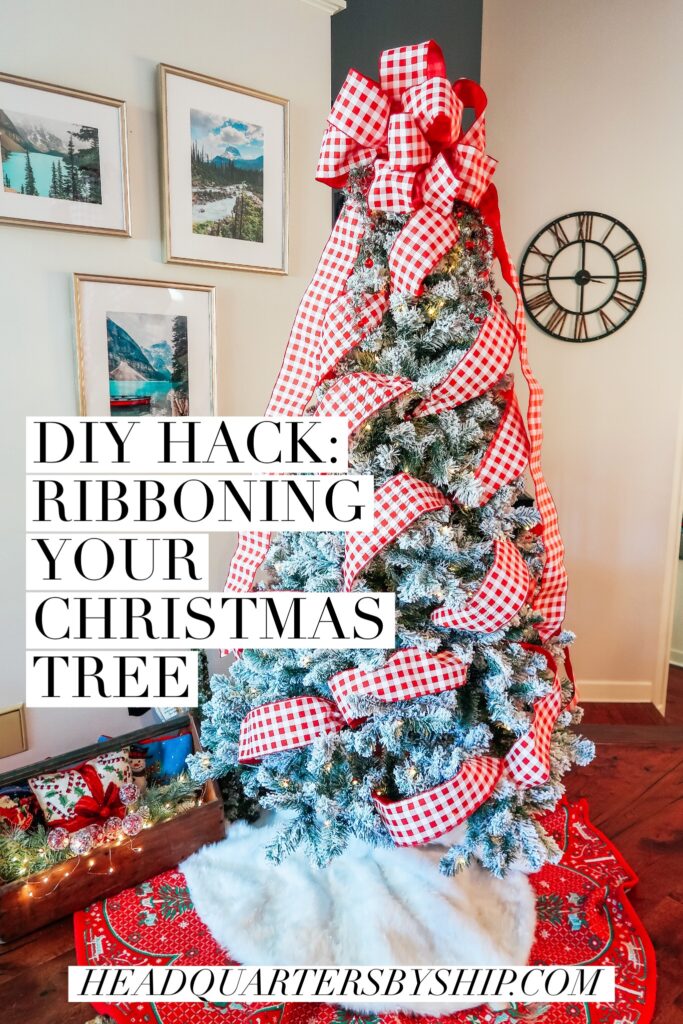
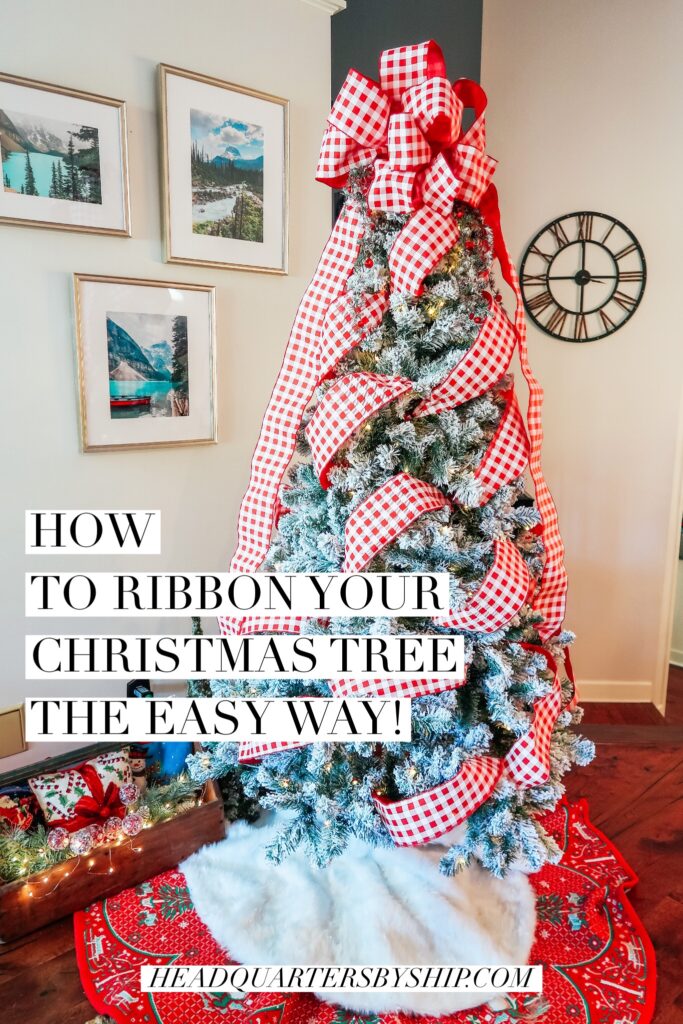
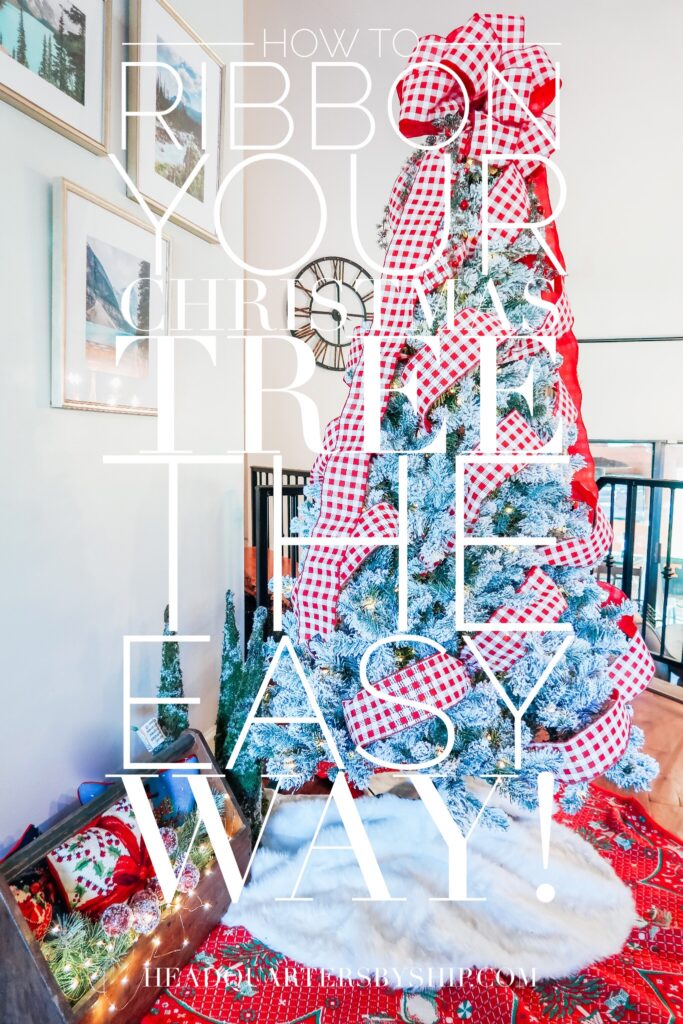
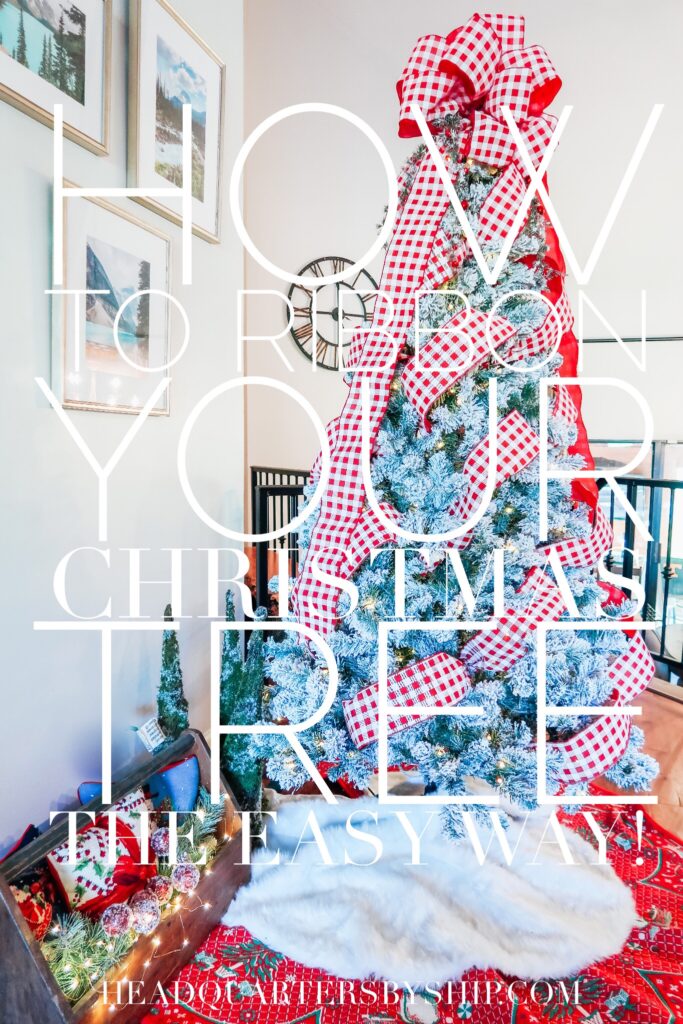
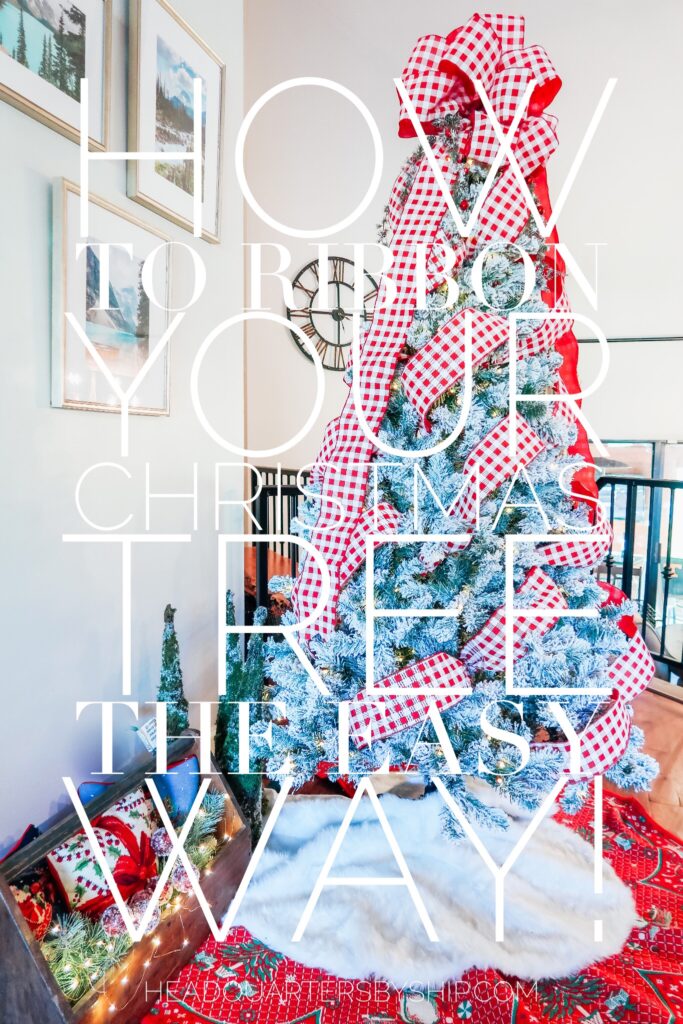
How do you like to decorate your Christmas tree? There are so many ways to decorate a tree, you can really do whatever you want these days. I add ribbon to my tree every year, and have been using a festive, red gingham for the past couple years. I love gingham, and I found THIS wired, red gingham for my tree. It matches the stockings I made for my family, and also a table runner that was a past project as well.
Some might say I’m decorating my house like an Italian restaurant for Christmas, but I love Italian food; and either way, I love how this ribbon looks on my tree! I wanted to share with you how I add ribbon to a tree, the easy way! And while I’m at it, I’m also sharing my tree decorating method with you as well.
Ribbons are great decorating tool for Christmas trees because they add a lot of visual interest and texture to your tree. They also take up a lot of space and can fill in areas of your tree that might look a little Charlie Brown.
In the past I have kept my Christmas ribbon all in one piece, and looped it around the tree. While this is an option for applying ribbon to your tree, like stringing lights, it is a pain in the butt to do, and it also makes it more difficult to get a nice shape with the ribbon as well.
If you have been stringing your ribbon around the tree, there is a much easier way! I just had to share this method because tree decorating should not be an annoying task, but an enjoyable time to spend with your family!
Now grab a glass of wine, and turn on your favorite Christmas music. Let’s get to work!
Disclaimer: If you purchase something from a link provided in this post, I may earn a small commission from your purchase. Ship’s HQ appreciates your support and thanks you!
HOW TO RIBBON YOUR TREE
WHAT YOU NEED:
- Wired Ribbon of Choice (I used two spools of 10 ft. gingham ribbon for my tree and one 10 ft. spool for the topper)
- Scissors
- Pipe Cleaners from the craft section, or other floral/ornament wire
[show_shopthepost_widget id=”4645526″]
Ship’s Tip:
When it comes to what kind of ribbon to choose, I recommend using something that is wired and at least 4″ wide. If you find a pretty ribbon that is thinner, or not wired, I recommend layering the ribbon with another ribbon that is wide and wired. This will add even more interest to your tree!
I thought about adding another ribbon to my tree this year for more interest, but ribbon can get rather pricey, and I didn’t want to spend too much on new decor this year. You can always add a little bit each year, right!? That is my motto anyway…
WHAT TO DO
Gather your supplies, and get everything prepped to go on your tree.
- Cut your pipe cleaners in half (I chose a brown pipe cleaner to blend in with the tree, and only ended up using one bag for the whole tree!)
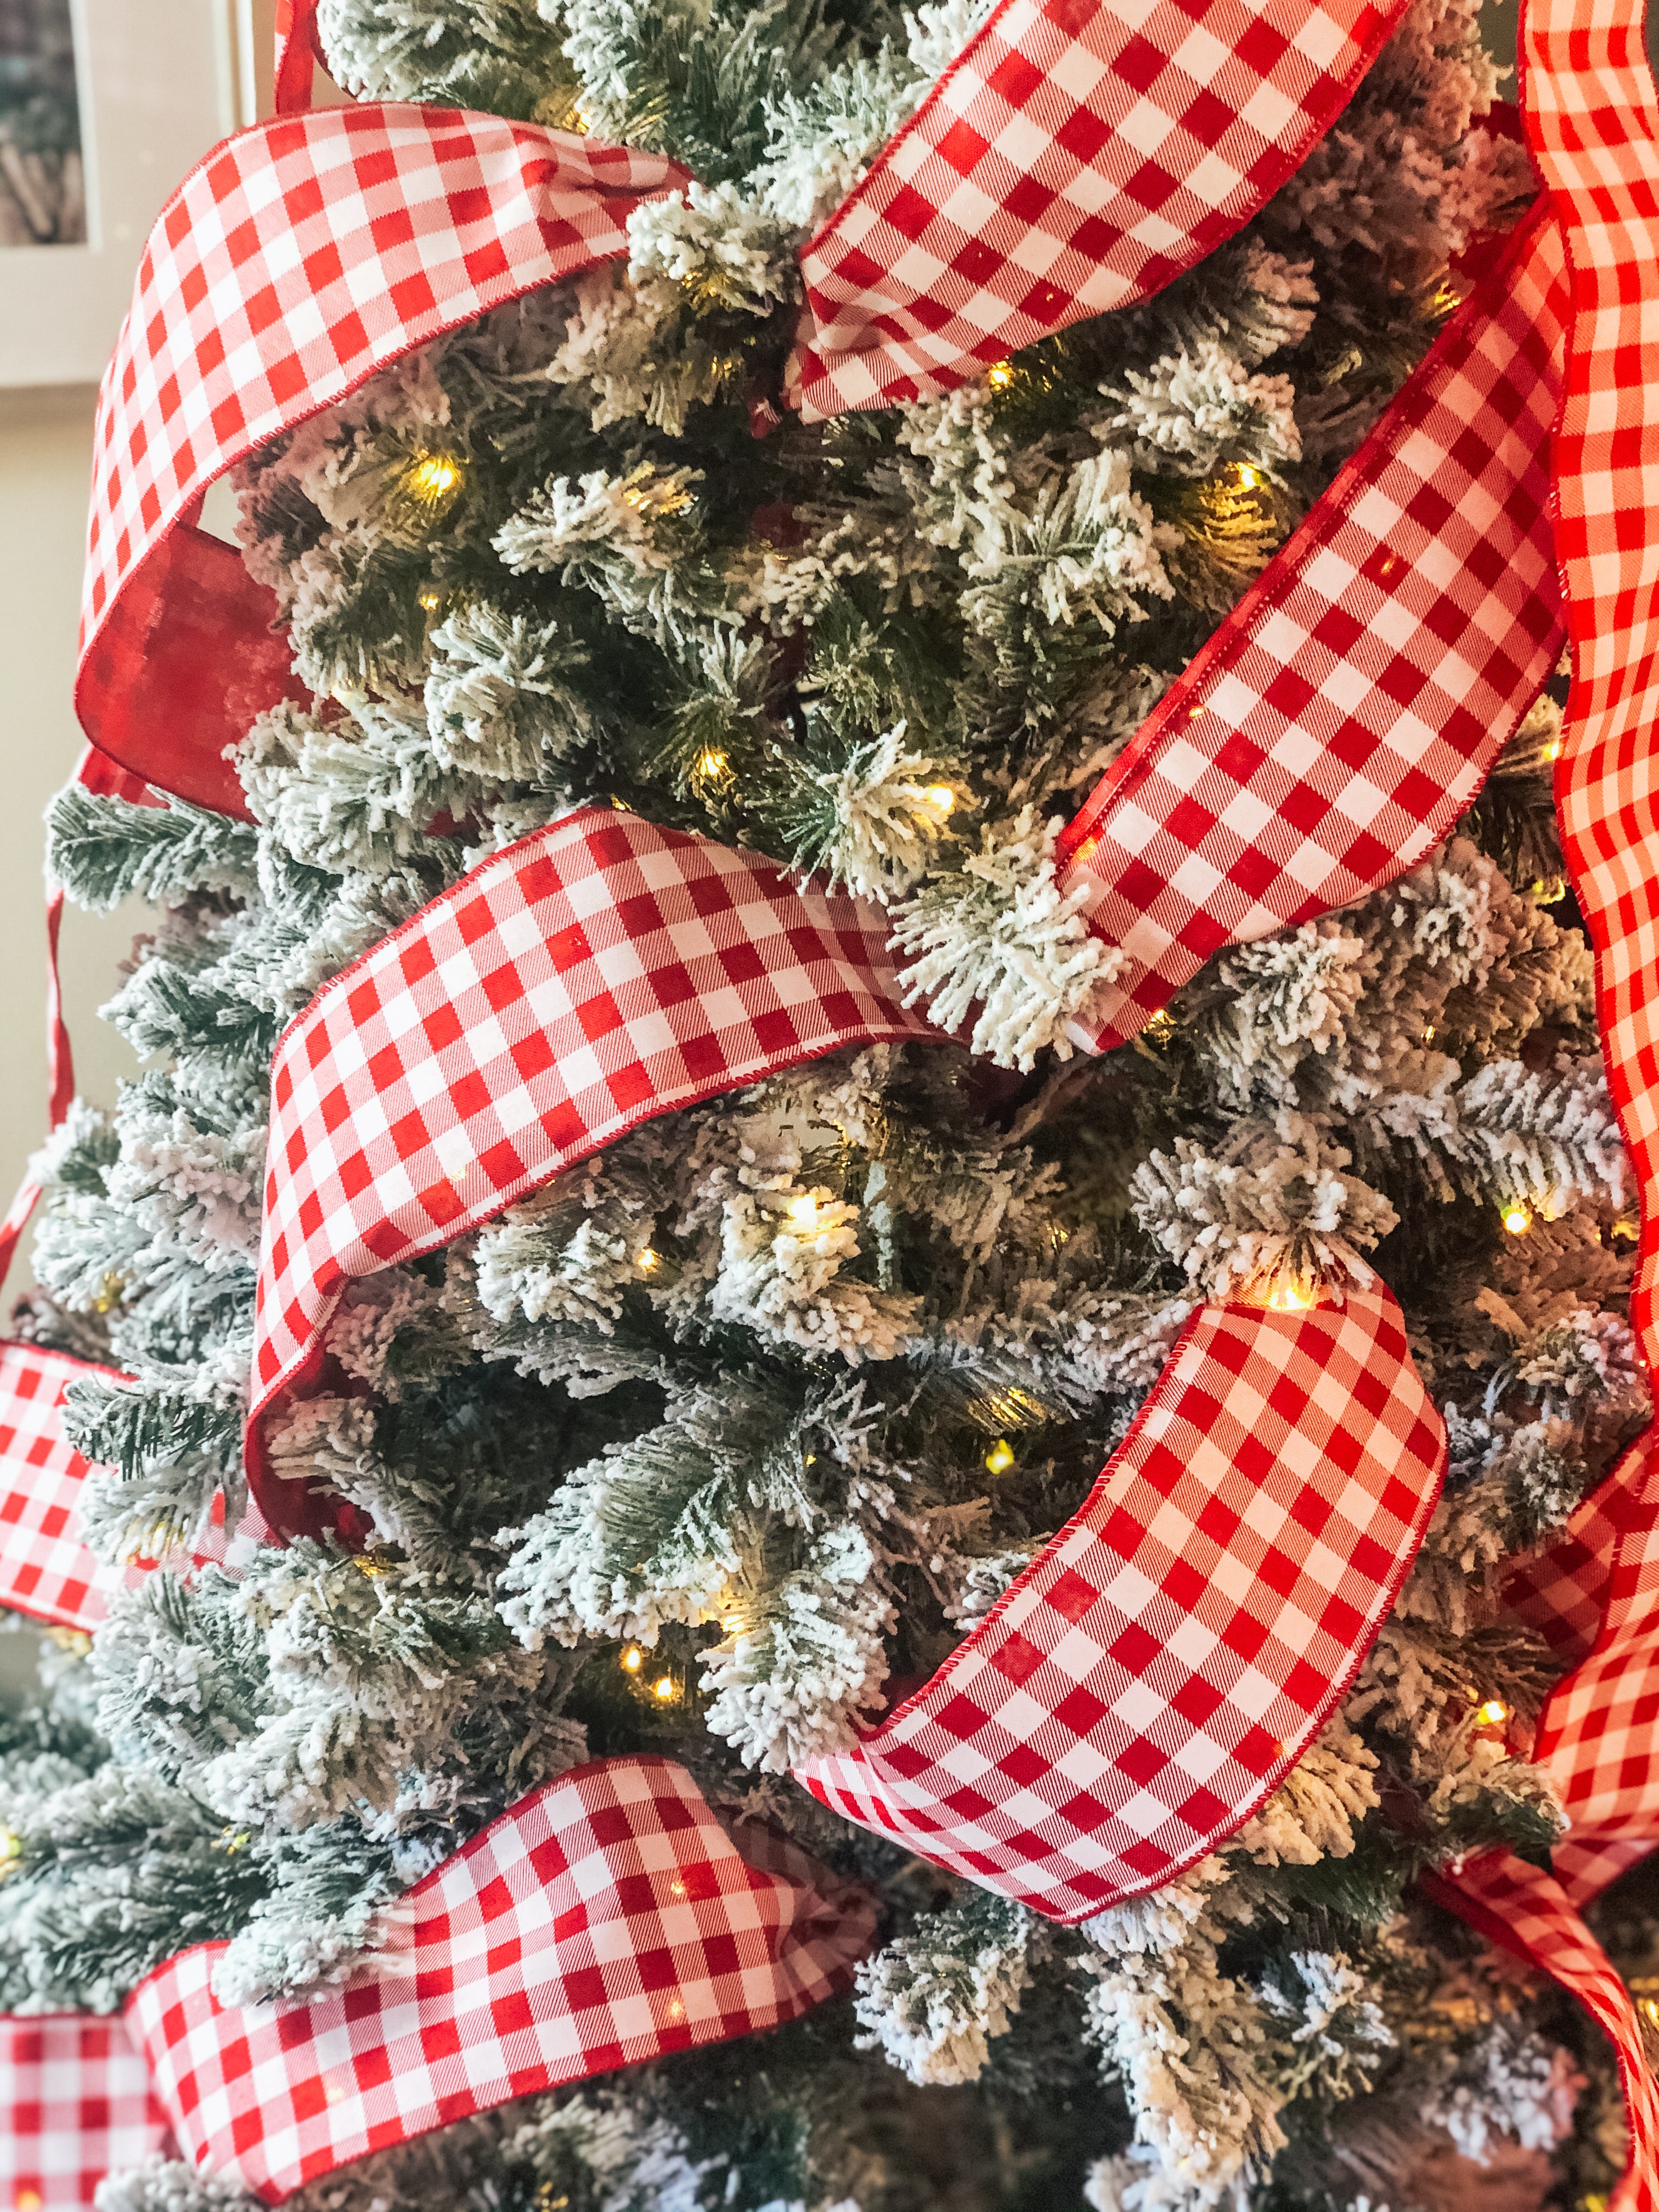
- Cut (YES, CUT!) your ribbon into strips ranging from one and a half to two feet long. I just eyed it, so some of my strips were probably longer than two feet, but cut around this size.
- Twist a pipe cleaner around each end of your ribbon so you can easily attach the ribbon to your tree.
- Starting with the smaller pieces of ribbon, attach the ribbon strips to your tree by tucking one end of the ribbon inside the branches and securing it to your tree. Loop the ribbon in the direction you want it to go, and tuck the other end in the branches, so it is hidden, and secure down.
- Continue this process with your ribbon strips, and either zig zag your ribbon, or loop it down the tree in a straight line. This is a great time to fill in those spots that might look a little Charlie Brown on your Christmas tree.
- Once you’re done with one strip going down the tree, start back up at the top, and tie more ribbon to your tree zig zagging all the way down.
- It’s always a good idea to take a step back every now and then to see how things are looking from afar to find the best placement for your ribbon.
- After repeating this process around your whole tree, if you have any bare spots that need a little ribbon, throw in some extra pieces trying to connect it with the some of the already hung pieces, so it looks natural on your tree.
- Take a step back, and fluff up any ribbon, make adjustments where you see necessary.
Shop LED Wands and Face Masks HERE! 40% OFF BLACK FRIDAY DEALS.

YOU WANT ME TO WHAT!?
Yes, the ribbon hoarder in me was a little hesitant too about cutting up my new ribbon. Because… What if I want to reuse it for something else later on!? Just cut it! You will still be able to reuse the ribbon year after year, and this way is so much easier, you’ll be happy you cut it in the long run. If you want to make sure you have enough ribbon for future projects, or to tie in other decor elements in your home to your tree, just buy some extra spools like I did!

HOW I DECORATE MY TREE
Everyone has a method to their Christmas madness, and this is mine. Ultimately, you can do whatever suits you and makes you happy!
- If you don’t have a pre-lit tree, always add your lights first!
- Add your ribbon, using the techniques described above.
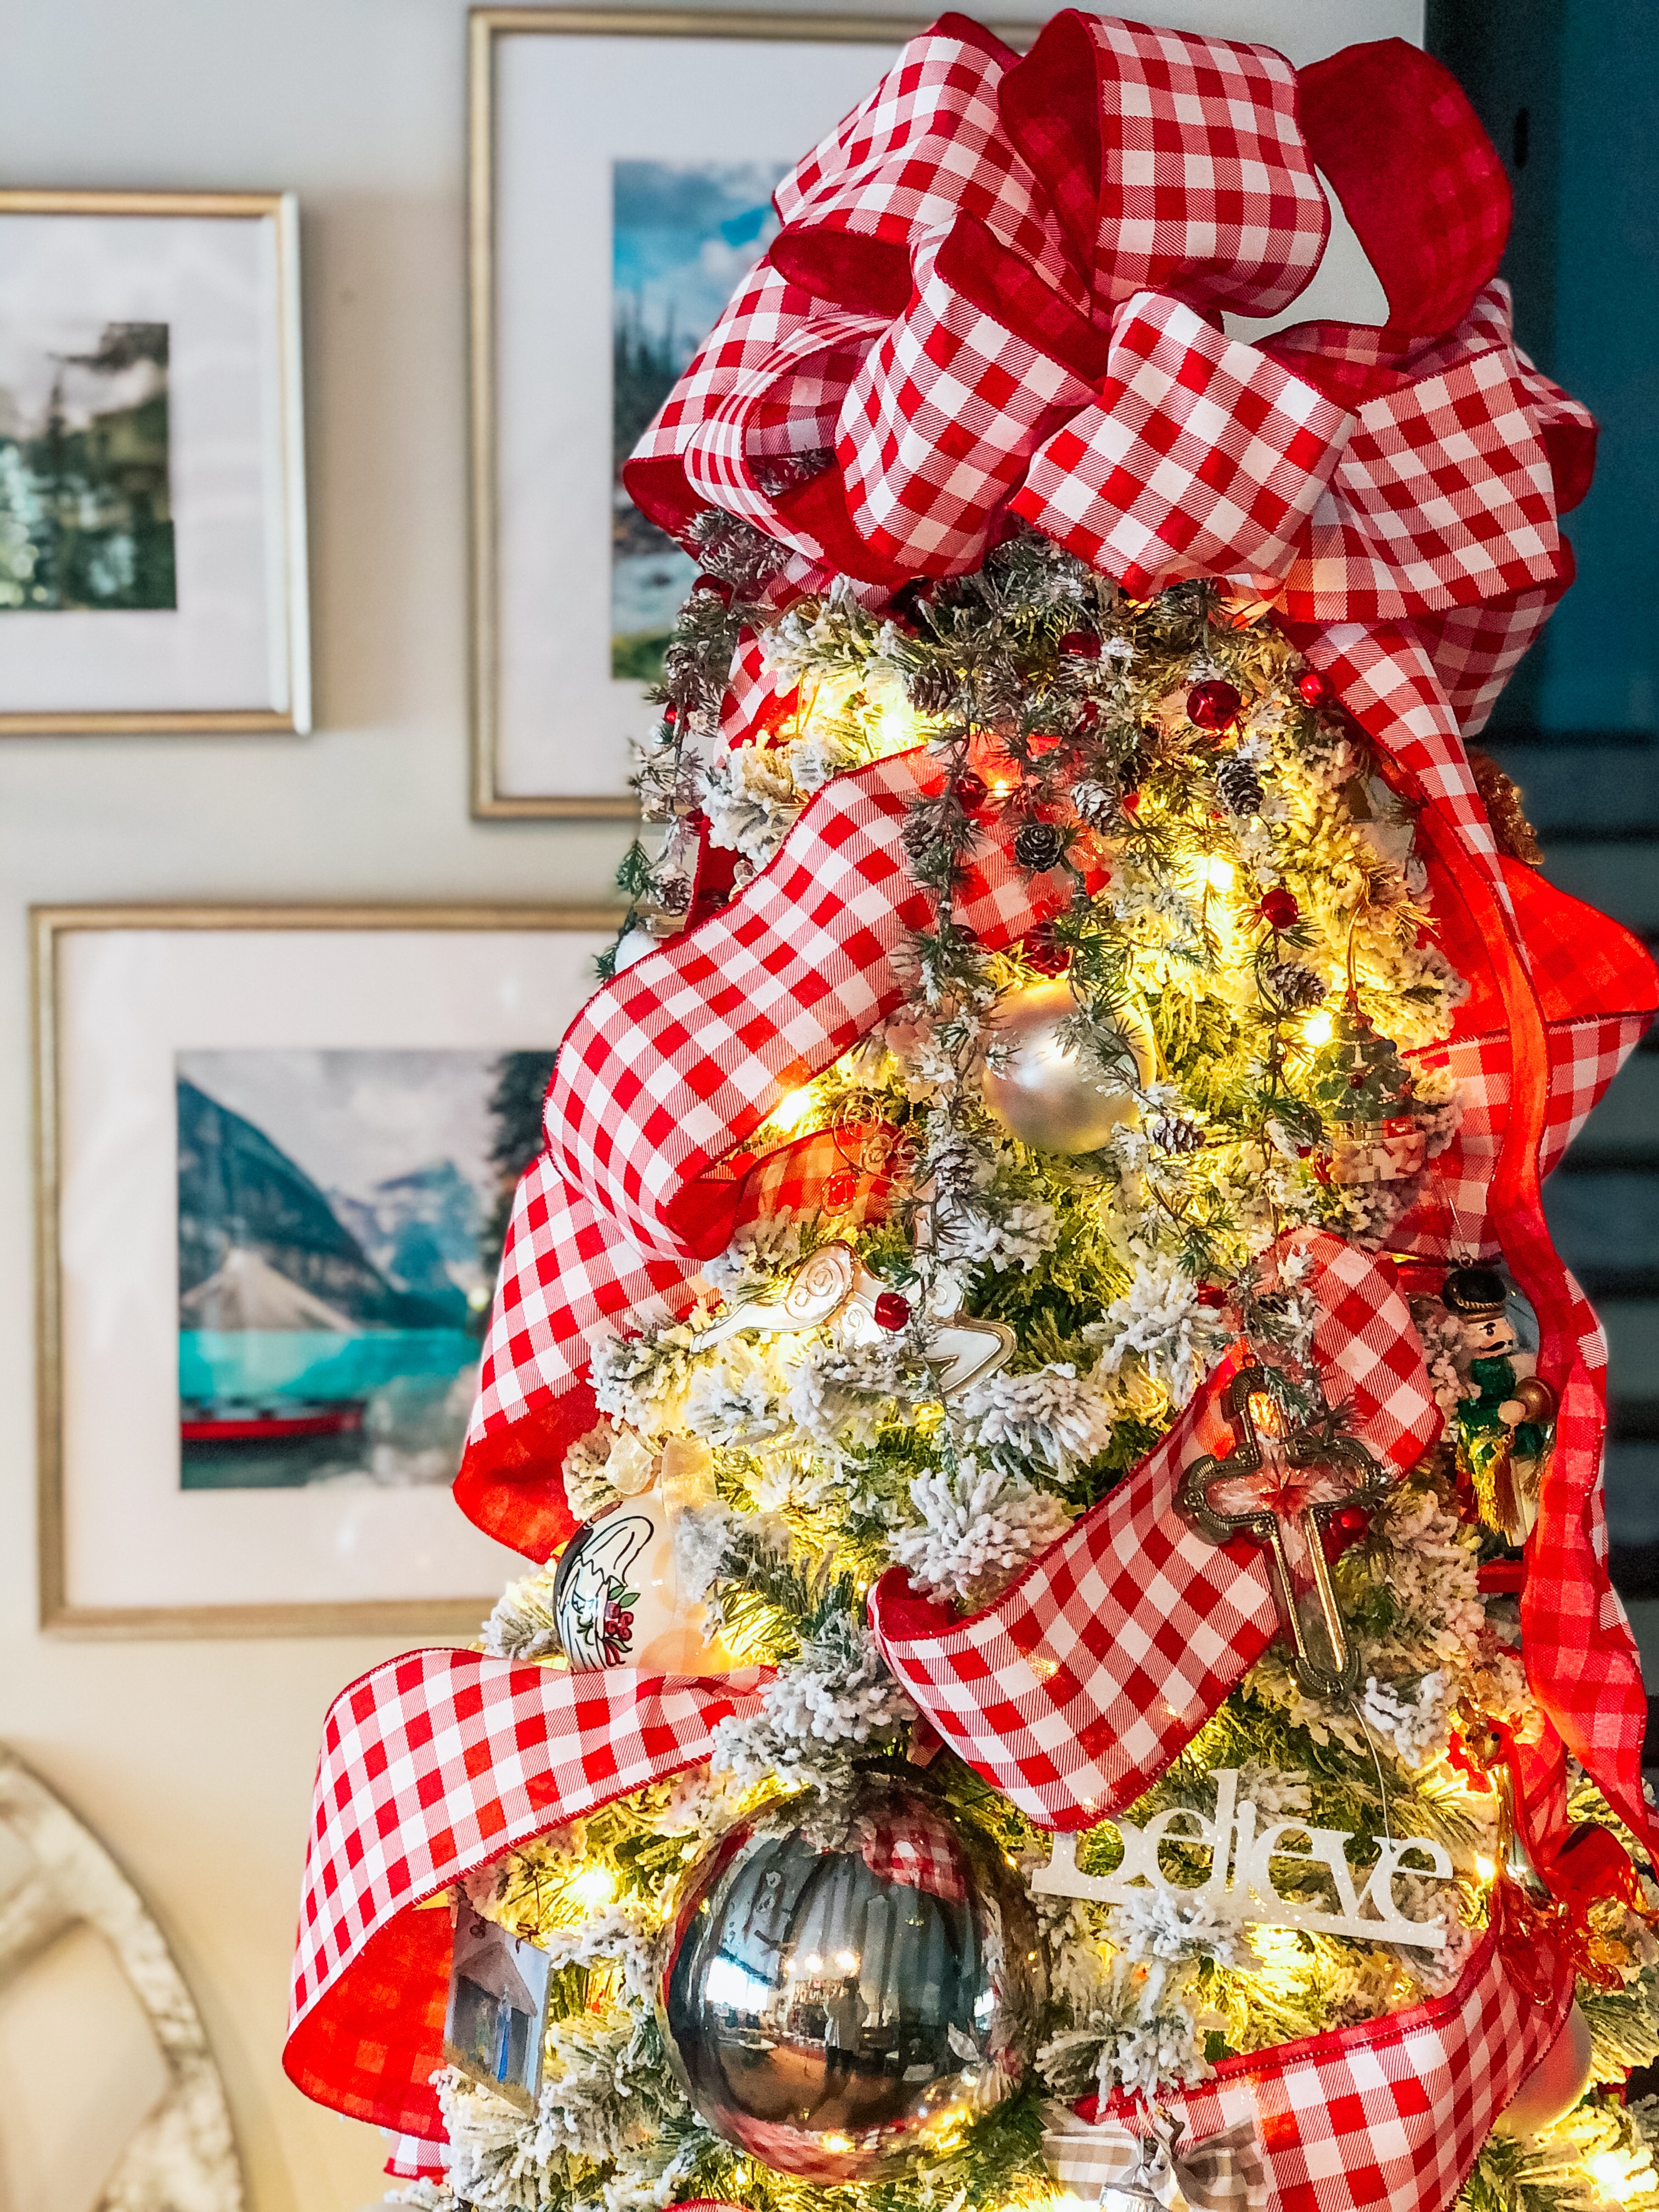
- Next add your largest ornaments (and picks if you’re using them), spacing evenly around the tree, and filling in any holes that your tree might have.
- Then, add any other filler ornaments that you have several of based on your tree’s theme, spacing them evenly around your tree (I used red and white glass balls, and have a lot of different sized Santas and Nutcrackers that I space around the tree.
- Then add all your special ornaments.
- Add your tree topper (I know some people with fake trees like to put this on first while assembling the tree, so you don’t have to get a ladder or stepping stool out at the end)
- Relax, and enjoy!
MY FAVORITE ORNAMENTS…
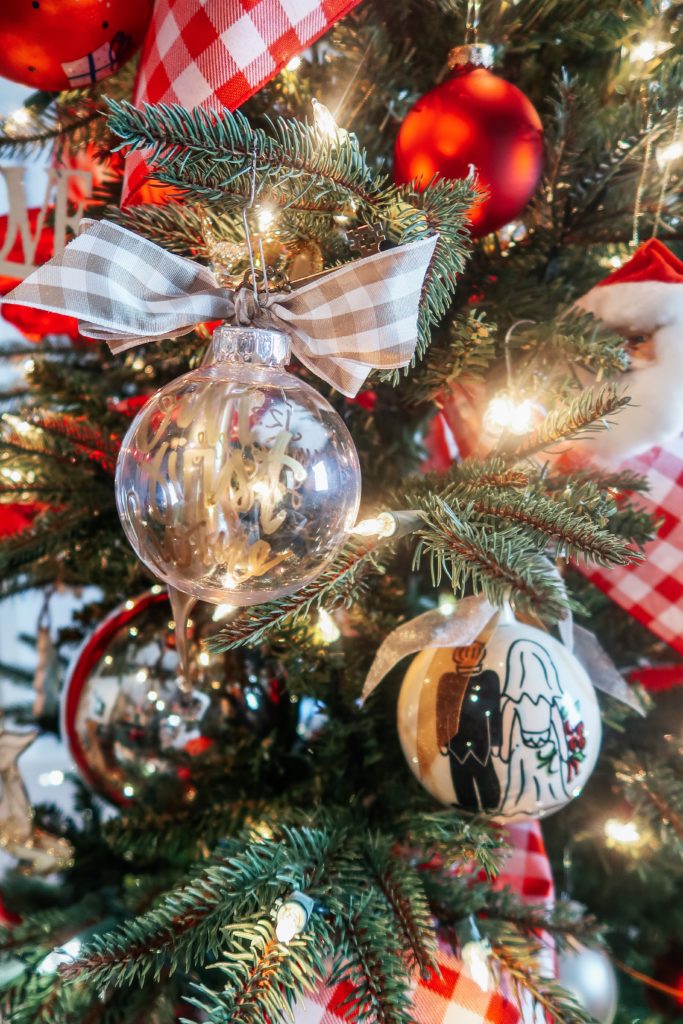
…THAT TELL OUR FAMILY HISTORY/FAMILY STORY
Some remind me of those that are no longer with us, and some tell our family’s journey through all those major milestones in our life. Just married, our first home, etc., each is so special, and I think about the person who gave us each ornament every time I unwrap and hang these ornaments on the tree.
[show_shopthepost_widget id=”4607435″]
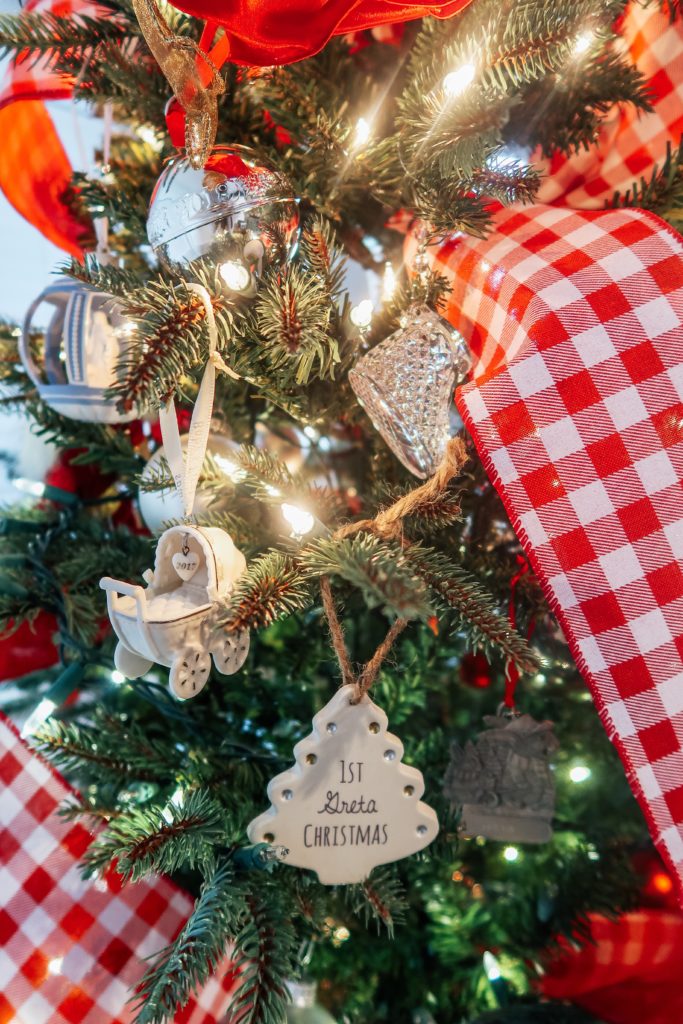
…THAT ARE KEEPSAKES FOR THE CHILDREN
You gotta have all those baby’s firsts, and the special ornaments that you or family members buy for your children each year. I love silver sleigh bells, and plan on getting my children one every year until they turn eighteen. I buy my silver sleigh bells from Macy’s (they always have great sales on them too!). FIND THOSE HERE.
[show_shopthepost_widget id=”4607438″]
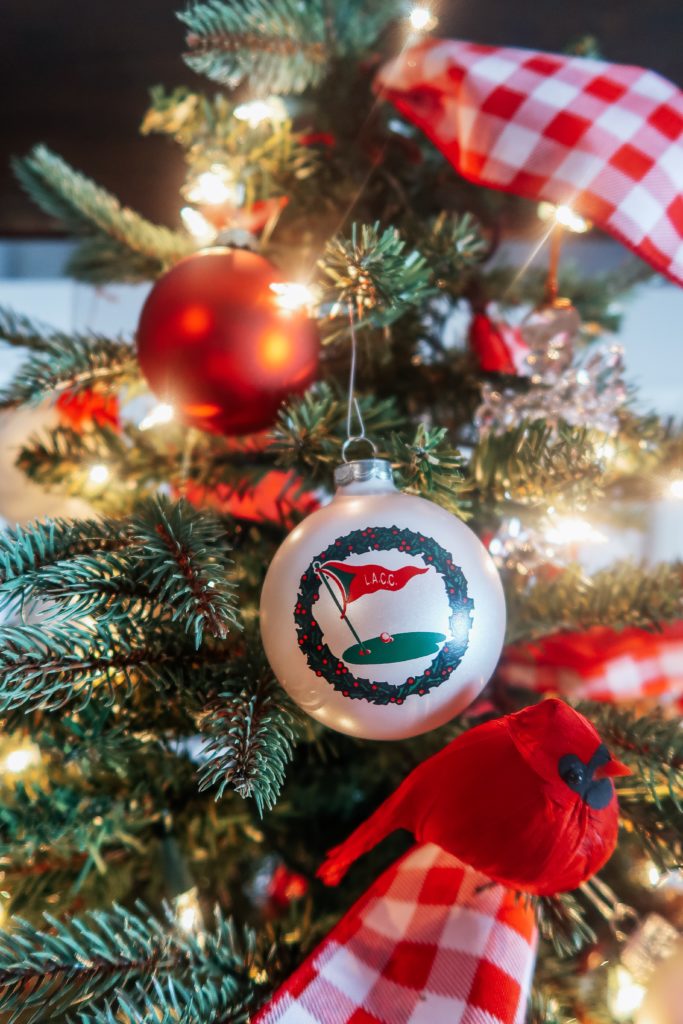
…THAT SHOW OUR PLAYFUL SIDE

We are a house divided, so I love all the ornaments that show our family rivalry and are an ode to our alma maters.
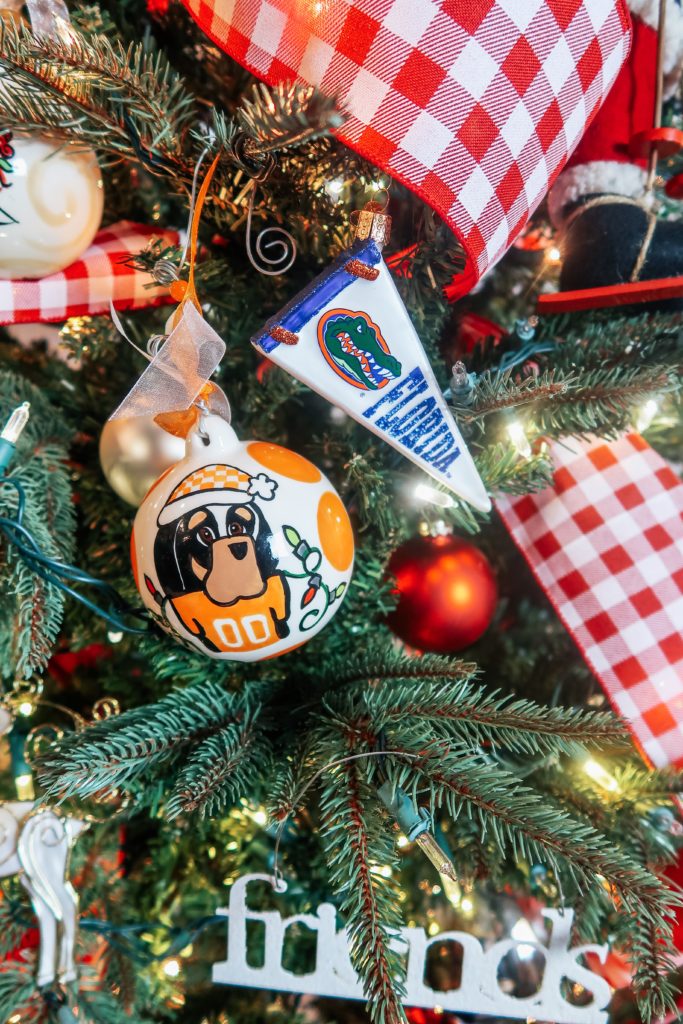

[show_shopthepost_widget id=”4607440″]
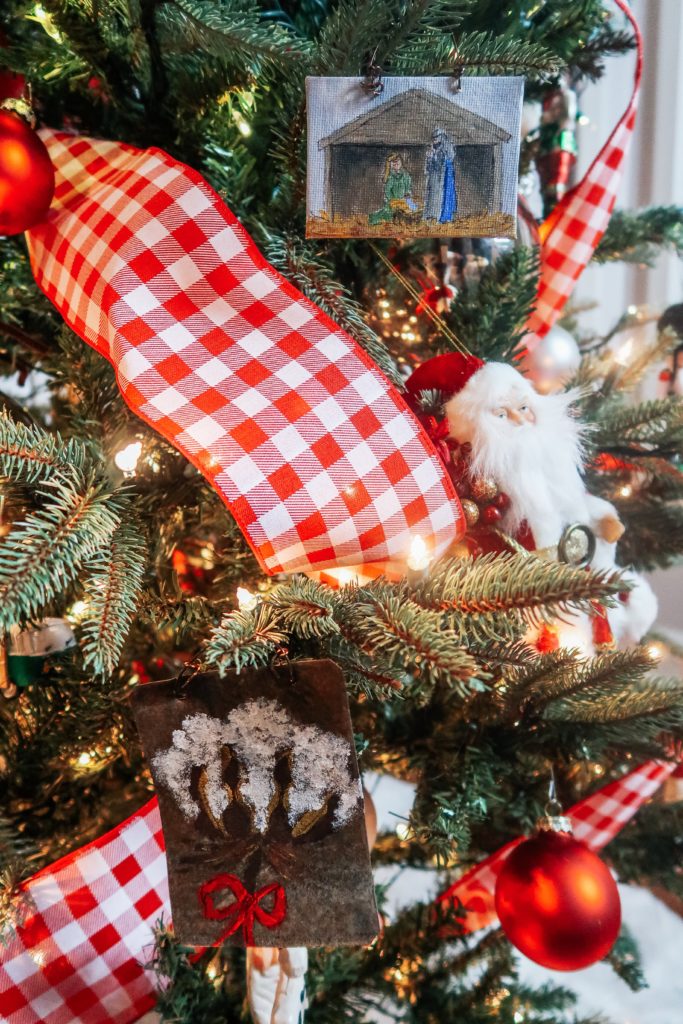
…THAT ARE LOCAL & HANDMADE
They are just extra special, and I love adding a touch of our hometown’s culture and history to the tree.
THE FINISHED PRODUCT
I’m so happy I got my tree up early. Mostly because Greta loves it so much! She is always so happy looking at it, and will often randomly yell out, “This Christmas tree is AMAZING!” I just hope she won’t break too many ornaments while she enjoys it all for the next two months…
Here is a YouTube Video I did so you can see my process:
And don’t forget about your advent calendar, or cookies for Santa!
[show_shopthepost_widget id=”4607746″]

HERE IS A GOOD TUTORIAL FOR YOU IF YOU’D LIKE TO MAKE YOUR OWN BOW TREE TOPPER:
Stay tuned for my Christmas Home Tour that I will share once I finish putting up all my Christmas Decor! My last couple posts have shown a little bit of my theme, but there is more to come! Now that I am a mom, I like to start early and get a little up here and there (it is a slow process over here because I mostly work during nap time). Oh how the times have changed from enjoying a glass (okay, bottle) of wine and doing it all at once after Thanksgiving like I used to!
Speaking of getting things done early, if you like to get all your shopping done too before Thanksgiving, check out my HOLIDAY GIFT GUIDES that I’m posting weekly now through early December! You can also see what Christmas Pajamas we’re wearing this year HERE, and find a bunch of cute family PJ’s if you still need some for your family.
RELATED POSTS:
EASY STOCKING TUTORIAL
DIY TABLE RUNNER
SHARING IS CARING! Know a friend that would love this tutorial? Pin it and send it to them on Pinterest, or send it in an email! Also, I would love for you to leave me a comment to let me know your thoughts, or if you have any other fun decorating hacks. Cheers!


Recent Comments