If you don’t know already, we recently added another little girl to our family making us a party of five! I can’t believe I have three little girls. My heart is so full, and my life is full of all the little girl things: bows, twirl dresses, princess everything (okay, Elsa-I am so over Frozen), and pink!
So with the addition of another girl, it is time to update a bedroom and move Mattie out of the nursery. While it is somewhat bittersweet to see my second baby grow and move out of her crib, I was very excited to have an opportunity to do something fun for her and create a space that she would love to be in for several years to come.
Disclaimer: If you purchase something from a link provided in this post, I may earn a small commission from your purchase at no additional cost to you. Commissions help me continue to bring you content on Ship’s HQ, so thank you!
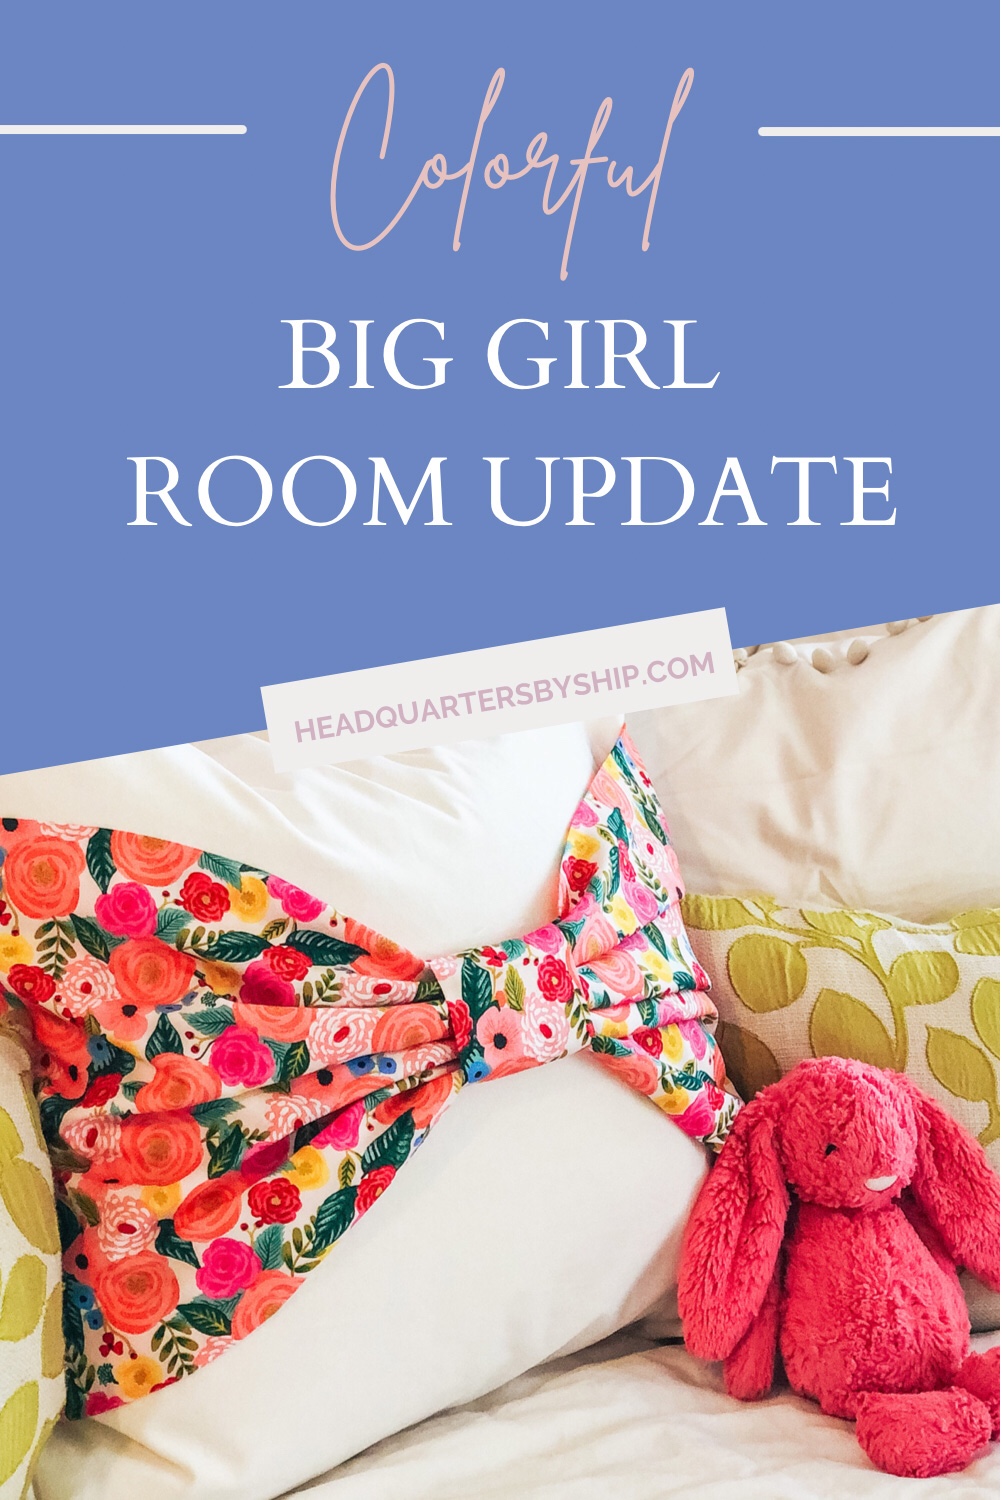
Although I am a big fan of neutral rooms, for my girls I chose to go bold. For Greta’s big girl room, I did a Lilly Pulitzer theme with this Lilly bedding from Pottery Barn, and made her a colorful window seat with Lilly Pulitzer Fabric and some blue and white chinosierie style fabric. For Mattie’s room, I wanted the same cheerfulness, but different of course, and distinguished from her sister.
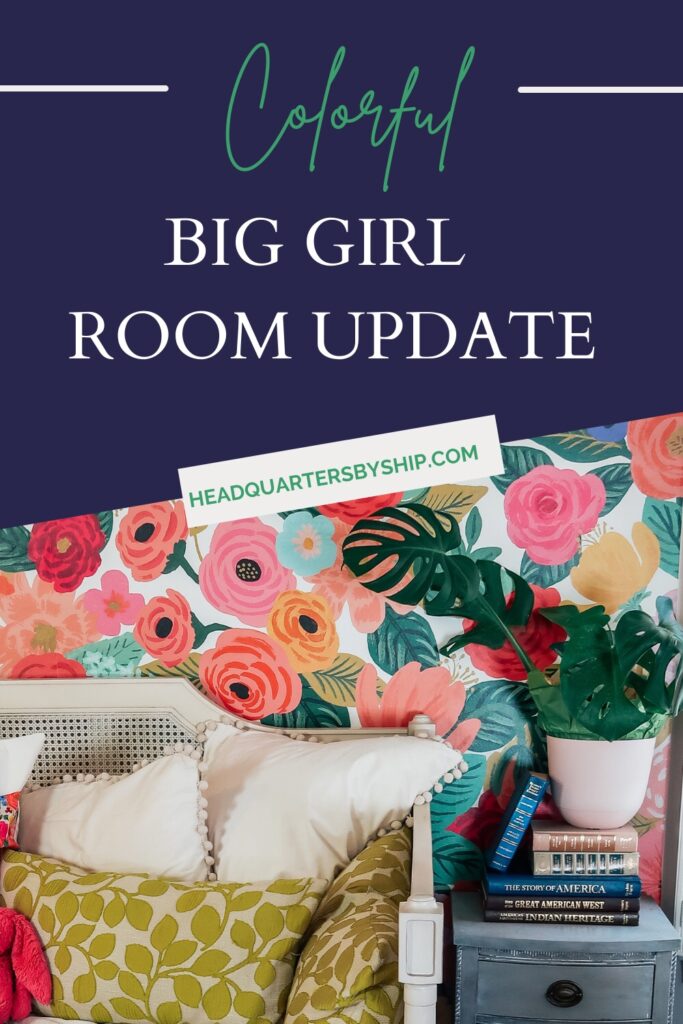
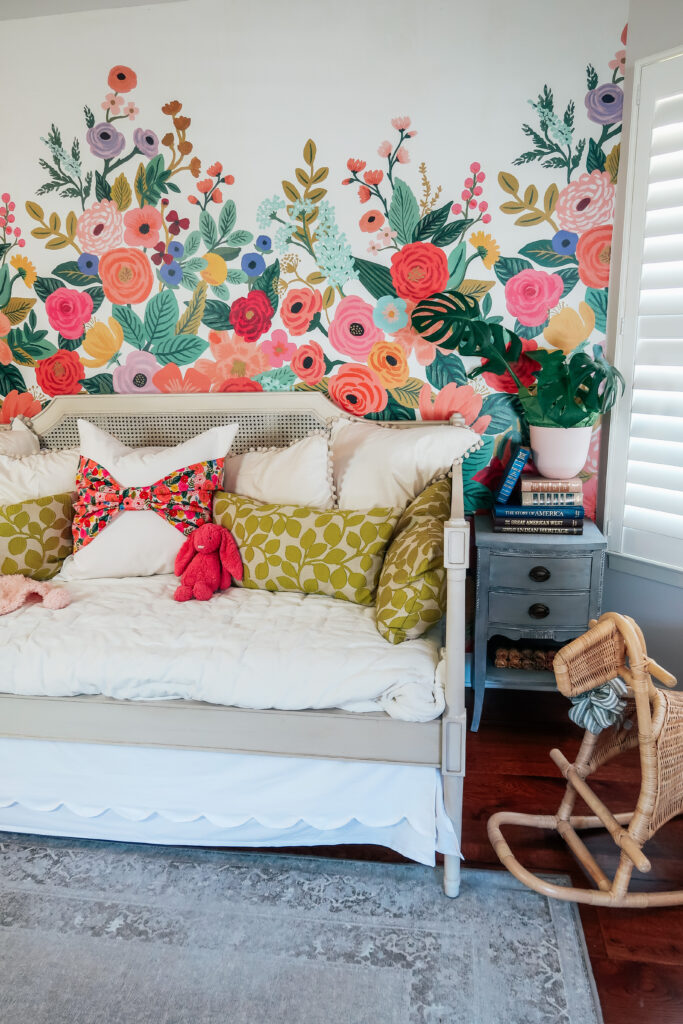
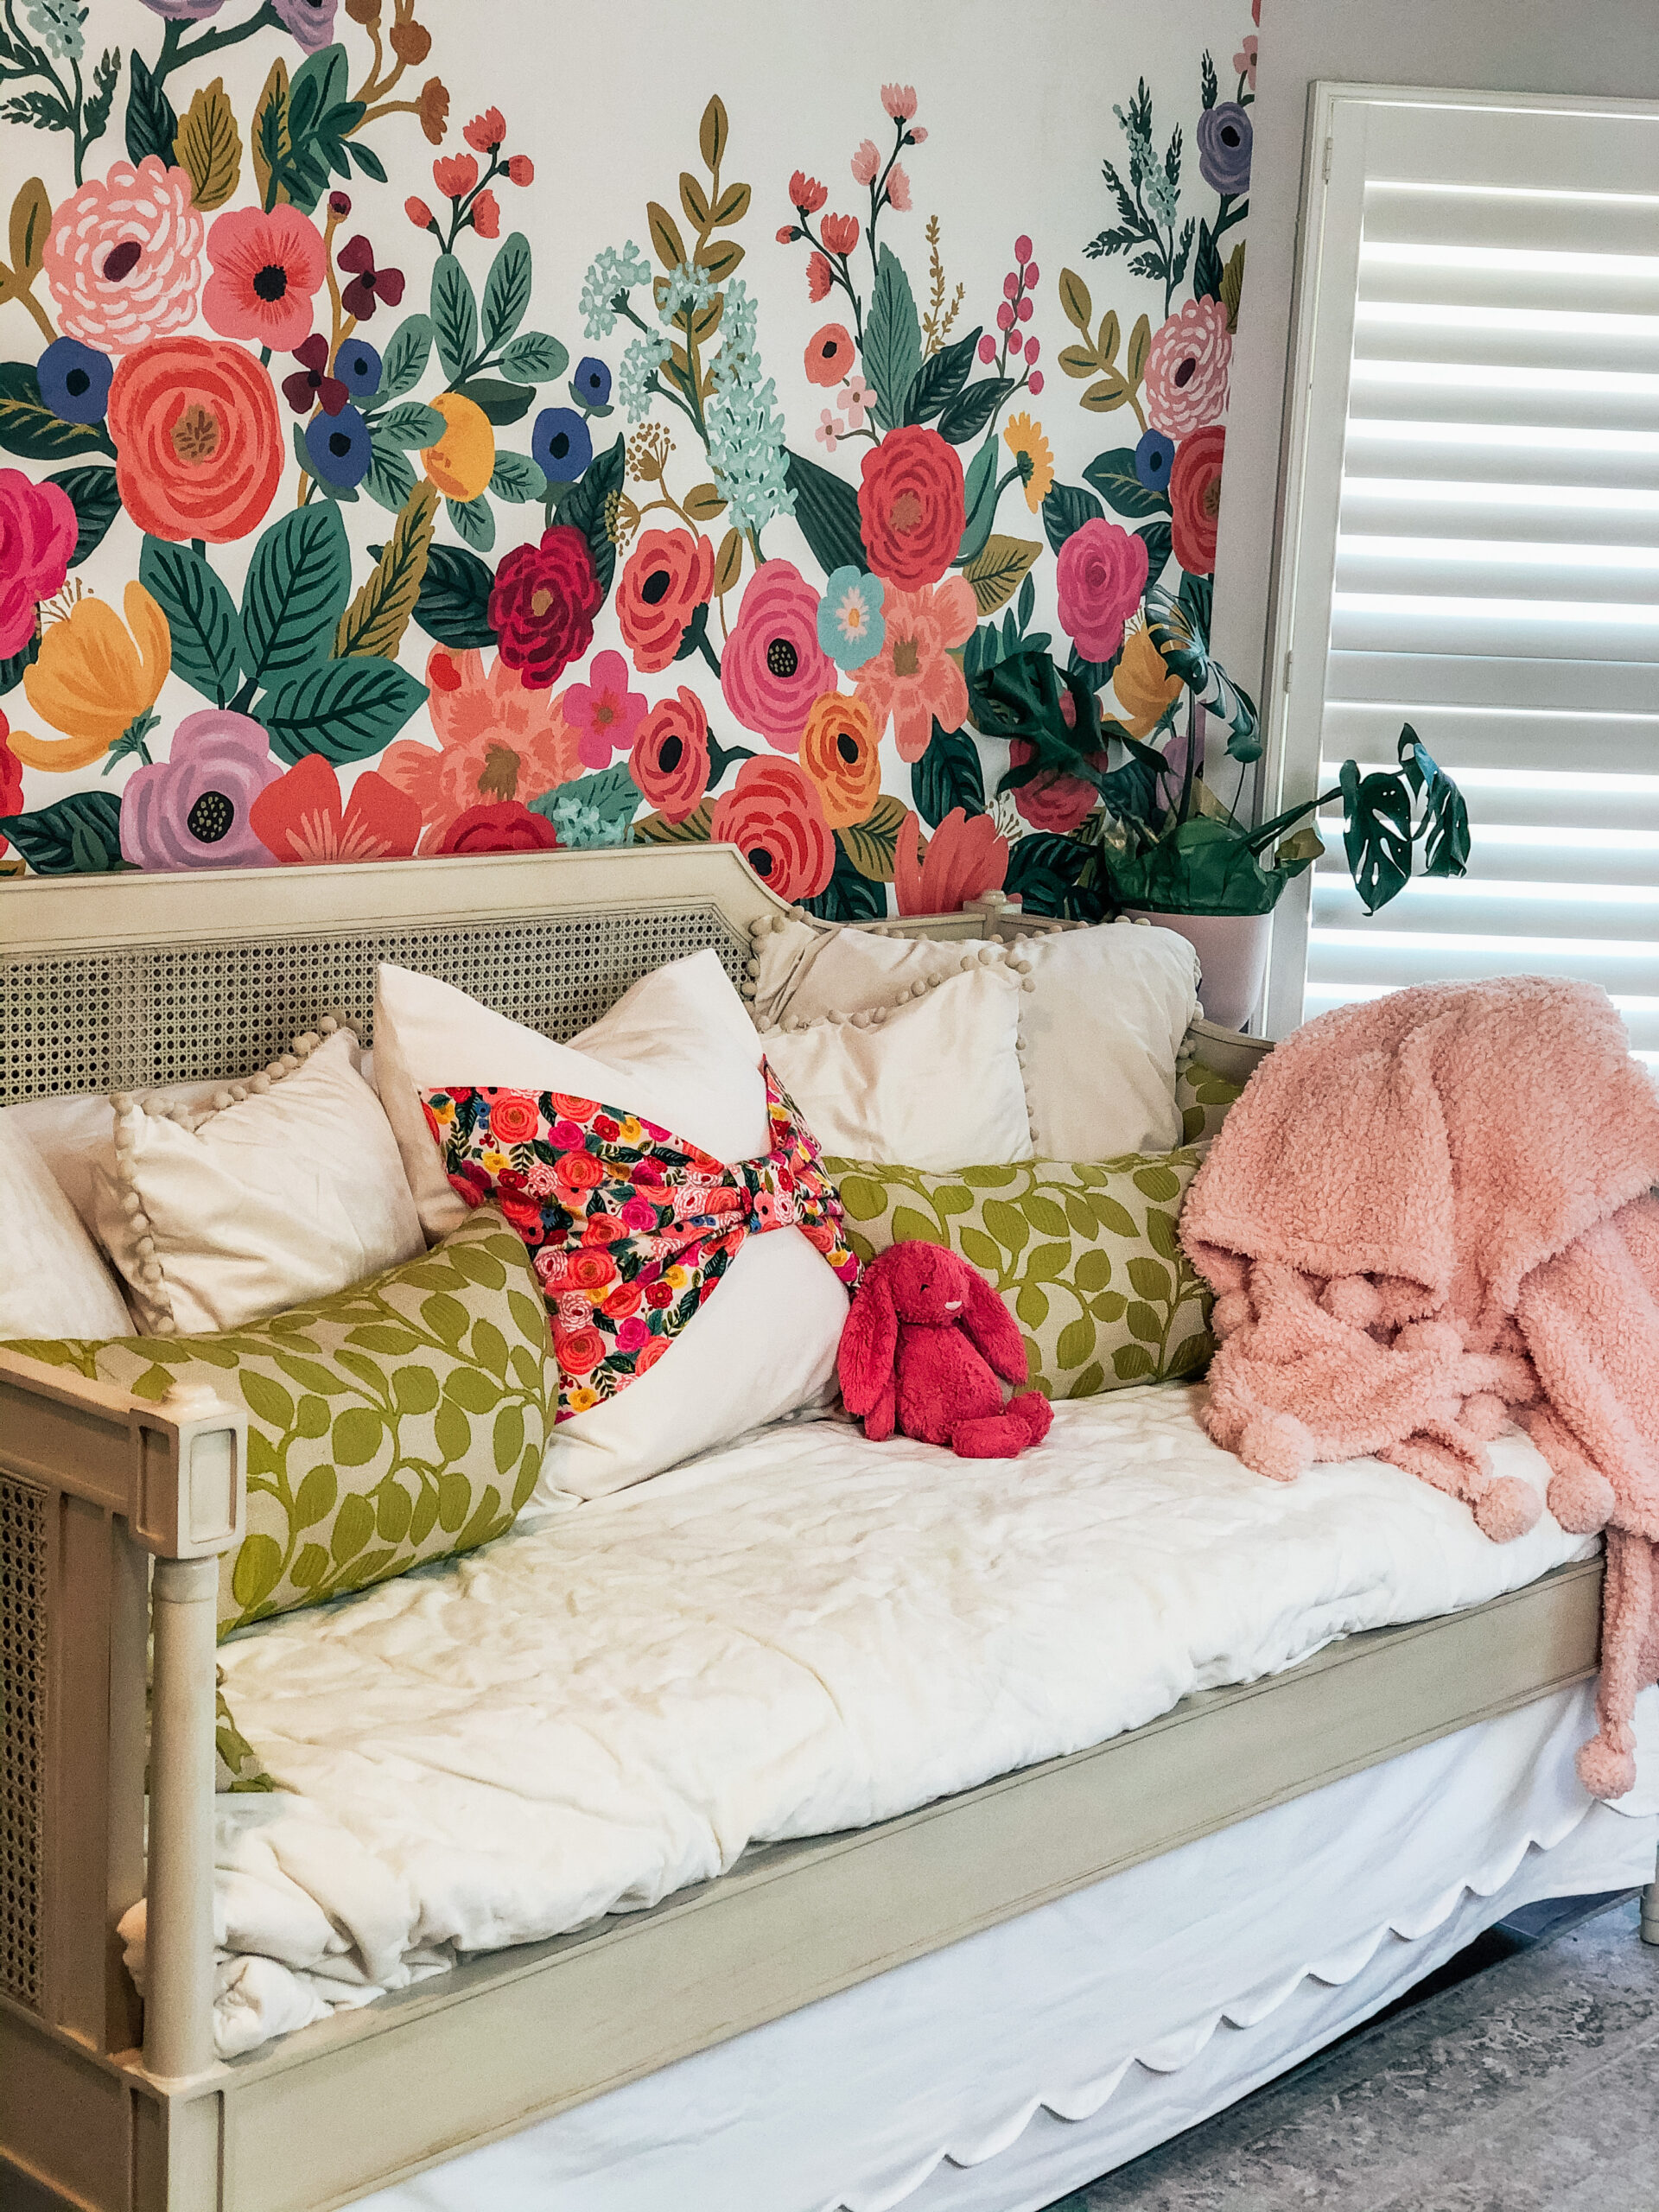
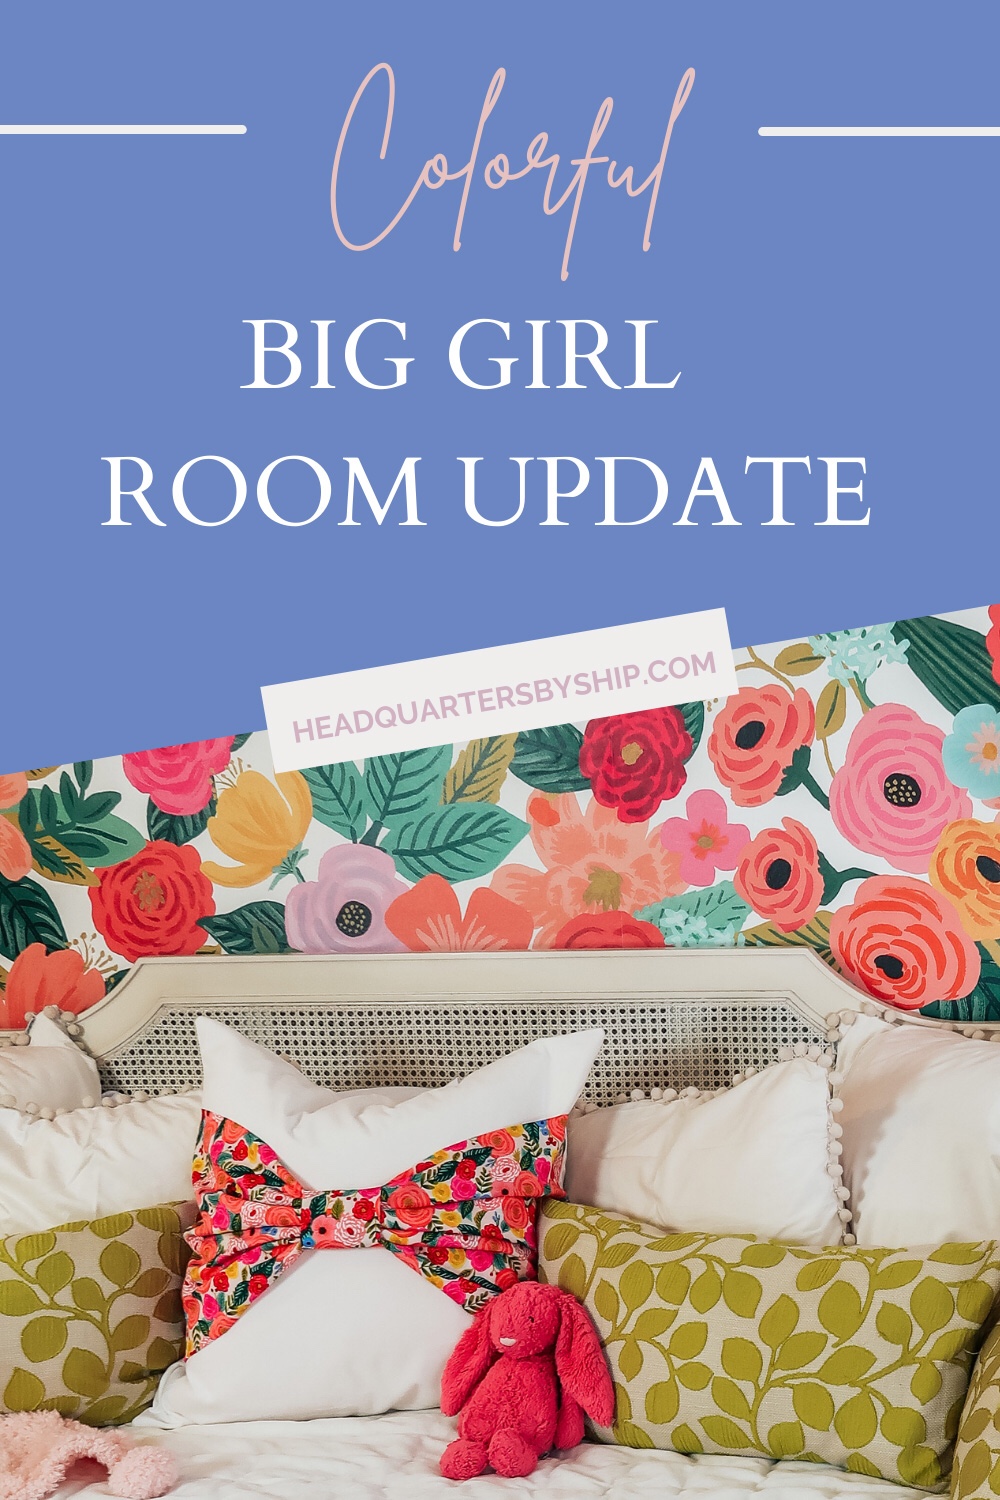
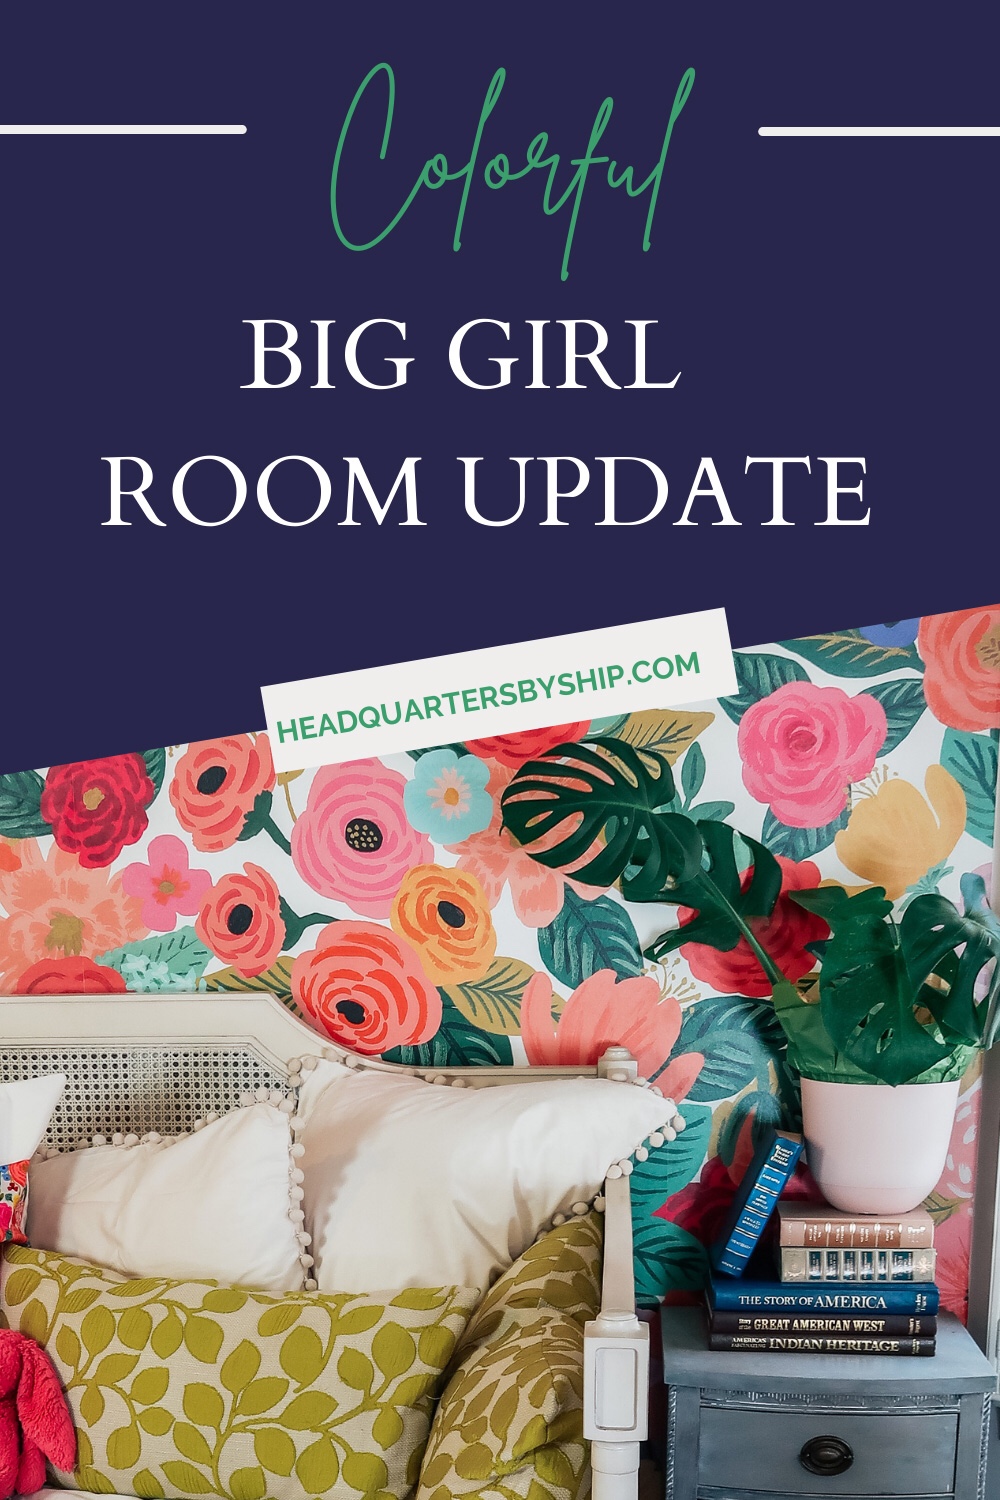
When I found this Rifle Paper Co. wallpaper from Ballard Designs (after lots and lots of endless browsing of the inter webs and Pinterest), I knew it was the one! And it really was because after I installed it and showed it to Mattie, she ran up to the wall, hugged it, and said, ”I love you big girl room!”
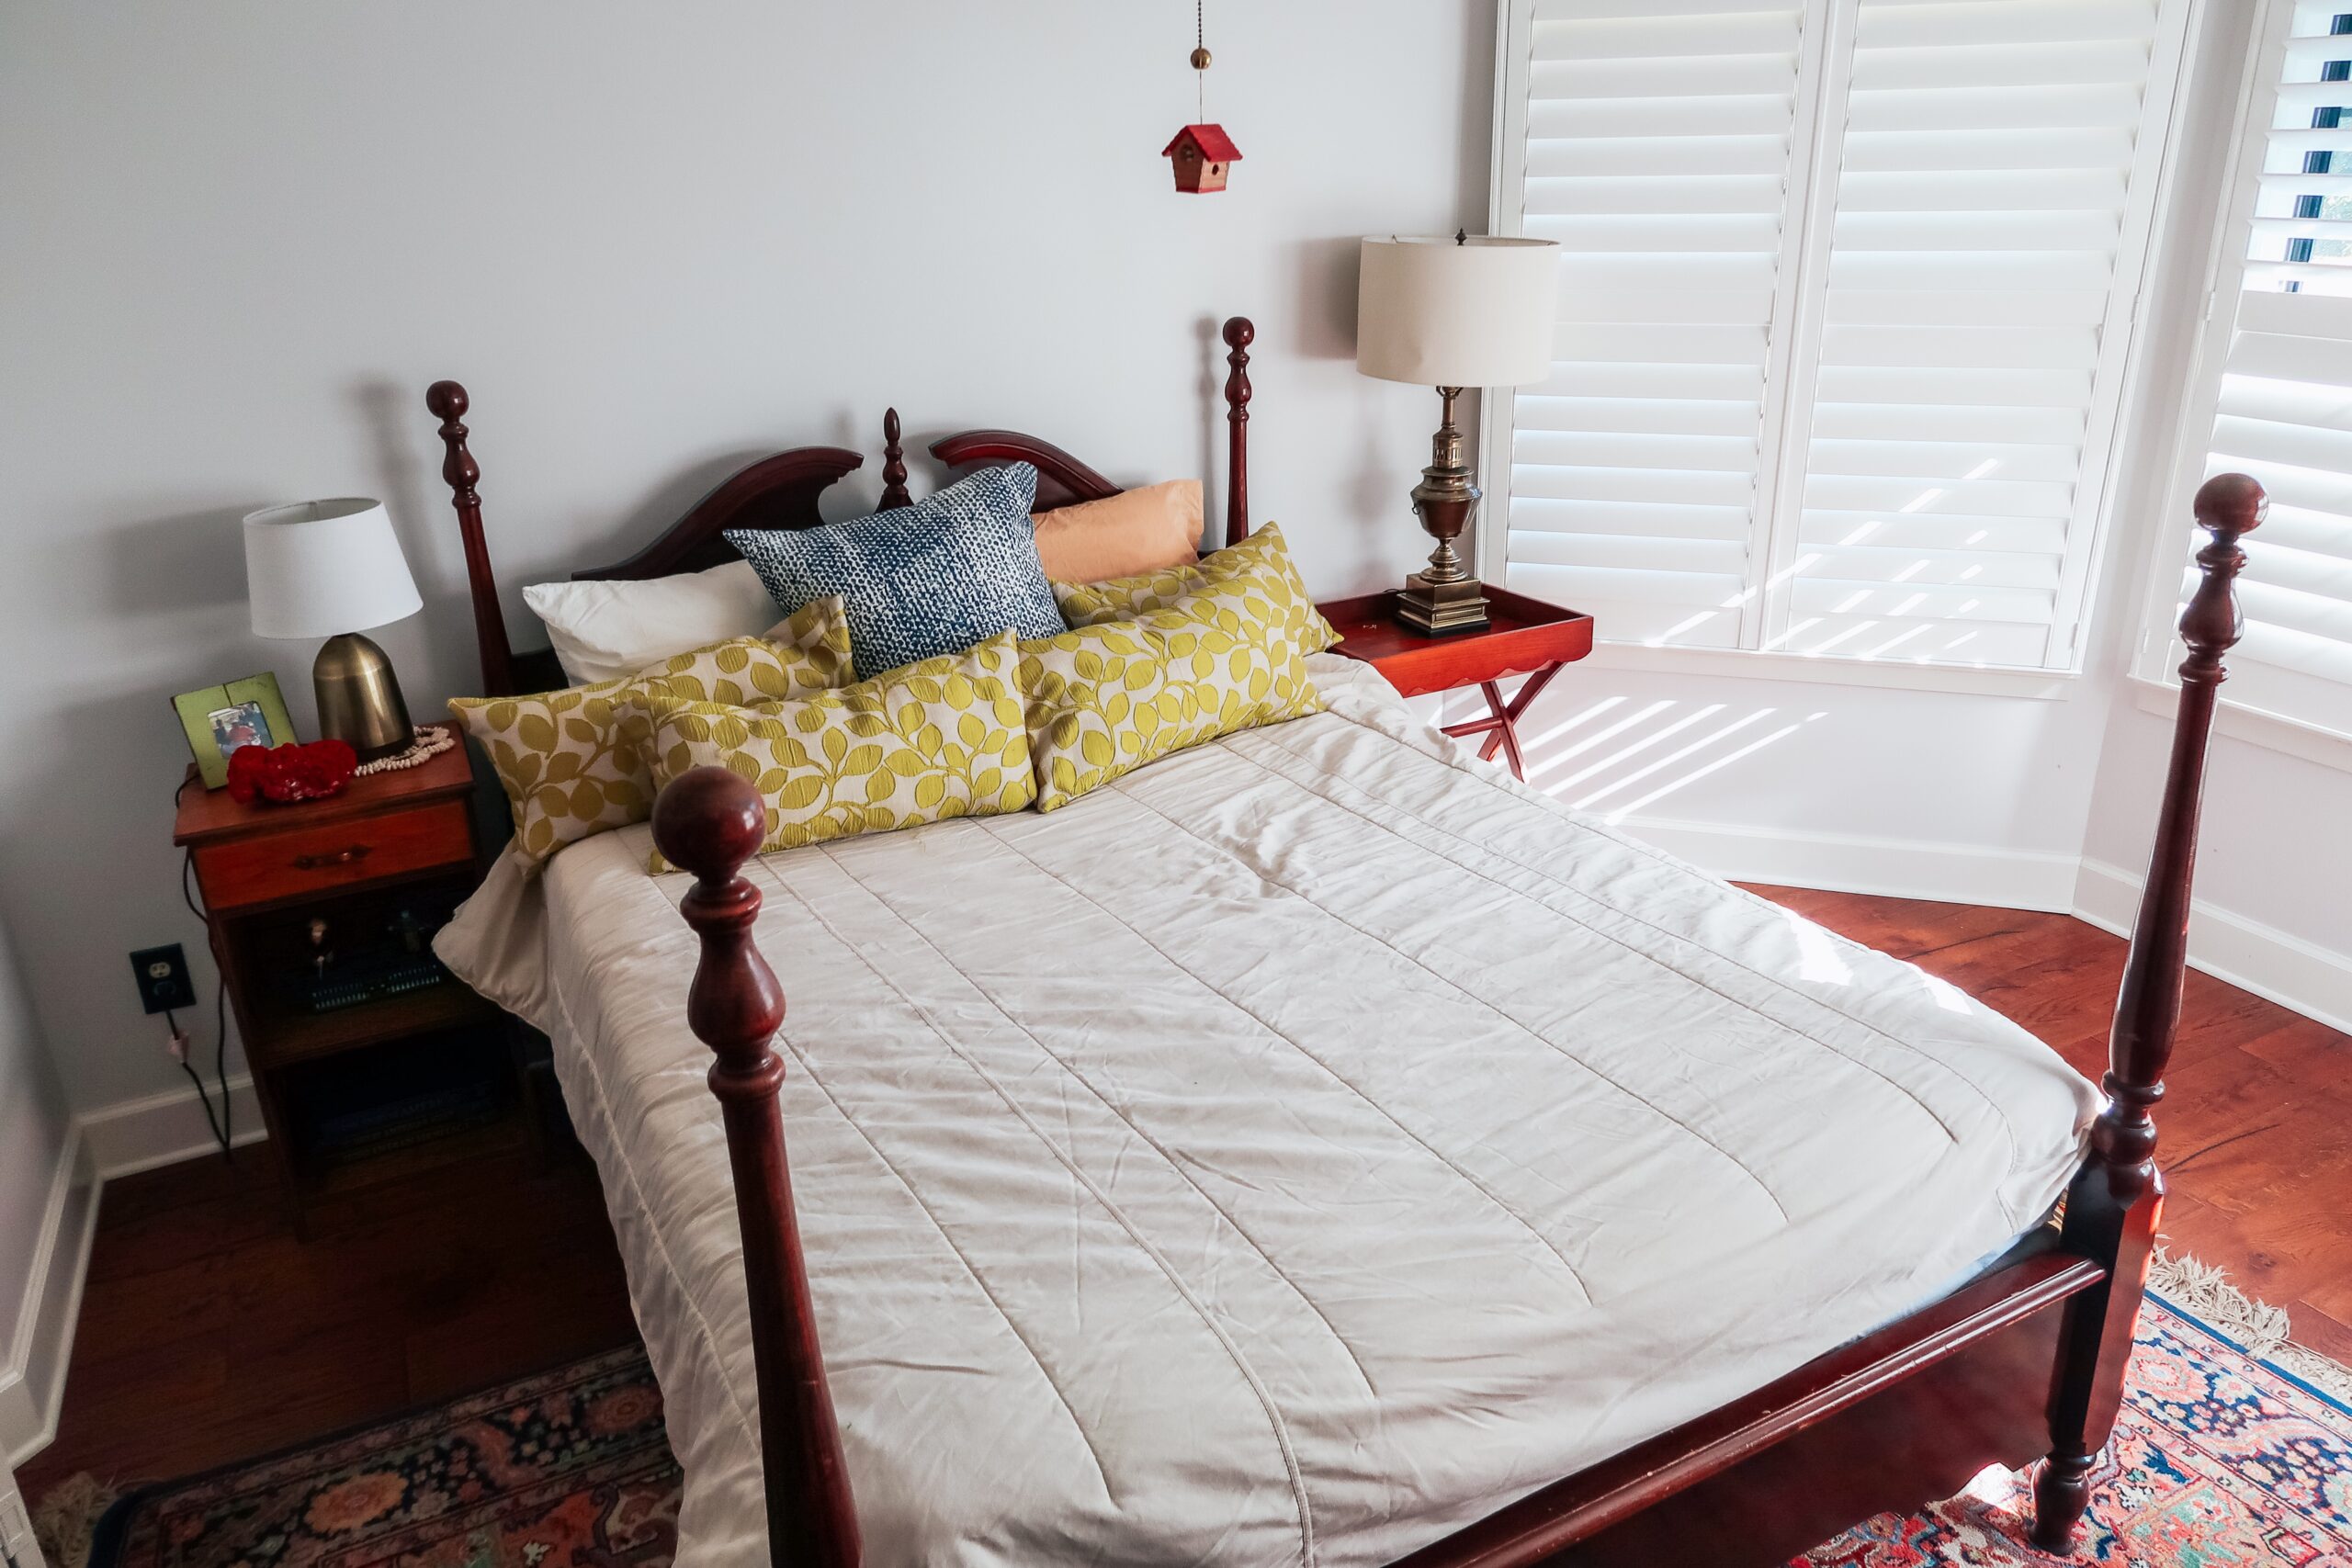
BEFORE
Before we transformed this bedroom into Mattie’s big girl room it was just a guest room that wasn’t really decorated at all. When we moved into our house we kind of just threw our old bed, a rug, an old comforter set, and other pieces we already had in there and called it a day. I didn’t hang up anything on the walls, or put much thought into the space at the time because I was focused on other areas of the house. As long as there was just a place for other people to sleep, that was fine with me.
When we moved into the house I did DIY some roman shades (with a couple matching pillows) for the bay window with a blackout liner to help cut costs with all the updates we did when we first moved in. They looked and functioned good enough (definitely were not perfect by any means), but they made the room so dark. Earlier this year, I finally pulled the trigger on installing some plantation shutters and it was the best investment ever!

The plantation shutters really brightened up the space so much! It might be a little harder to sleep in with the sunshine coming through of course, but that is fine with me. I purchased the shutters from Discount Window Treatments in Munford. They advised that the faux wood is best because it is more durable, cheaper, and honestly, I can’t tell a difference between the two.
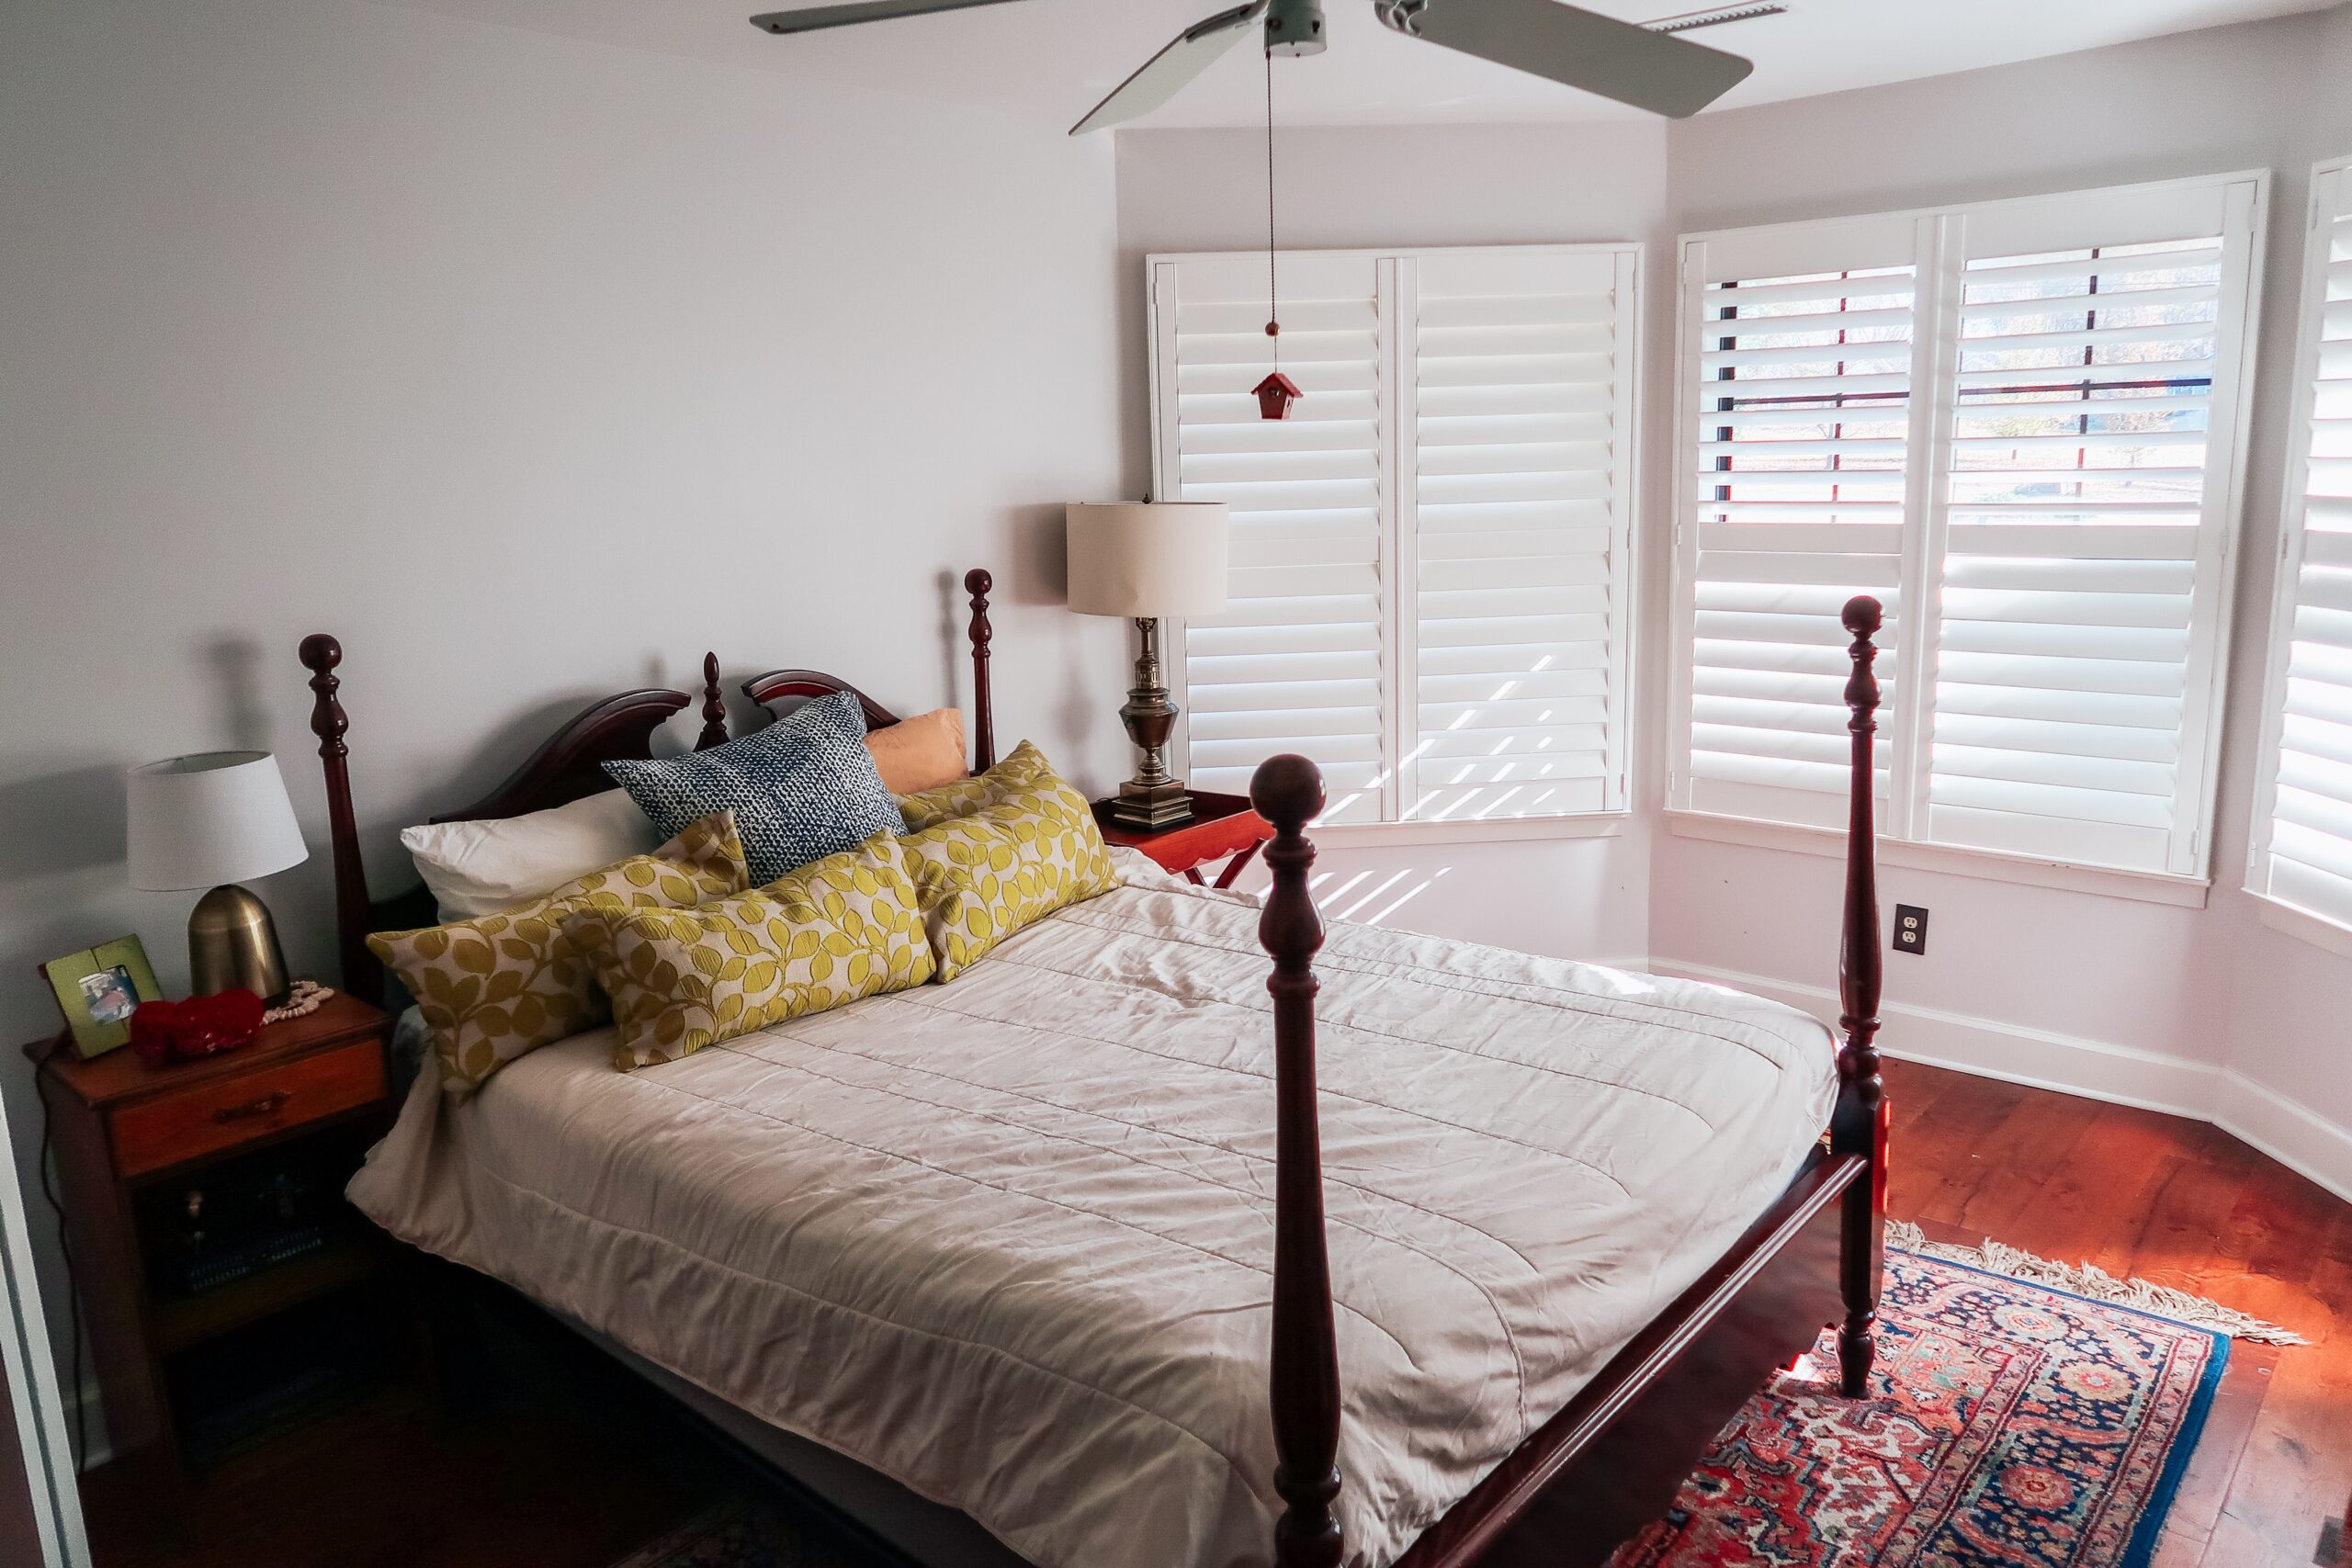
Fast forward six years later from when we first moved in (and my how they have flown by!), and here we are… Time for an upgrade from this boring space!
AFTER
With the bay window in this room, I wanted to keep the room open with plenty of space to play, so I decided that a day bed would be best for the space. I absolutely loved this day bed from Ballard Designs because I am obsessed with caned furniture. I searched all over the internet for cheaper, and second hand options, but in the end, I kept coming back to this bed. It was just so gorgeous!
So when a sale came around on the Ballard Designs website I finally pulled the trigger and bought the day bed and wall paper for the room. Honestly, I did waver back and forth a little with the bed because there were a couple bad reviews online, but I’m glad that in the end I disregarded them because the bed is sturdy, beautiful, and great quality.
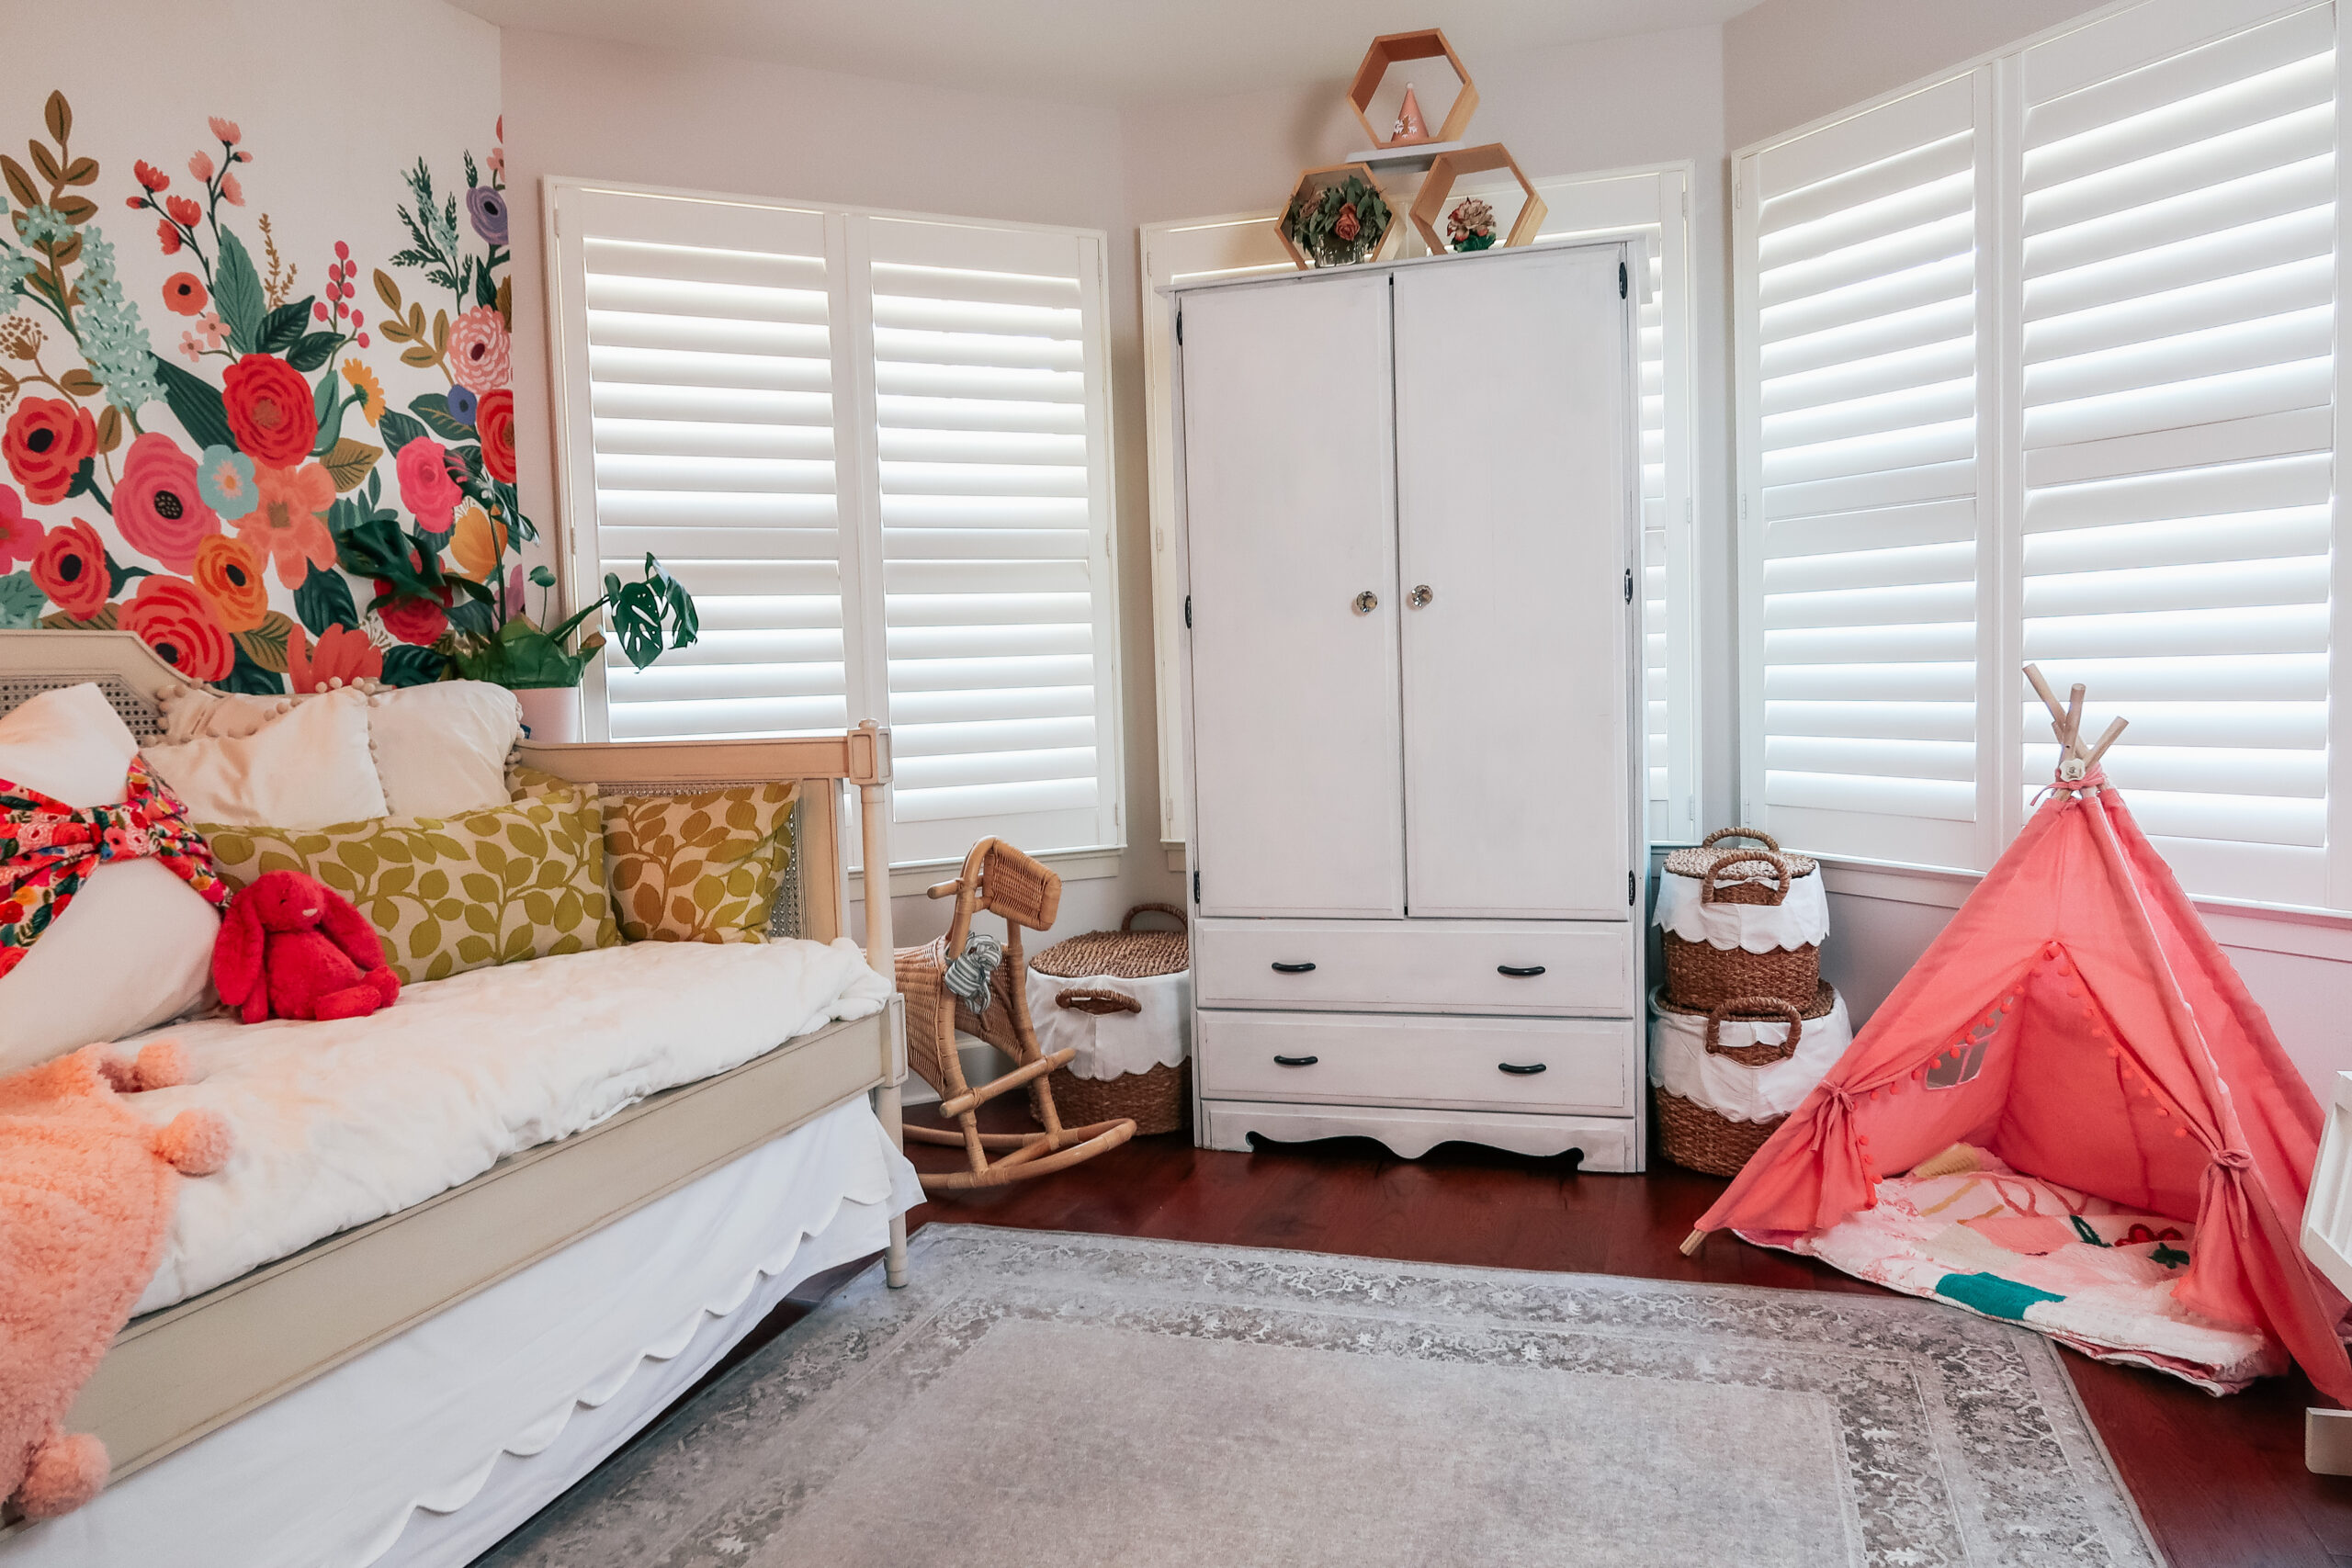

The main things I purchased to update this room was the wallpaper, the day bed, and a new rug (we have been adding Ruggables to practically every room because KIDS, and because Will has a dust allergy). The rest of the furniture I painted to go with the space, or had previously painted and moved from another room into her bedroom.
[show_shopthepost_widget id=”4726968″]
Floral WALLPAPER INSTALLATION
Now I am not sure if I installed the wallpaper properly, but it turned out amazing. The only other wallpaper project that I have done in the past was as a backsplash to some built-ins in our den (so I only have installed small pieces of wallpaper previously), but here is what I did:
The floral wallpaper came in two panels per pack, and I needed two for my accent wall (about three and a quarter panels for the whole wall). I wanted the wall to have as much of the flowers as possible so I started from the bottom up. I thought that would be an easier way to install too, to have each panel match up without having to measure to much.

To install the floral wallpaper I took a paint roller and paint tray, poured some wallpaper glue into the paint tray and rolled the wall with the glue just like you’re painting a wall. Once I had the wall painted with a really thick coat of glue, I lined the floral wallpaper up to the bottom of the baseboards and one corner, and started smoothing the paper up on the wall.
The first panel I installed was a little tricky to get the feel for working with such a large piece of paper, but after I got that first one up and all smoothed out with no bubbles, the others went on pretty easily and smoothly.
When I got to the top of the wall, I took a smoothing tool and cut the top of the paper with a razor blade.
DIY-ED FURNITURE UPDATES
Ya’ll know I can’t update a space without DIY-ing some furniture. I love taking old pieces and updating them to incorporate into a new, fresh space. On all the paint projects below I used paint from Amy Howard Home.
I am an affiliate for Amy Howard, but I have been using her products long before my blogging days. I first discovered them while we were living in Knoxville (2011-ish), and have been hooked on them ever since! I love that her products are so easy to use, the colors and quality are amazing, they’re made in the USA, and she’s local (from Memphis)! She also has a ton of amazing tutorials on YouTube if you are interested in how to use something specific.
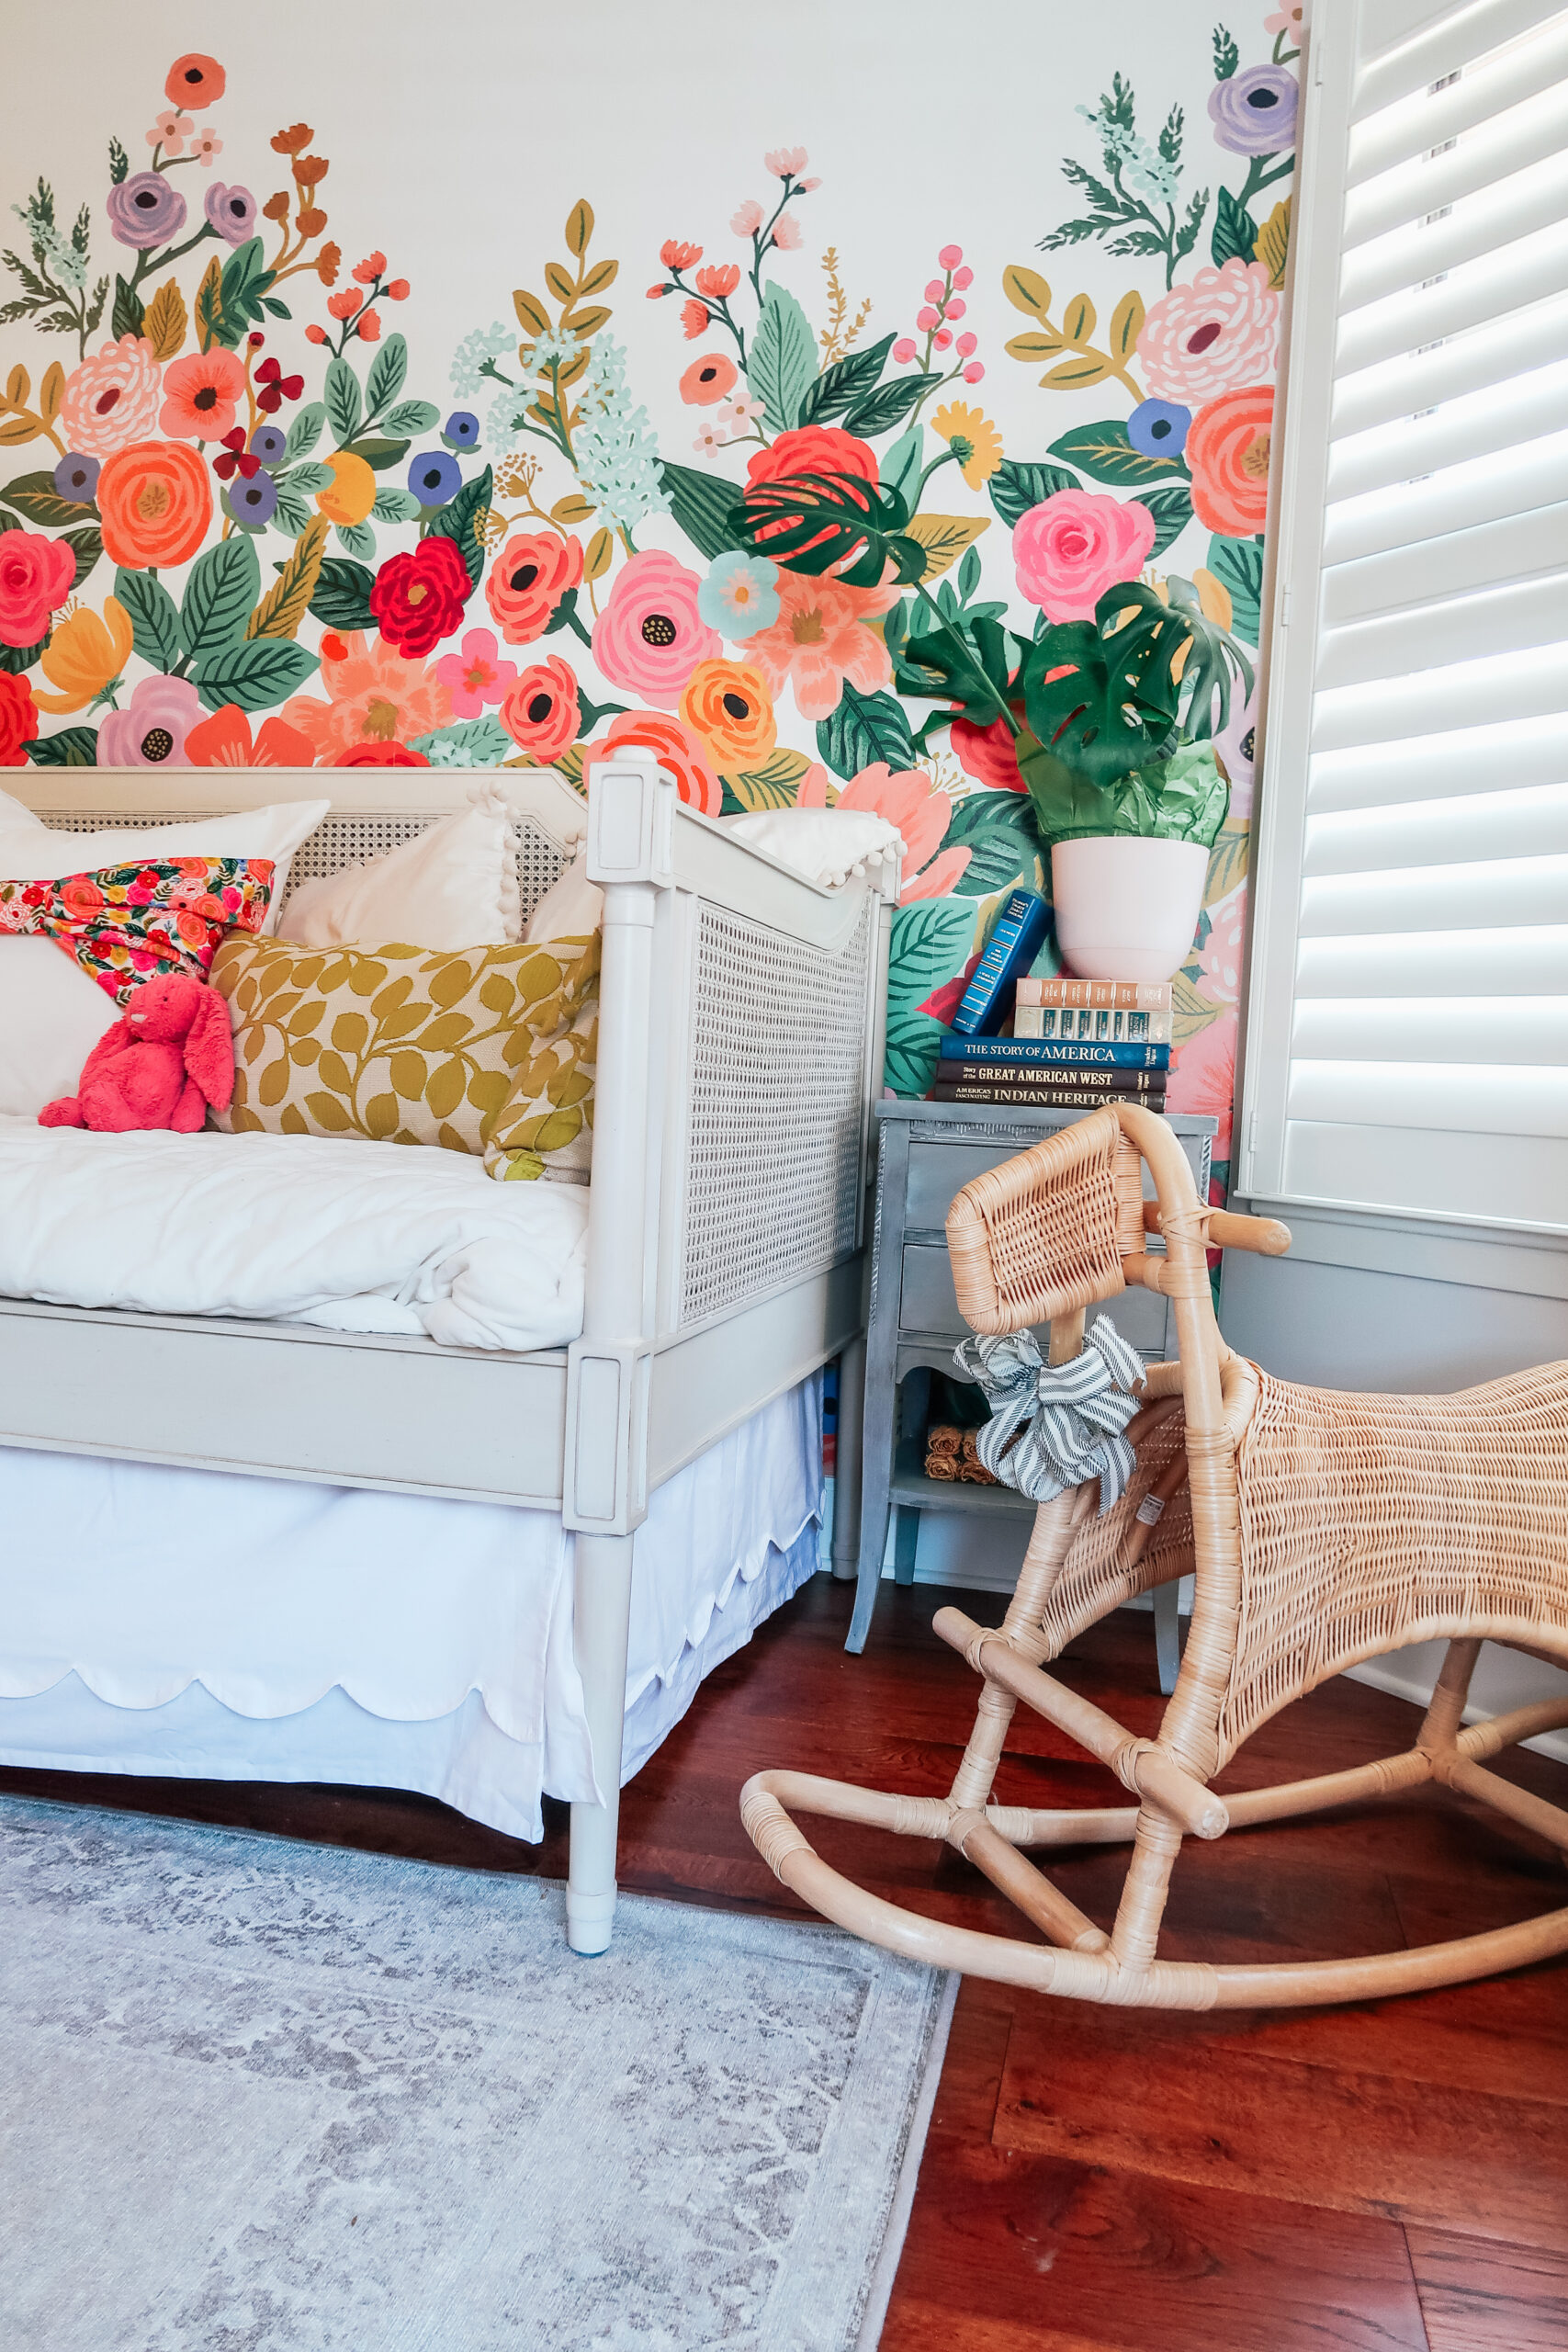
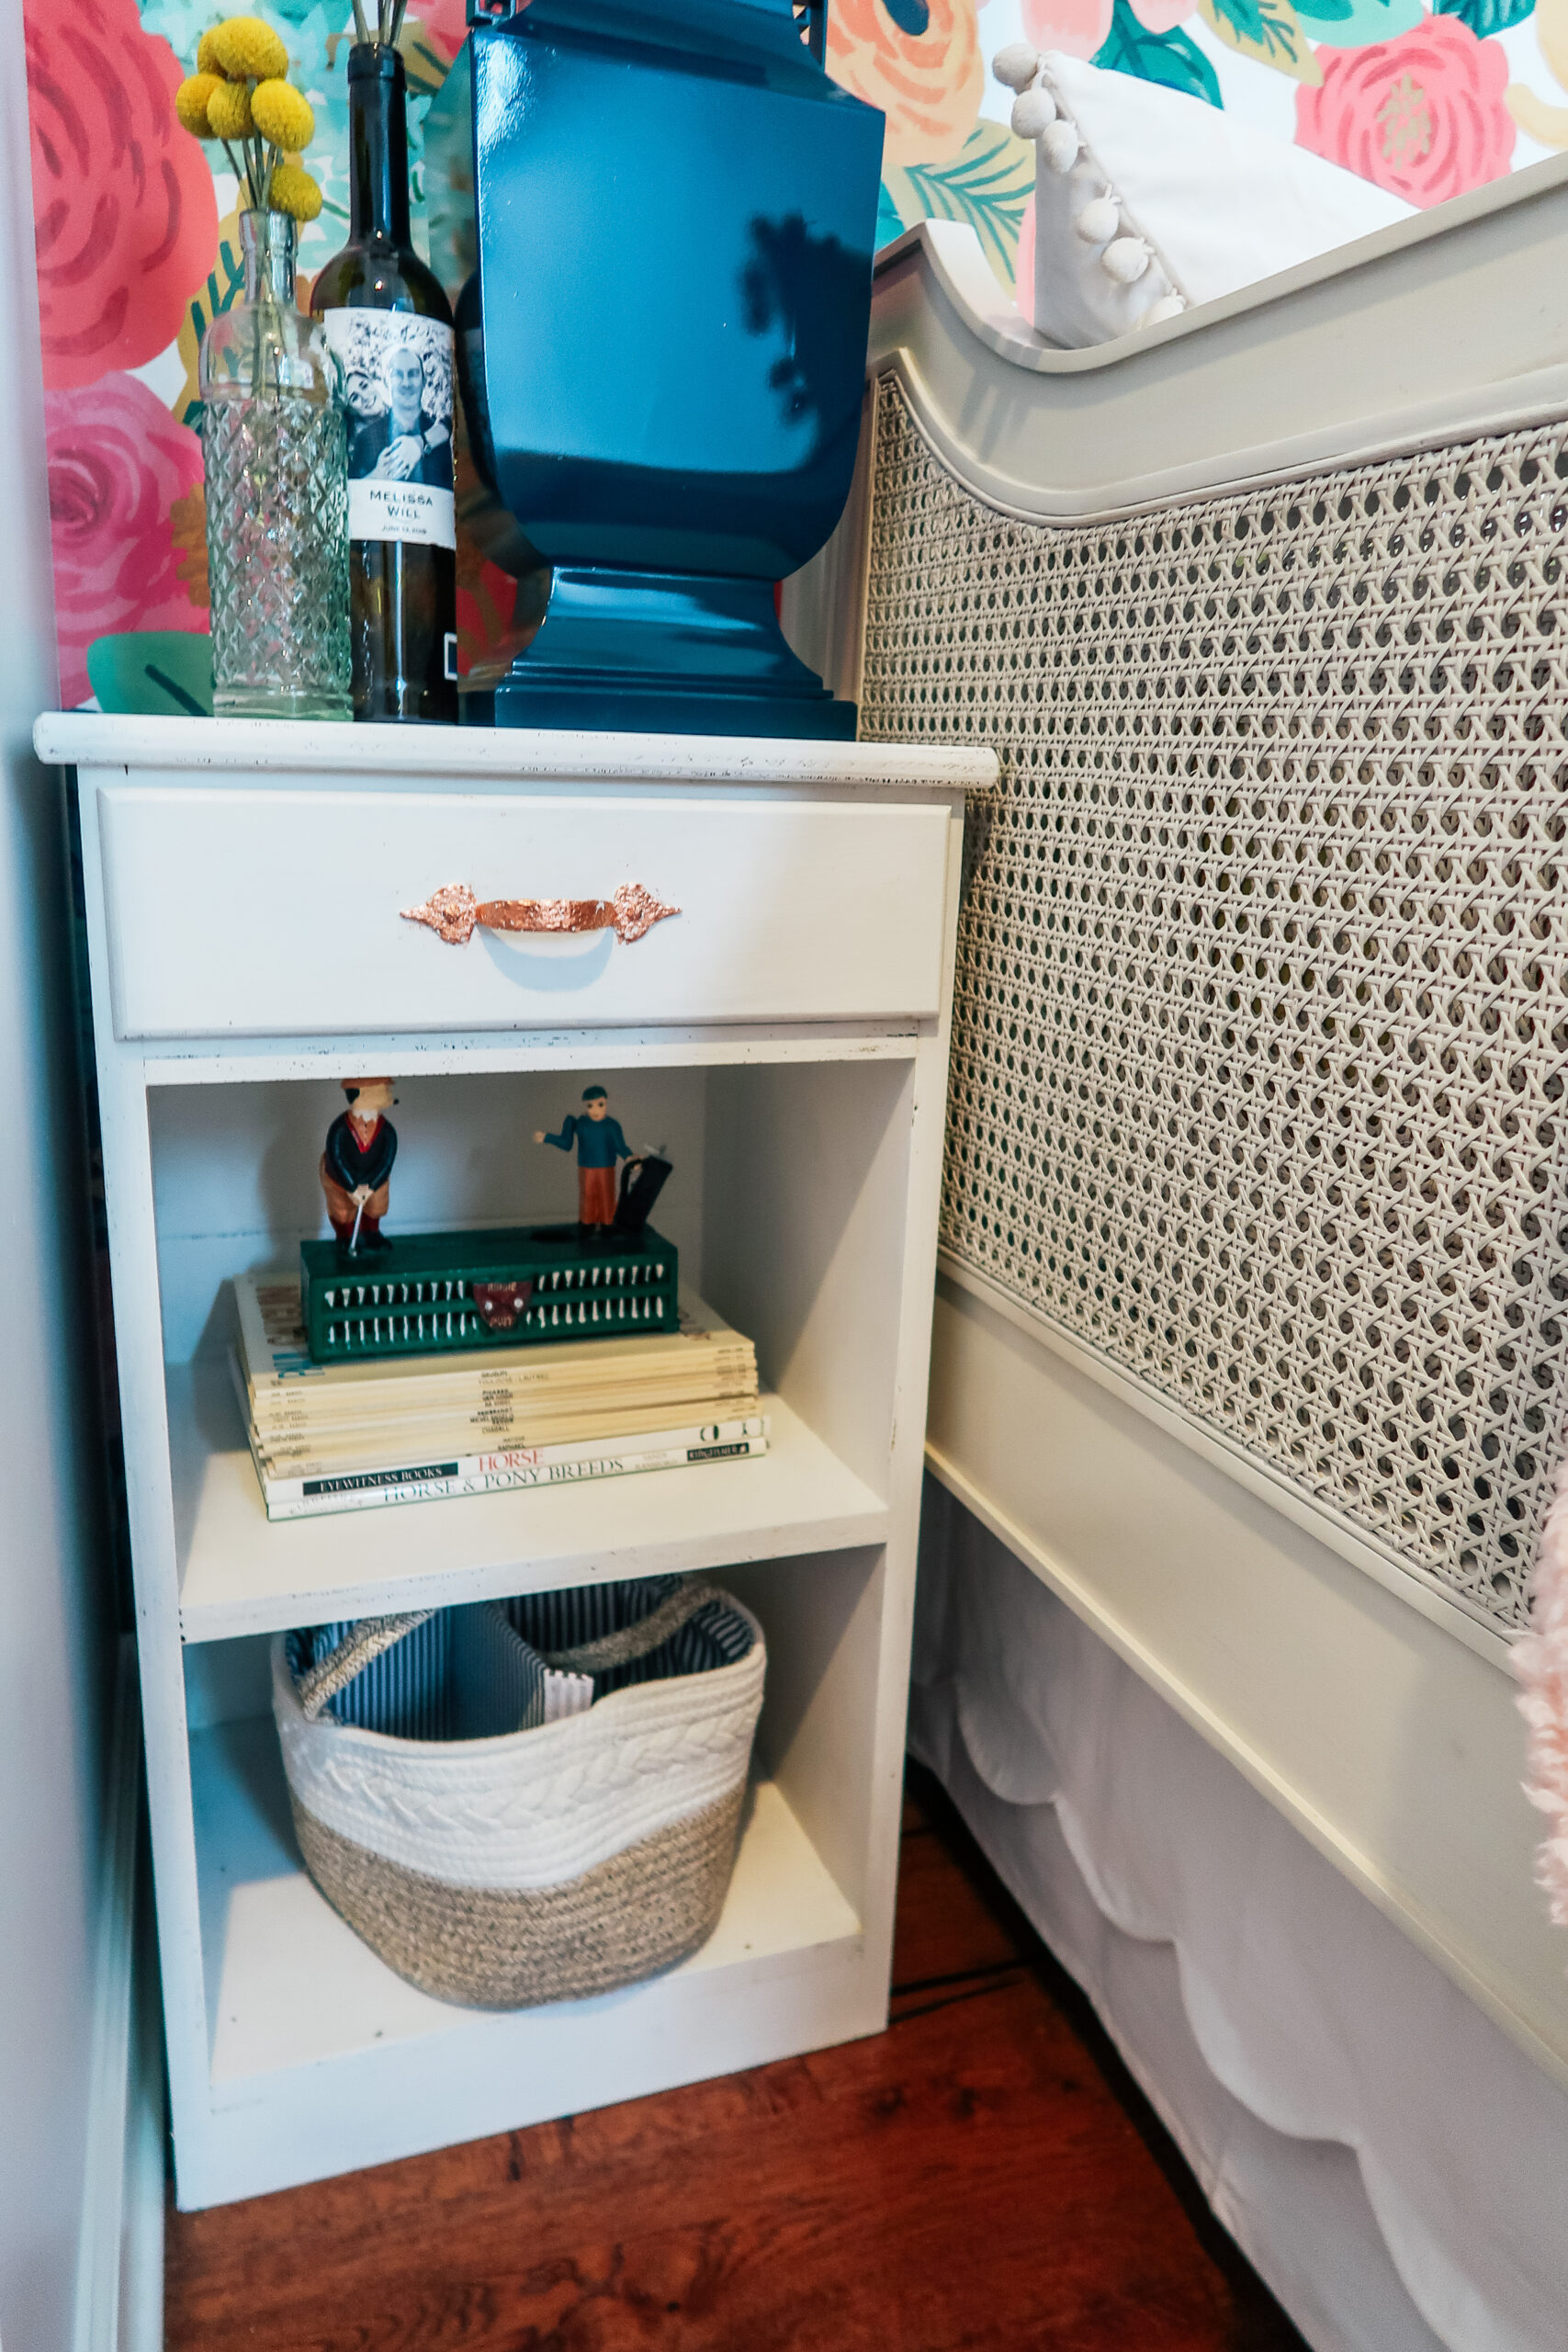
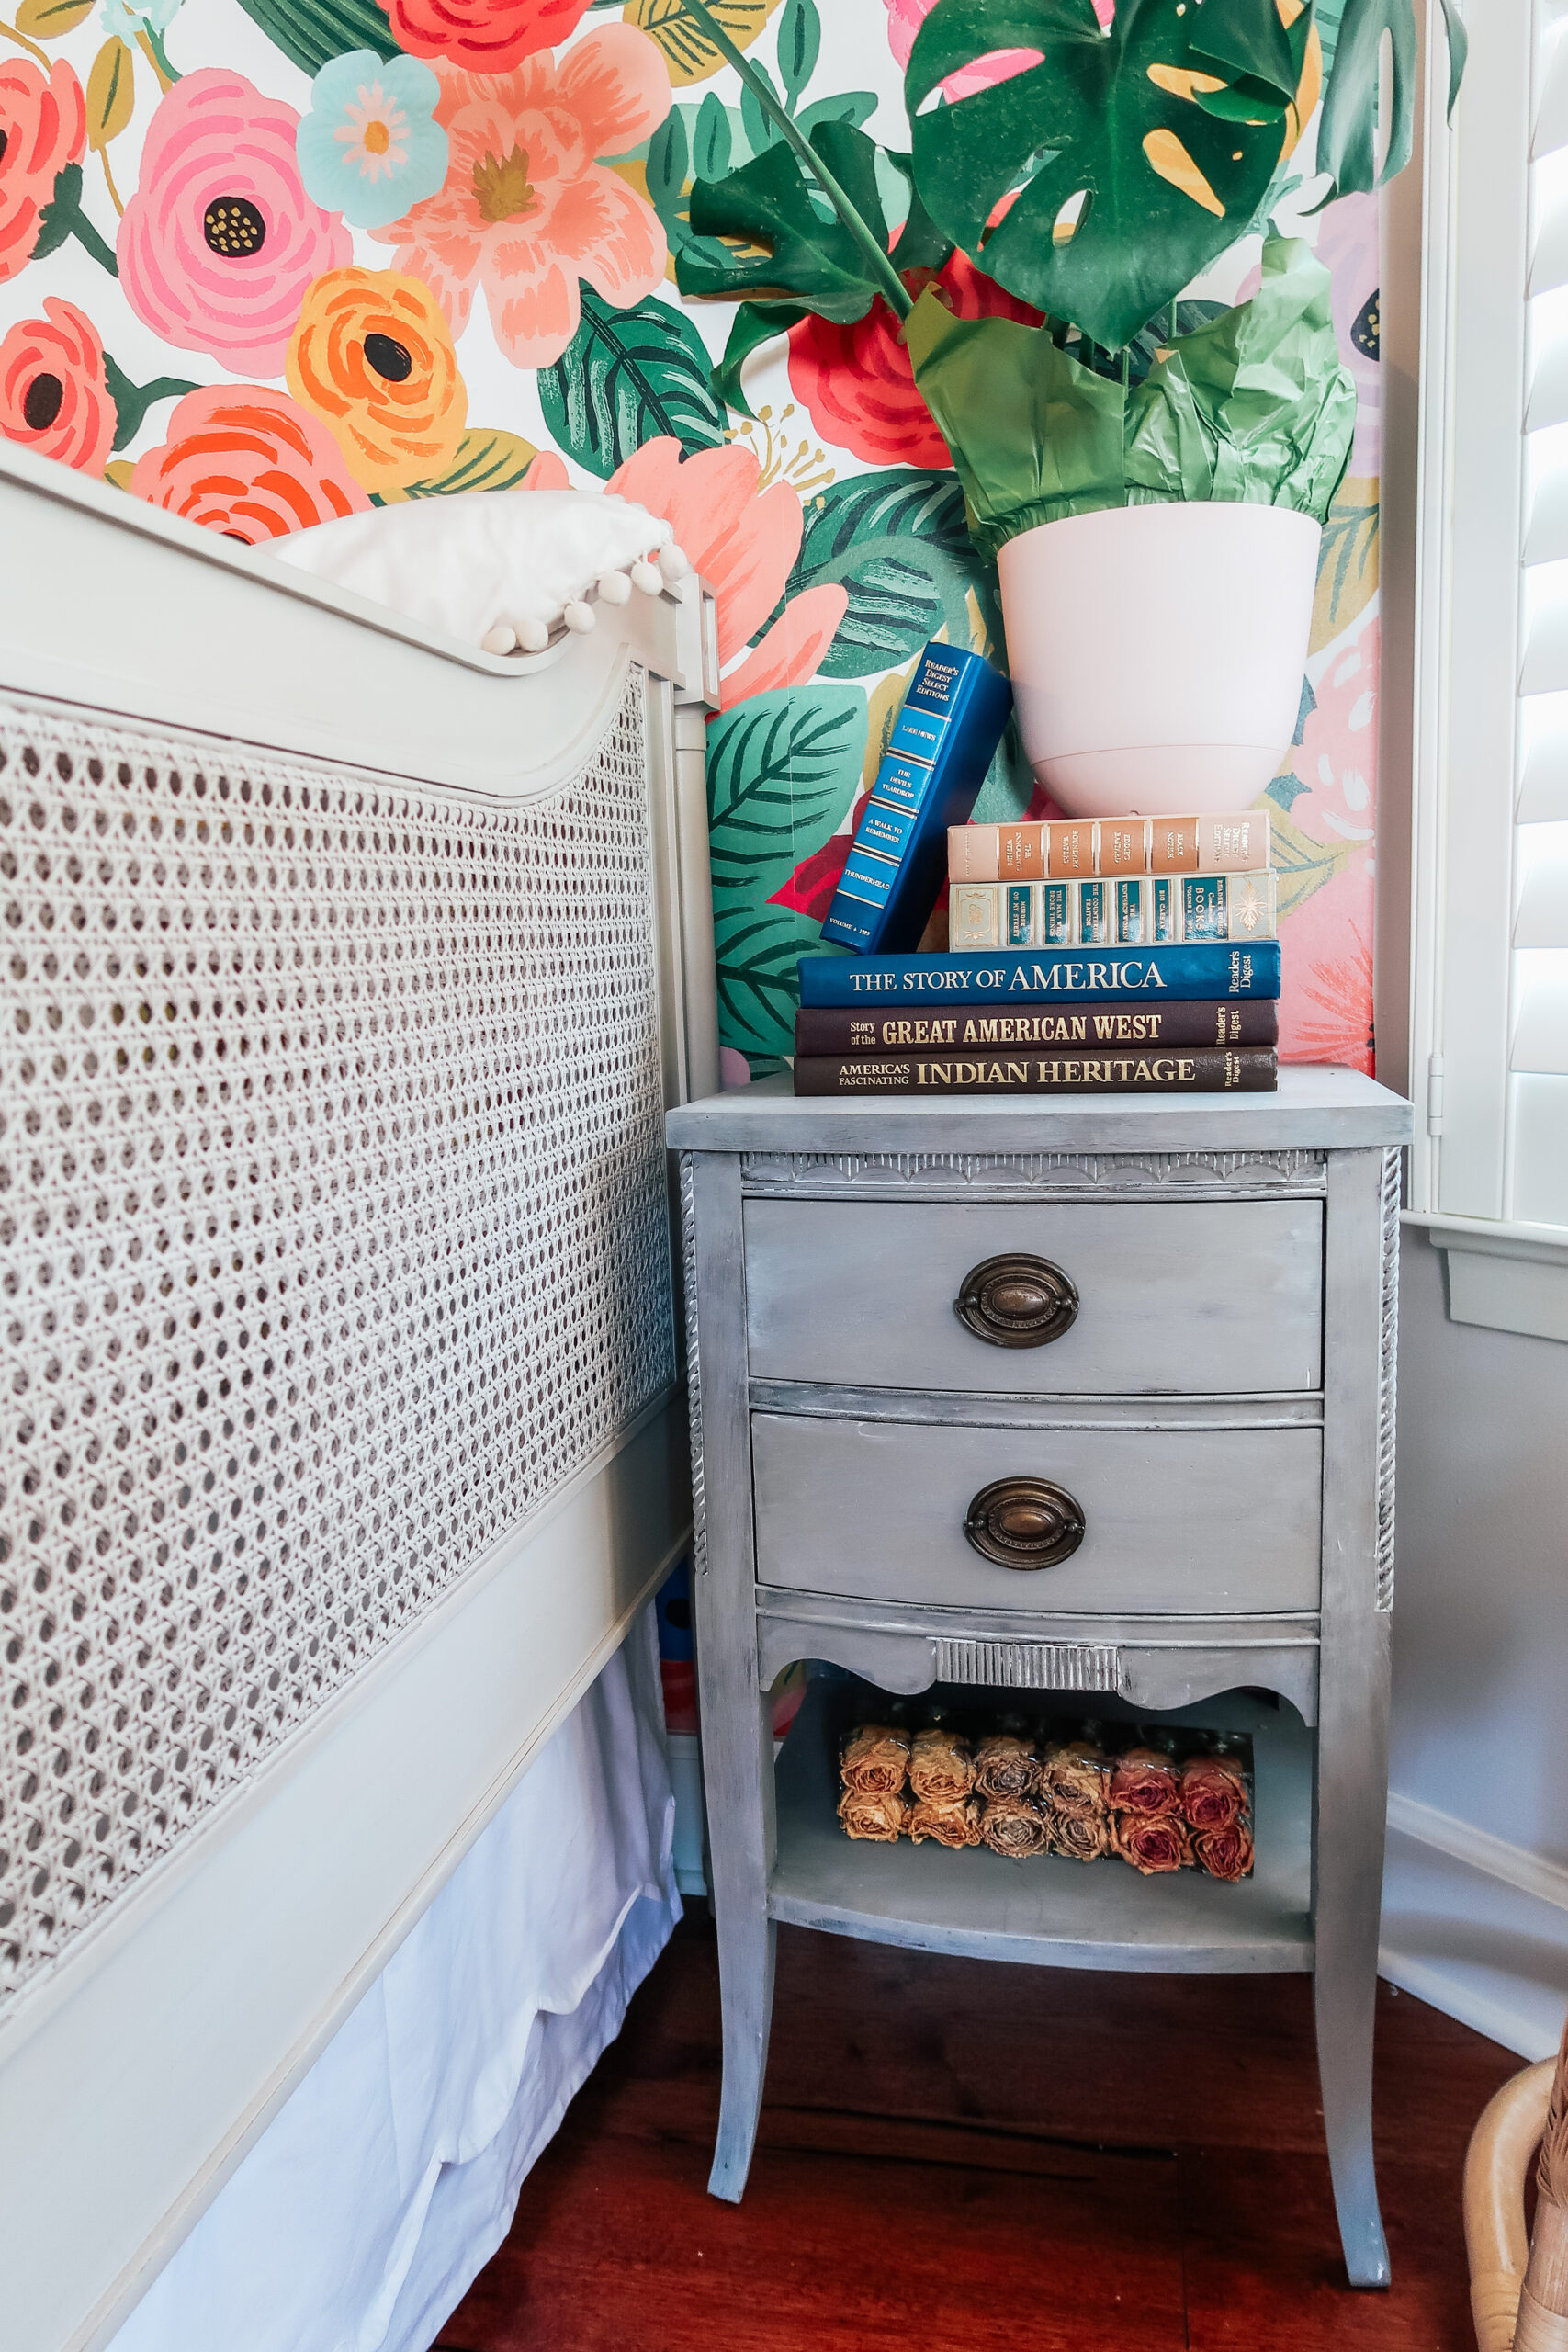
Side Tables
Extra Storage
The orange dresser was actually in the room (in the same spot) before I redid the room. I was planning on moving it somewhere else initially, but after I put up the wallpaper and saw how it matched I decided that it should stay right where it is. Mattie also needed a dresser for extra clothing storage so there we go.

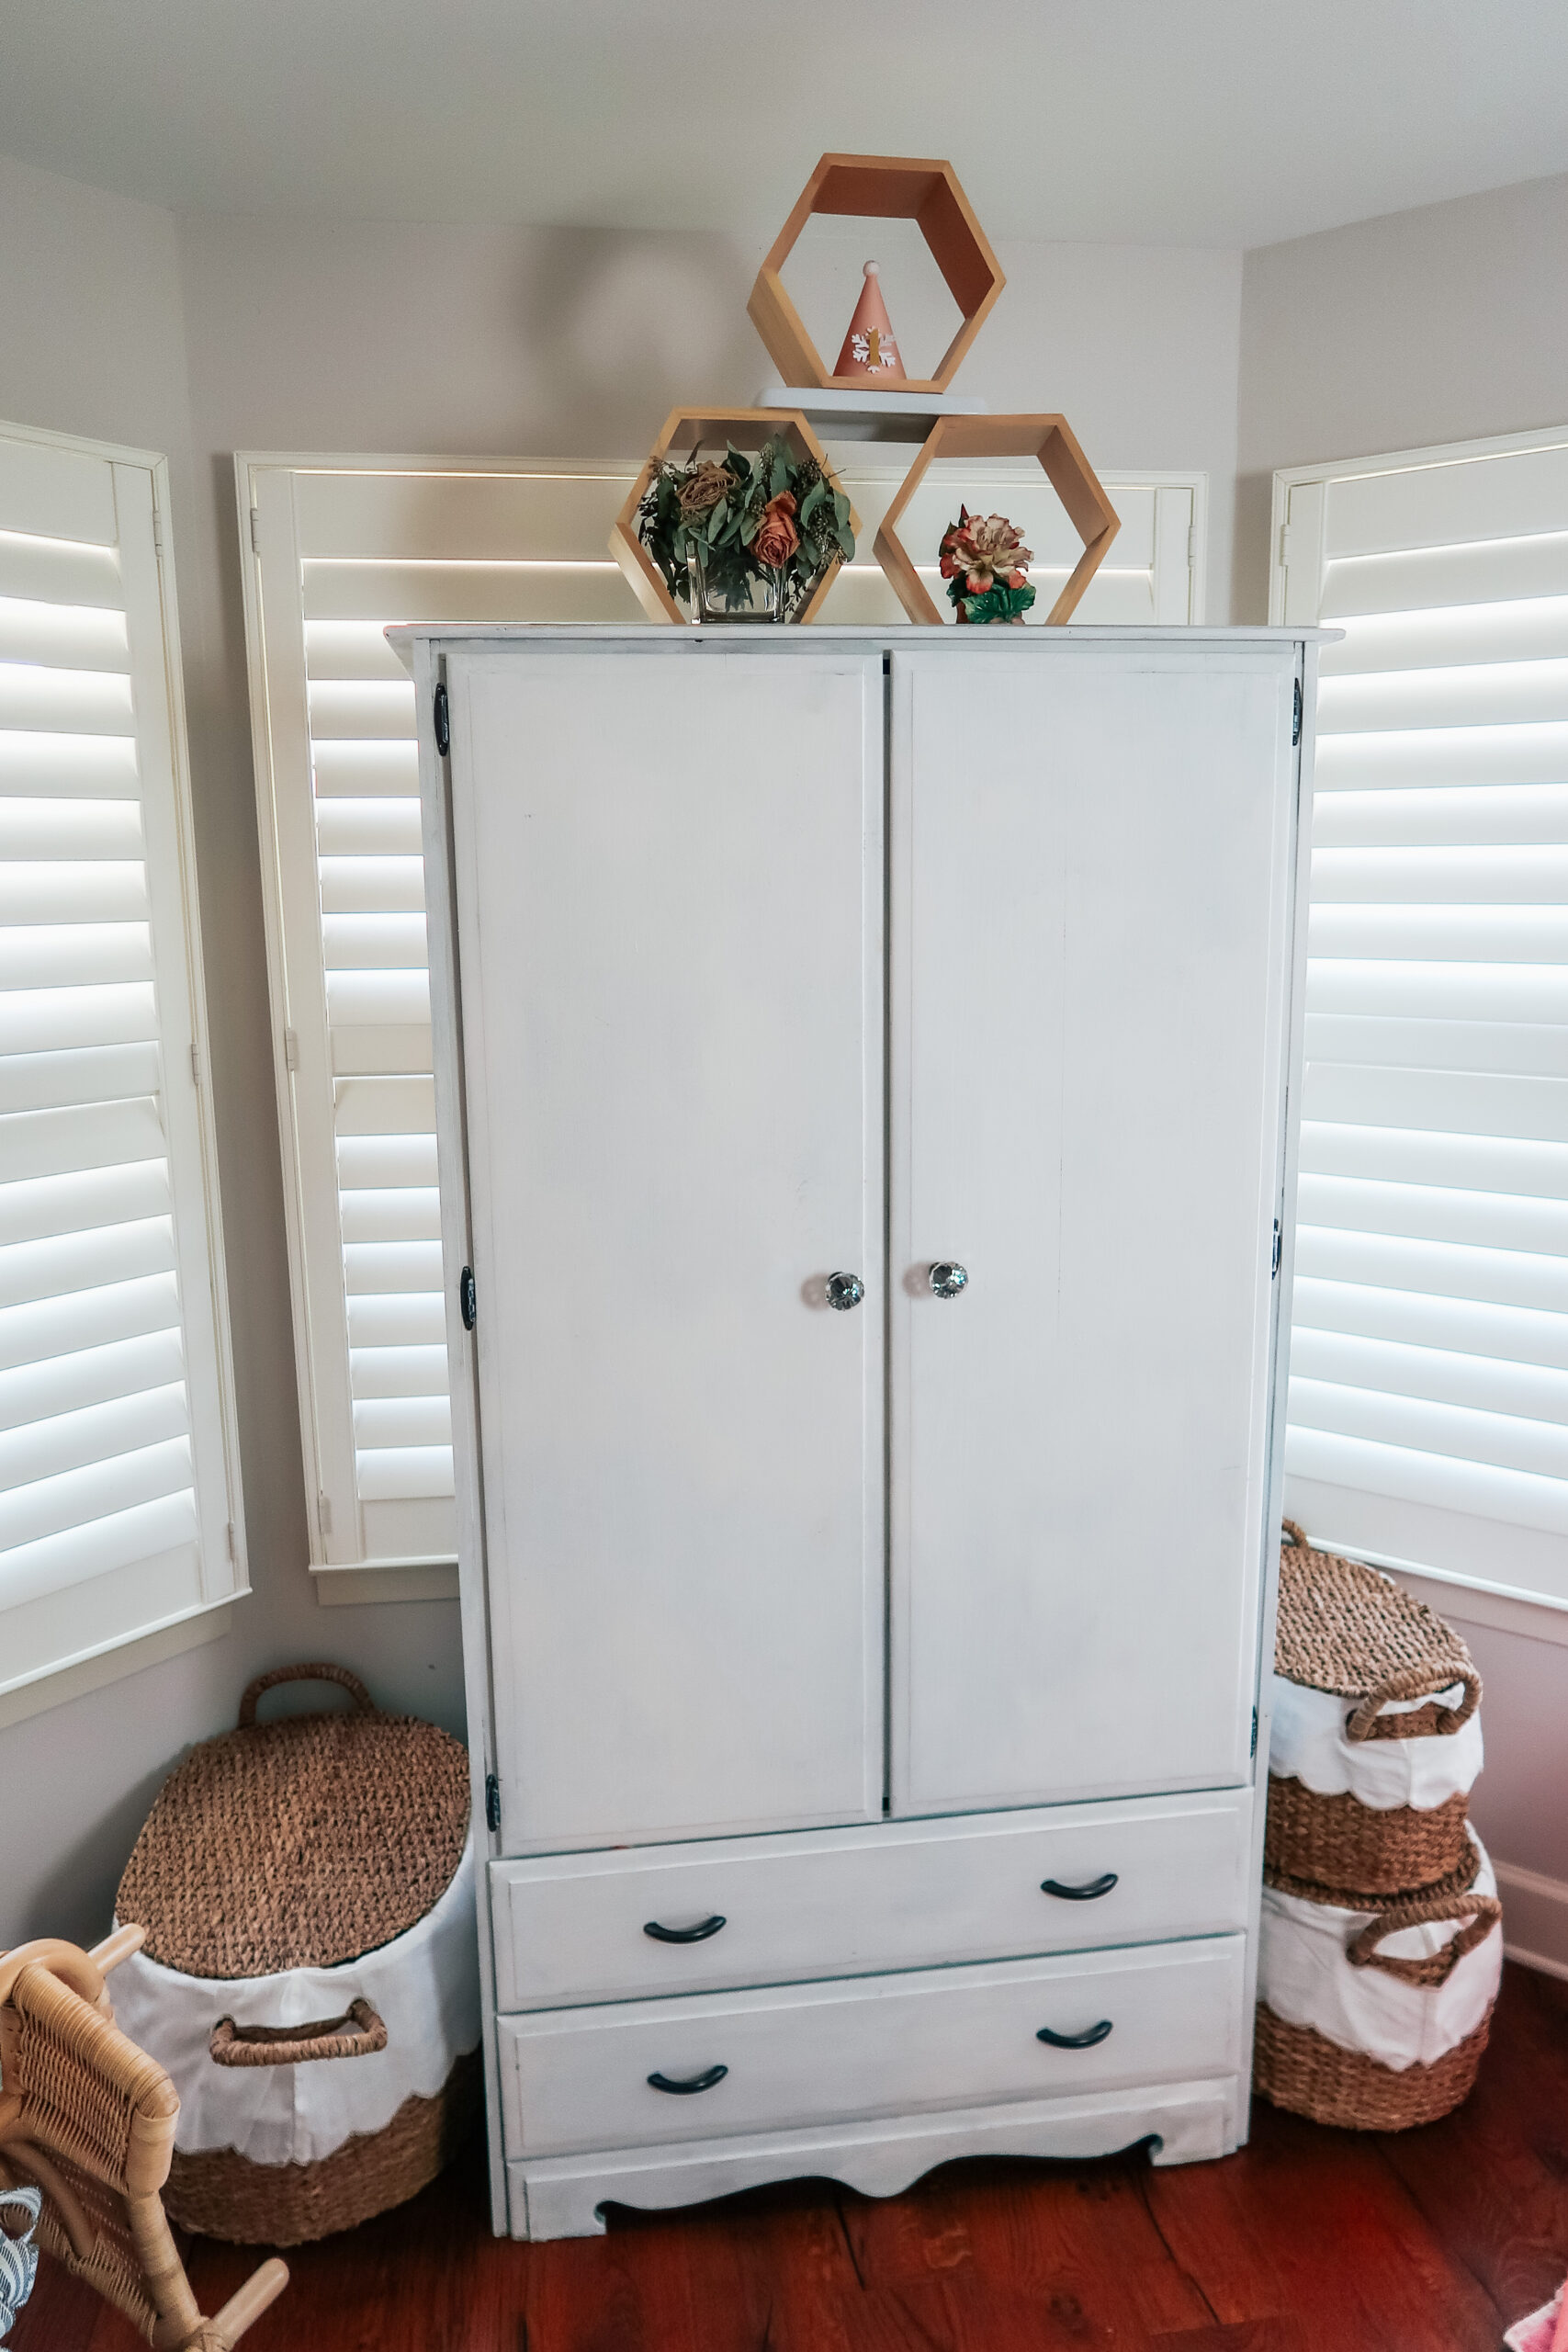
This hutch we originally placed in our nursery, but I decided we needed to move it into this room because the closet in this room is smaller and I thought we’d need more hanging space in this room. The hutch came from the house I grew up in, and the dresser Will had in his room when he grew up. I love taking these old pieces, and giving them a facelift to incorporate them into a new space!
Lighting
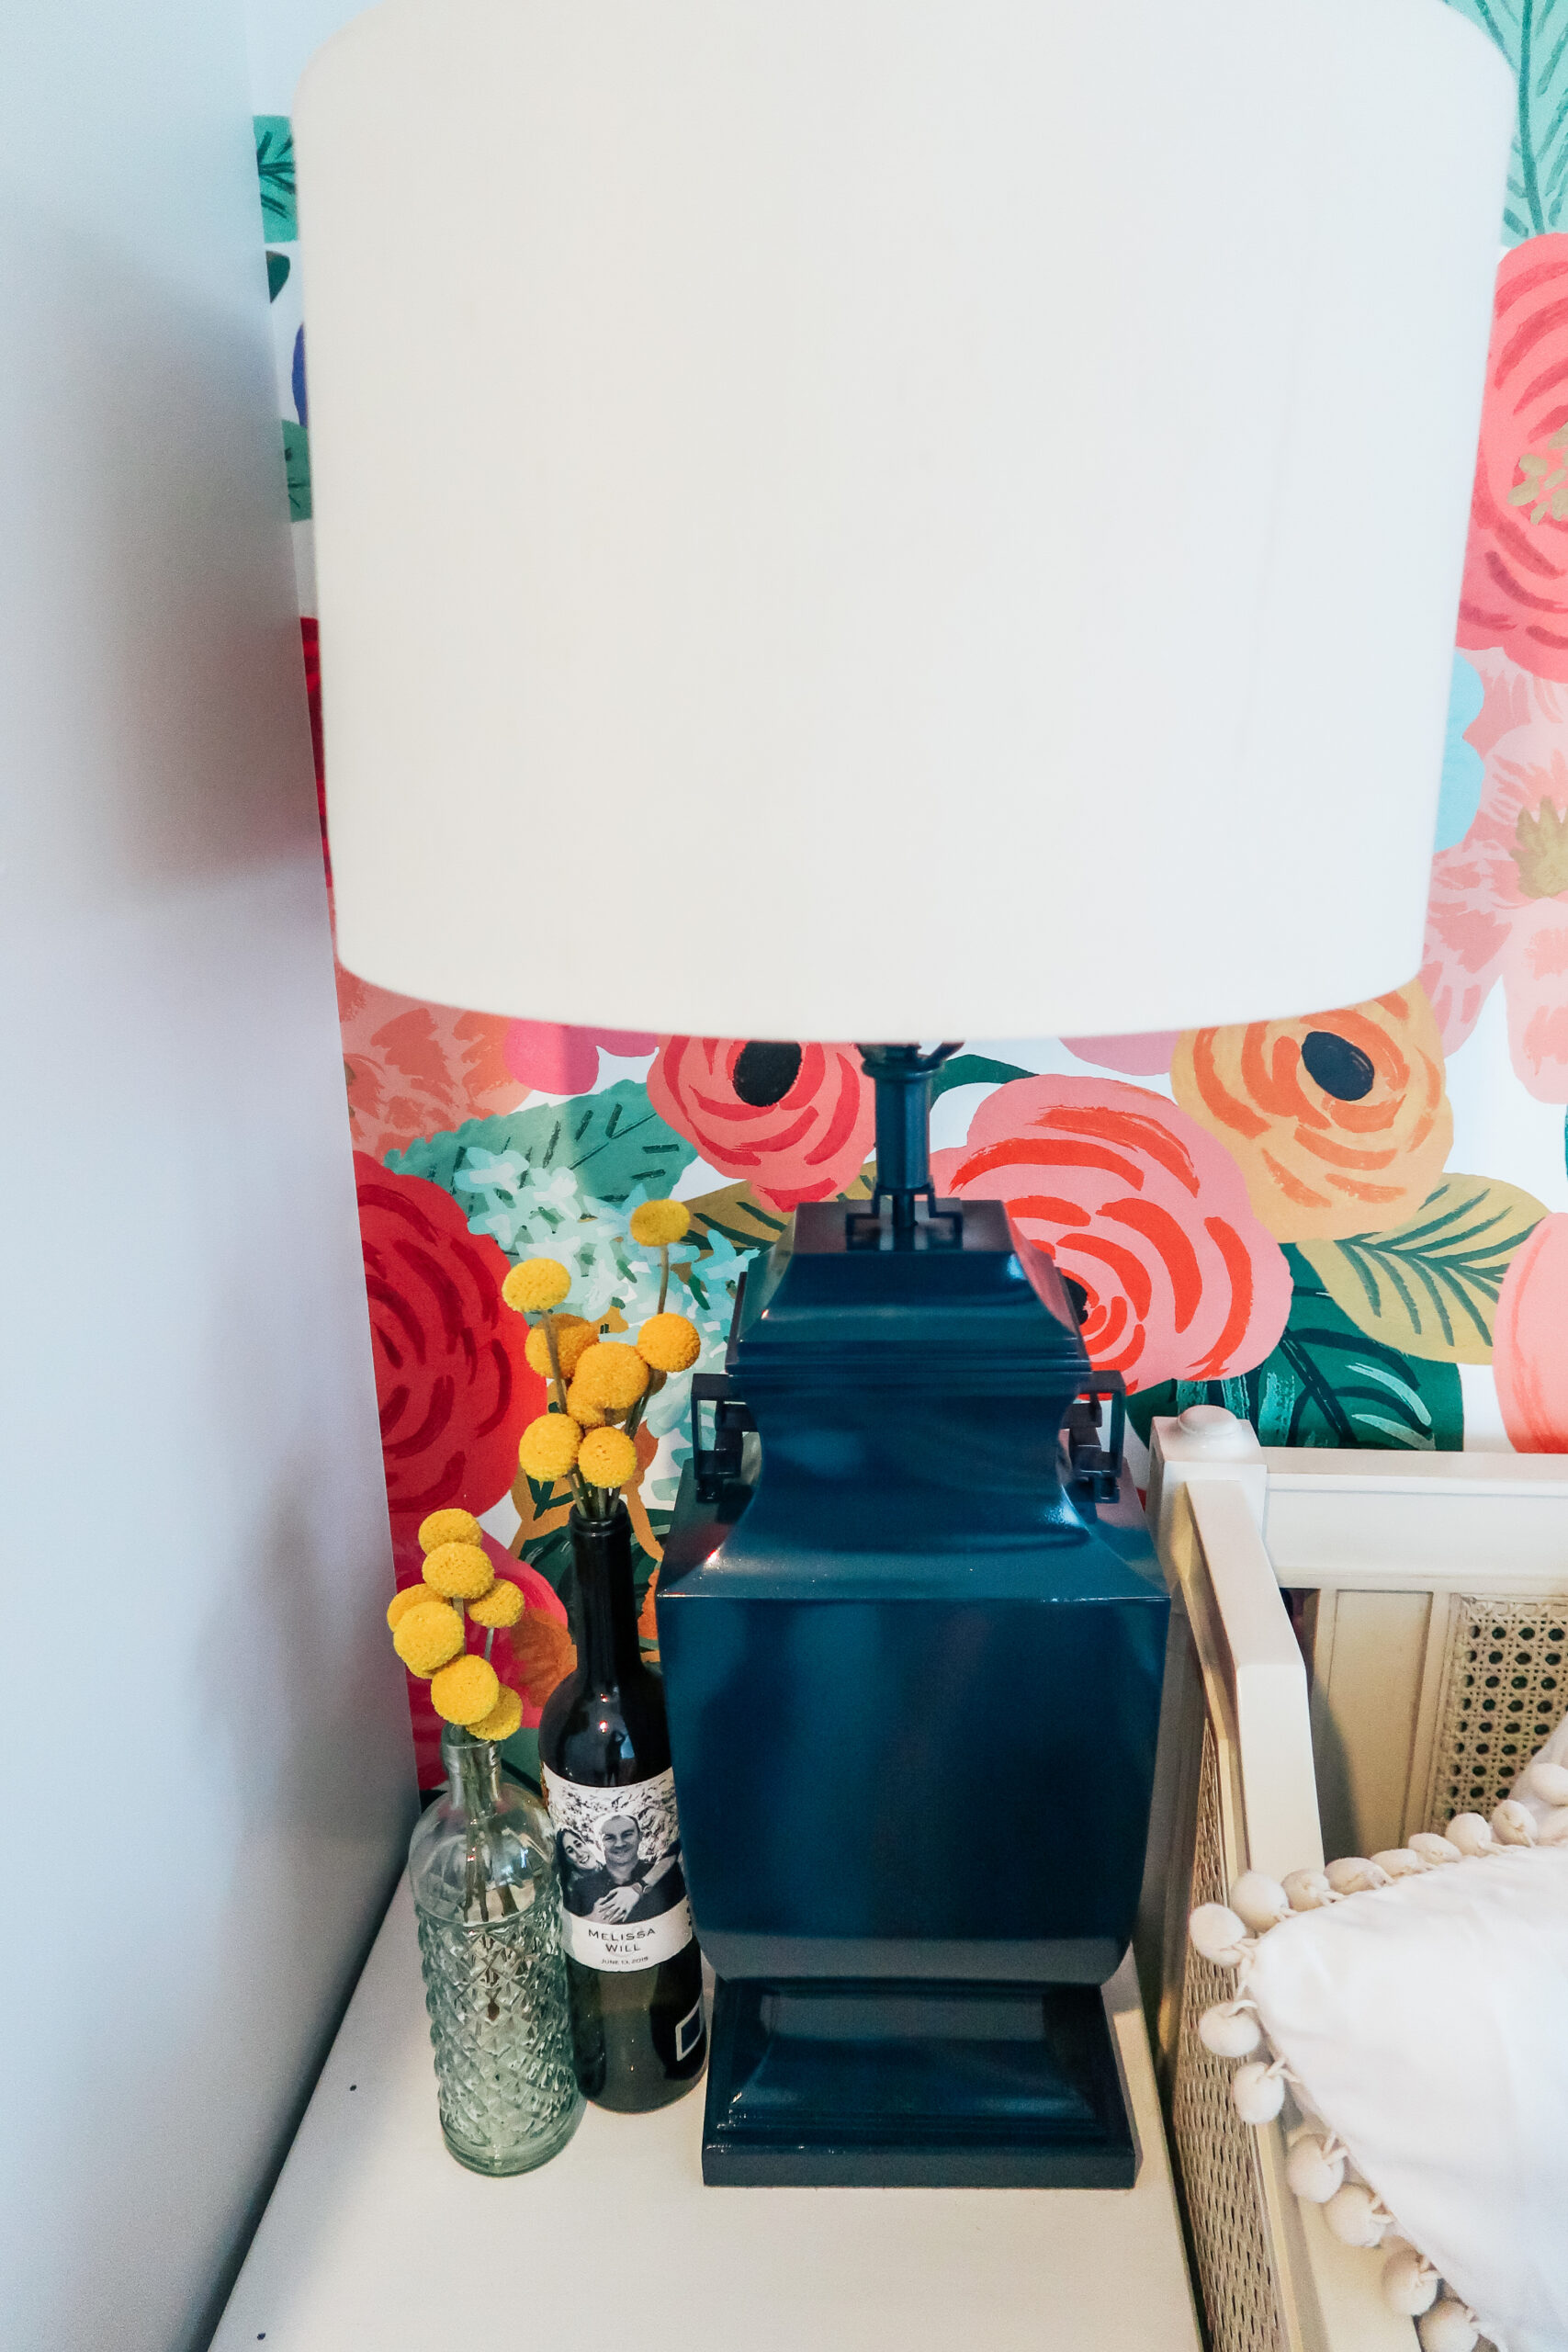
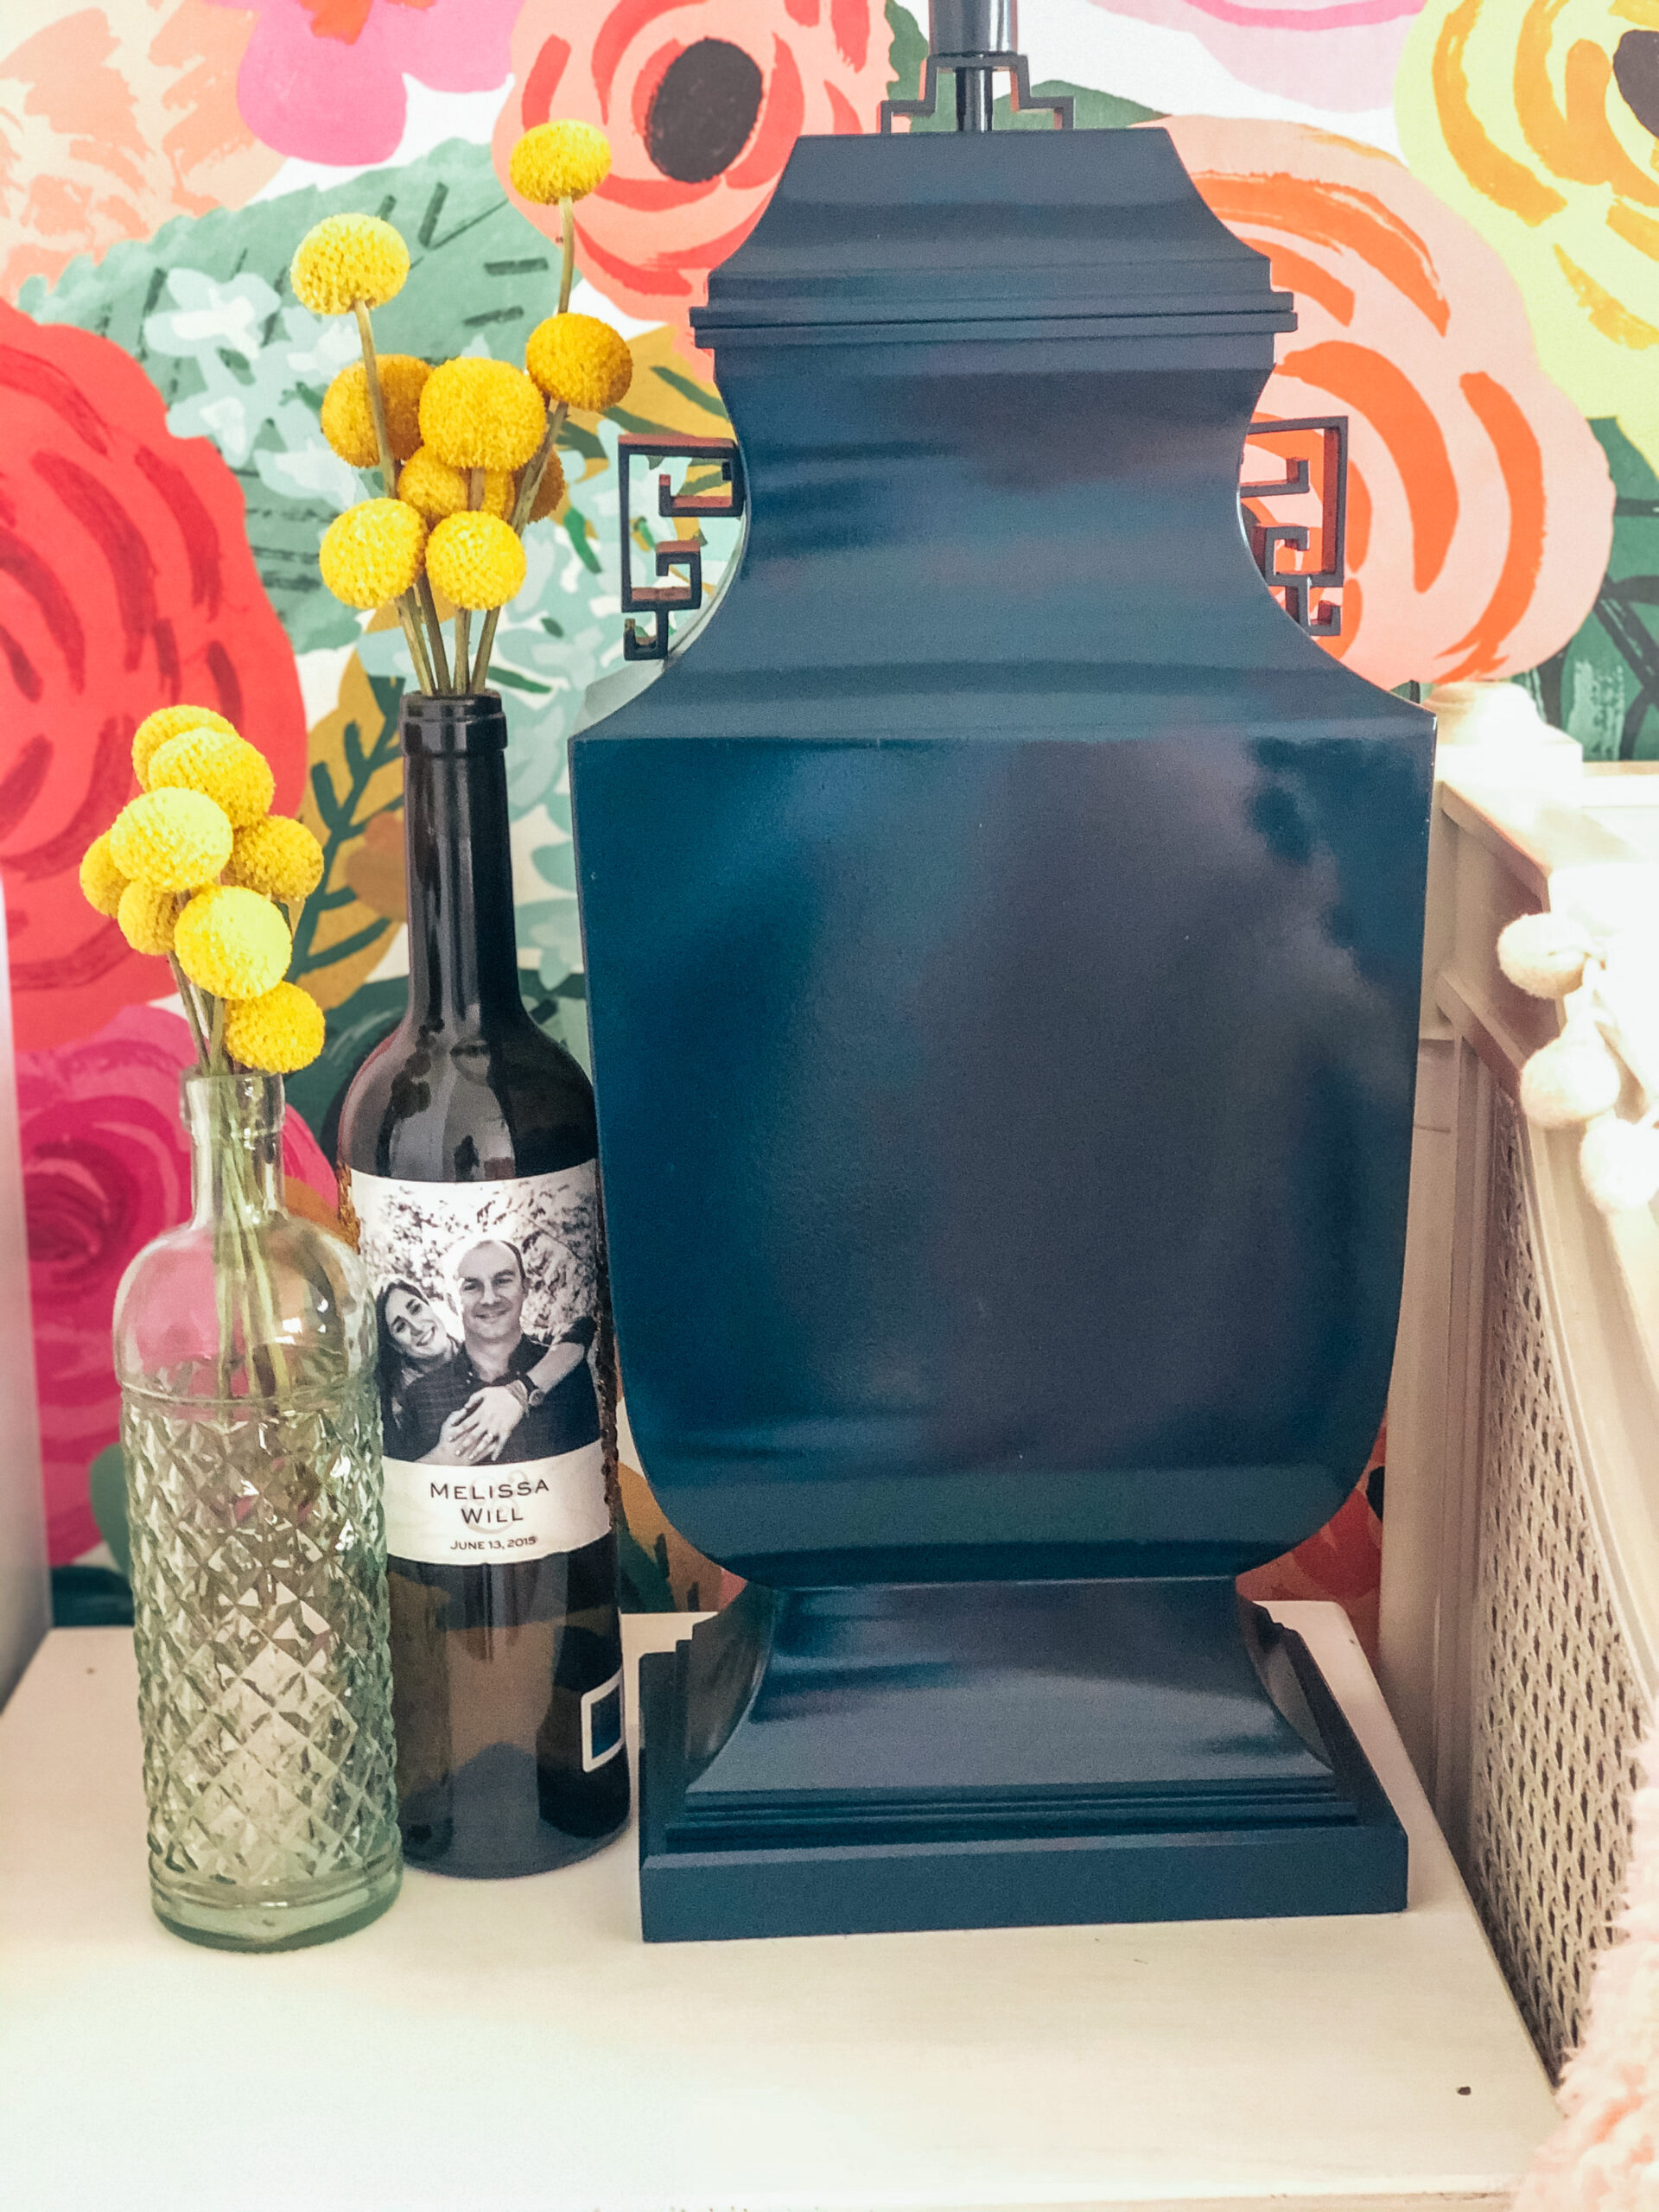
Lacquer spray paint is kind of an unexpected upgrade to something, but I absolutely love how this turned out. Especially since the lamp was an old, brass, lamp that was in my grandmother’s den since before I was born, and for as long as I can remember. Brass lamps aren’t really my style, so I love that I could update a sentimental piece that no one wanted, and make it more modern so I actually would want to use it in a space.
I chose to use Belgium Blue (from Amy Howard) as the color for the lamp because it is such a versatile color. The lamp also gave me asian vibes with the detail on the sides, so I thought blue would make it more chinoiserie chic.
I had these bottles lying around too, and thought they’d be a fun little accent on the side table as well. The wine bottle was used at our wedding reception back in 2015 (you can custom create your own labels on Etsy), and the flowers in the bottles I saved from Mattie’s 2nd birthday. Billy Buttons are the best dried flower for arrangements because they are fun and so durable!
Ship’s Tip:
If you want to use a lacquer spray paint for a project I would advise you to keep it to smaller projects like lamps, vases, etc. I lacquered a bedside table for Greta’s big girl room because I thought it would look modern than just using Amy Howard’s One Step Paint, and even though the bedside table was small, the project ended up being a little more pricy than I would have liked with all the paint that I had to layer on there. Granted, I did spray paint inside the drawers and everything, but still, don’t make my mistakes and keep your lacquer projects smaller than an end table.
You can shop Amy Howard Home Paints and more HERE!

BEFORE AND AFTER
Here’s a final before and after so you can see it side by side! There is one more piece (a small, roll top desk that I need to finish painting) that I plan on adding to this room, but I wanted to share the progress so far. I also plan on adding a name sign to the wall opposite the accent wall, but I cant decide what to do! I’ve gone between the round name signs, just a regular, wooden script, or doing a custom neon sign. What do you think I should do!?
You can help me out by leaving a comment to let me know what you think!
And the other question is, what should I do with this old bed!? I bought it for under $100 from Craigslist way back in the day… Do people even still use Craigslist? For legal things that is… LOL. Anyway, I’m torn between just selling it, or trying to make it into a bench which is a project that I’ve always wanted to try. Please comment and help me decide!
SHOP
[show_shopthepost_widget id=”4726969″]
I hope you enjoyed this post! As always, feel free to leave me a comment to let me know what you think. And also, hop onto your IG and give me a follow @ShipsHQ. Cheers! XOXO


Recent Comments