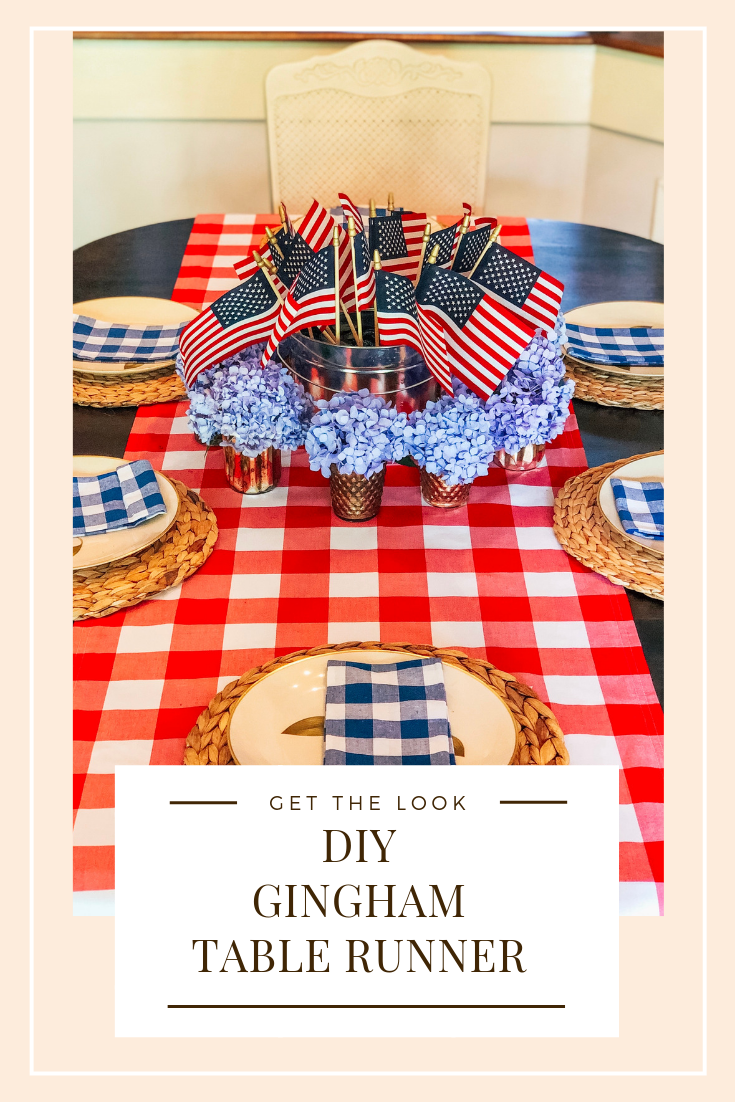
I recently made a purchase of some fabric from fabric.com for a reupholstery project, and threw in an extra, red gingham to make some seasonal items (with one of my favorite top, timeless fabric prints). I made a new table runner just in time for Valentine’s Day, and wanted to share how to sew a “neat corner,” so you can sew your own table runner if you want to customize something for your home. I was able to do this project in under one nap, so this is something quick, and easy for anyone!
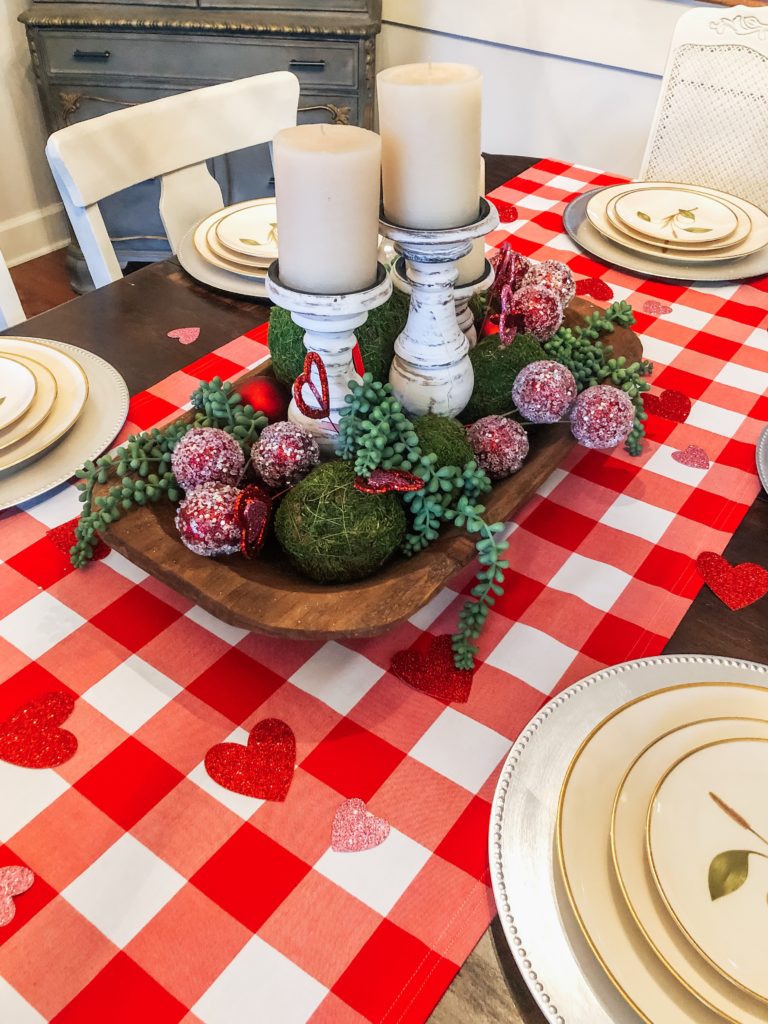
Candle Stick Holders: Wayfair | Red Gingham Fabric: Fabric.com | Chargers: Wayfair (Now 73% Off!) | Bread Bowl: Amazon (Under $25!) | Moss Balls and Confetti Hearts: Amazon | Additional Bowl Sprays: Hobby Lobby
Find affordable dough bowls here:
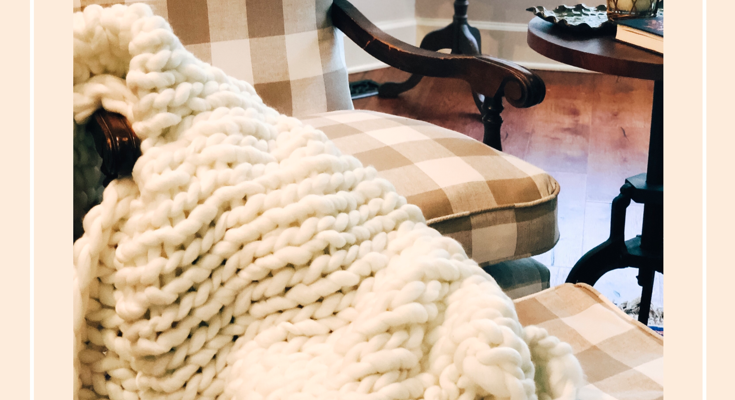
What do you all think? I thought the red gingham would be fun for Valentine’s Day, during Christmas, and for the occasional Italian night!

HERE’S WHAT TO DO:
- Determine the width and length that you’d like your table runner to be depending on your table size, and cut your fabric with an extra 1, or 2 inch hem (since I used gingham fabric, I just used the square pattern as my guideline for a hem).

2. Cut your fabric, and then iron your hem lines. If you’re doing a 2″ hem, fold your corners in 2,” and iron the fold. Then iron the four sides of the hem 1″ in at a time. You want to fold the hem in twice, so no fray will show on the under side of your runner. My corners did not end up perfect (probably because I was just using the pattern as my hem guideline instead of measuring properly), but it was neat enough for my own, personal use.
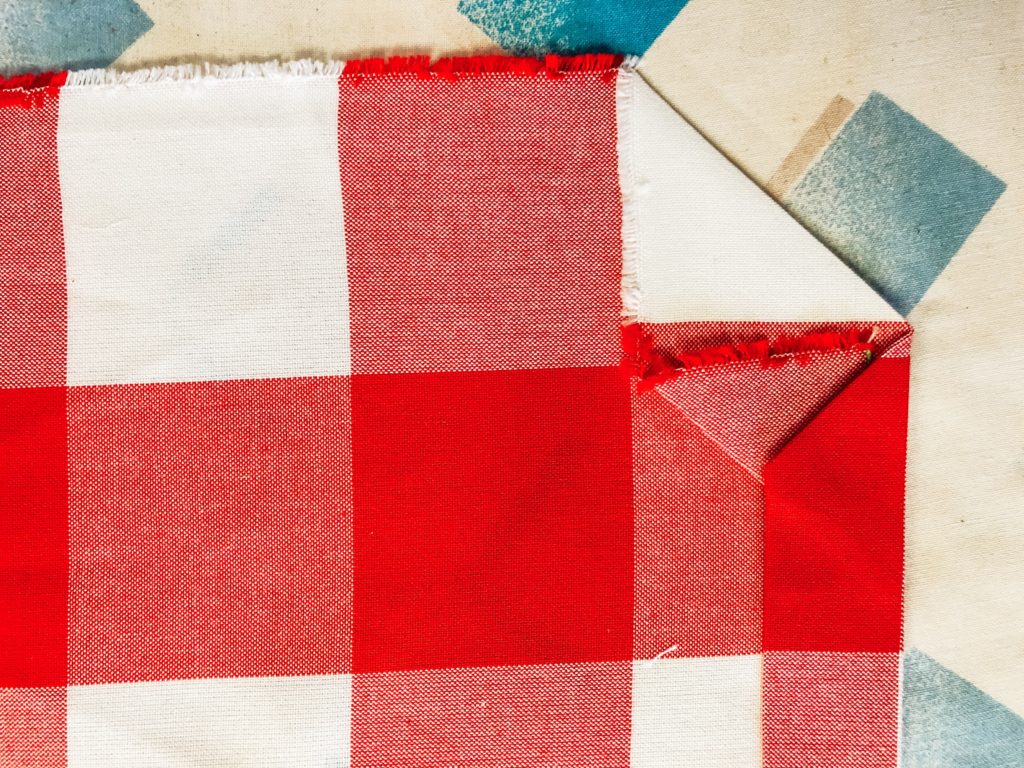
3. When you’re done ironing everything down, you might have to tuck in part of the corner fabric, like I did here so there are no frays showing.
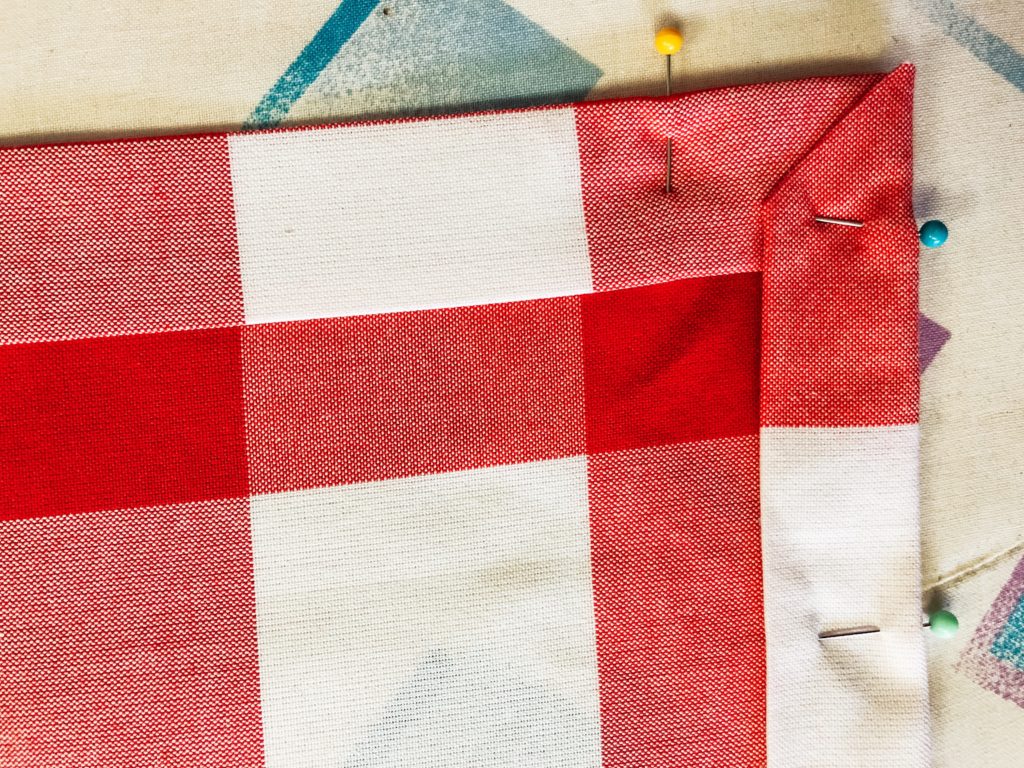
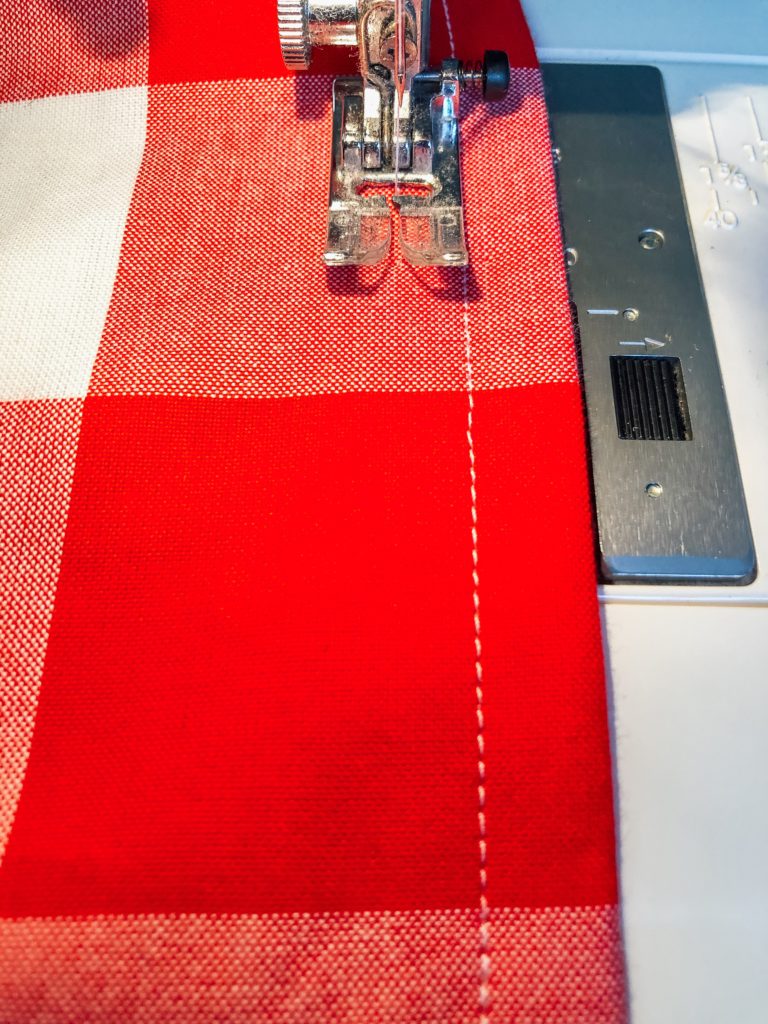
4. Pin everything down, and then get ready to sew your hems into place. I doubled up on a runner stitch around the edges of the hem for extra durability when washing. Iron your finished project, and set your table!
Very Easy! Here is another tutorial for sewing a double fold hem, in case my description, and pictures were not technical enough (I am just self-taught in sewing).
Can’t find the time for sewing projects? You can find some affordable, GINGHAM TABLE RUNNERS (in multiple colors too!) HERE.


I hope you have a happy Valentine’s Day!
What other kind of home D.I.Y projects would you like to see on #ShipsHQ!? Be sure to SUBSCRIBE so you can get all my DIY’s straight to your inbox!
Cheers,
Ship


Recent Comments