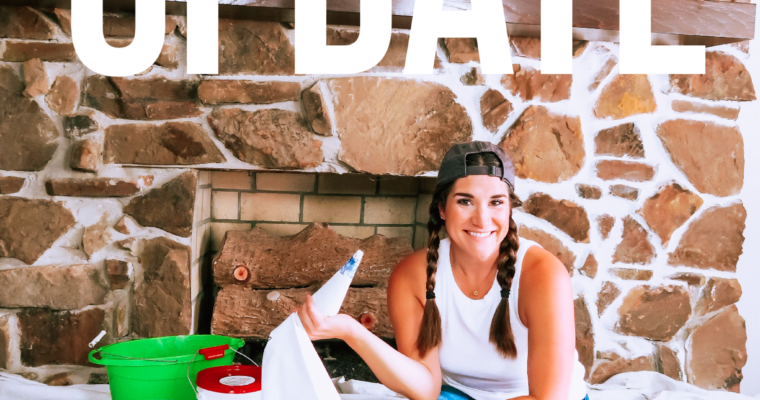
If you don’t know by now, I love a good DIY project. With the start of spring (and with the extra time spent at home from the Corona Virus), I have been getting busy with some new projects to update my space. One of my favorite DIY’s is to update something old with a new coat of paint. There’s nothing like bringing new life into something old, right!?
Disclaimer: If you purchase something from a link provided in this post I may earn a small commission from your purchase. Ship’s HQ appreciates your support and thanks you!
Whenever a new project idea pops in my head for an update that I want to do in my home, the first thing I do is try to think about if there is anything around the house that I can use and repurpose for that project. Over the years we accumulate so much stuff (and often forget about it), it’s great when you can bring new life to something that you used to love just by shopping at home. The projects I’m sharing today, I did with some pieces that I already had lying around the house.
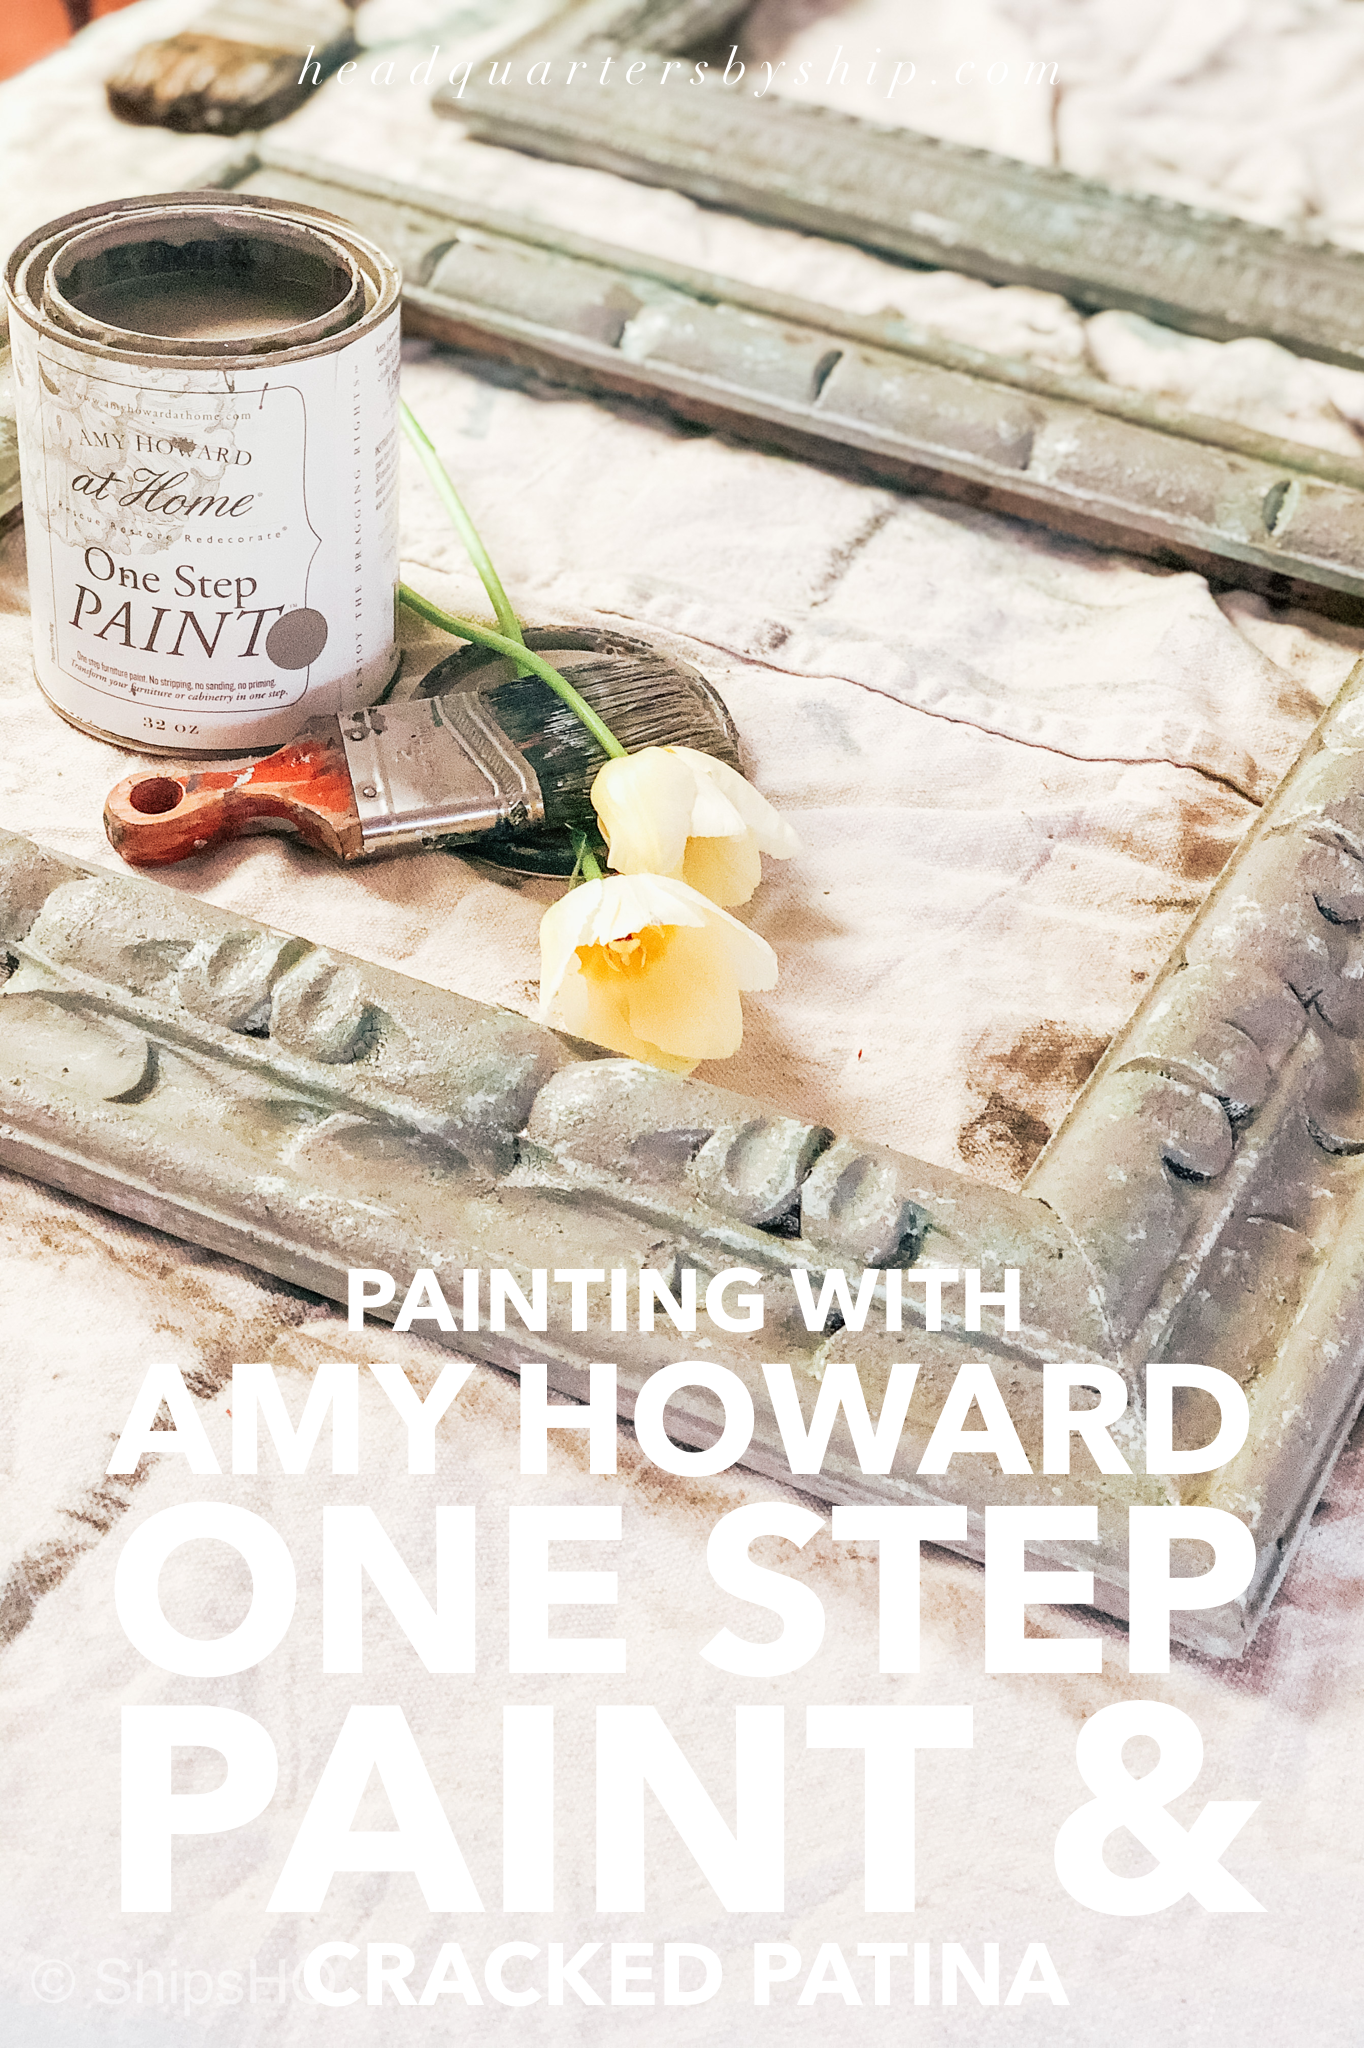
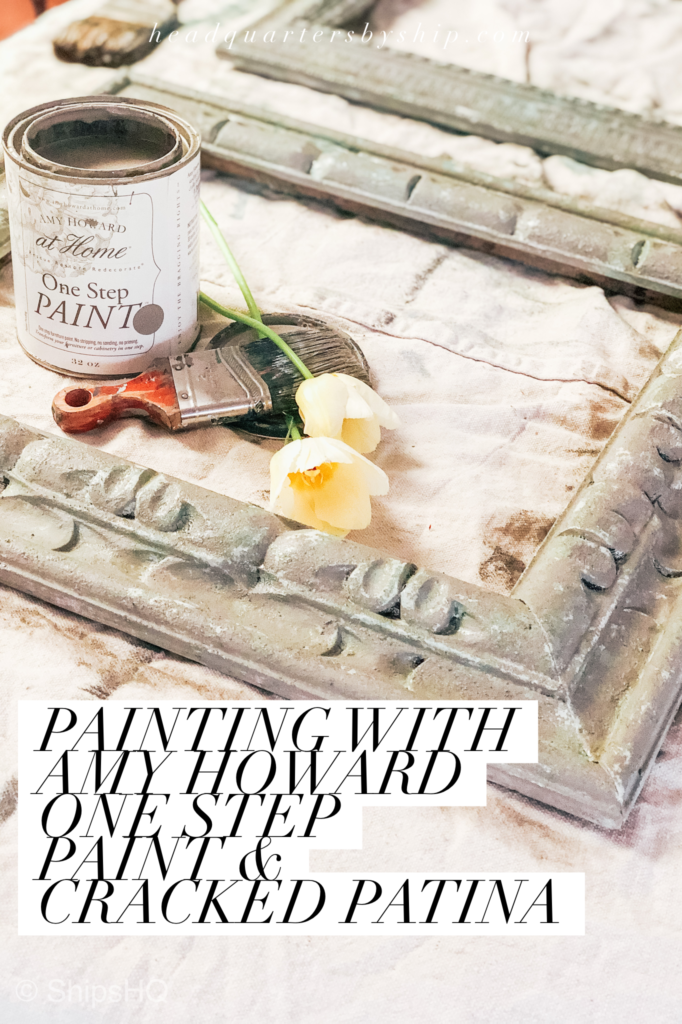
One of my favorite ways to bring new life into something is with a fresh coat of paint. When I’m updating pieces of furniture or decor my GO TO paint that I love working with is Amy Howard’s One Step Paint. But did you know that Amy Howard at Home offers more than just paint!? She has an AMAZING line of products that can help you achieve almost any kind of detailed finish you want. If you’re looking for that old world, Restoration Hardware type look, but want to achieve it at a fraction of the cost of buying retail, I would recommend trying some Amy Howard products.
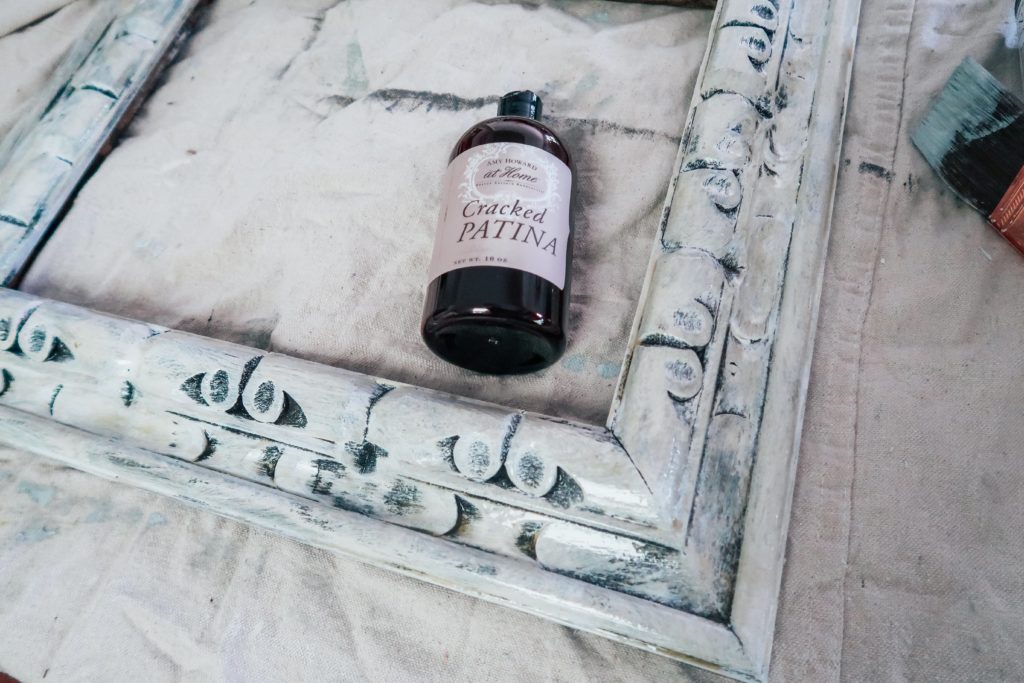
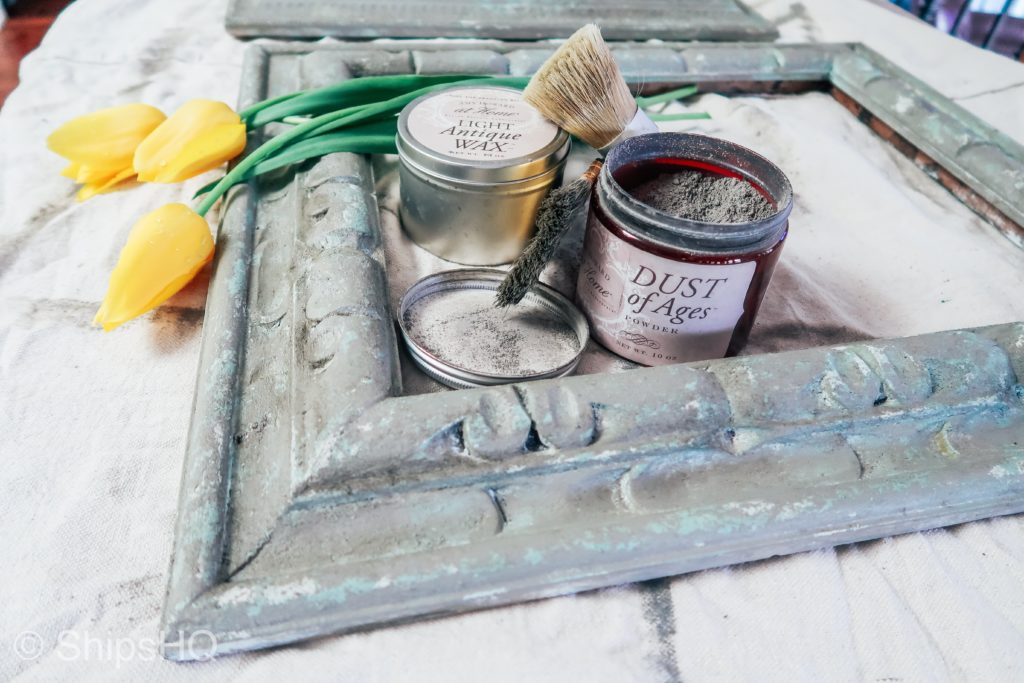
I recently have been working with her CRACKED PATINA and am sharing my results on the projects I have been working on lately. I painted a couple frames to hang up in my house, and also re painted some dark colored urns and gave them an aged, cement look. KEEP SCROLLING TO SEE!
In addition to the beautiful colors and amazing finishes offered with Amy Howard At Home products, I just love that her products are EASY TO USE too! If you don’t think you can do this sort of DIY project, I really beg to differ because I literally let my two year old help me with the projects featured in this post. Yes, maybe she’s only helping with some of the base coats, but with the finished product, I can’t tell where she was painting and where I was…
I decided to try the CRACKED PATINA because I had some pieces that I wanted to layer some paint on, but I wanted a richer and more authentic look than I had achieved in the past with just layering chalk paint and sanding. In addition to achieving a better finish, it also was a lot less work because I did NO SANDING AT ALL (except at the very end just to smooth things out a little).
WHAT YOU NEED FOR THIS PROJECT:
- Whatever object or piece of furniture/decor you want to paint
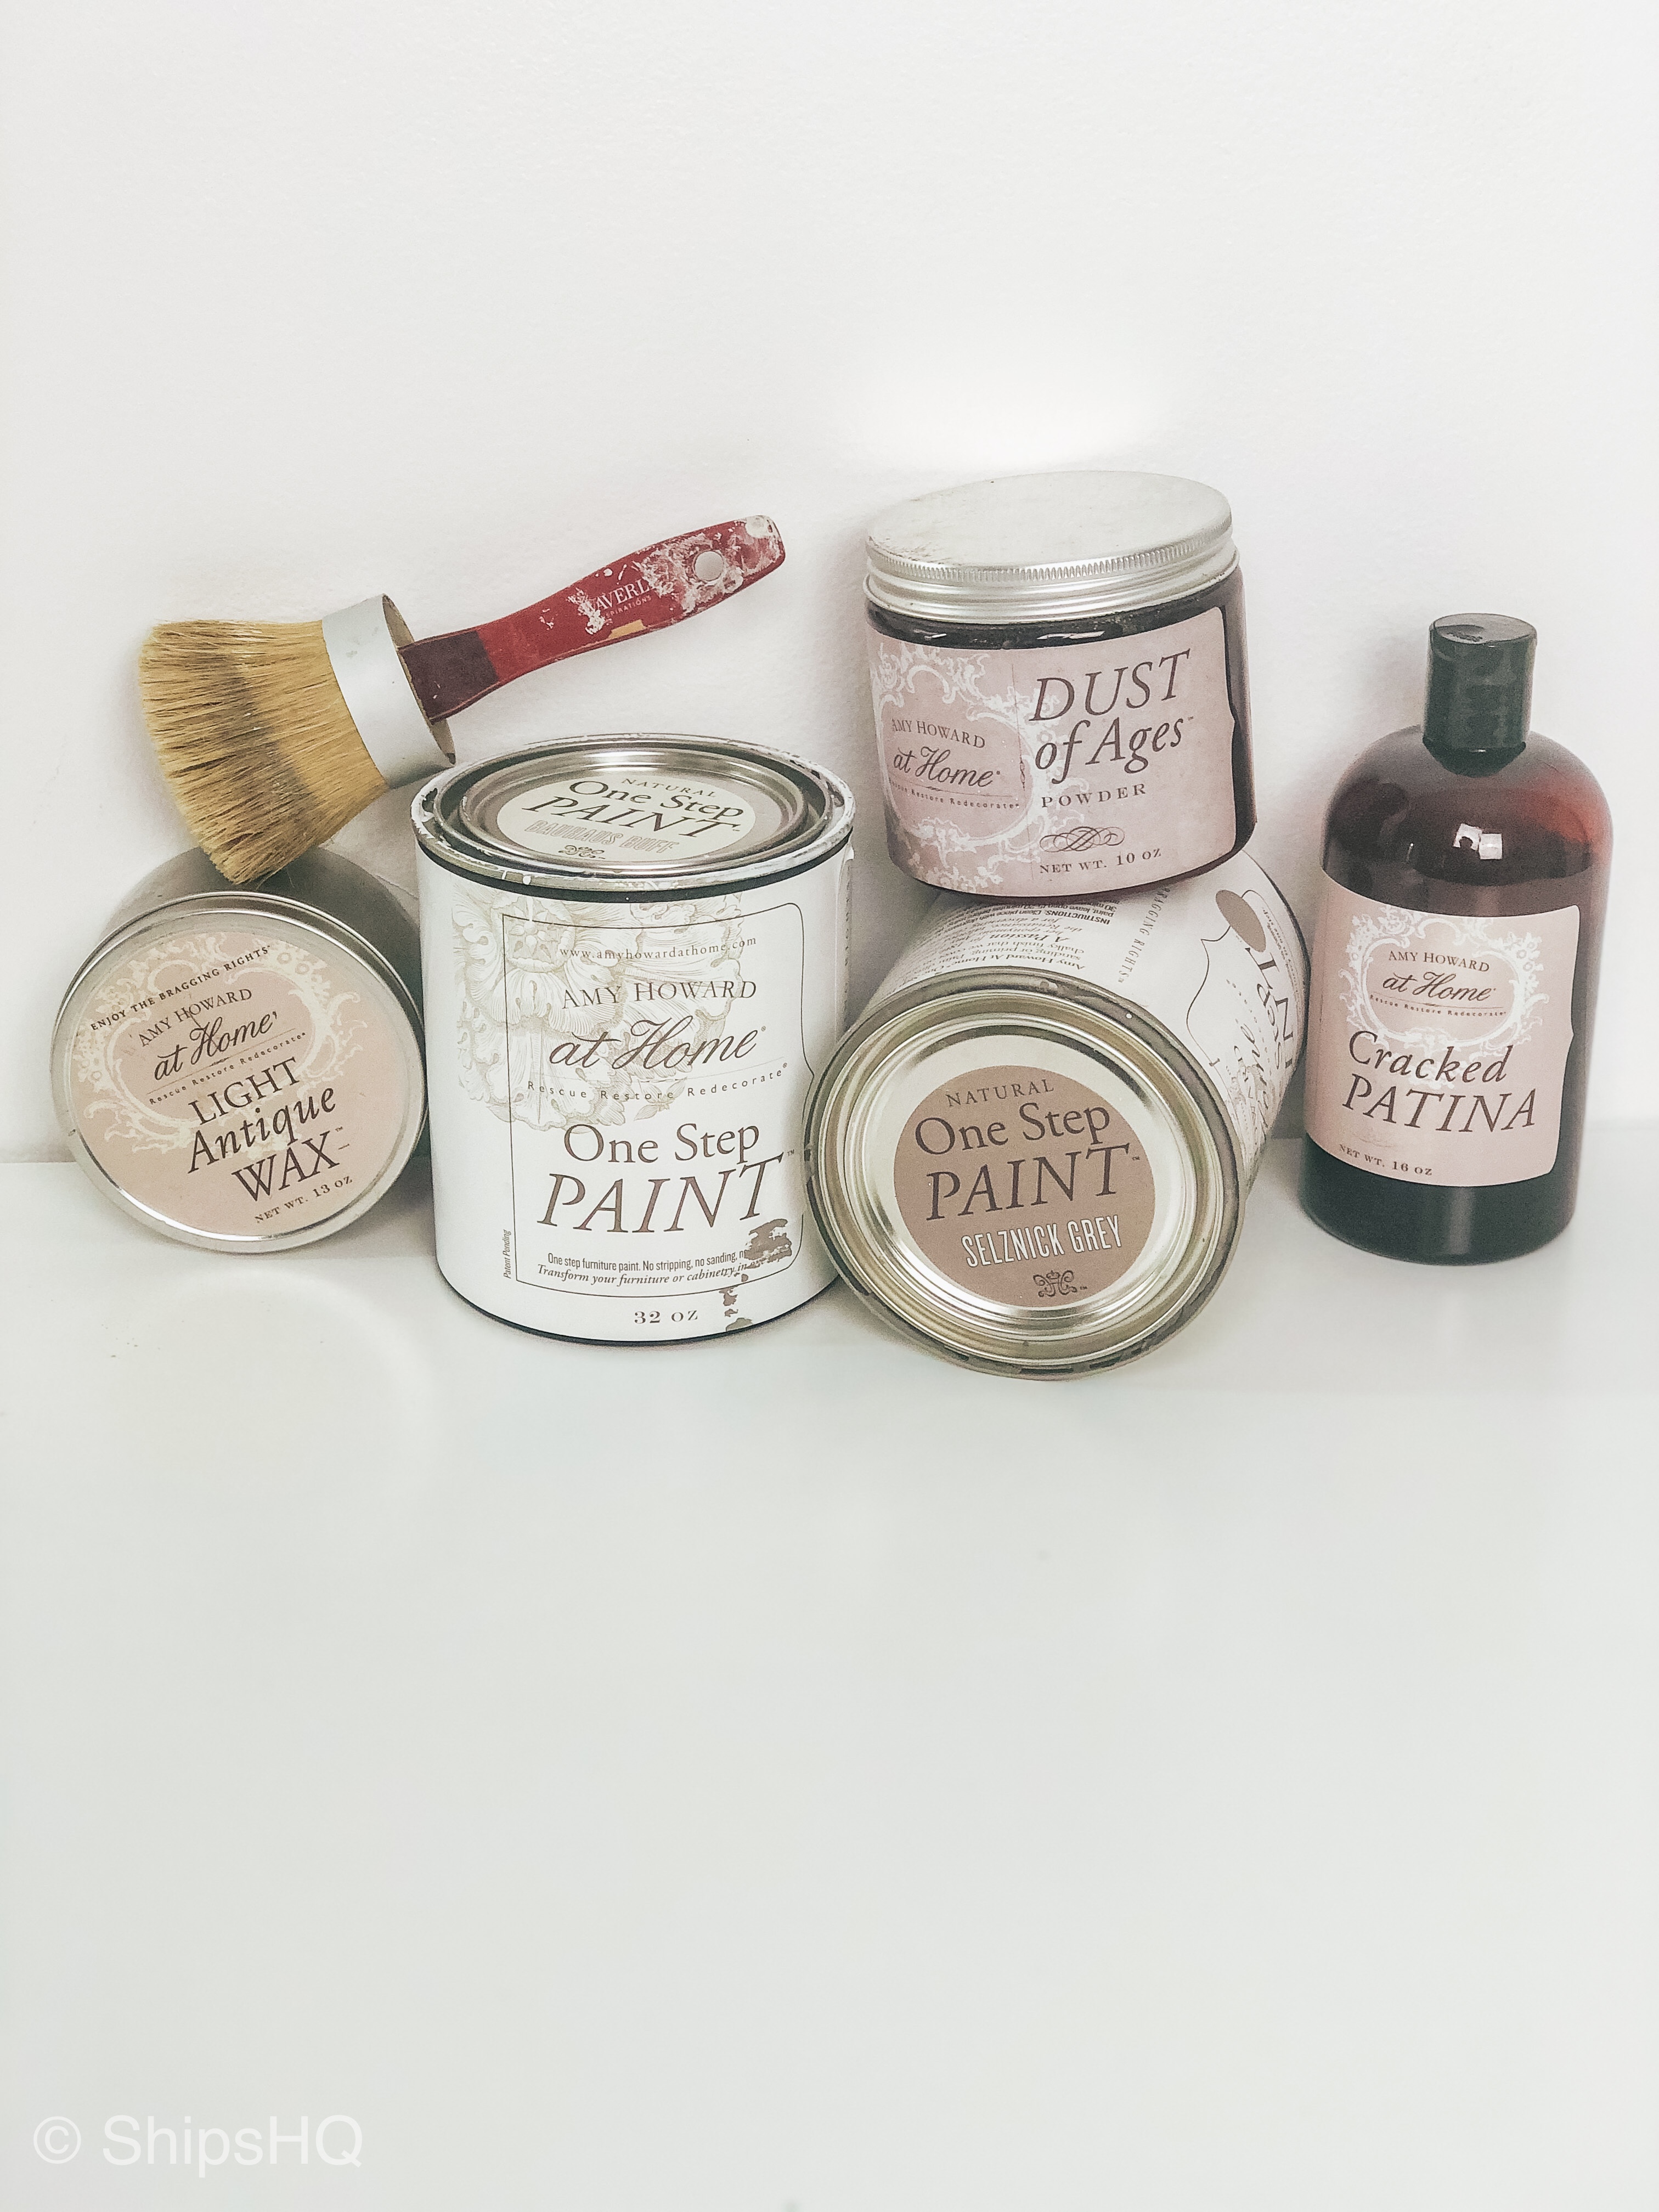
- Amy Howard One Step Paint in your desired colors
- Cracked Patina
- A few paint brushes (for painting and for lifting the paint off your object)
- Sponge Brushes
- Fine grit sand paper (for smoothing here and there)
- Light Finishing Wax
- Dust of Ages (Optional)
HOW YOU DO IT
First, you always want to start by properly cleaning whatever it is you want to paint. I like to use a TSP solution to clean furniture because it removes any dirt and grease that has built up on your object over the years. After having your clean piece, get all your supplies together and get to work!
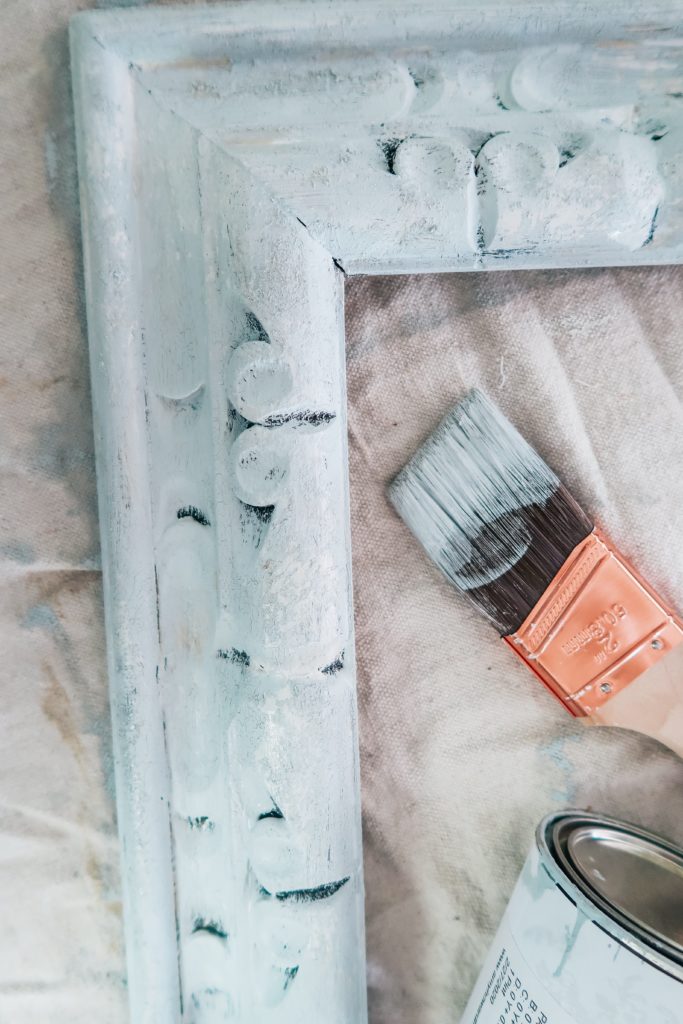
When you’re painting your object, Amy Howard recommends starting with the lighter colors first and layer darker as you go. All you do with the CRACKED PATINA is layer (or “sandwich”) the Cracked Patina in between each layer of paint, and lift some of the paint off before each layer of paint dries. I have linked Amy Howard’s TUTORIAL VIDEO BELOW so you can watch how to do it yourself, instead of me trying to explain it in text. It is always easier to learn by watching how to do something than reading about it, right!?
HERE ARE MY STEP BY STEP PICTURES SO YOU CAN SEE THE LAYERING PROCESS:
-
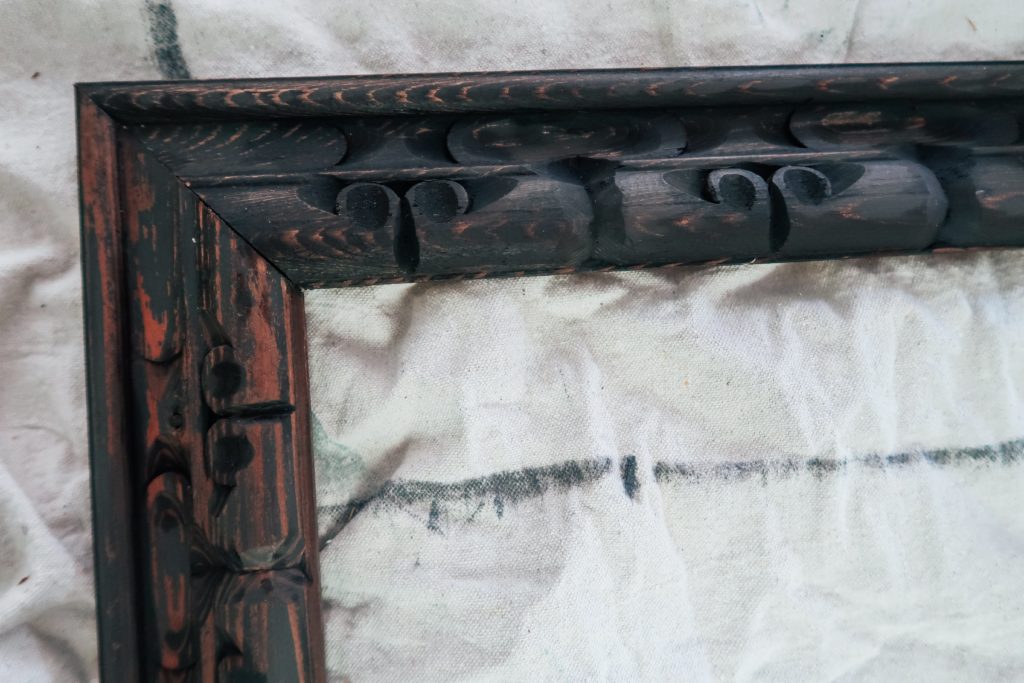
BEFORE -
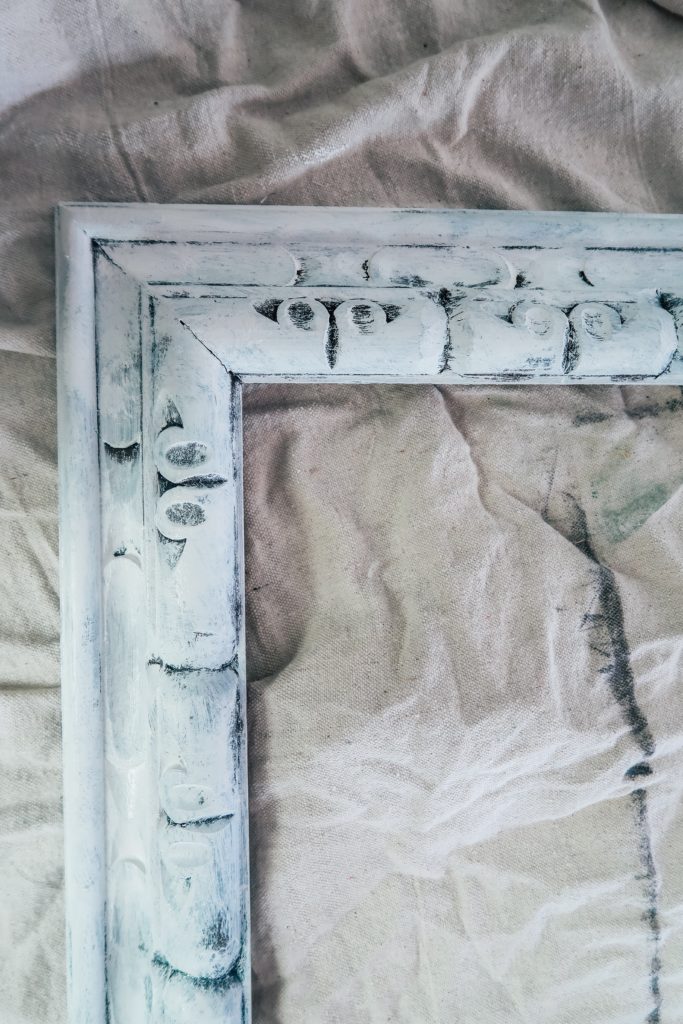
COAT 1: Weybridge White
-
CRACKED PATINA LAYER 1 -
COAT 2: Summer Regatta
-
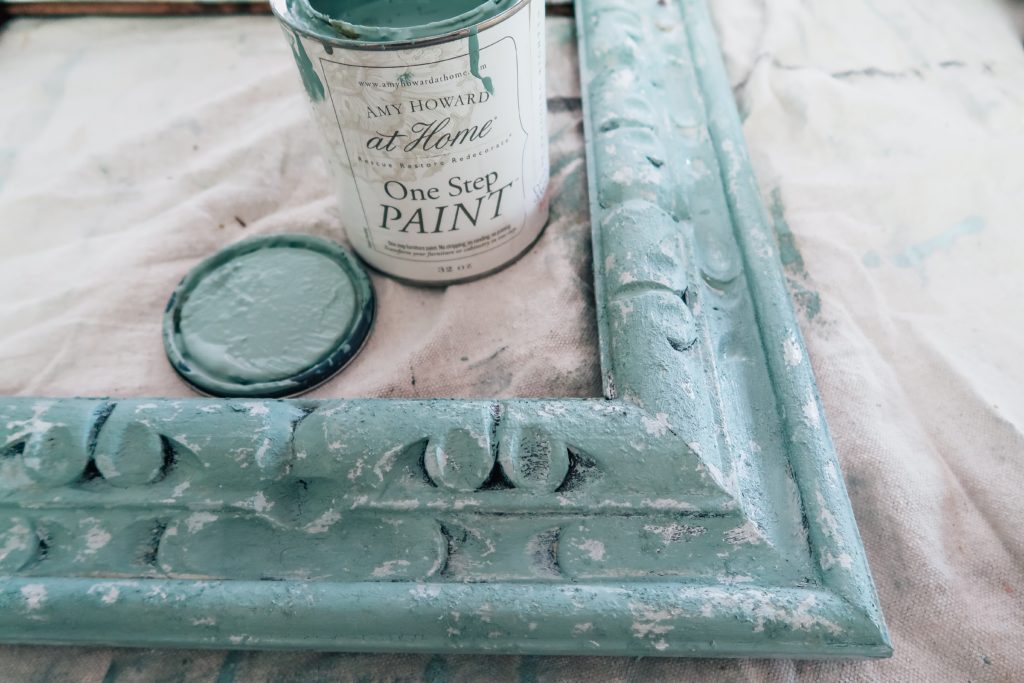
LAYER 3: Cartouche Green -
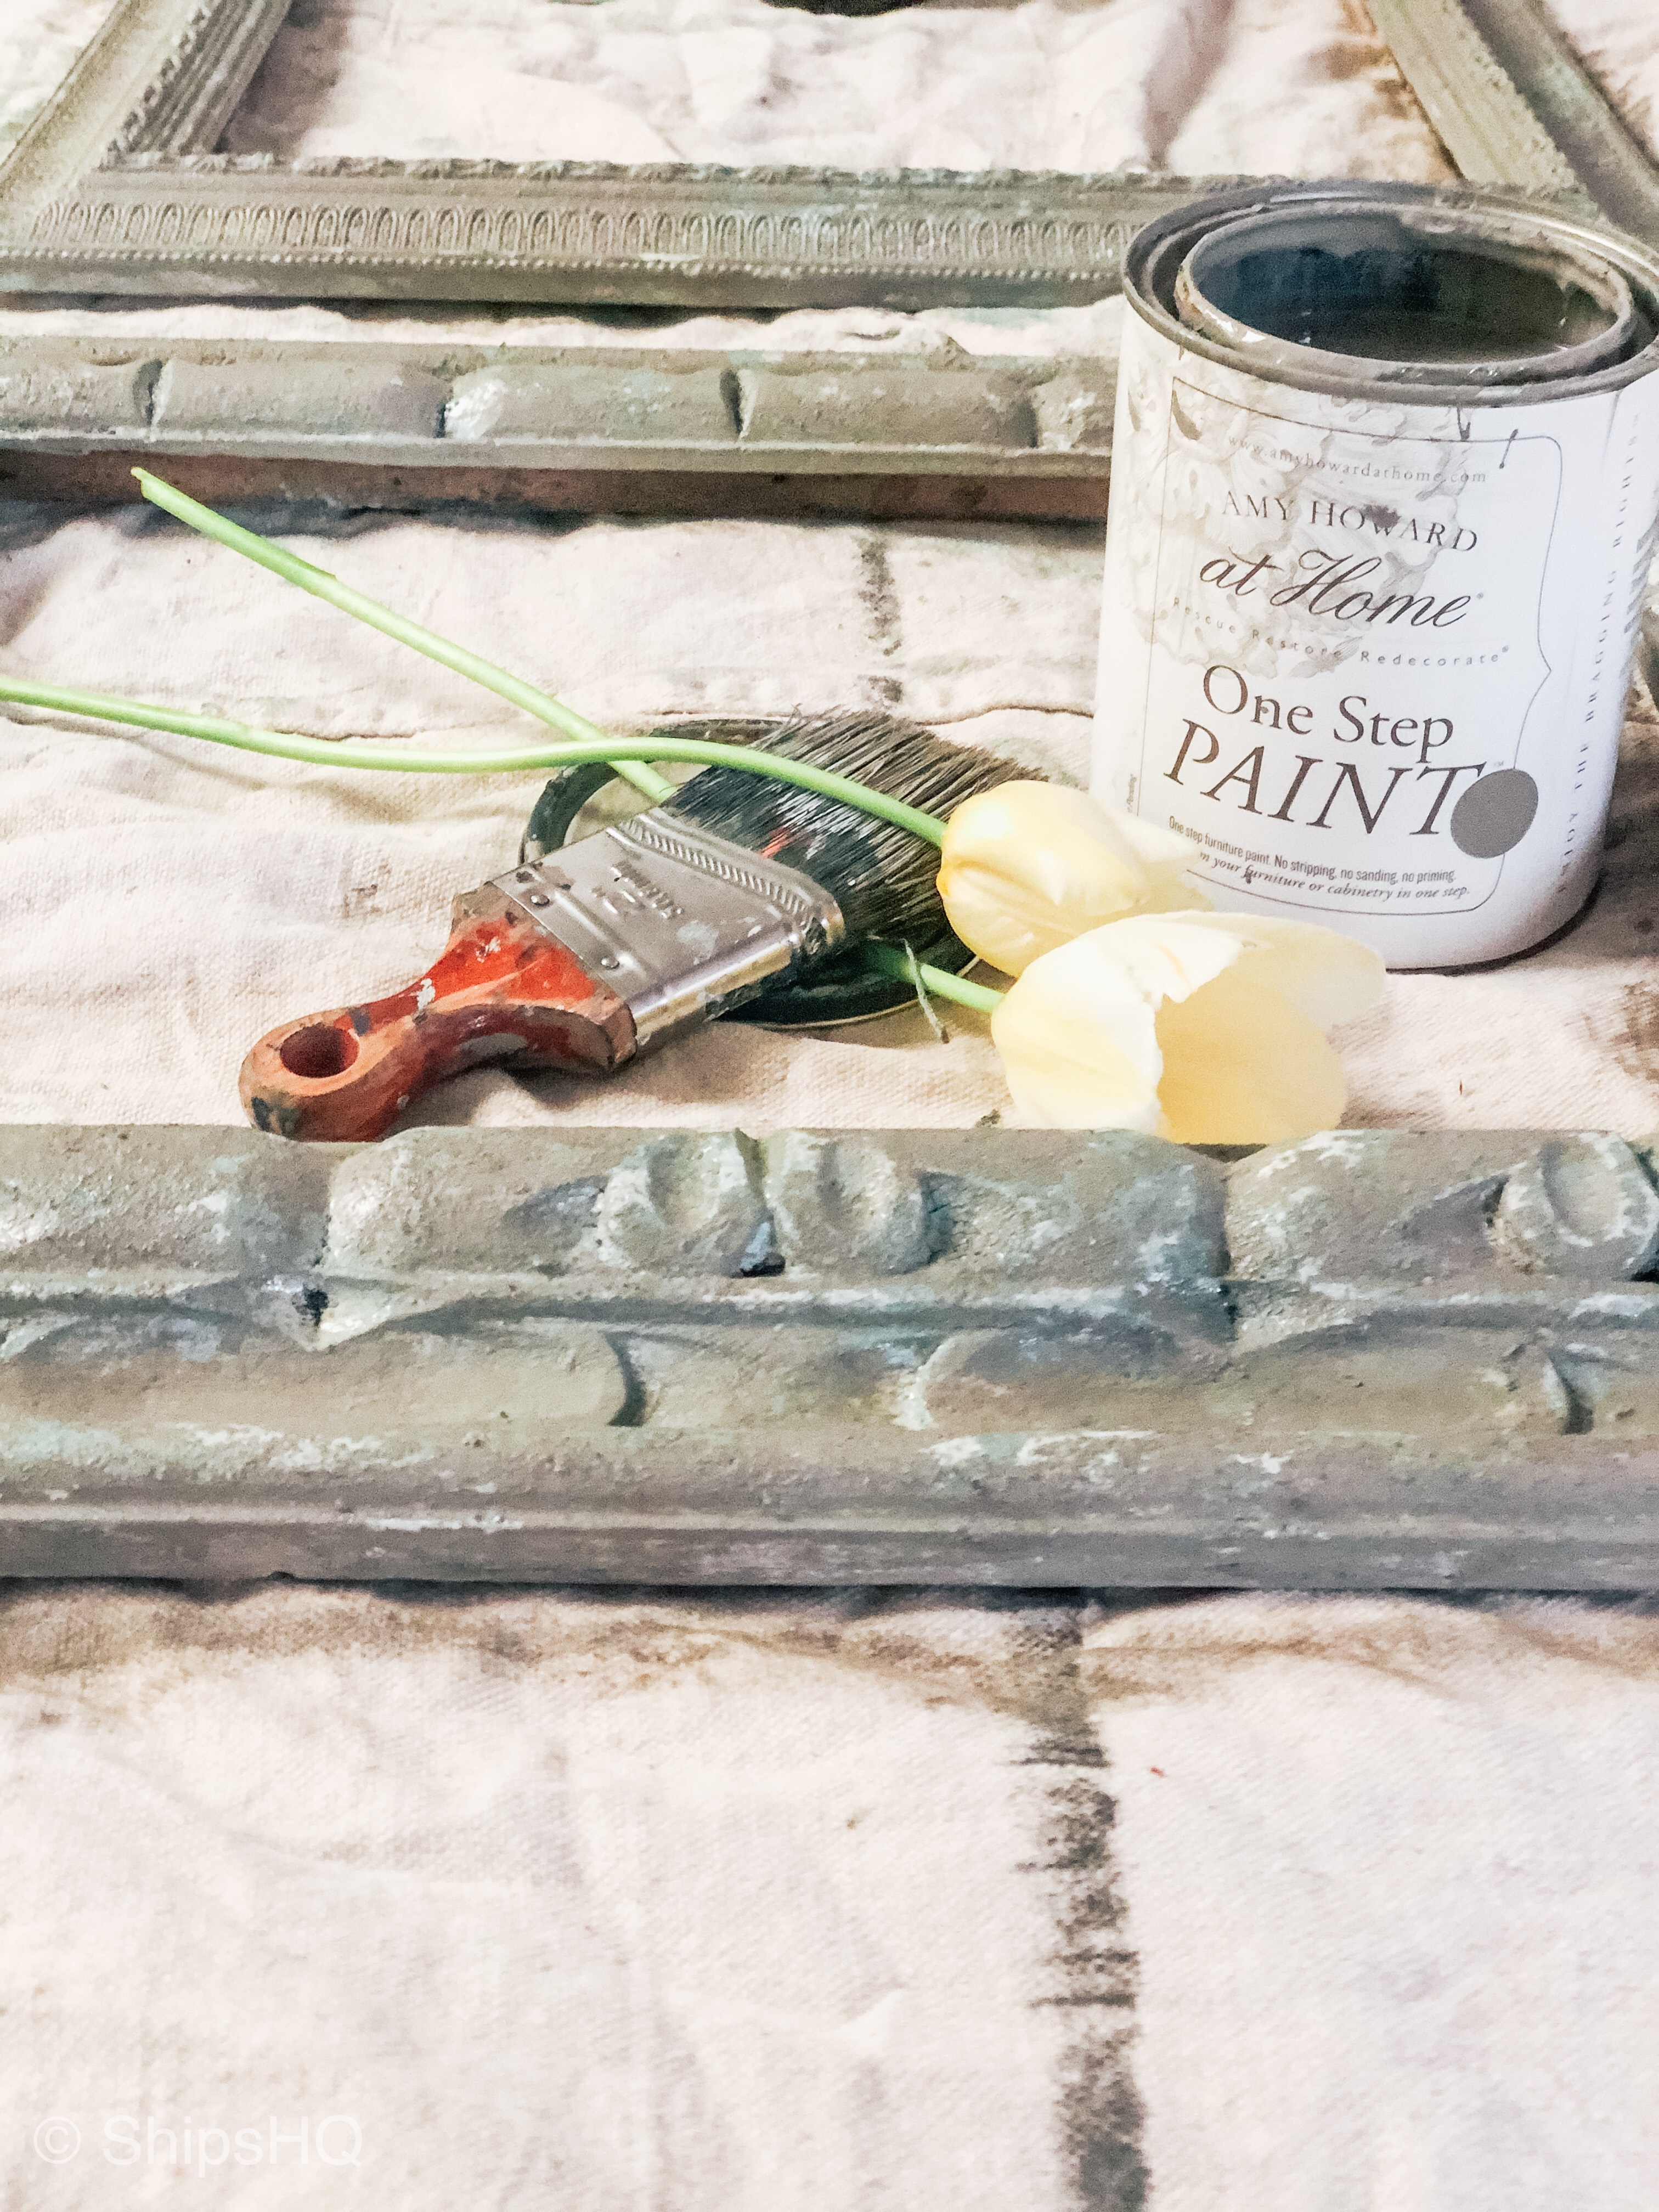
LAYER 4: Selznick Grey
COLORS USED ON THE FRAMES:
Weybridge White | Summer Regatta | Cartouche Green | Selznick Grey | Cracked Patina | Light Antique Wax | Dust of Ages
I am really in love with how my frames turned out. The Cracked Patina was really fun to work with, and it really helps you achieve an aged, chippy look that you can’t achieve with just layering paint and sanding alone. I have tried to layer and sand chalk paint in the past on dressers, and while they turned out great, they were not THIS GREAT.
Painting with Amy Howard at Home paints are so addicting, I can’t wait to get out and find my next piece of furniture or decor to bring new life to. One of the things I love most about Amy Howard’s One Step paints are that all the colors blend so well together. Not only is that great for layering paints, like I did with the frames, but it is also ideal when you’re updating different pieces in your home and you want color schemes to flow and match from room to room.
WANT MORE ON HOW TO DIY?
Find Amy Howard’s YouTube Tutorial HERE.
ANOTHER PROJECT
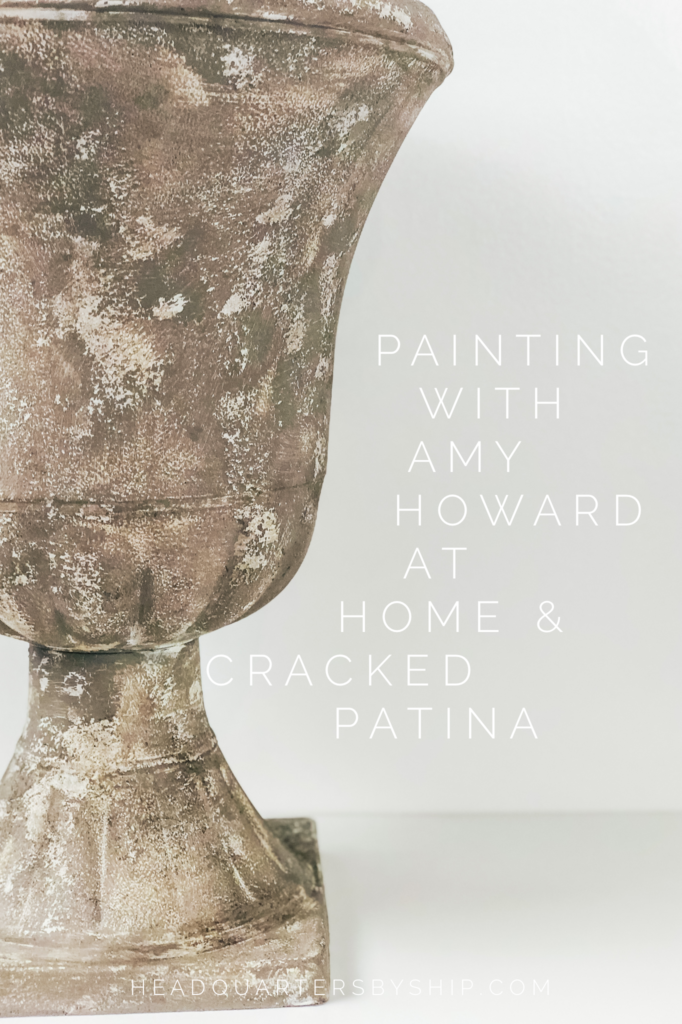
UPDATED URNS WITH CRACKED PATINA:
Prior to doing the frames, I practiced with the Cracked Patina on some urns that were given to us from Will’s office. I thought they had a great shape, but I was not really in love with the dark color. Especially since the exterior of our house is dark, I feel like we need lighter accents around the house to lighten things up.
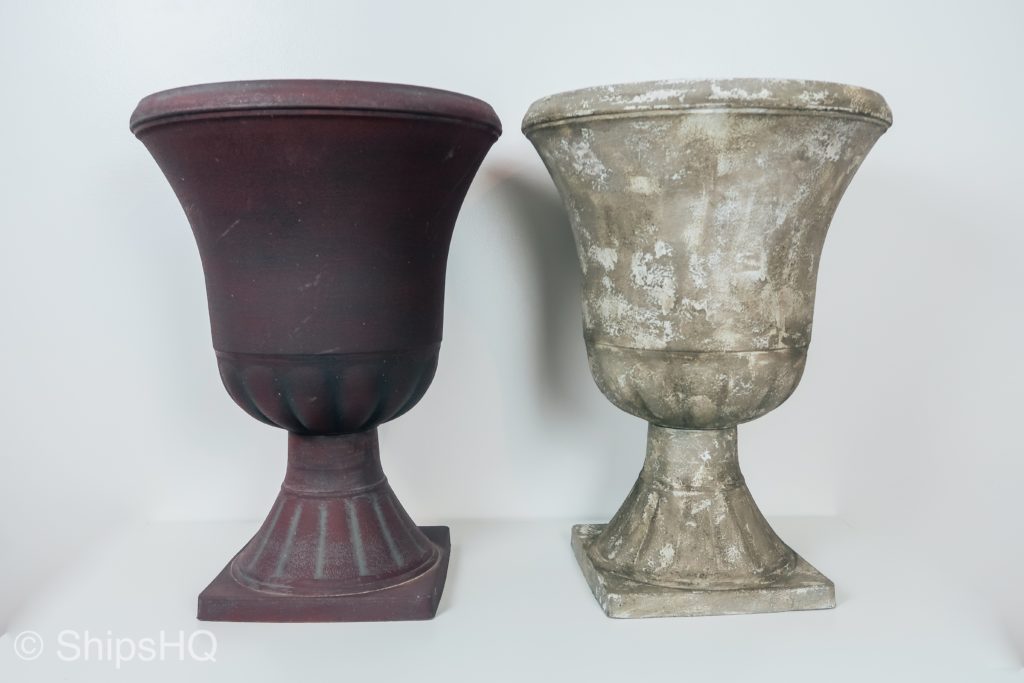
Cracked Patina definitely WORKS BEST ON PIECES WITH MORE DETAIL, but I think it turned out pretty good on the urns too. The layering of white and grey paint with the Cracked Patina really helped me get a more authentic and real looking finish then I would have been able to get if I had just tried to layer paint alone. I have just layered paint and used the Dust of Ages on some pieces, and they turned out well, but the Cracked Patina just adds that extra detail to give you a fabulous finish.
Products Used on the Urns:
Bauhaus Buff | Cracked Patina | Selznick Gray | Light Antique Wax | Dust of Ages
What do you think!? I love how these urns went from dark and dreary to a light and cheery! These really look like they’re made of cement, but its just a plastic urn. I can’t wait to fill them up with flowers and share some updated pictures once they’re looking EXTRA FAB.
SHOP THIS POST HERE:
[show_shopthepost_widget id=”3963393″]
The urns are going on my front porch because I think it’s time to switch things up from the galvanized metal planters that I have had out there the past couple years. Stay tuned to see a post on that with my spring and summer porch decor!
Are you local and want to update a piece of furniture, but don’t want to get everything to do it yourself? Feel free to DM me @ShipsHQ on Insta!
This blog is powered by BLUEHOST. Click HERE to learn more.


Recent Comments