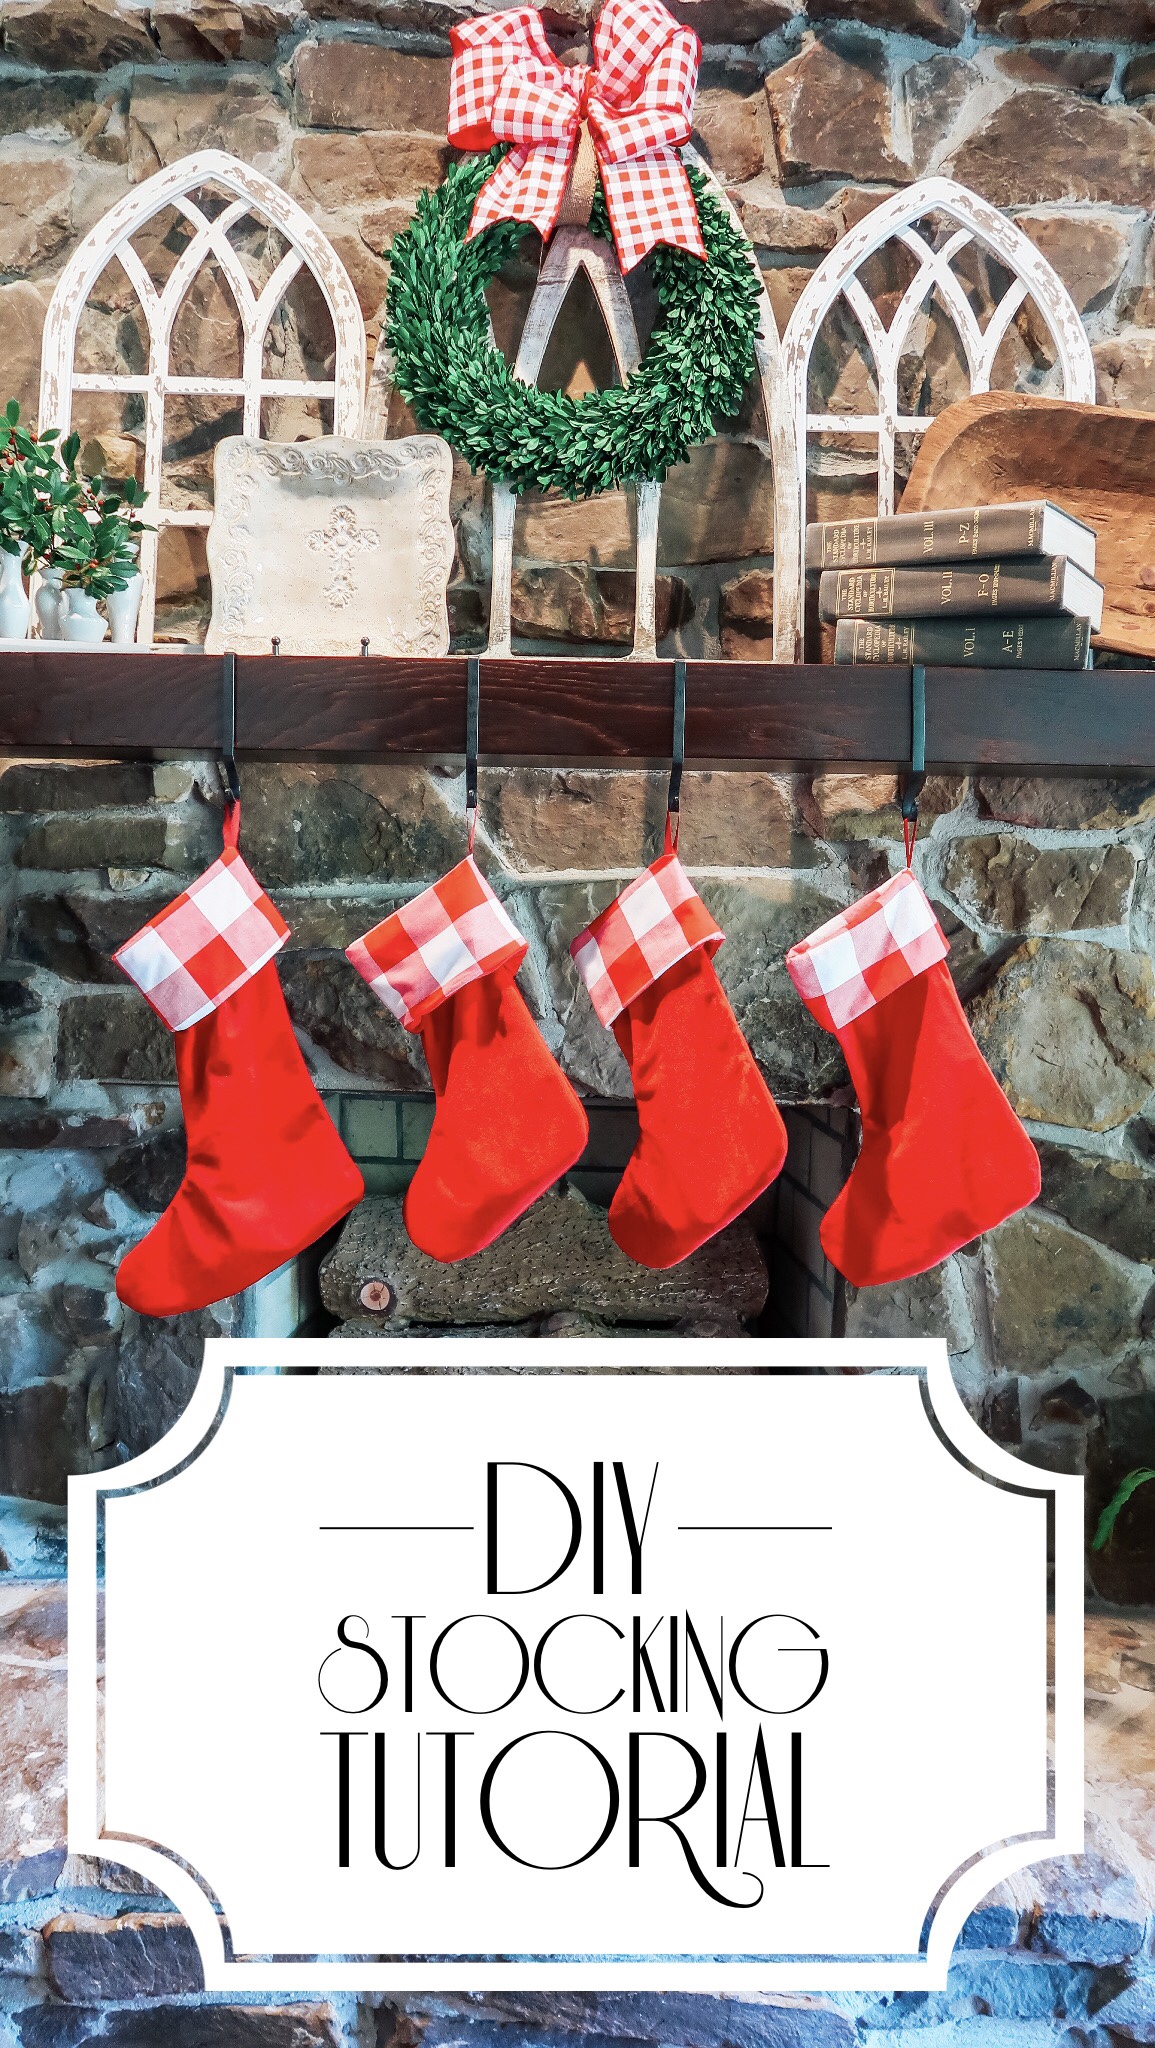
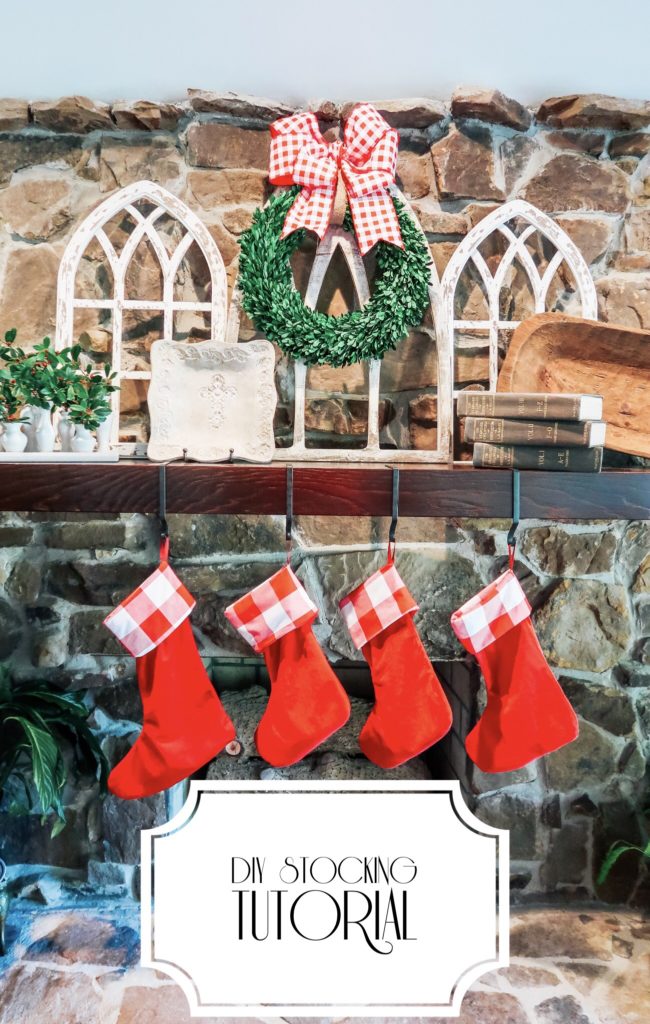
I love creating and personalizing things for my home, so there’s no surprise that I whipped up some stockings for the family this year. Prior to making these stockings, we had some mismatched ones that I would hang up, but now that we’re a family of four, I thought it was time to get my act together and get some matching stockings for the family.
Now I wanted to get this post up a little early in case you wanted to make some stockings for your family this year. Thanks for giving me an excuse for starting to break out Christmas decorations early!
I knew I wanted to have a consistent theme throughout the Christmas decor in my home this year, so once I decided on a pattern, the Red Gingham, I started doing a little here and there when I could. I started making some of these stockings this summer! If you know you won’t have enough time to DIY your stockings for this year, consider starting early like I did next year, so you only have to do a little bit of work at a time. As a mom, that is how I get most of my projects done these days…
Disclaimer: If you purchase something from a link provided in this post, I may earn a small commission from your purchase. Headquarters by Ship appreciates your support and thanks you!

WHAT YOU NEED:
- Two different kinds of fabric (one for the inside, and one for the outside). Determine how much fabric you need based on the size of the stocking pattern you create, and how many stockings you want to make.
- Thread
- Grosgrain Ribbon (for hanging loops)
- Sewing Machine
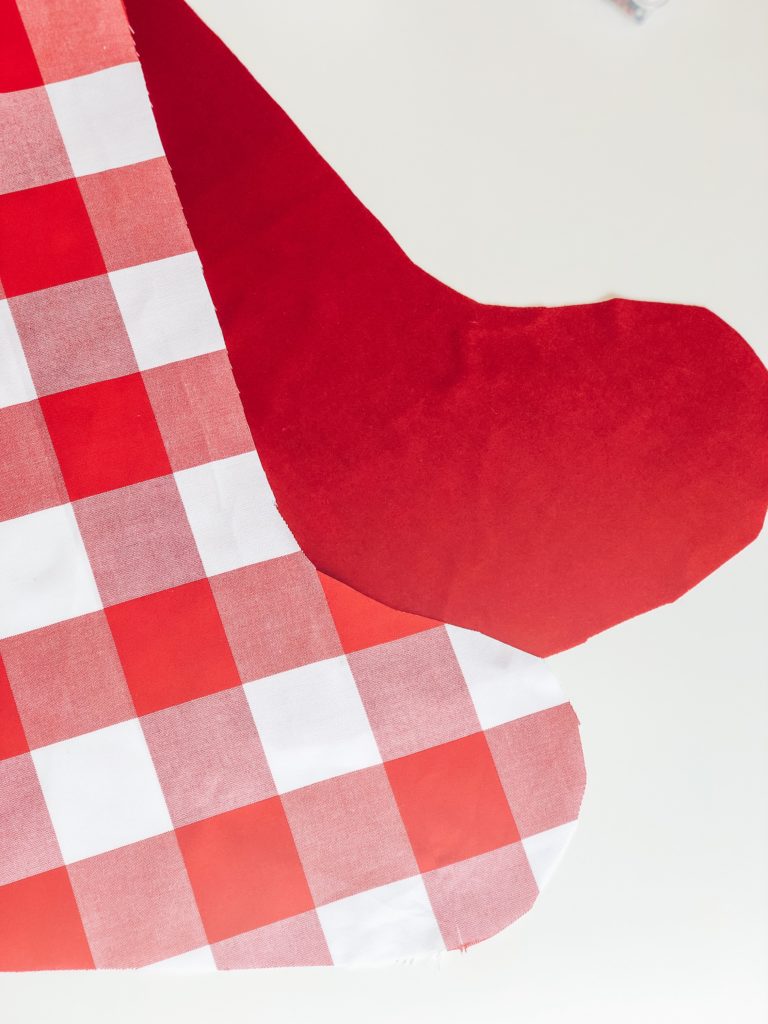
1. Draw out your stocking pattern, at least an inch wider than you want your stocking to be (and longer on the top of the stocking to account for a fold on the top of your stocking).
2. Cut four stockings out with your pattern (two with the inside fabric, and two with the outside fabric). Make sure to cut one set out with each fabric, then flip your pattern and cut the other set, so when you put the stocking together the right sides of the fabric will match up together.
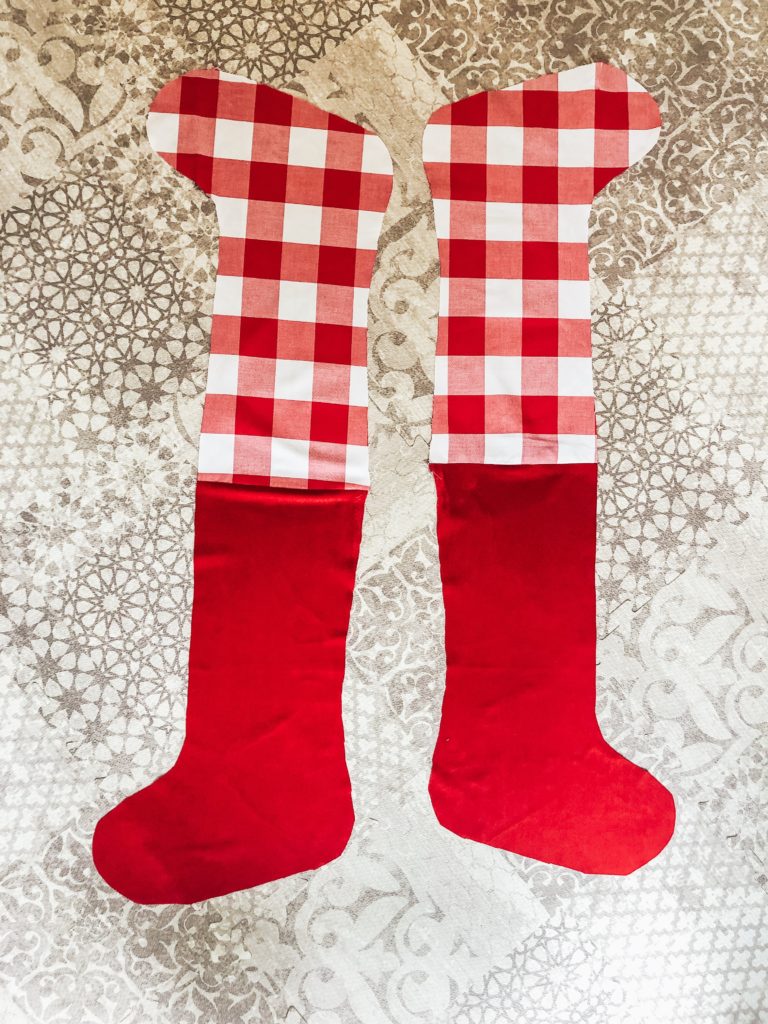
3. Pin the tops of the inside and outside fabrics together (right side facing inwards), and sew together. Iron seams flat.

4. Next match the two right sides of the stocking together (right side facing inward). If you have a ribbon for a hanging loop, pin on the inside of the lining (inside fabric) with the loop facing inward, about a third down into the stocking (where you estimate the fold to be).
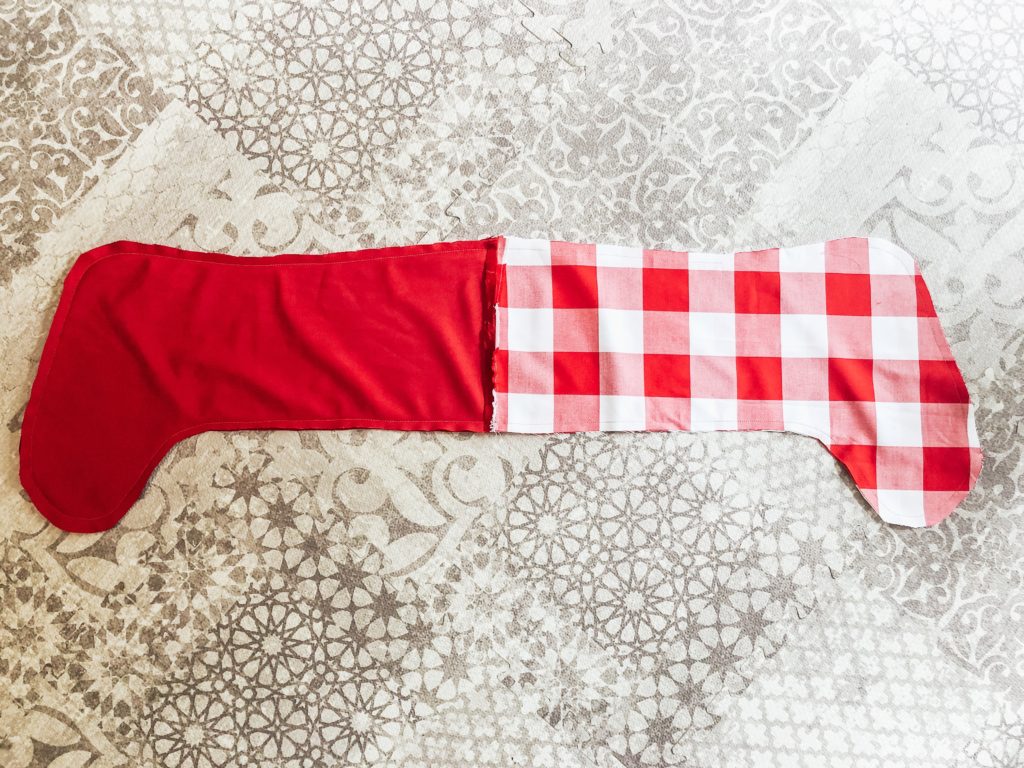
5. Pin stocking together, and sew around the outer edge leaving about three inches on the inside fabric heel open to turn your stocking right side out.
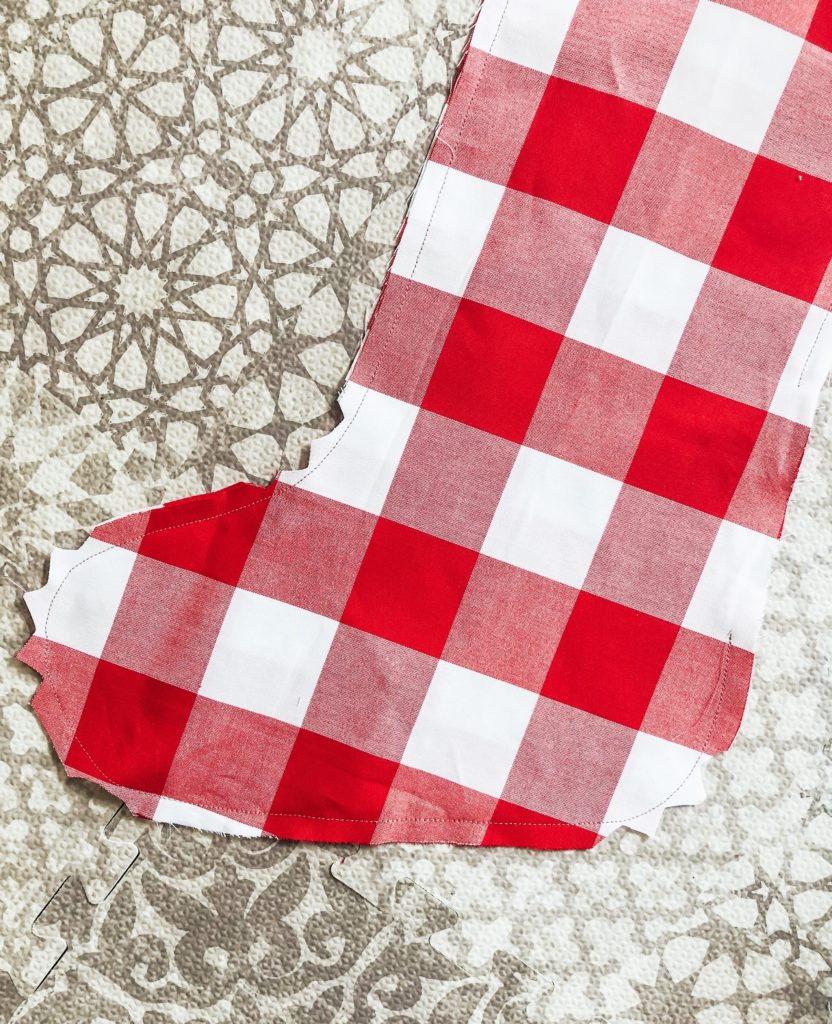
6. Before turning your stocking right side out, cut out little triangles around the round edges, making sure not to cut the seams you just sewed.
7. Turn your stocking right side out, iron stocking and seams so everything lays nice and flat. Sew the open part of the inside stocking shut with a running stitch on your sewing machine.
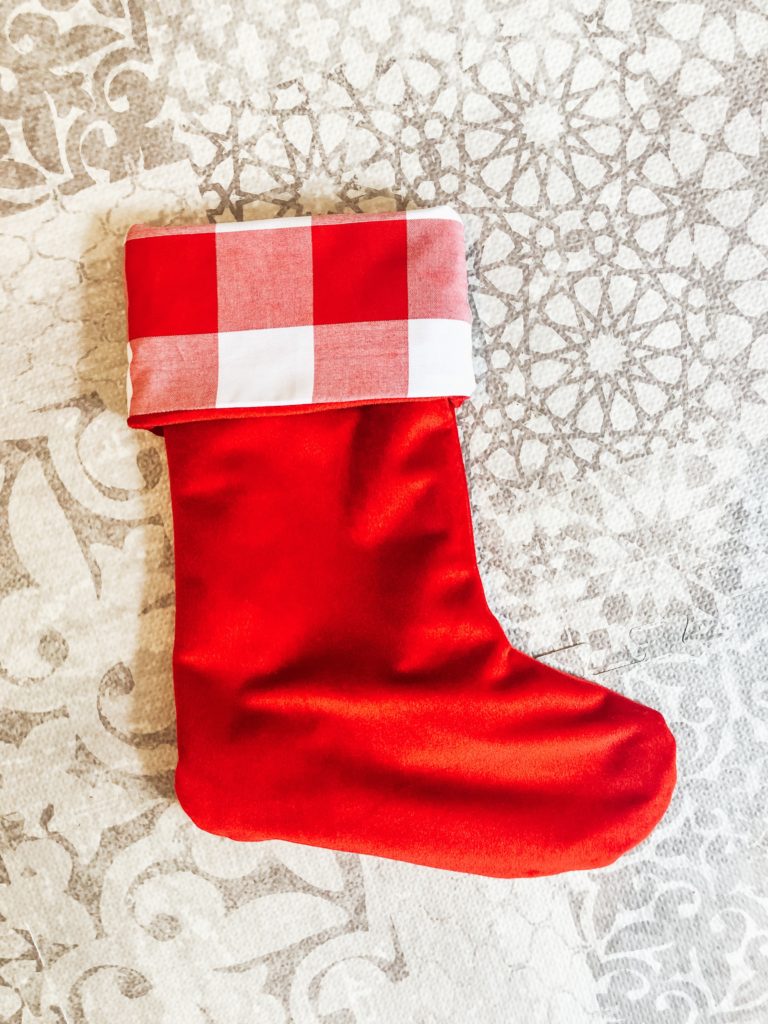
8. Next tuck the inside lining into the outside lining of your stocking, fold over the top of the stocking, hang, and enjoy!

The Fabrics I used for these stockings are from Fabric.com. The inside lining is KAUFMAN WOVEN 1″ CAROLINA GINGHAM IN RED and the outer fabric is ALPINE UPHOLSTERY IN RED VELVET.
HERE IS AN ADDITIONAL TUTORIAL FOR AN EASY CHRISTMAST STOCKING PATTERN & SEWING TUTORIAL FROM DIARY OF A QUILTER. HER TUTORIAL MIGHT BE A LITTLE EASIER TO FOLLOW THAN MINE!
DONE MAKING YOUR MATCHING STOCKINGS? DON’T FORGET ABOUT YOUR MATCHING CHRISTMAS PAJAMAS!
SHOP FAMILY PJ SETS HERE:
[show_shopthepost_widget id=”3771284″]
…AND STAY TUNED FOR AN UPCOMING POST FEATURING THE PJ’S I PICKED OUT FOR MY FAMILY THIS YEAR. 🙂 SUBSCRIBE TO SHIP’S HQ SO YOU DON’T MISS OUT!
SHOP MY MANTLE HERE:
[show_shopthepost_widget id=”3771337″]

SHOP THIS LOOK HERE
Liked this post? You can learn more ABOUT ME here. Also, don’t forget to leave me a comment with feedback on this tutorial. Thanks for stopping by and hope to see you again soon!


Recent Comments