Although some days might not seem like it… Some days you’re stressed with the day to day and your child is testing your patience with fit throwing, not eating, interrupting phone calls, or a myriad of other things kids like to do. At the end of the day, when you put your little one to bed and admire they’re soft features and peaceful, beautiful face, you can’t help but remember that every day is a gift and that God is so great with all He creates.
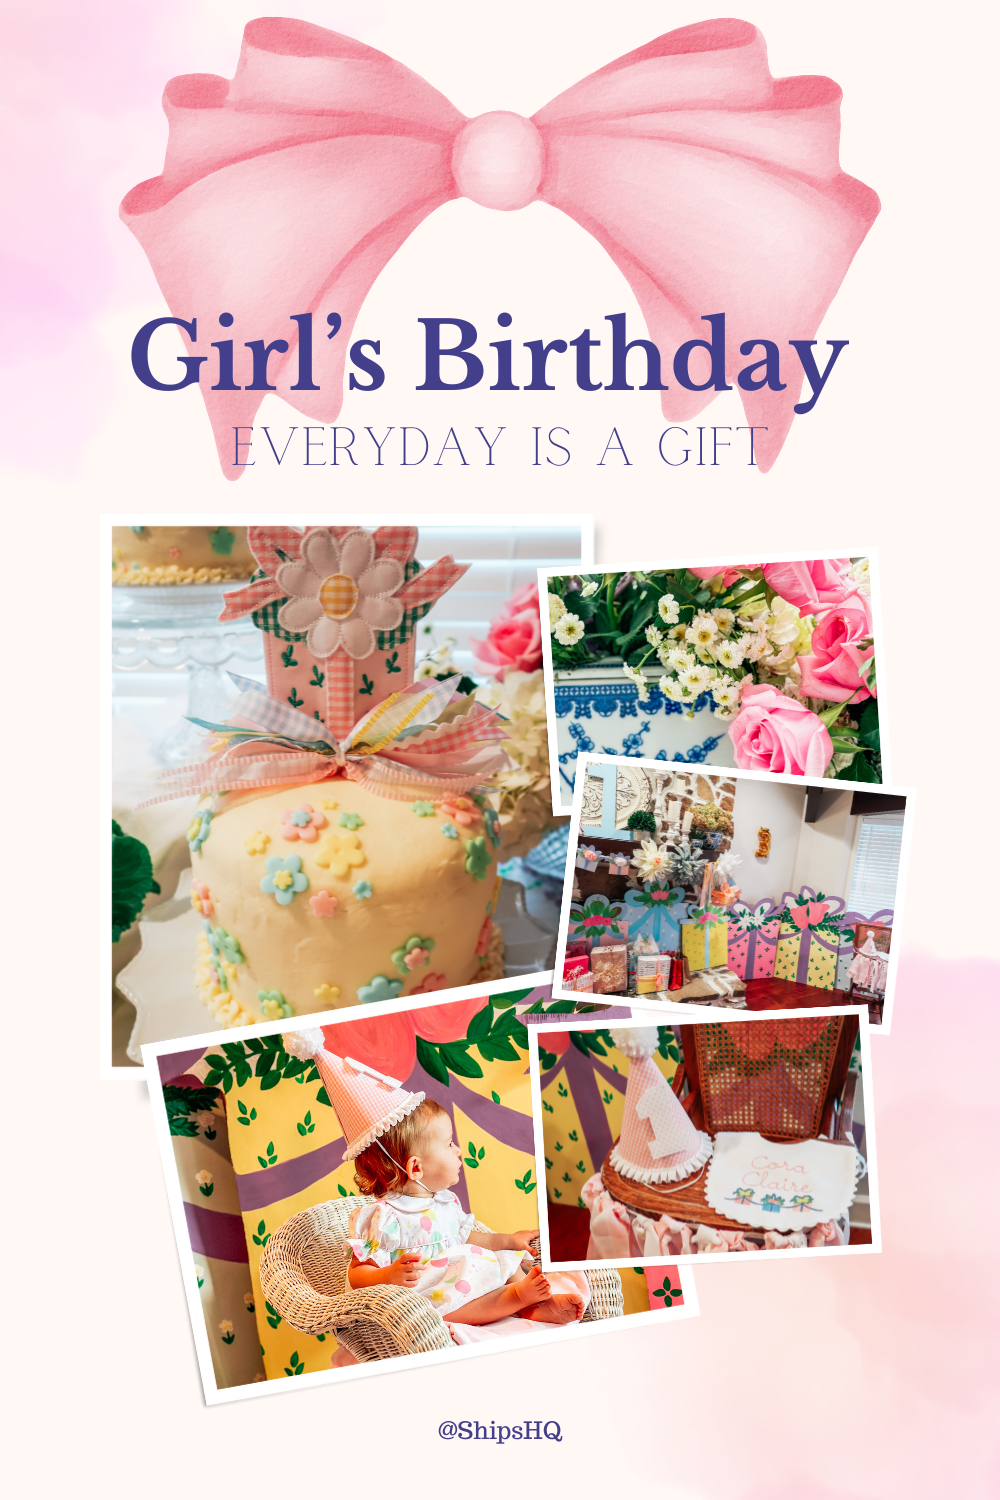
This EDIAG and balloon, Beaufort Bonnet Inspired, party theme is timeless and perfect for your little girl’s birthday, or upcoming baby shower for your expecting friend/family member. Find all the details below on how to DIY this party (and the cake too!).
Disclaimer: This post contains some affiliate links, meaning I may earn a small commission if you purchase something from a link in this post. ShipsHQ appreciates your support and thanks you!
So I know the Every Day is a Gift print from the Beaufort Bonnet Company might be a bit outdated, but I am still a fan of those sweet, floral topped presents. And because I am still a fan of the classic print, I thought it would be the perfect theme for a joint birthday for my second daughter’s third, and my third daughter’s first birthday party. They are only TWO DAYS apart, so they will be having joint parties for the foreseeable future. That is, until they’re old enough to start protesting me for individual parties of course.
I still remember the time leading up to my third daughter’s birth. Her due date was a couple day’s before Mattie’s (my 2nd), and when she did not come on her due date I just kept praying that she would not be born on Mattie’s birthday.
I’m not one to rush babies into the world, so I did not choose to be induced, but Cora (my 3rd) ended up being a good sport and arrived 2 days after Mattie’s birthday to make her grand entrance into the world. Check out Mattie’s 2nd bee themed birthday HERE!
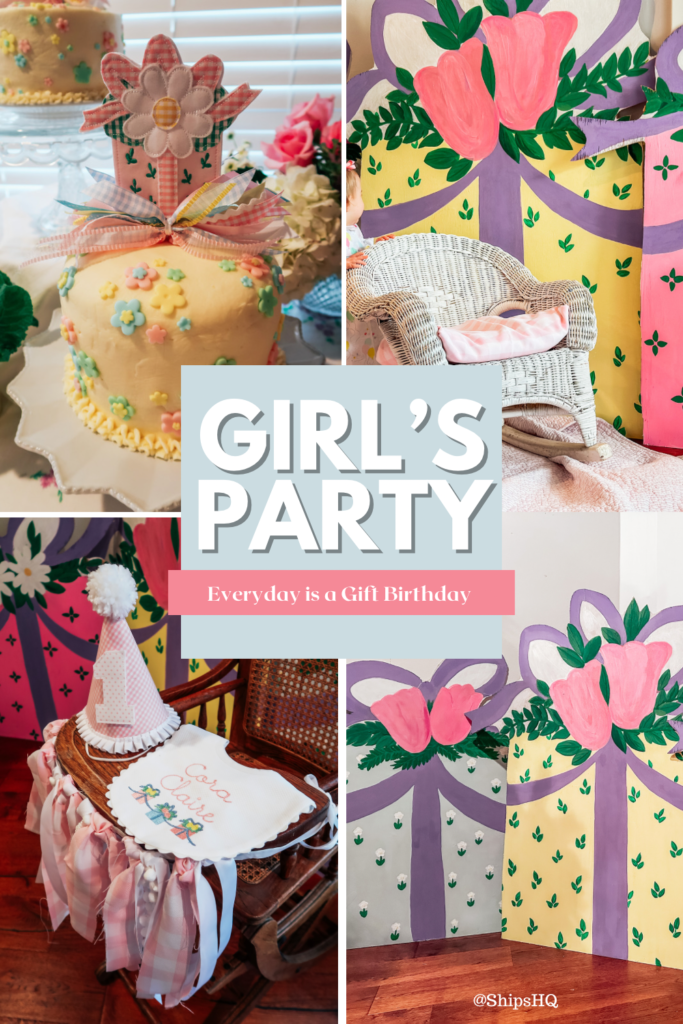
Anyway, I love a good DIY, and while I did not make EVERYTHING for this party (I ordered cake toppers & banners), I did have fun making some large present backdrops for it. I also ended up finding some flower fondant punches that I thought would be cute (and easy) for decorating a cake, so I ended up being able to make the cakes this year too!
I have loved using my kid’s birthdays as an excuse to learn a new skill and decorate cakes, but now that I have THREE (five and under), I’m not really sure how much longer I’ll be able to keep it up!
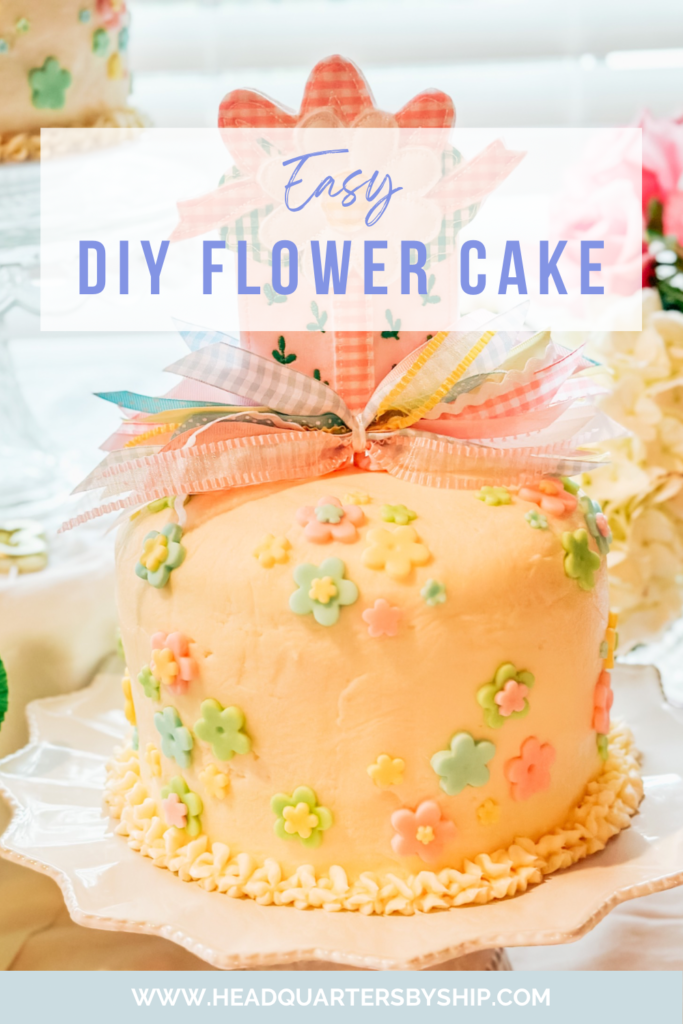
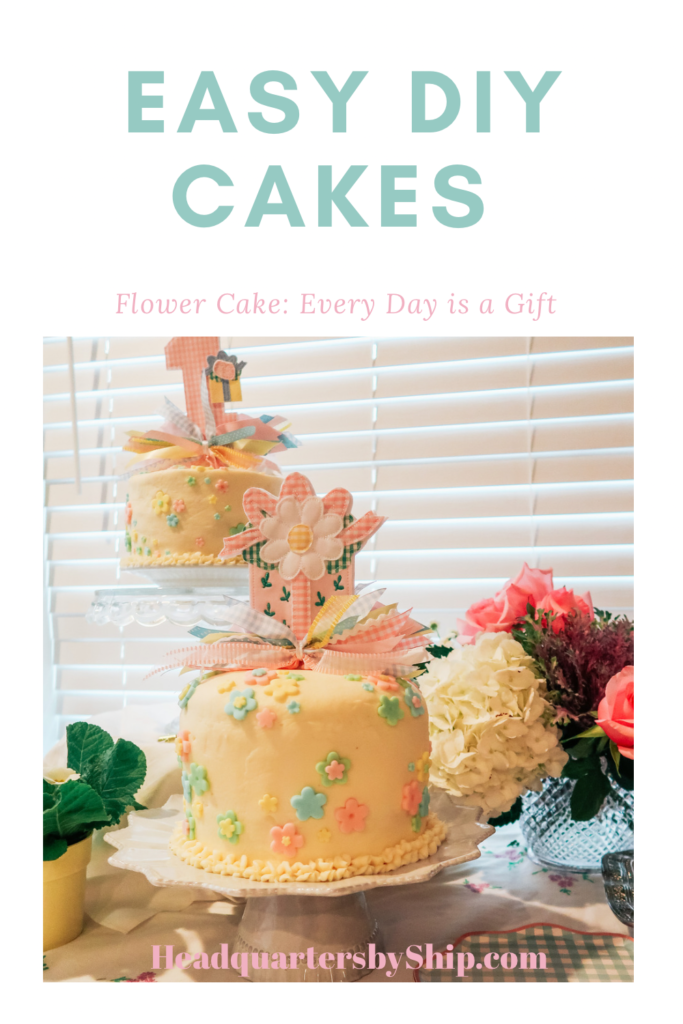
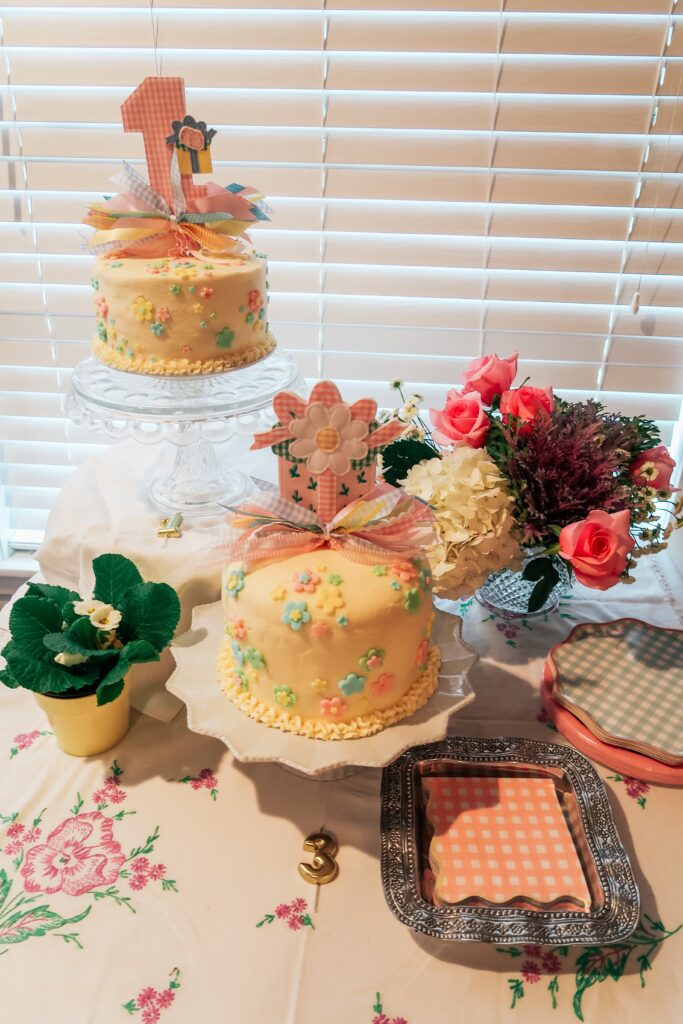
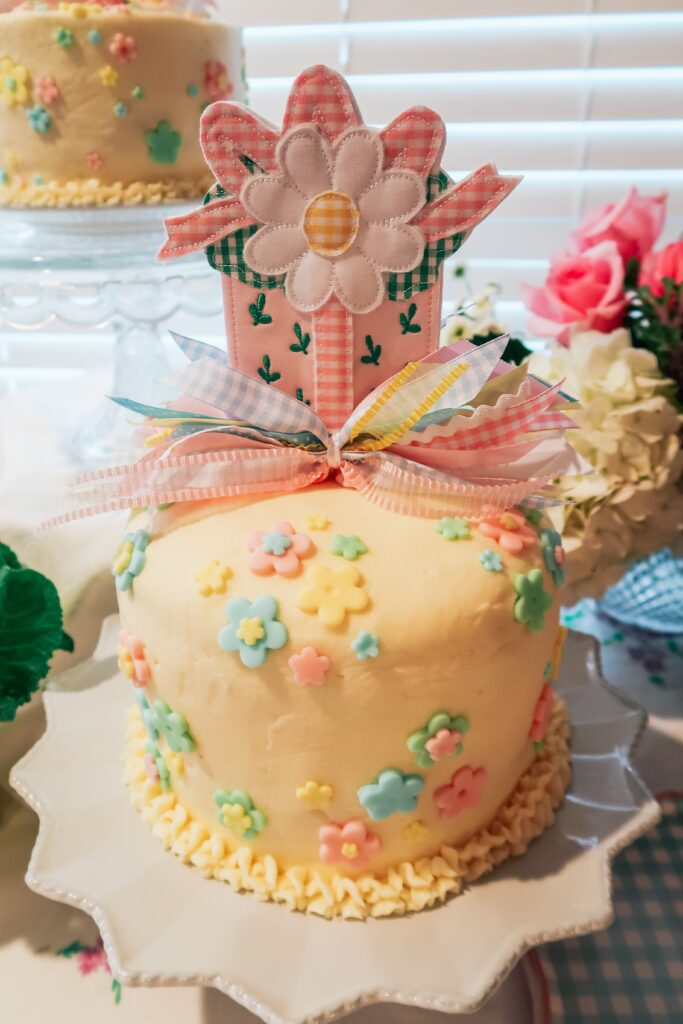
I almost gave up for this party, but when I saw these flower fondant punches and found some pastel colored fondant at my local Walmart, I knew I could pull the cakes off for one more year. I also wanted cakes that were pretty simple because the cake toppers that I bought were so darn cute! They needed to be the focal point of the cakes.
If you’re looking for cake inspiration, Check out my past cake creations here:
So as far as capturing the party details, I feel like I did not get as many pictures as I should have. We had family staying with us and with just all the business of getting everything together, while trying to stay present (no pun intended) during the party, my picture taking was a little lacking. But despite my pictures lacking, I can assure you that my girls loved everything, especially Mattie.
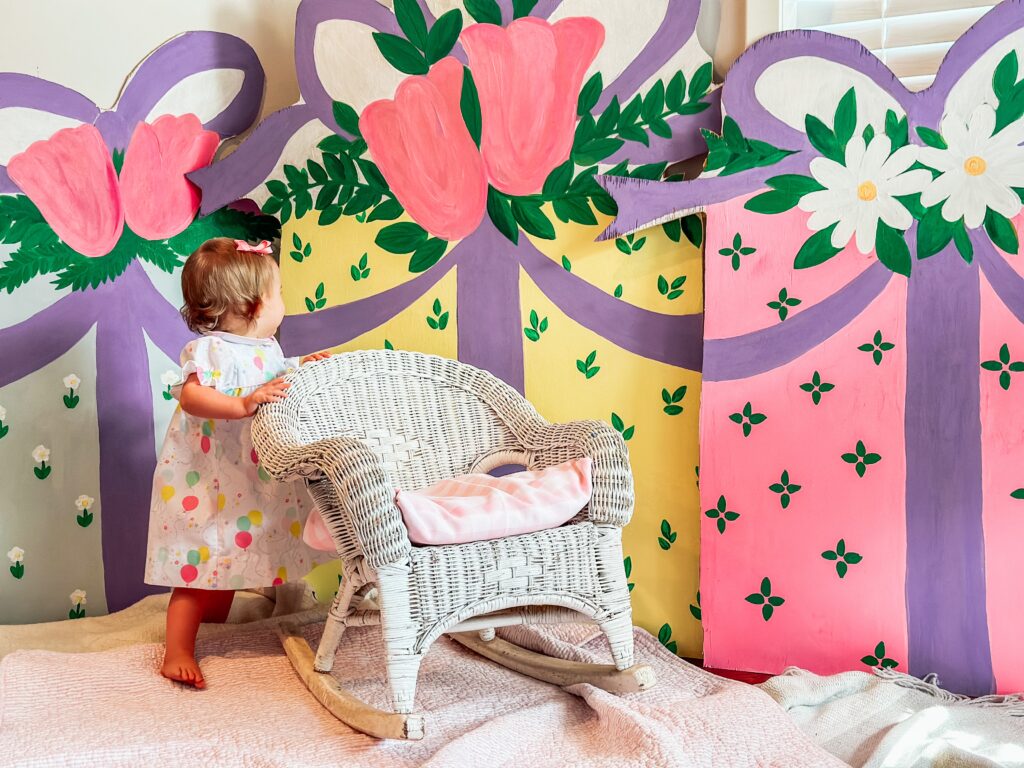
She was so thankful and appreciative of everything. Especially leading up to the party when I was making the backdrops. Every time I’d sit down to paint she would just get so excited and always say how pretty my paintings were. She’d go up to the large presents and just hug them saying “thank you, thank you, Mommy!”
That’s what DIY is all about for me. Seeing the joy and excitement the kids get knowing that you have put your heart into creating something special for them.
While I am still working on my ability to create in depth tutorials, for those who are visual learners like me, I did throw together a couple YouTube Videos showing my process of how I created the cake and cutouts.
THE CUTOUTS
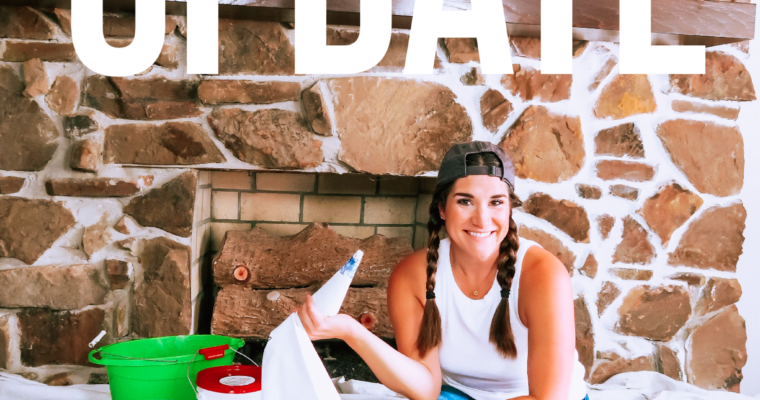
So while I was happy about how the actual paintings turned out, I do have to confess that the cutting process did not go as I expected.
Initially I started cutting them out with the saw attachment on my Dremel, but when I was cutting a corner of one of the bows the saw bit got stuck on the sharp edge of the wood, and before I could shut it off, it burnt out the brush (or something) on my Dremel.
I tried to do some troubleshooting and fix it, and even had a friend look at it, but had to finish the project with a jigsaw instead. Our jigsaw is pretty old and with the angles, some of the wood chipped off and got a little jagged. Instead of taking the time to sand it out and make it look perfect, I just touched up the paint and rolled with it.
Since I waited until just a few days before the party to cut them out, I didn’t want to spend much more time on them than I had to (although when I look at them those “frayed” ribbon ends are all I can see!).
While I did do a lot of the painting well in advance, my biggest tip (aside from don’t break your Dremel because ooooh, it was cutting so good!) would be not to wait to cut in case you get some rough edges like I did. If I had more time, I would have sanded it out, or filled it in with some wood filler and then touched up the paint. If I end up using them again, I will do just that!
As far as the paints go, I used a mix of acrylics and some Amy Howard One Step/Miracle paint that I had on hand.
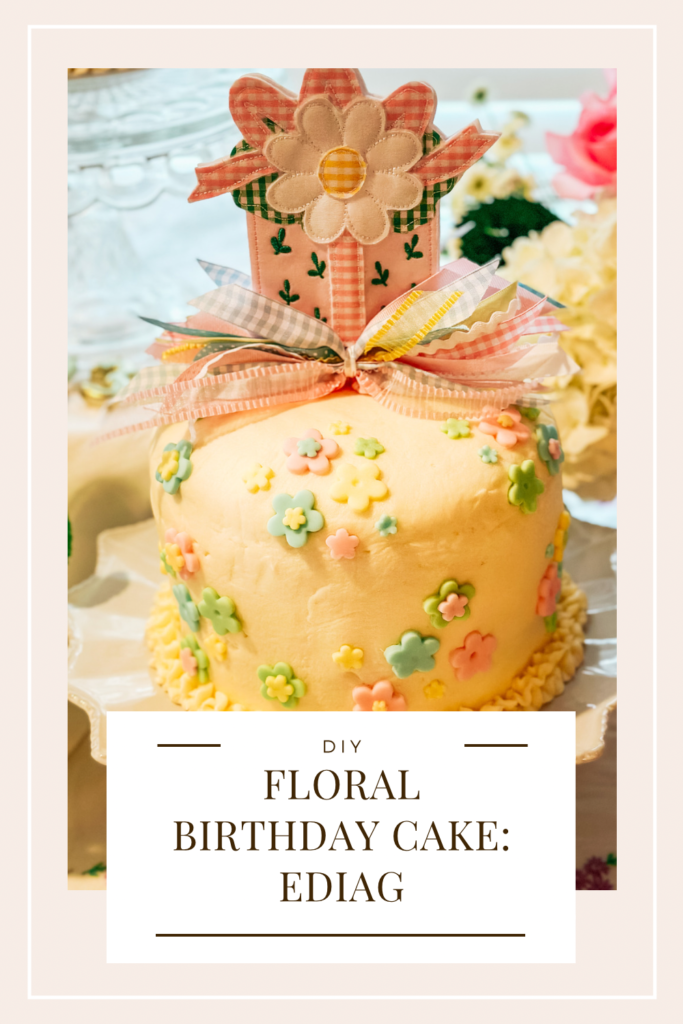
THE CAKE
Likewise with the presents, I don’t have much instructions for a cake tutorial, but you can watch this video to see how I did it. If you are new to decorating cakes and want something easy to start out with, this way is really the way to go!
To make this cake, I found recipes that looked good on Pinterest for the cake and buttercream frosting and then just winged it!
The main thing about cake decorating is just investing in your basic tools. Once you have those, the process of putting the cake together and frosting it with a base layer is pretty easy. And so is adding little punched out flowers of pre-made fondant!
See how to make the flower cake here:
Also, for the cookie, I used this Chocolate Chip Cookie Recipe that is oh so good and I cooked the cookie in an iron skillet that was about the same size as the cake. It was a last minute decision, but I thought it would add a fun surprise to the cake.
Find all the cake tools here:
[show_shopthepost_widget id=”5007824″]
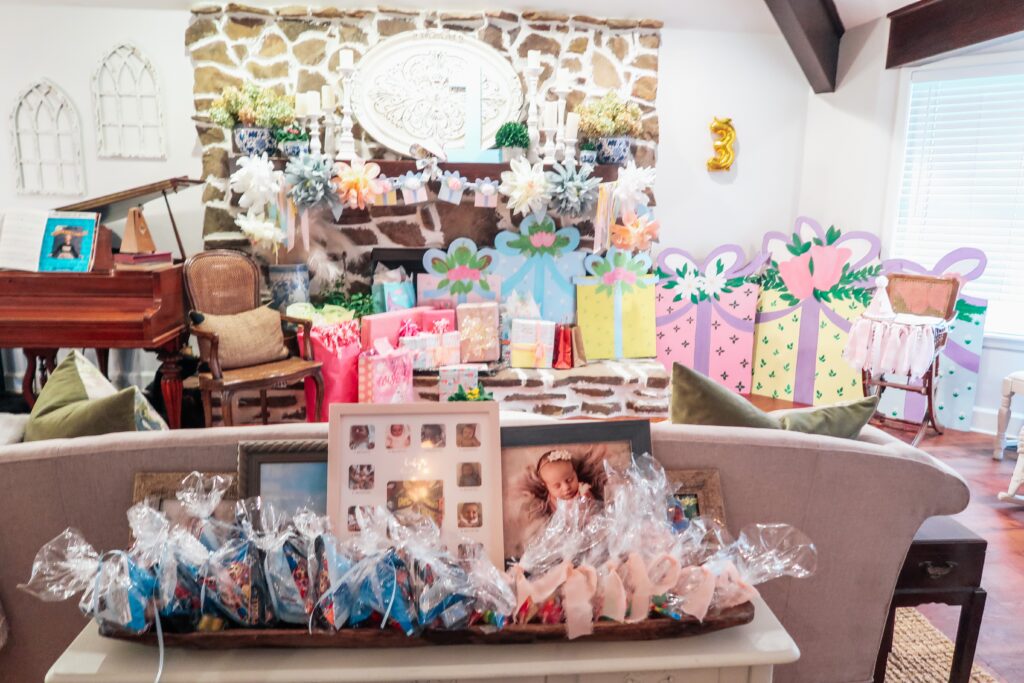
THE PARTY
Even though it was a joint party, I still tried to keep it small. We only invited family for Cora, and since Mattie has seen her sister invite friends to her birthday, I let her invite a few of her friends from church and school.
It was also the end of January, and I since it was too cold to be outside, I opted for more of a quaint indoor setting.
While I did this theme in the winter, it really is perfect for spring and summer parties when you can host things outdoors. All the decorations definitely gave me spring vibes, and I have left some of them up to enjoy until Easter! Might as well get some use out of them, right!?
The party plates & napkins:
[show_shopthepost_widget id=”5007853″]
And while I try to just share for inspiration, I do have to share a little moment from the party that I thought was just too cute. When it came time to opening presents, we’d hand Mattie a present and tell her who it was from, and instead of just ripping into the present one after another in your typical fashion, she would go over to each child who gave her a gift and had them open their gift with her. She was so thankful and excited, and it was just too cute and funny to watch.
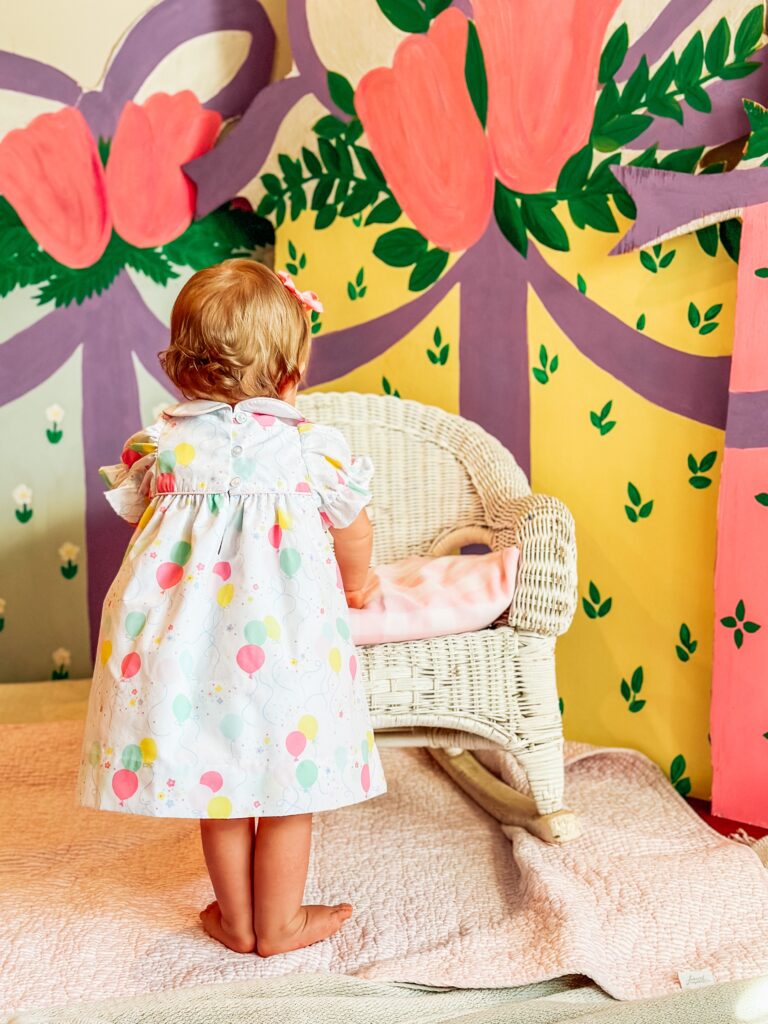

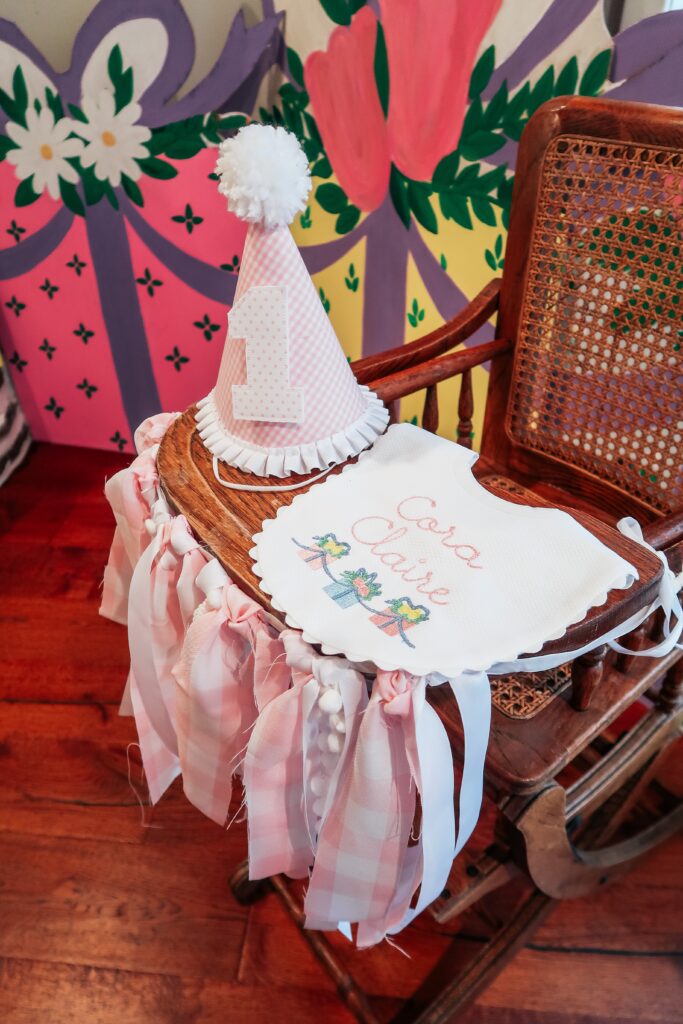
You can find the bib, cake toppers, and present banner @_littlehappies She makes the cutest stuff! I used the present banner on my mantle that I paired with a paper flower banner from Meri Meri and then just made my own banner with some ribbon and gingham fabric for the high chair.
Find everything else here:
[show_shopthepost_widget id=”5007783″]

A quick EDIAG party recap:
And as always, if you have any questions or comments, I would love to hear from you! Please let me know what you thought of this post and thanks for checking it out.


Recent Comments