
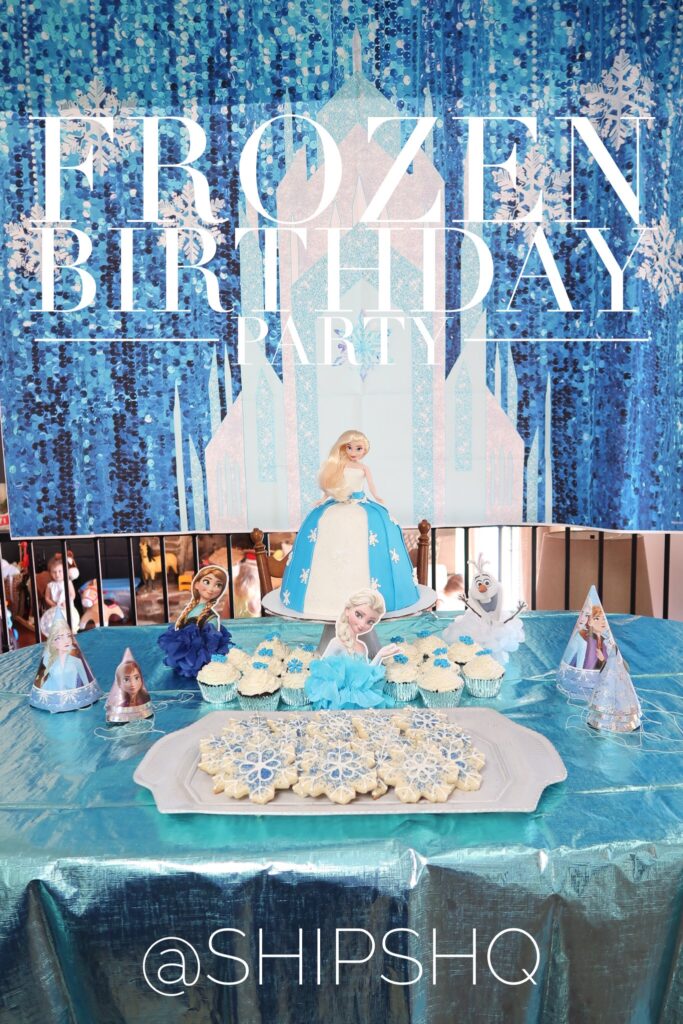
For the first time in forever, my daughter, Greta, turned four, and you’d never guess that she wanted to have a Frozen themed birthday. This past year has been Frozen everything. I was hoping that the closest I’d get to a Frozen birthday party was the Winter Onederland party I had for my youngest’s first birthday, but who am I kidding… It was wishful thinking!
As much as I really was hoping to skip a Frozen party, I did have fun putting it all together, and making Greta’s Frozen Dreams come to life. I also had so much fun making her Elsa Doll Cake! Keep reading to see all the details from her special day!
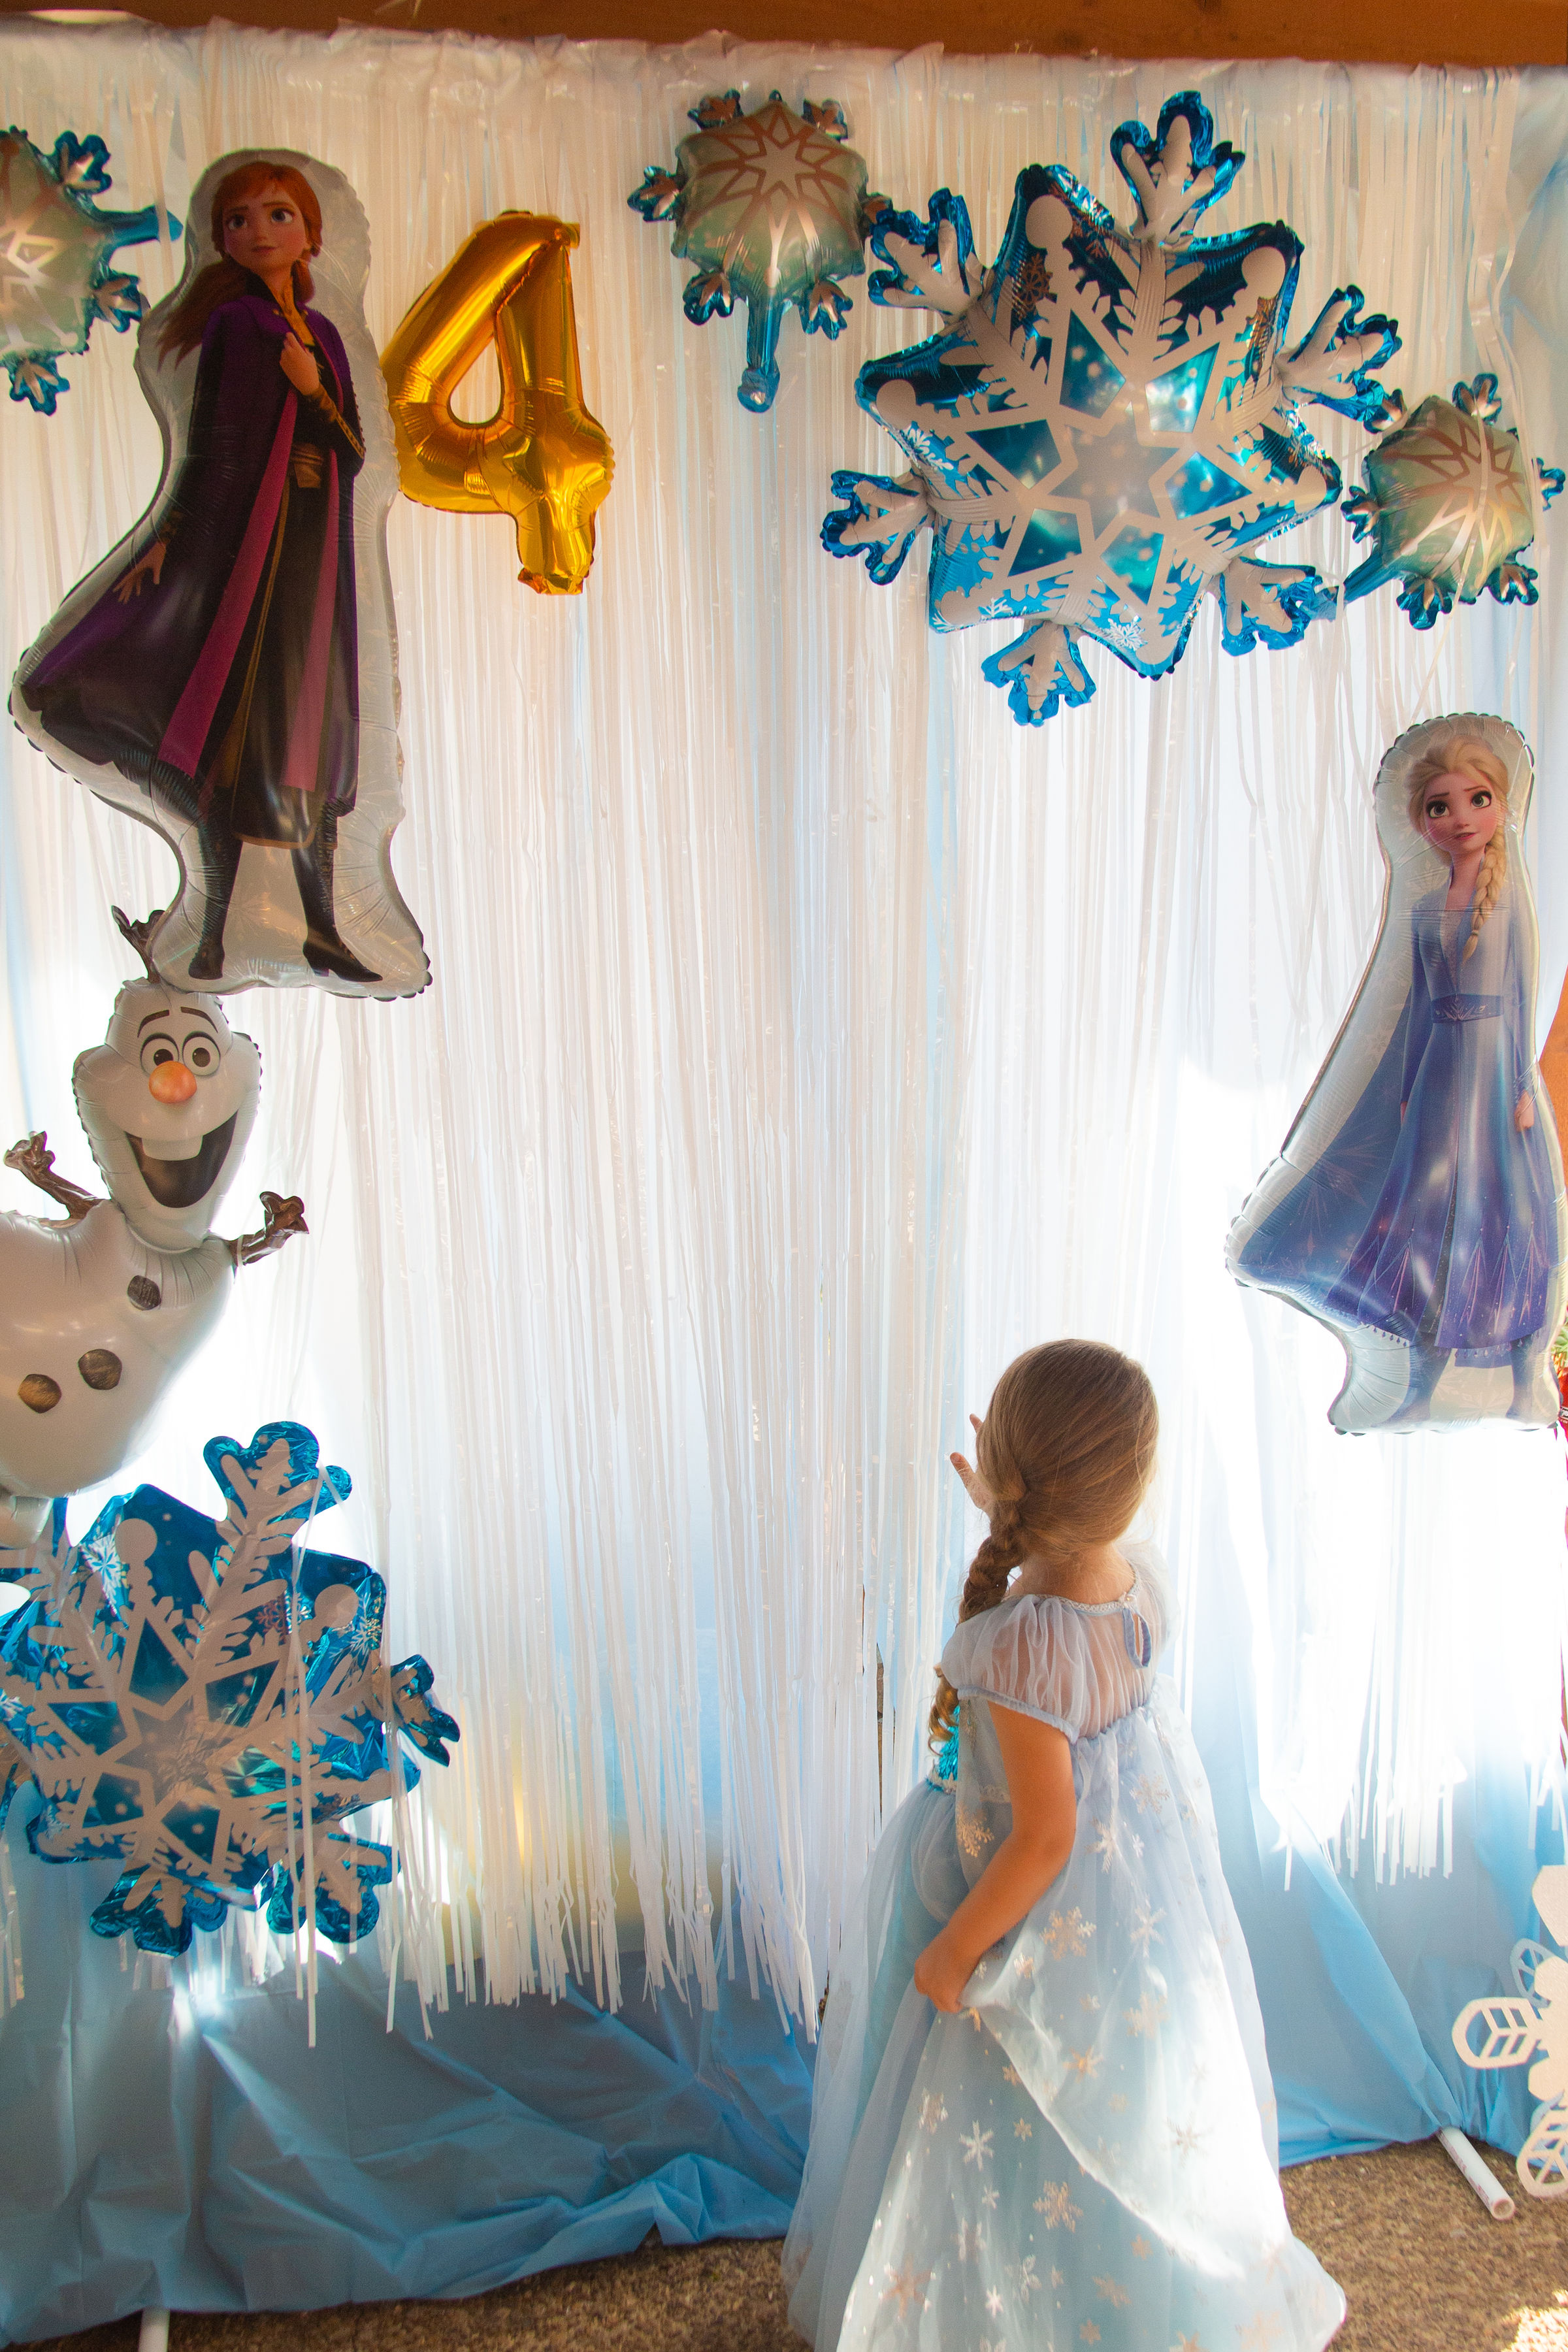
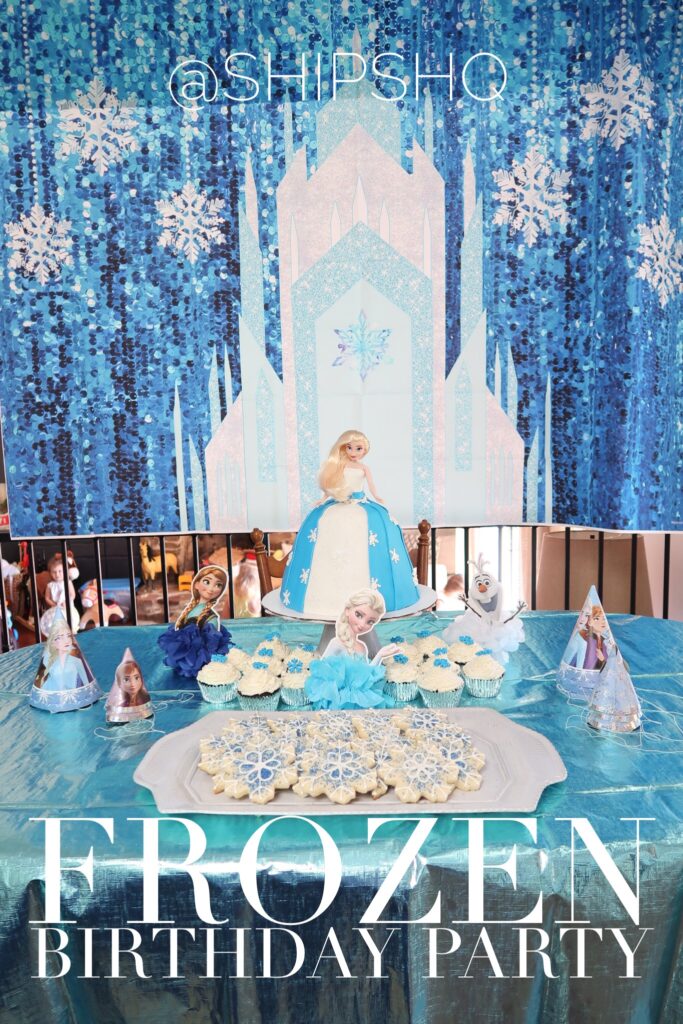
Although I try not to go overboard with these kiddos, it is so hard to resist when the birthdays come around, and my creative juices start flowing. And because Greta loves Frozen so much, I really tried to make it look magical for her with lots of snowflakes hanging from the ceiling and doorways, and blue everywhere.
I swore to myself too that I’d never do a balloon garland ever again after her second birthday, but they bring in so much excitement, I just couldn’t resist.
Disclaimer: This post may contain affiliate links, meaning I may earn a small commission if you make a purchase from a link in this post. Ship’s HQ appreciates your support and thanks you!
To make the excitement last, I did the balloon garland early and hung it up at the beginning of her birthday week. I had it cascading down the railing on our stairs so it would be a surprise when she woke up and came downstairs in the morning. I also hung up some dangling snowflakes from the ceiling right by the balloon garland to keep with the theme. It tuned out super cute, and with all the work that it takes to do a balloon garland, I ended up keeping it up for couple weeks just because.
Also, before I forget to mention, Most of the pictures in this post were taken by MKT Photography. I thought this year I’d ask for a little help with getting pictures, so I can enjoy the moment a little more and not worry about doing absolutely everything. It was a great decision, and I highly recommend it.
Find MKT Photography here!
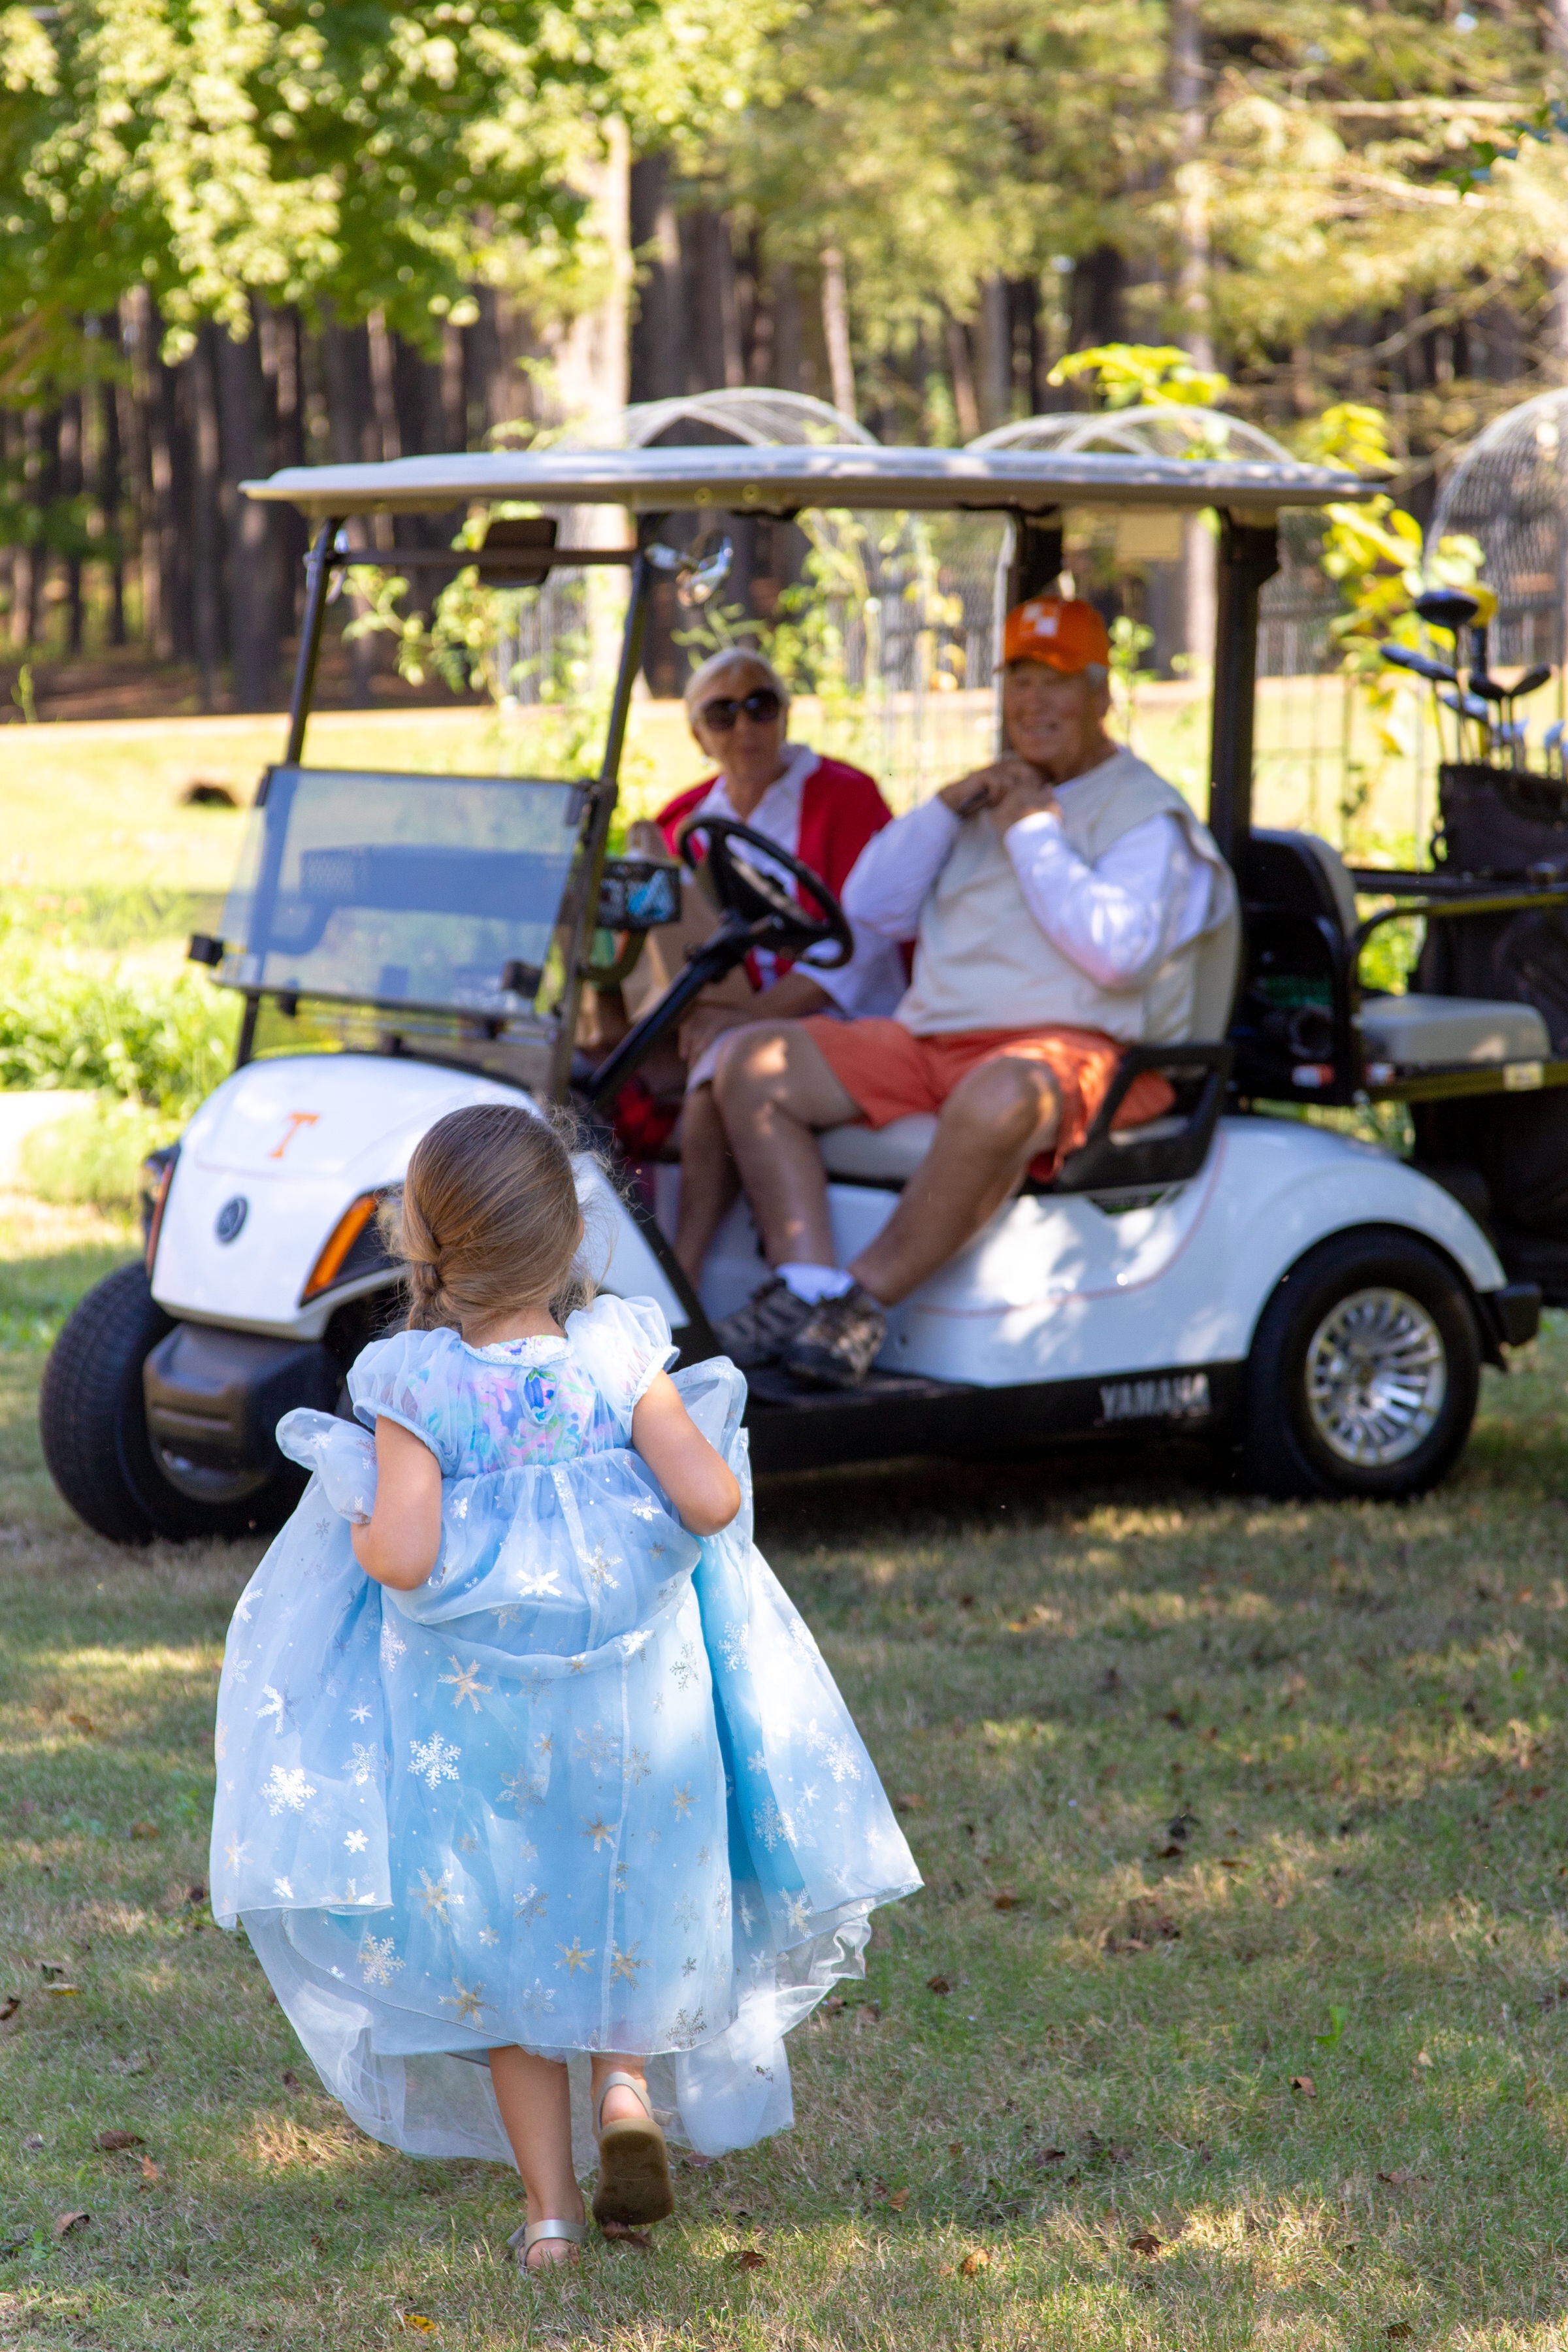
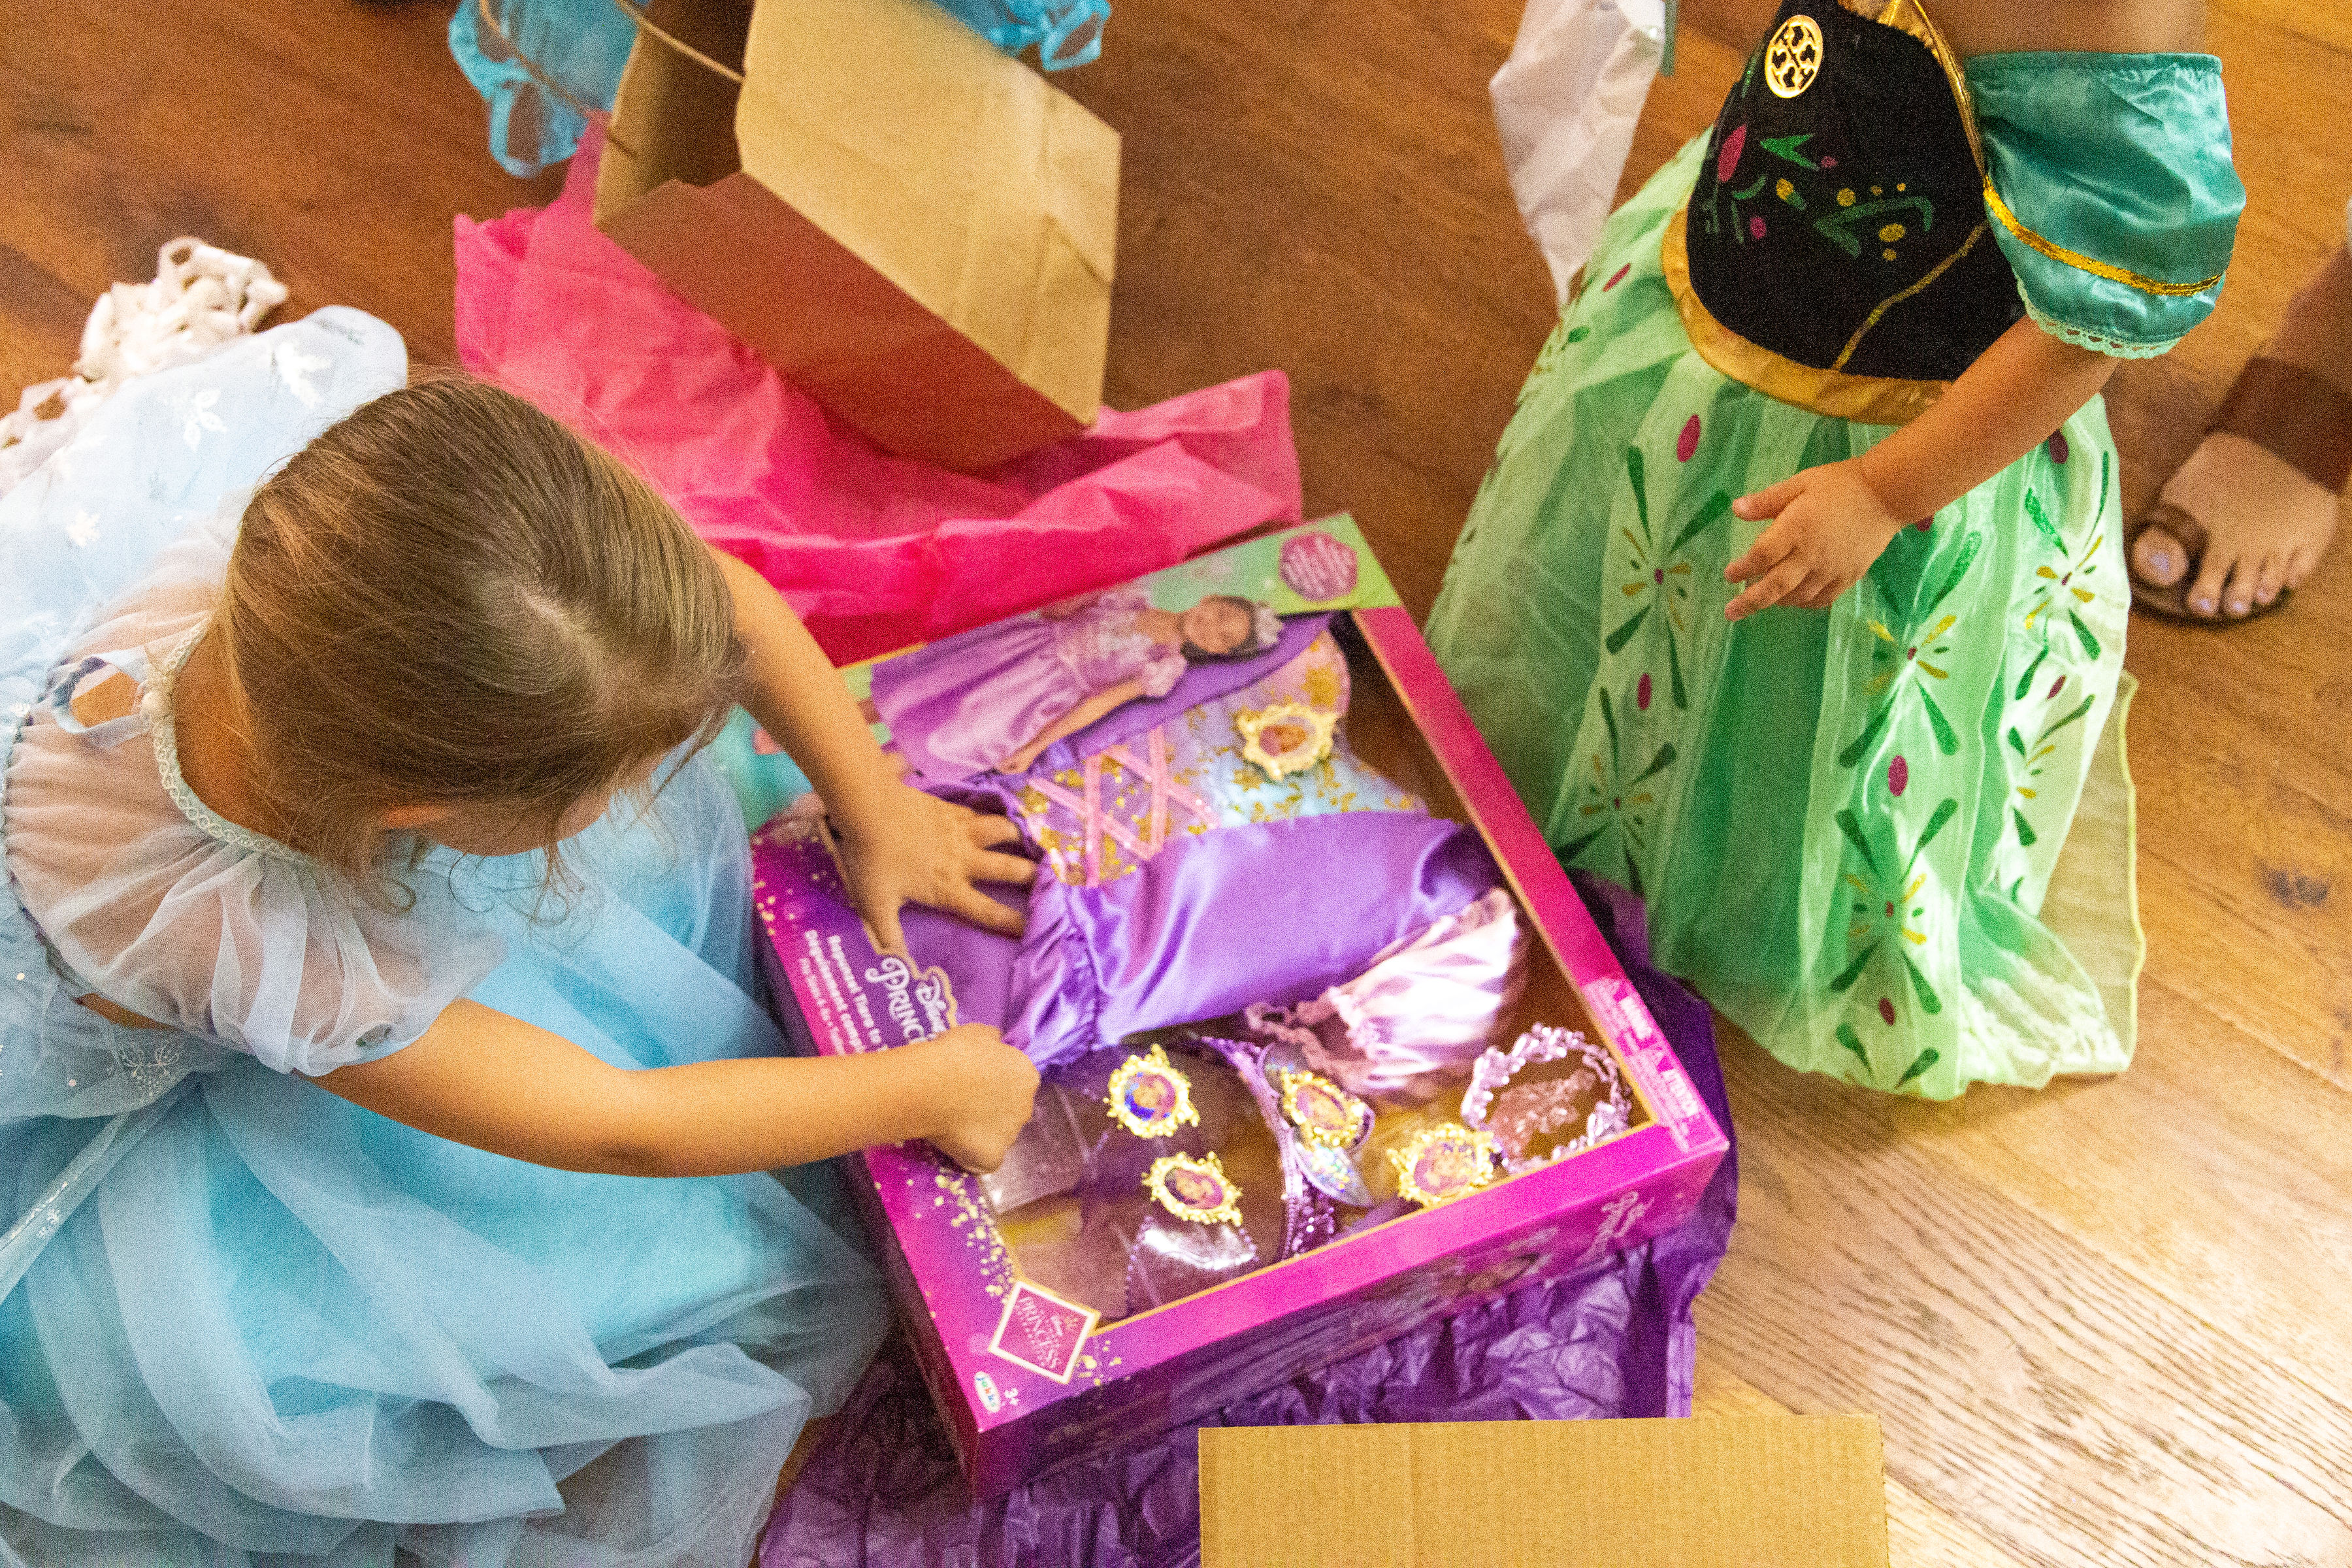
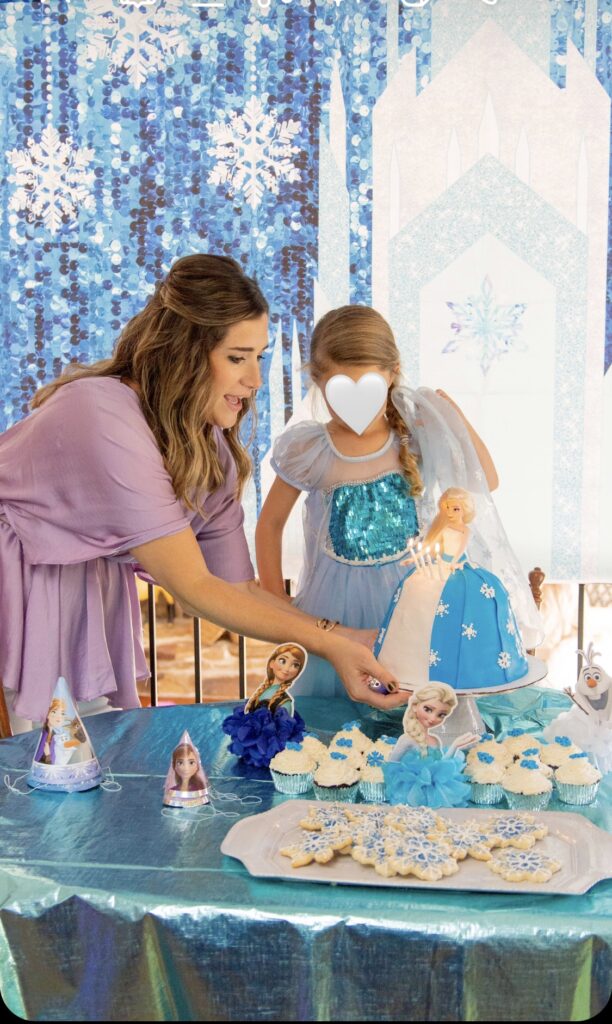
This was the first year that we allowed Greta to invite a few friends to her party. Previously we just invited family, and that still turns out to be a good number of kids, and people. Despite me saying she can invite as many people as she wanted, there were only a few girlfriends that she wanted to invite. She was so excited to have her best friend from school come over and dress up as princesses together!
THE MENU
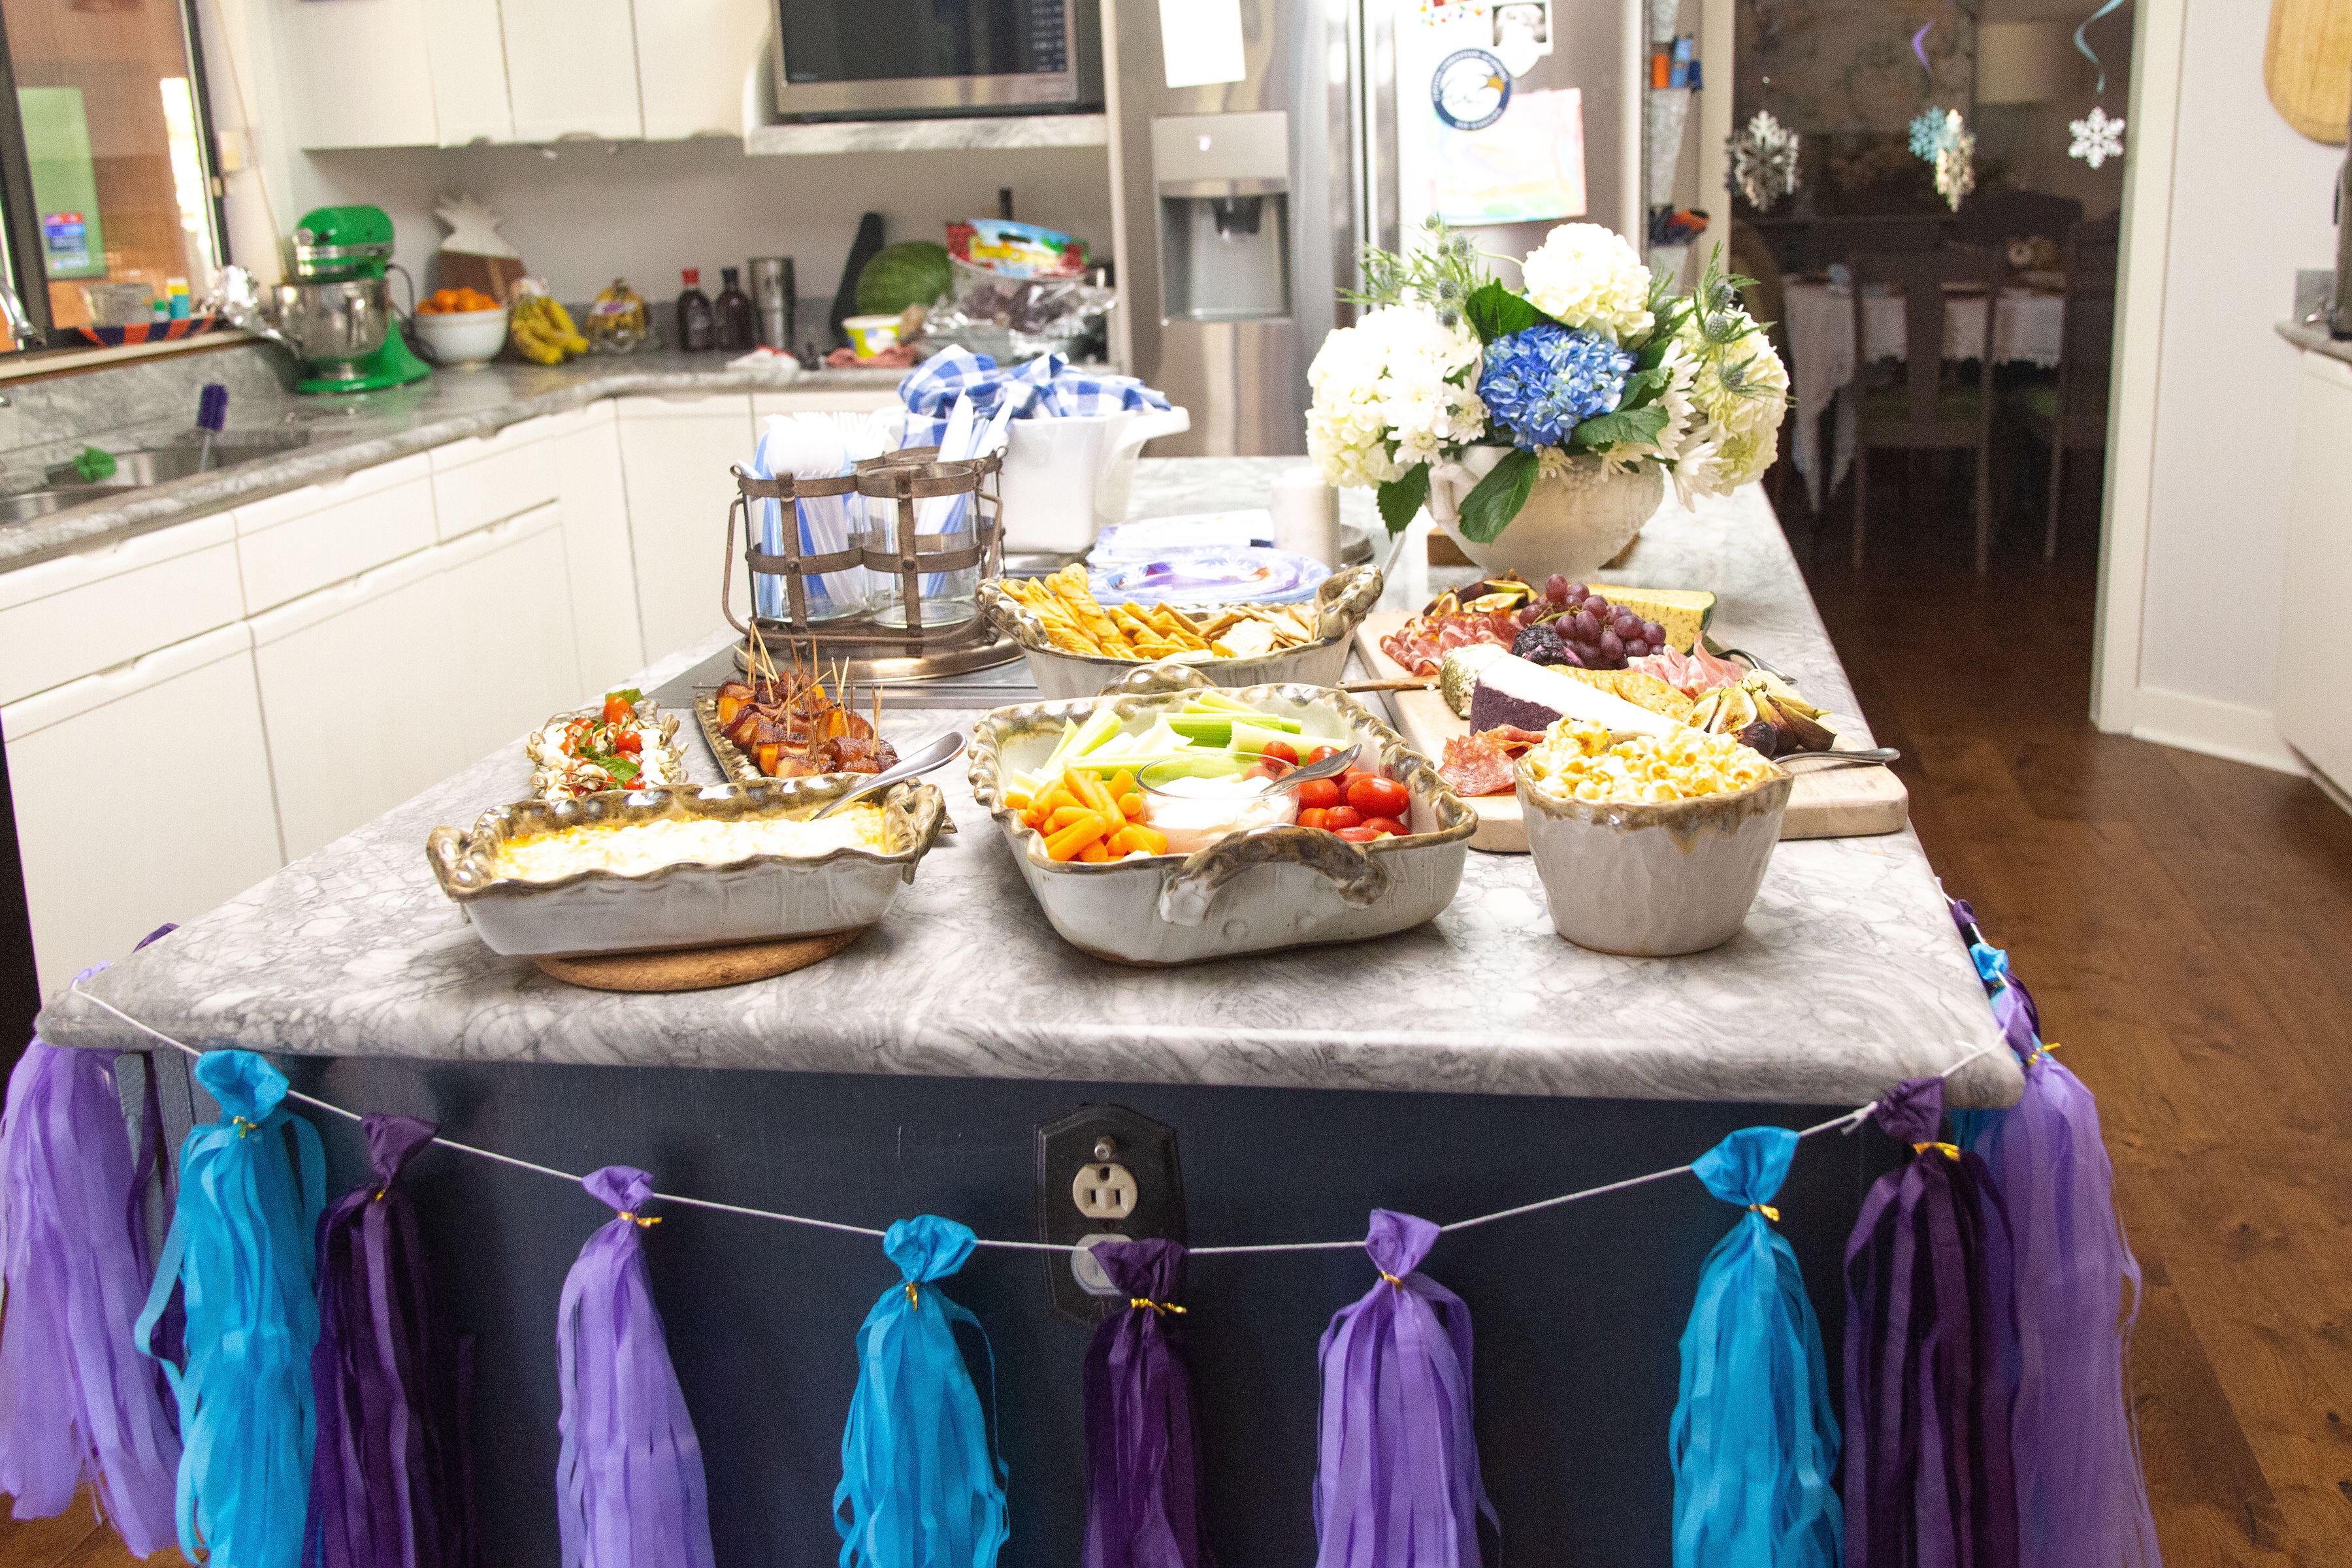
Even though I let Greta invite some friends, I still kept the menu pretty grown up. After all, there were more adults than kids at the party. I did have a few finger foods that were kid friendly, and of course all the sweets!
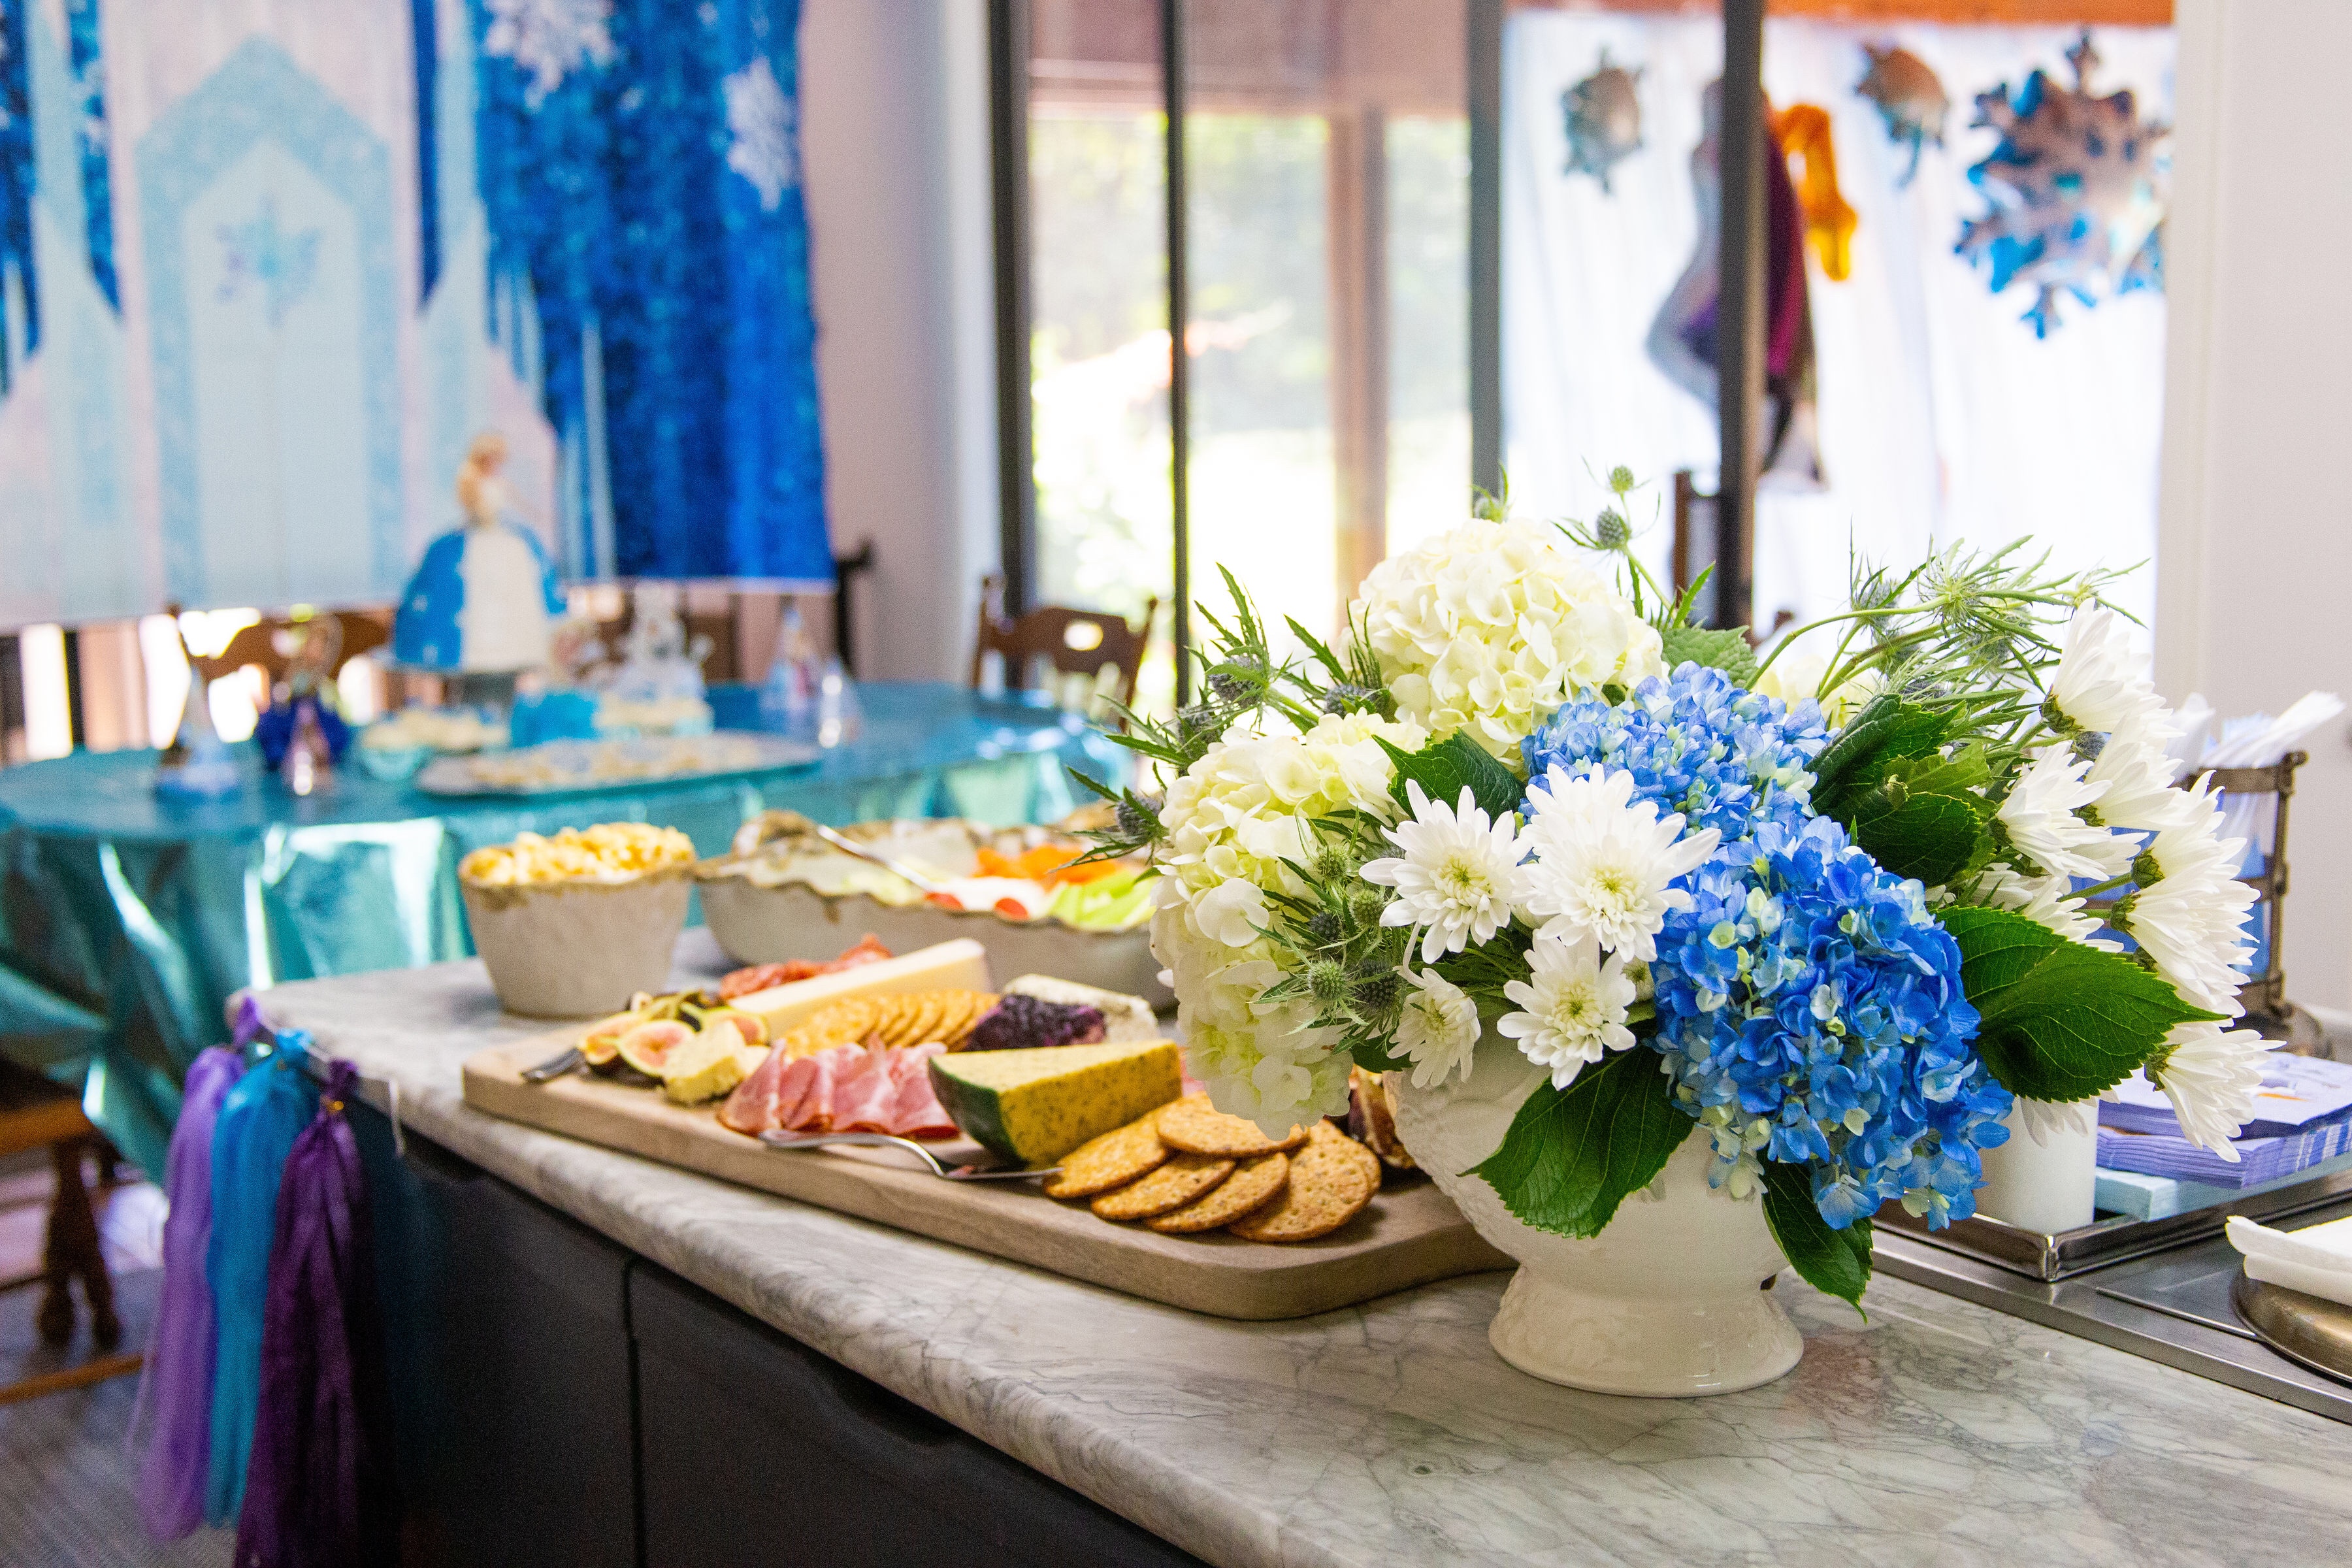
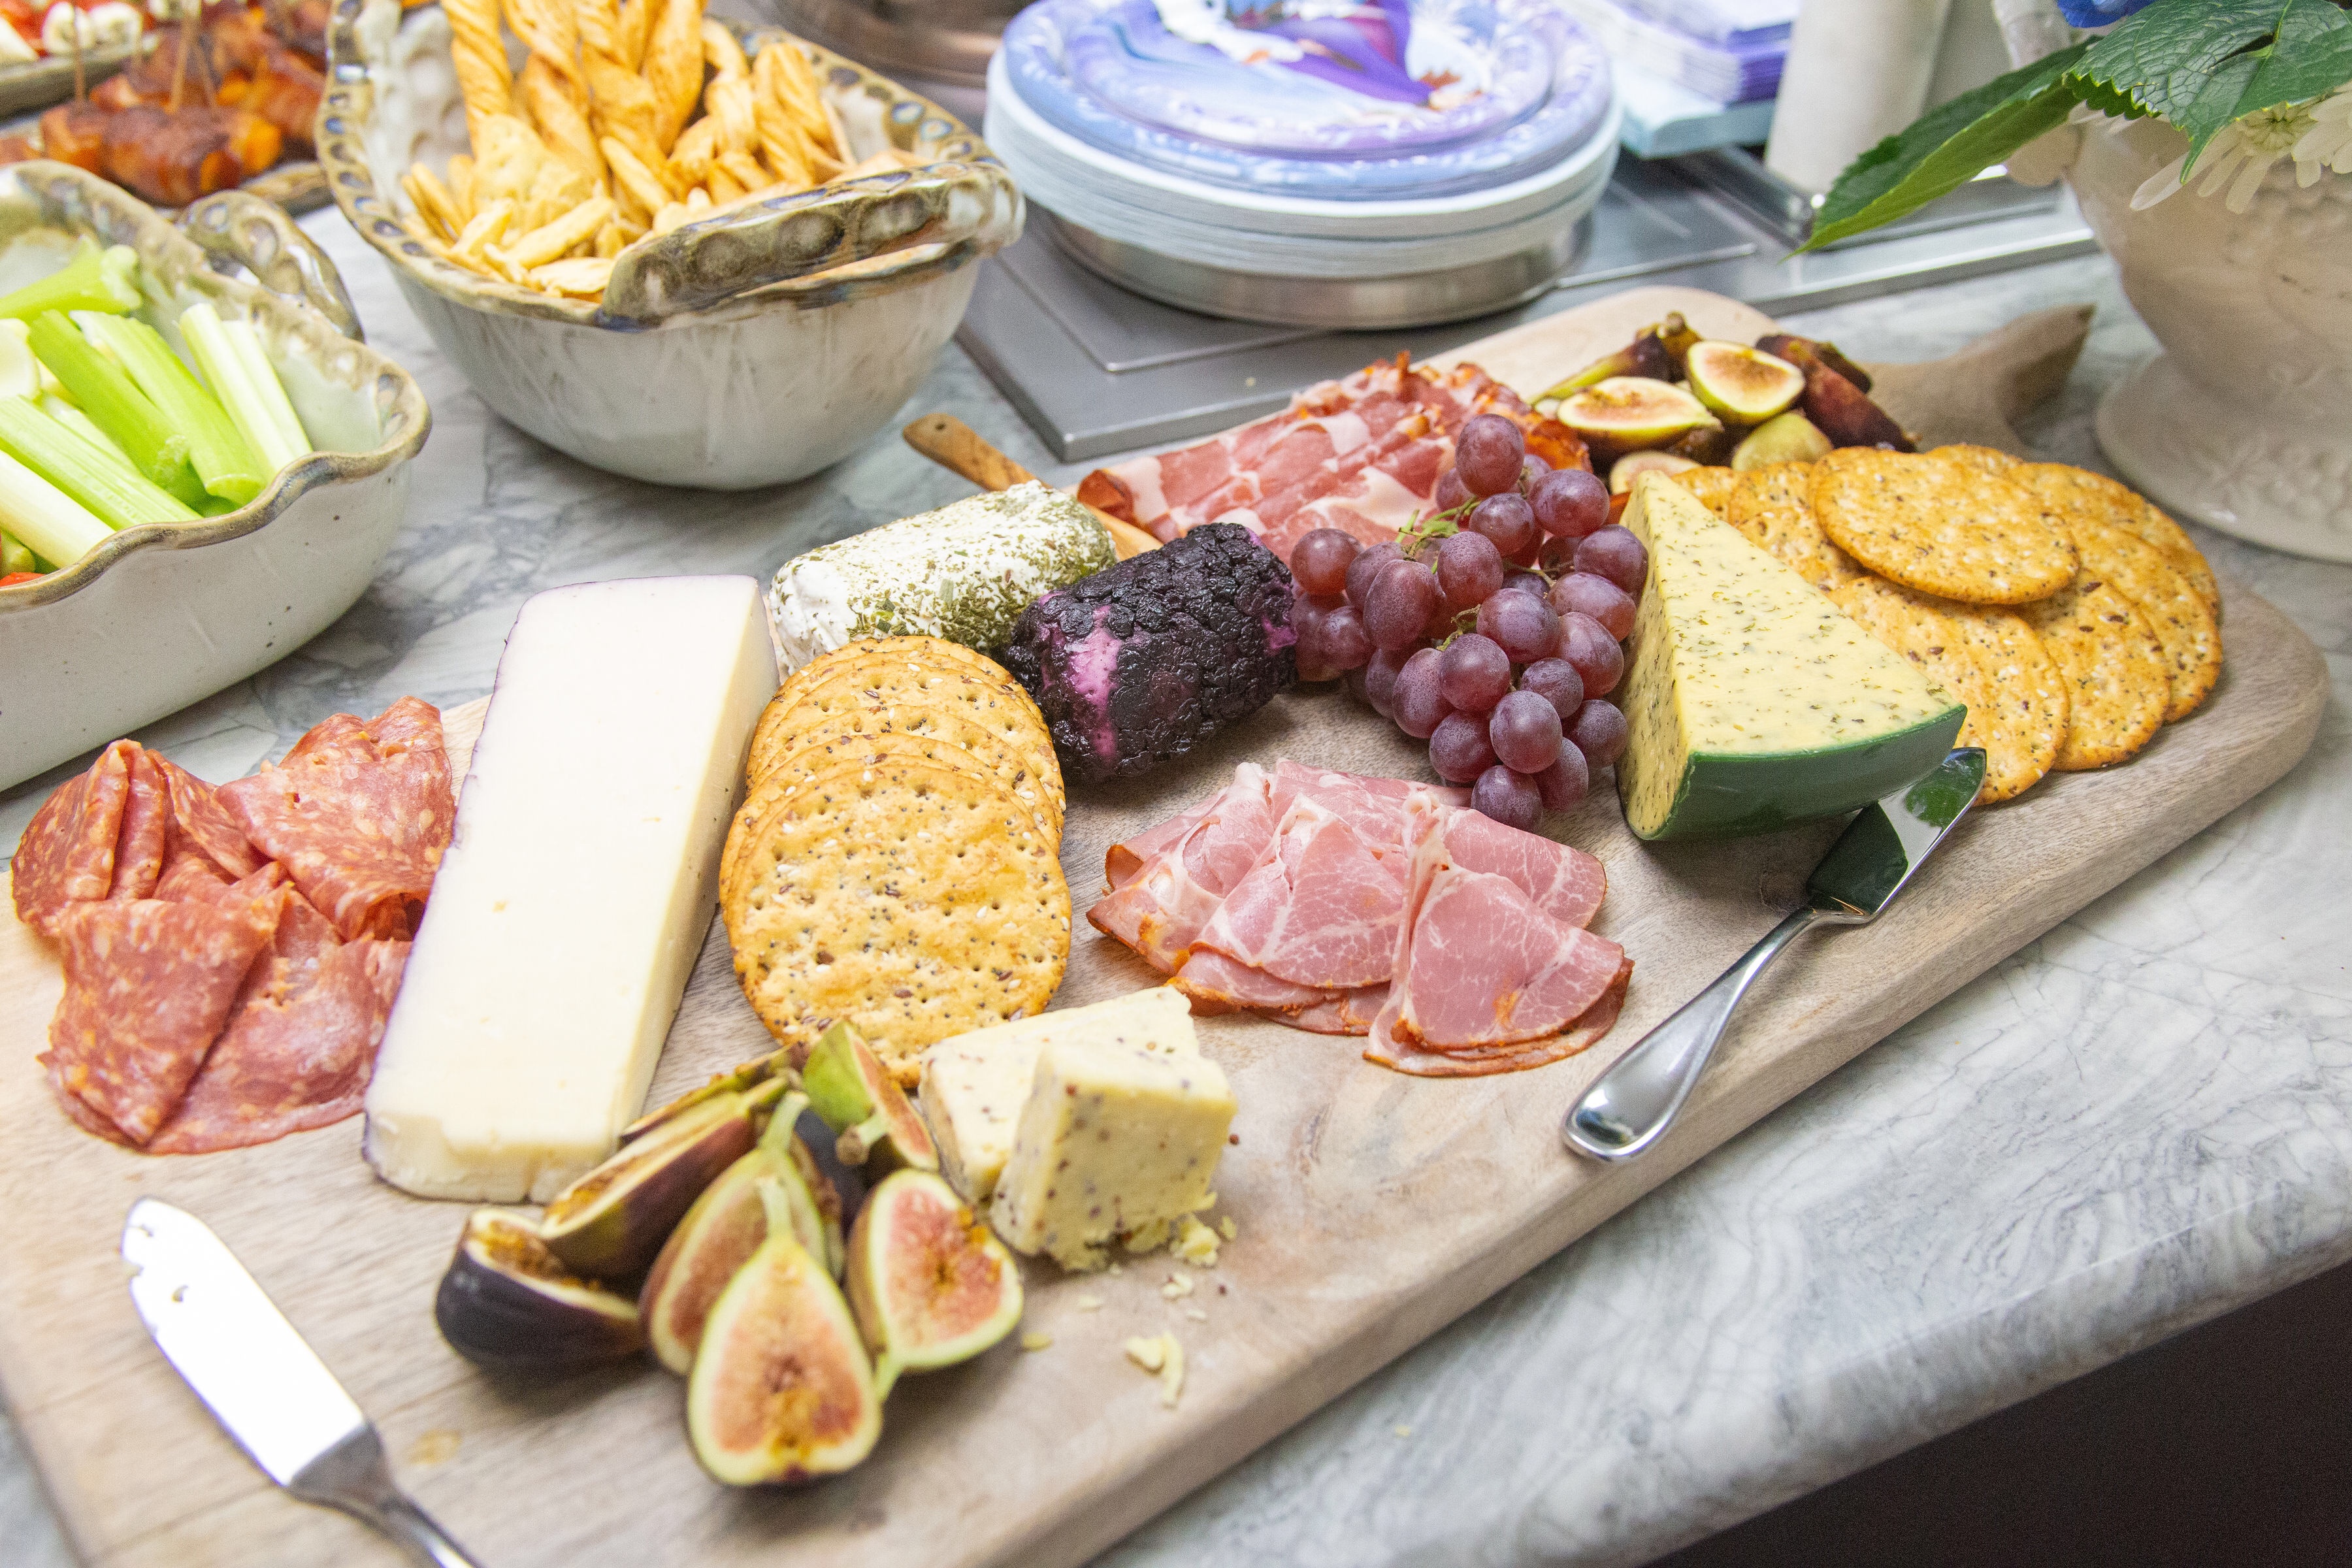
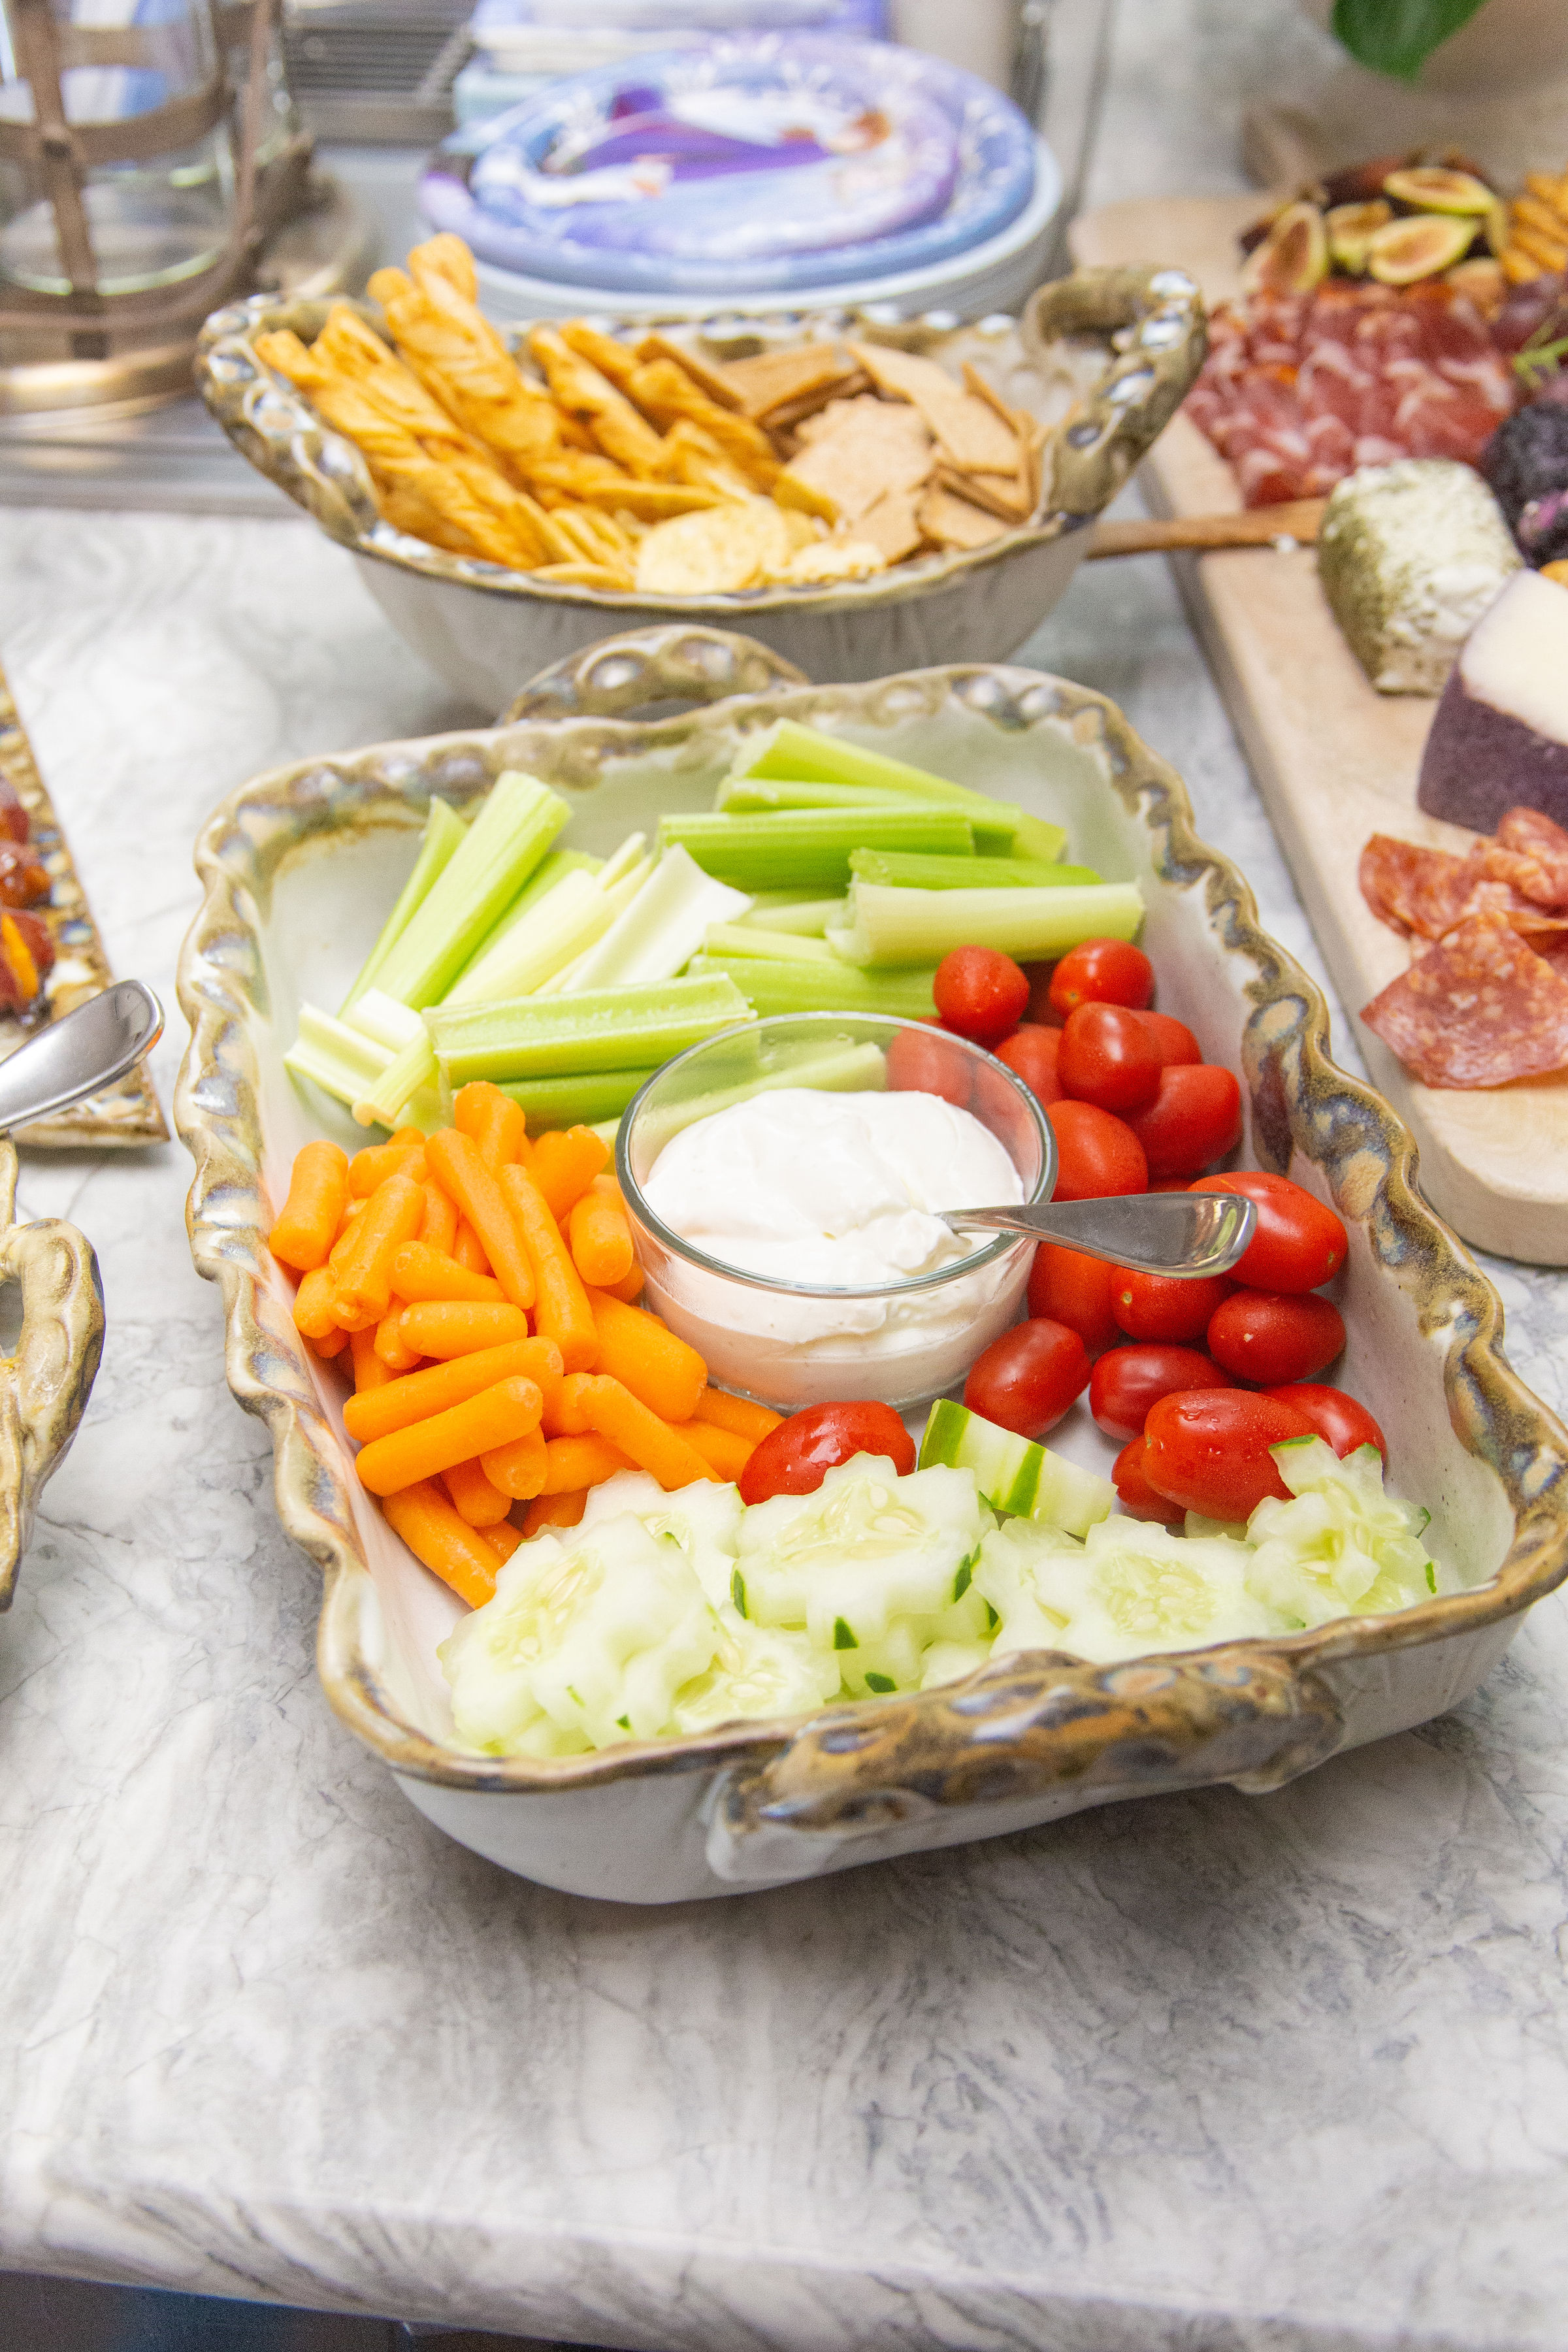
We had a charcuterie board as usual because my main food group is cheese and crackers. Most of the other appetizers were cheesy as well, because that is just what I end up doing for parties. I did add in some healthier options like veggies and dip, and I also threw in some bacon wrapped butternut squash. Here is the full menu:
- Charcuterie Board
- Veggie Tray
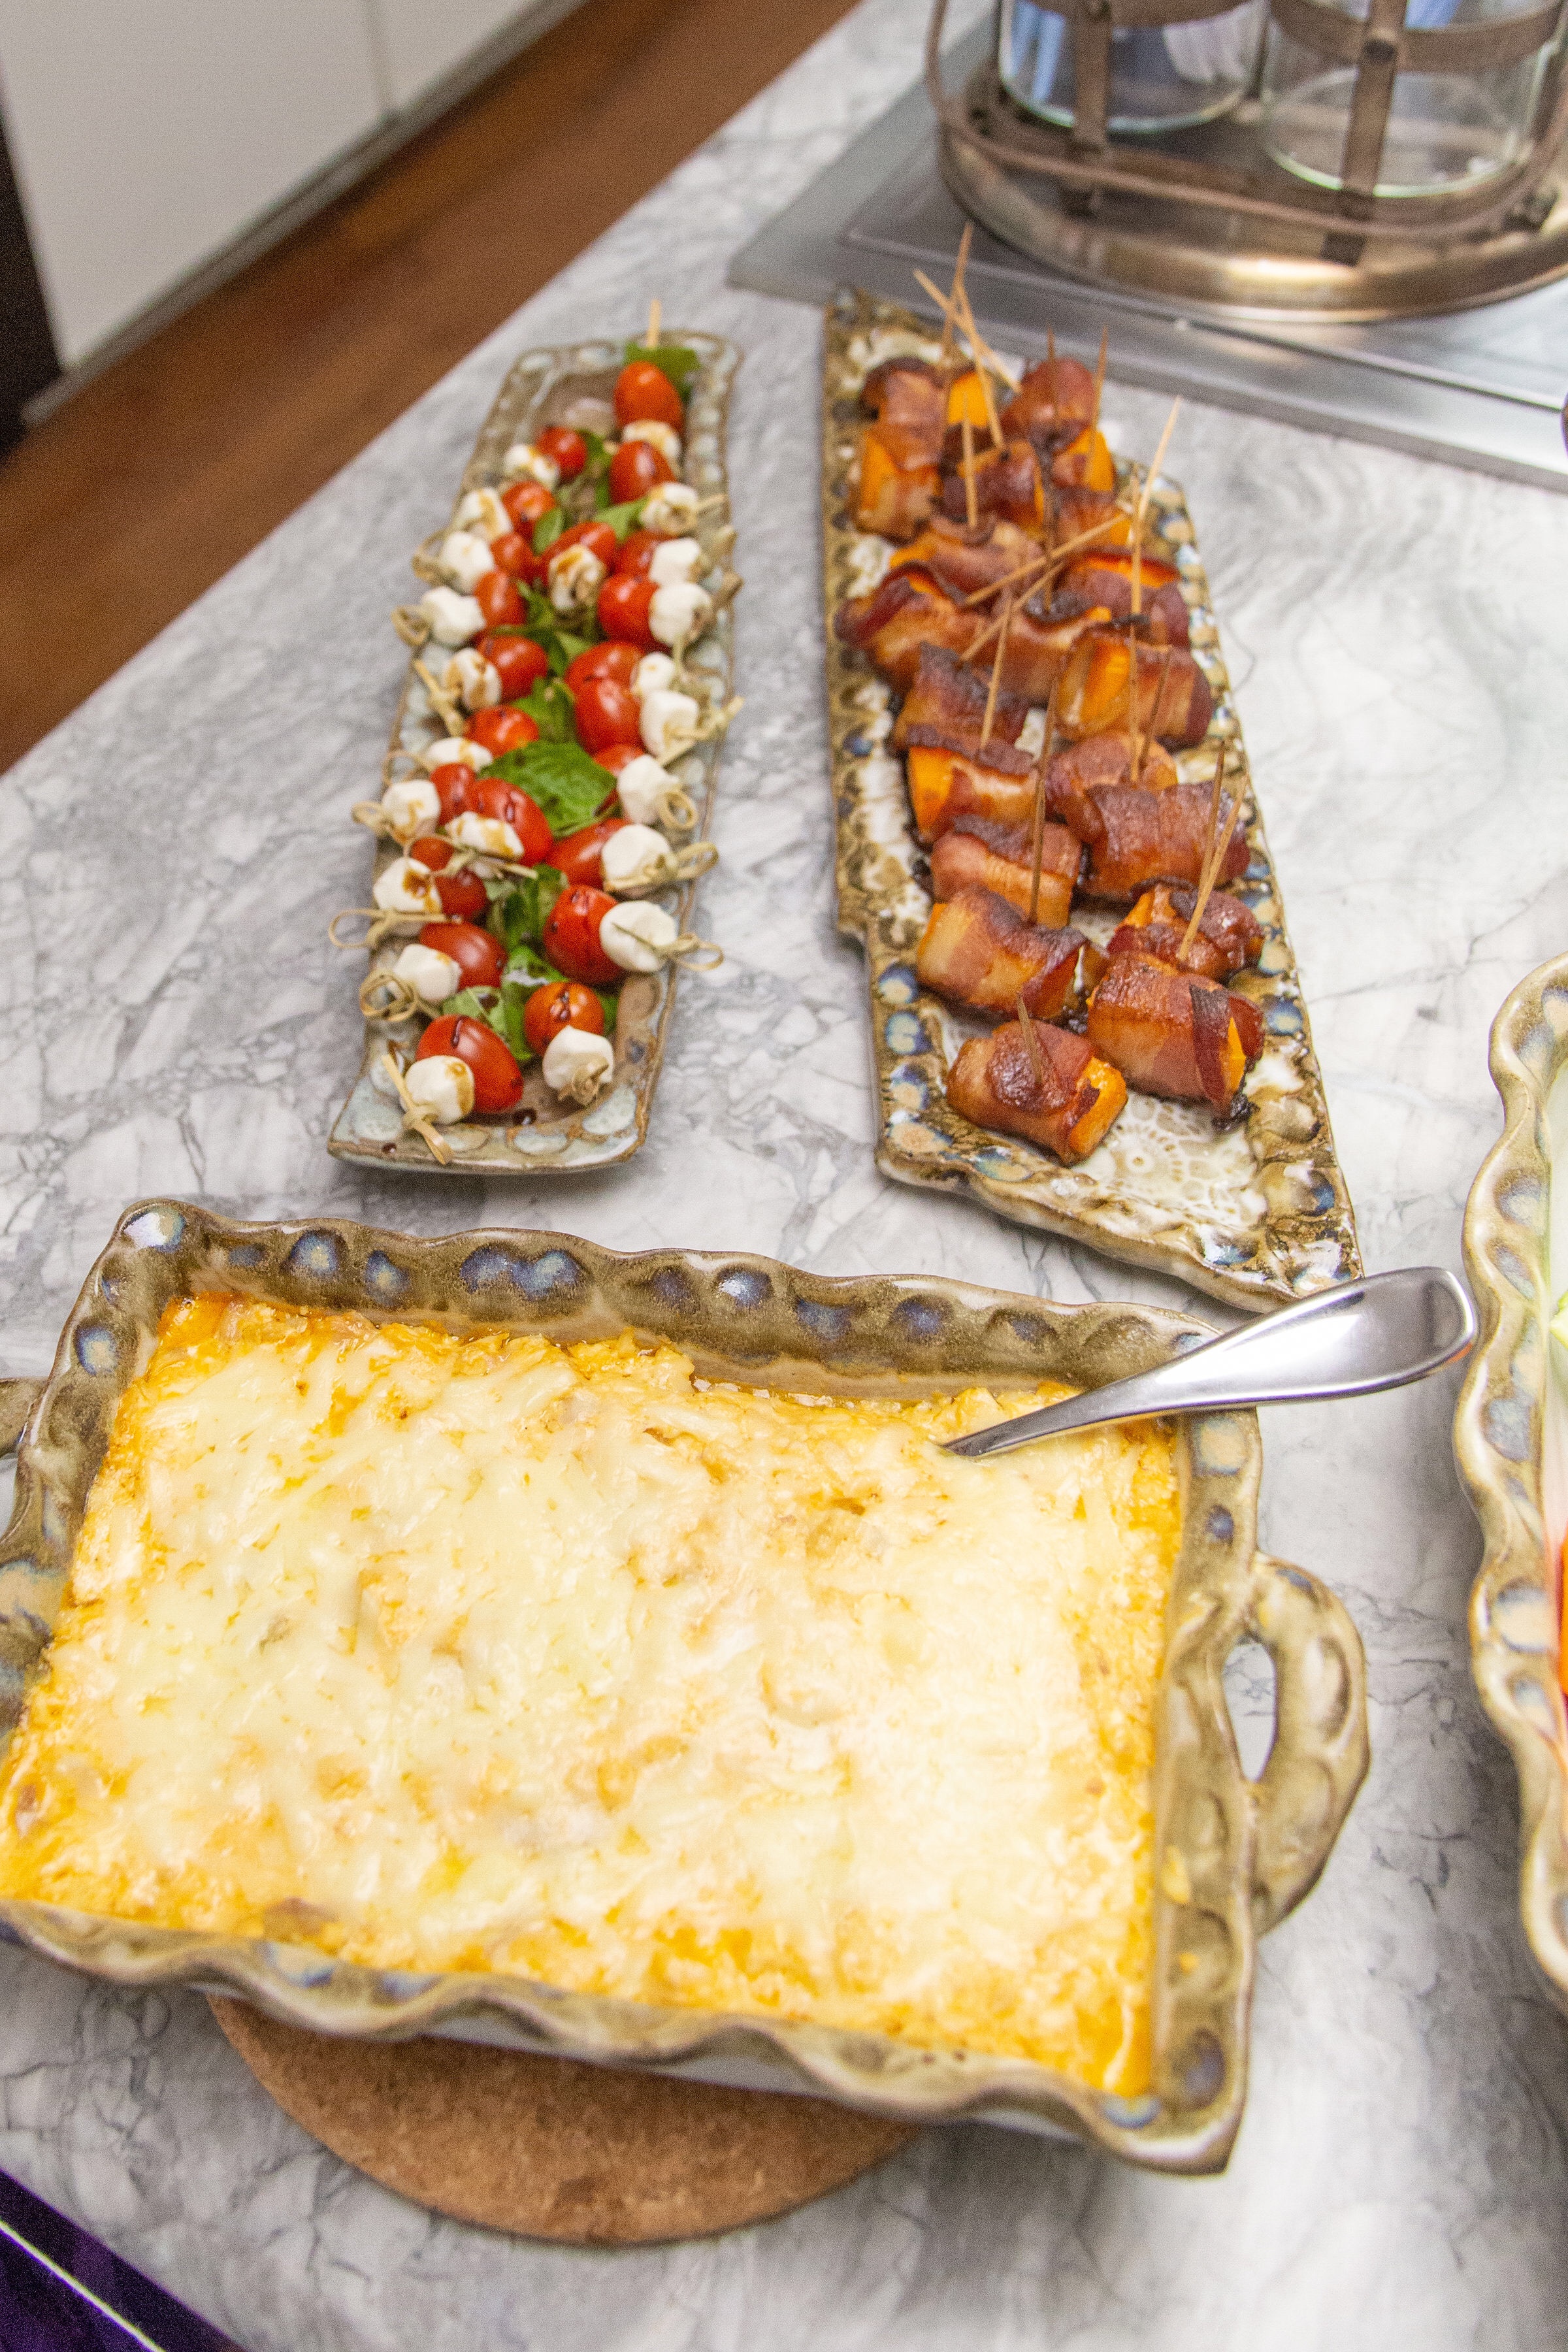
- Buffalo Chicken Dip
- Caprese Bites
- Bacon Wrapped Butternut Squash (from the True Comfort Cookbook, a GF cookbook)
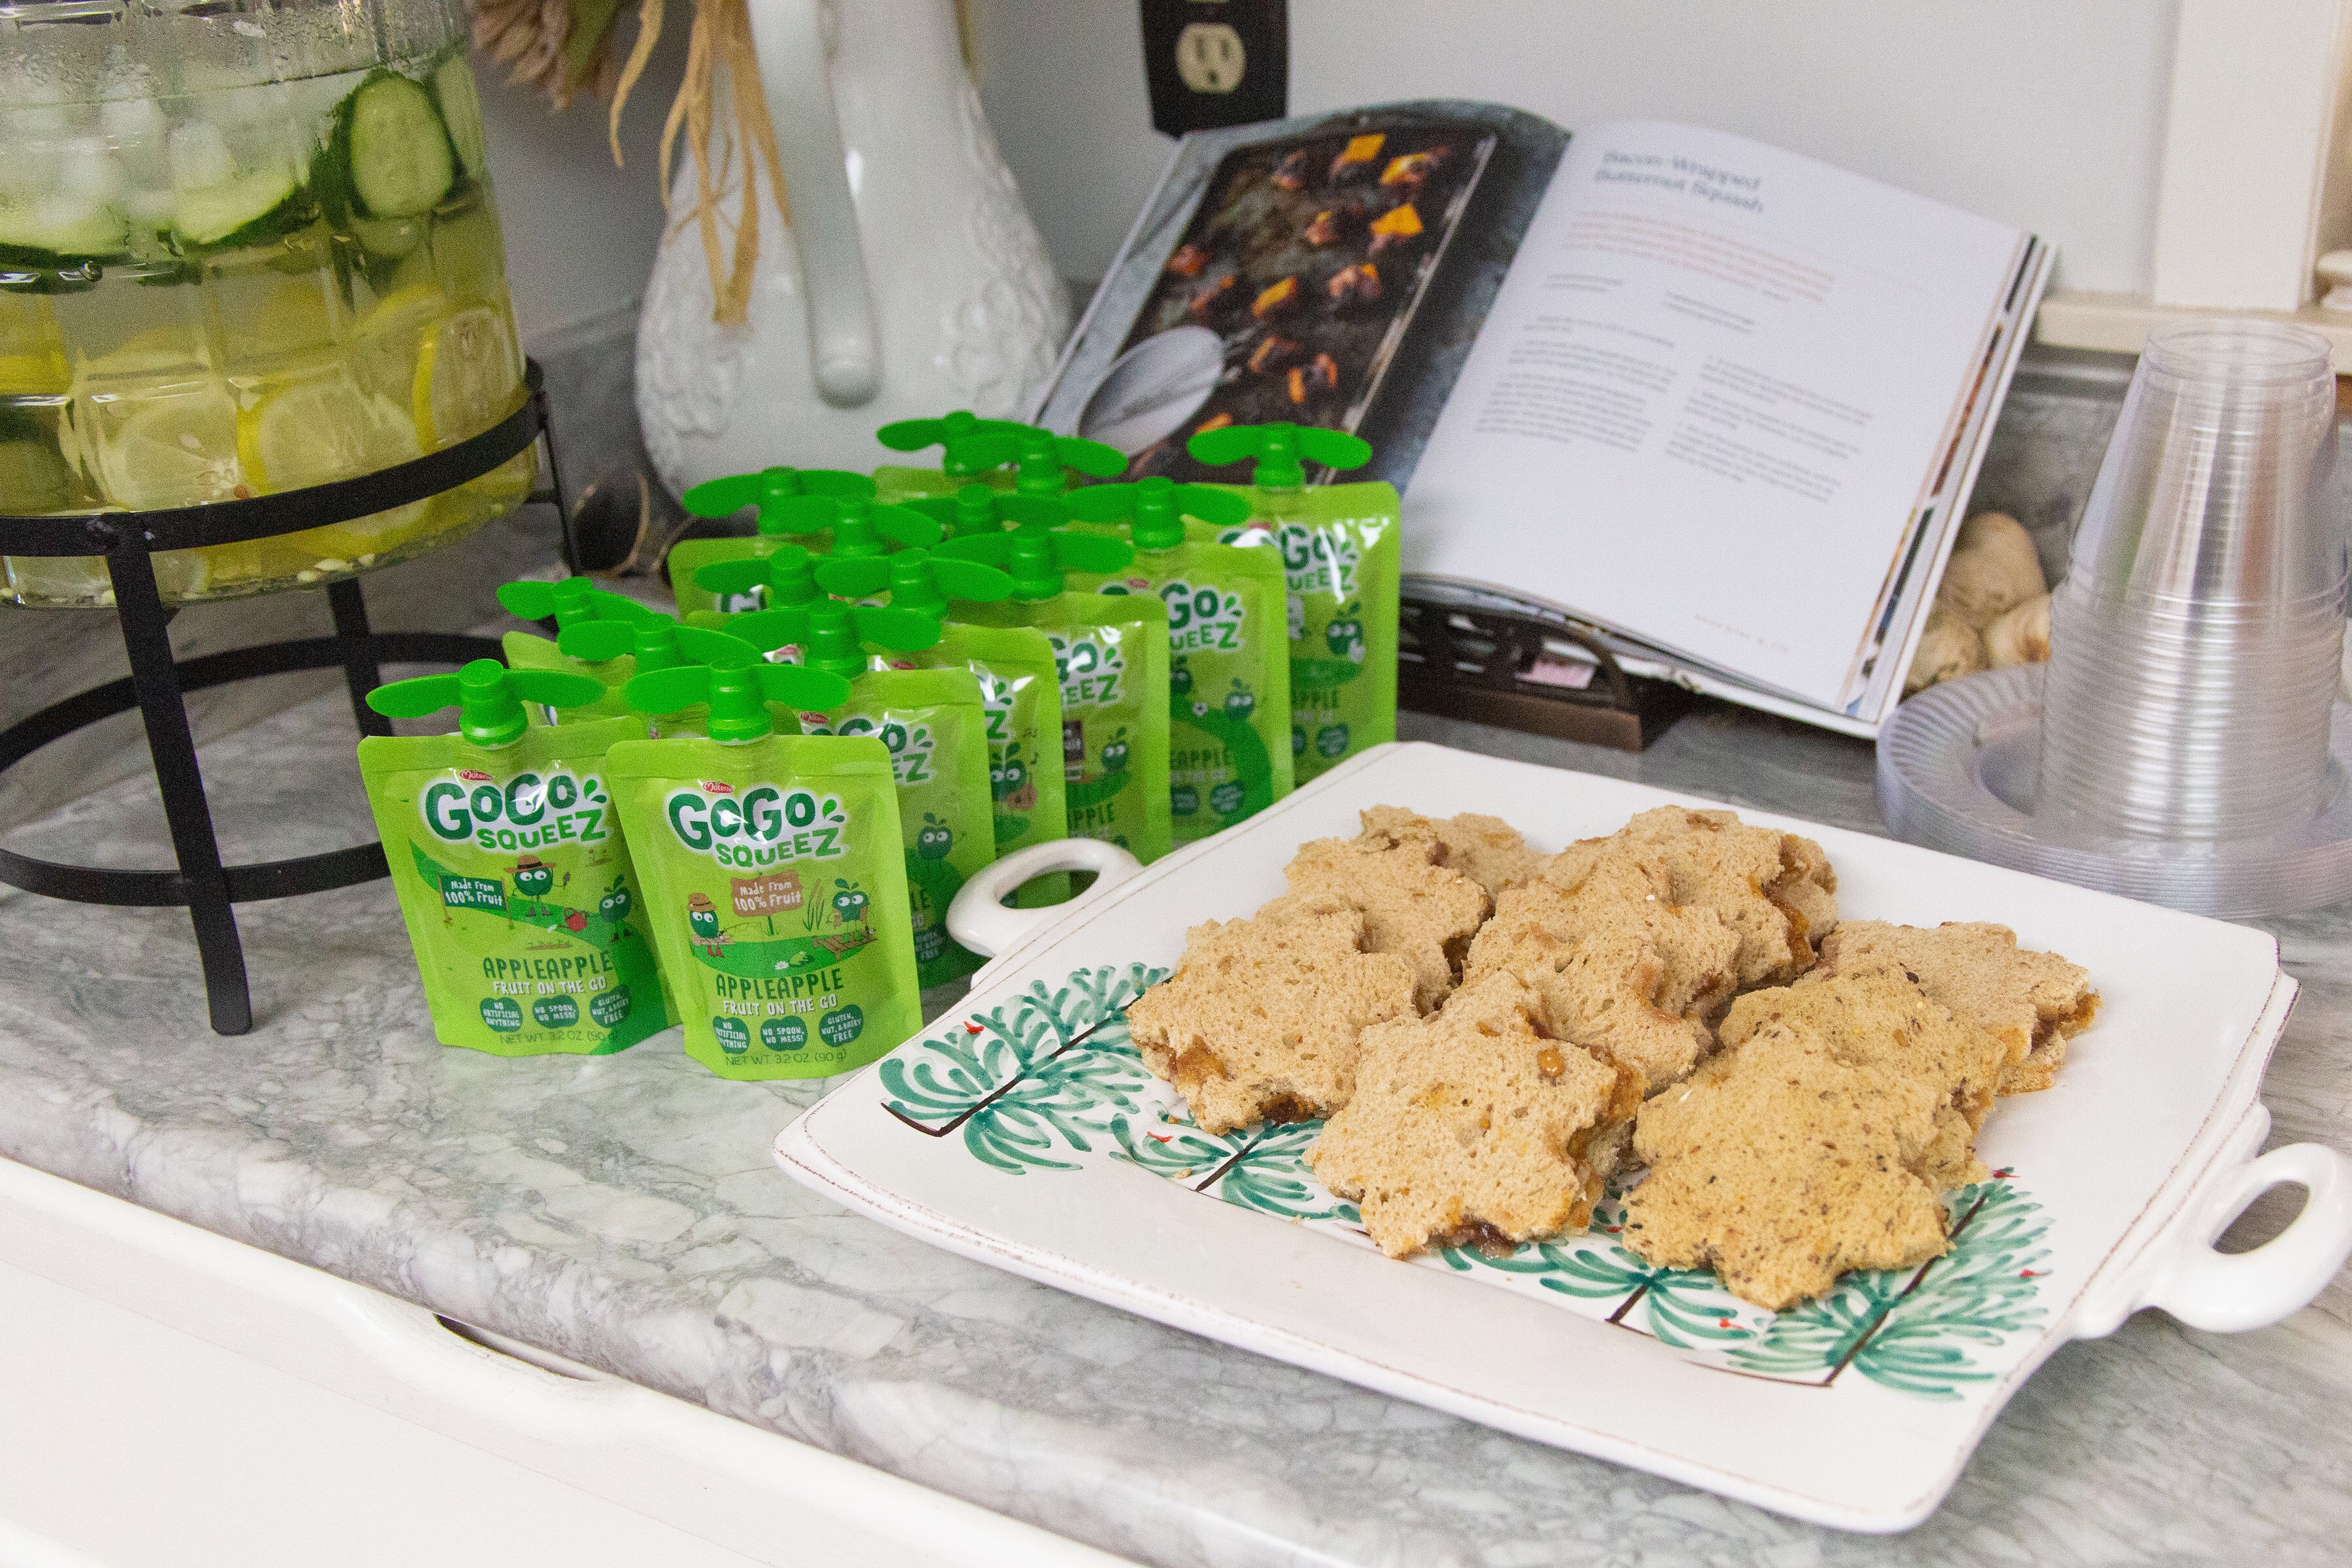
- Peanut Butter and Jelly Sandwiches (cut into snowflakes with snowflake cookie cutter)
- Applesauce Pouches
- Organic juice boxes
- A Frose drink for the adults (because I thought it would be yummy and on theme for the occasion)
- Cucumber Lemon Water
- Popcorn (Kettle Corn from Trader Joe’s)
- Cracker assortment
- Cheddar and Chive Scones
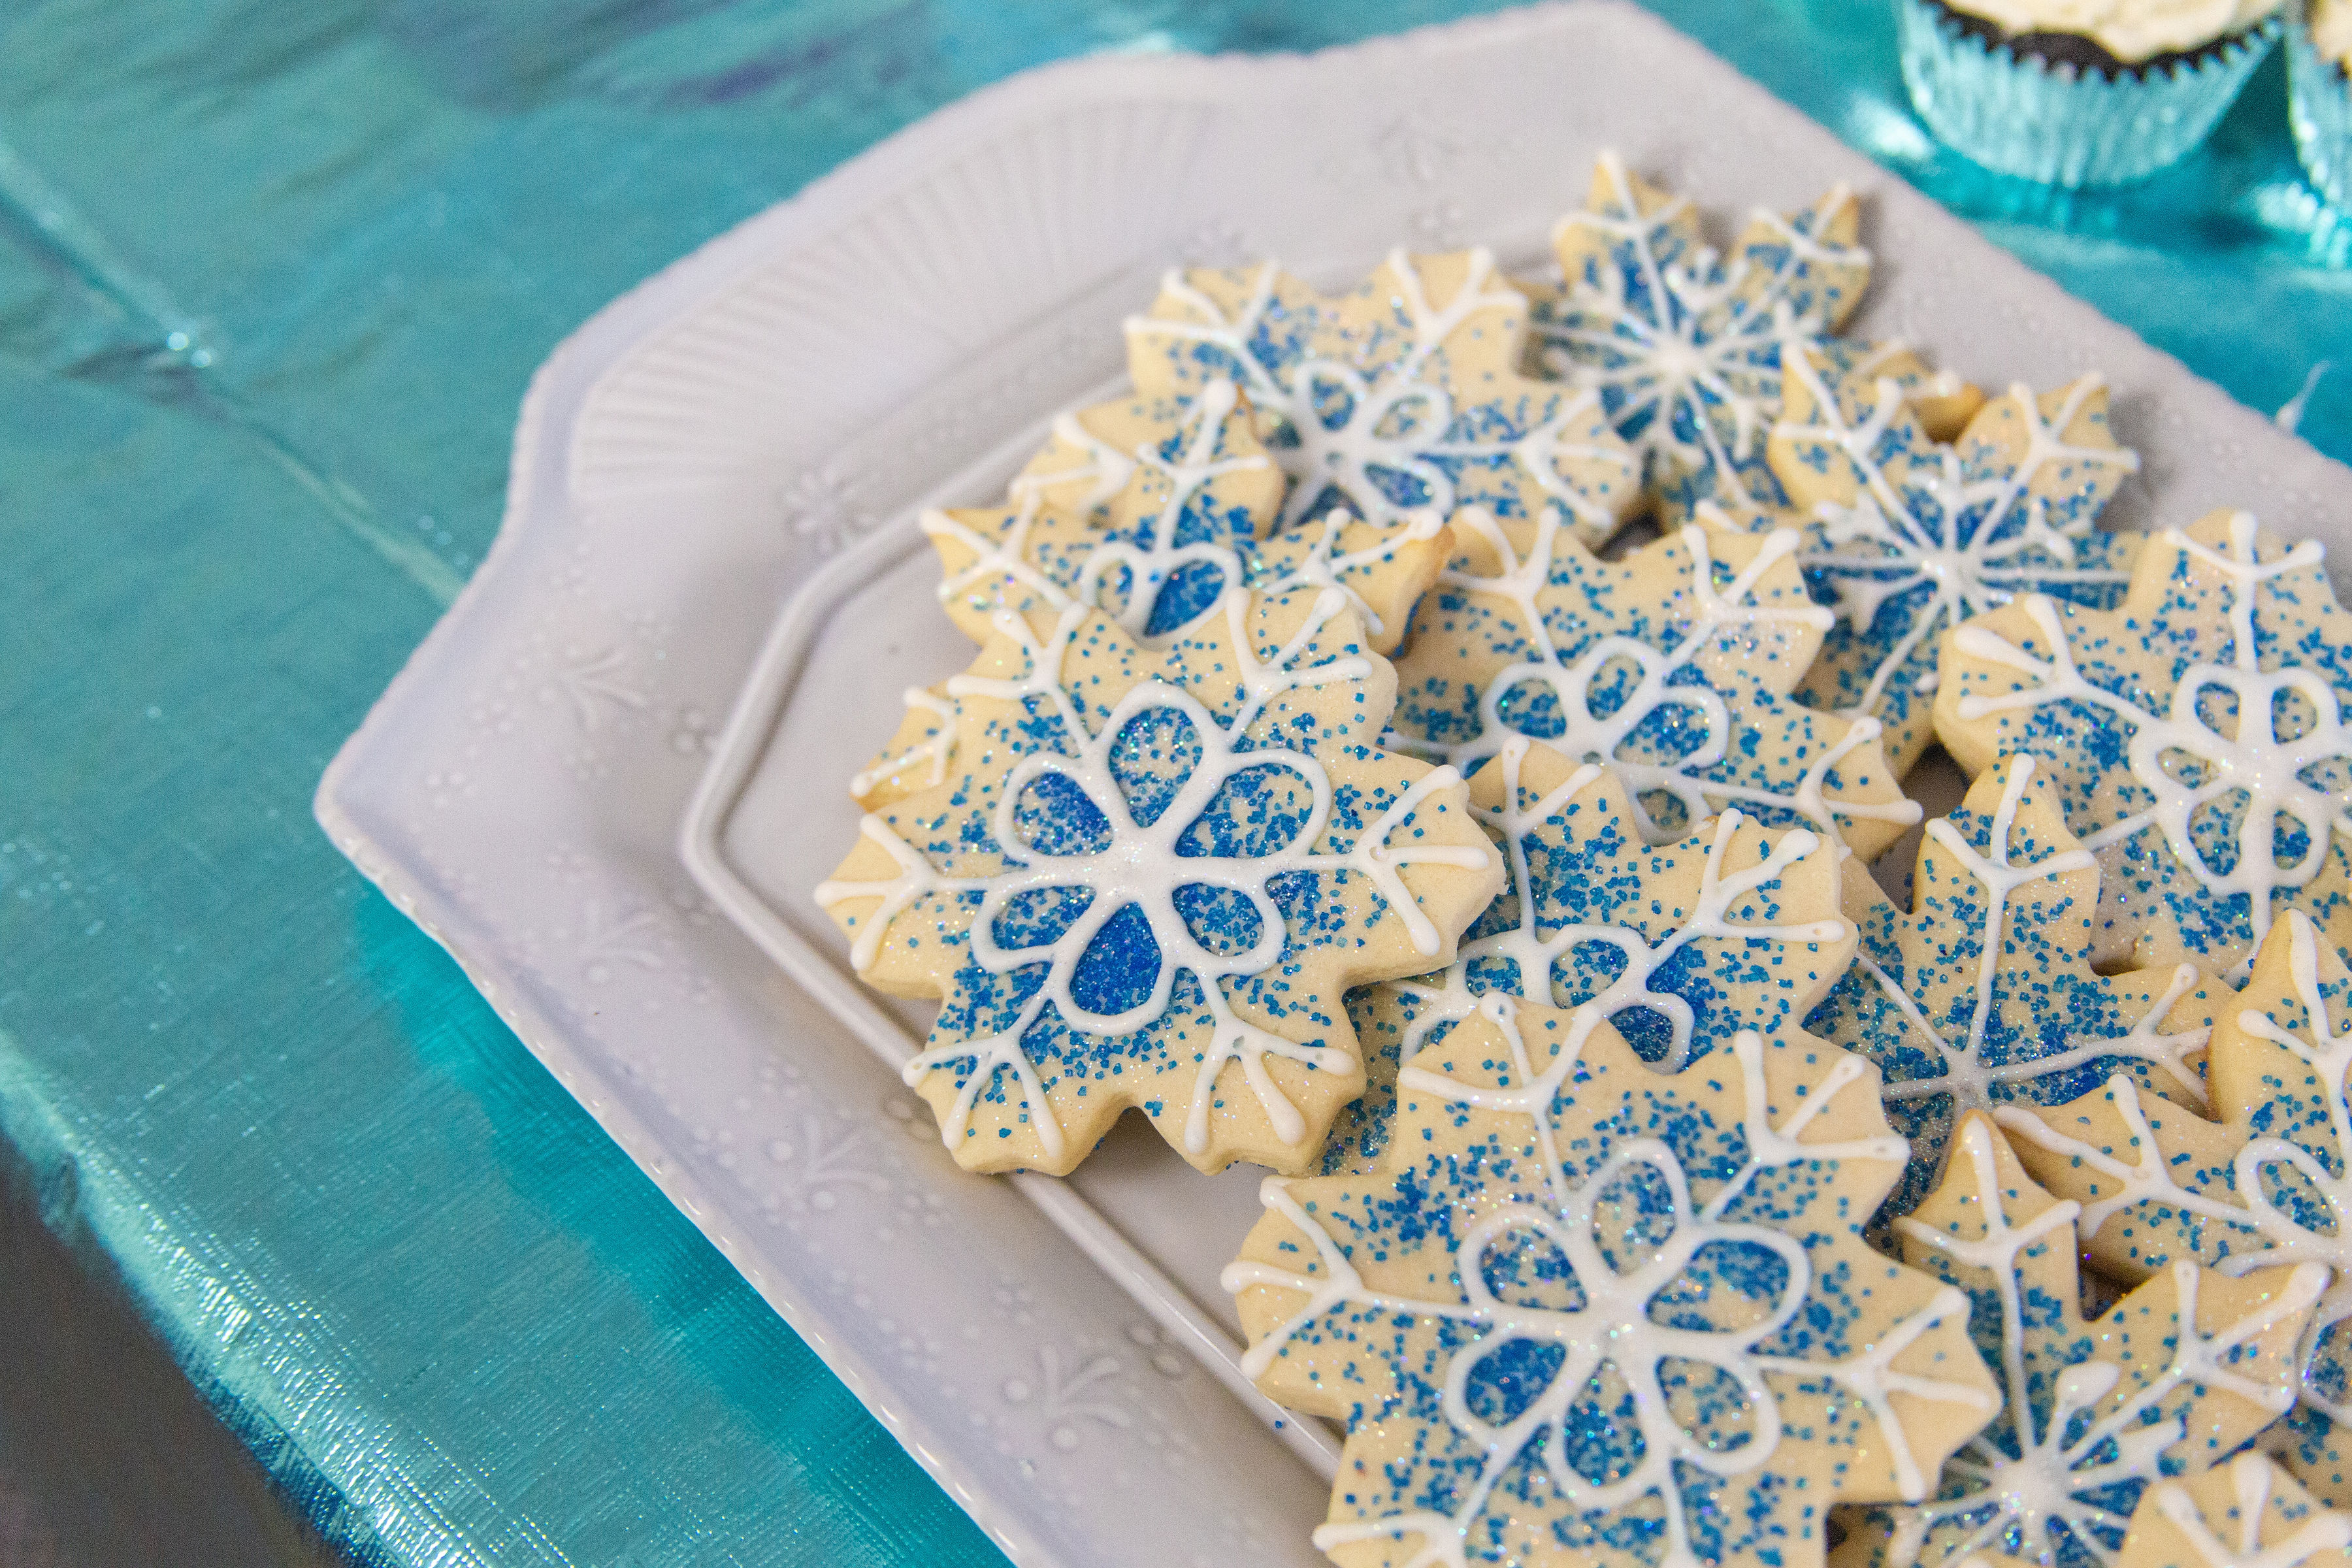
- Snowflake Sugar Cookies (find the recipes I use for the cookies and royal icing HERE)
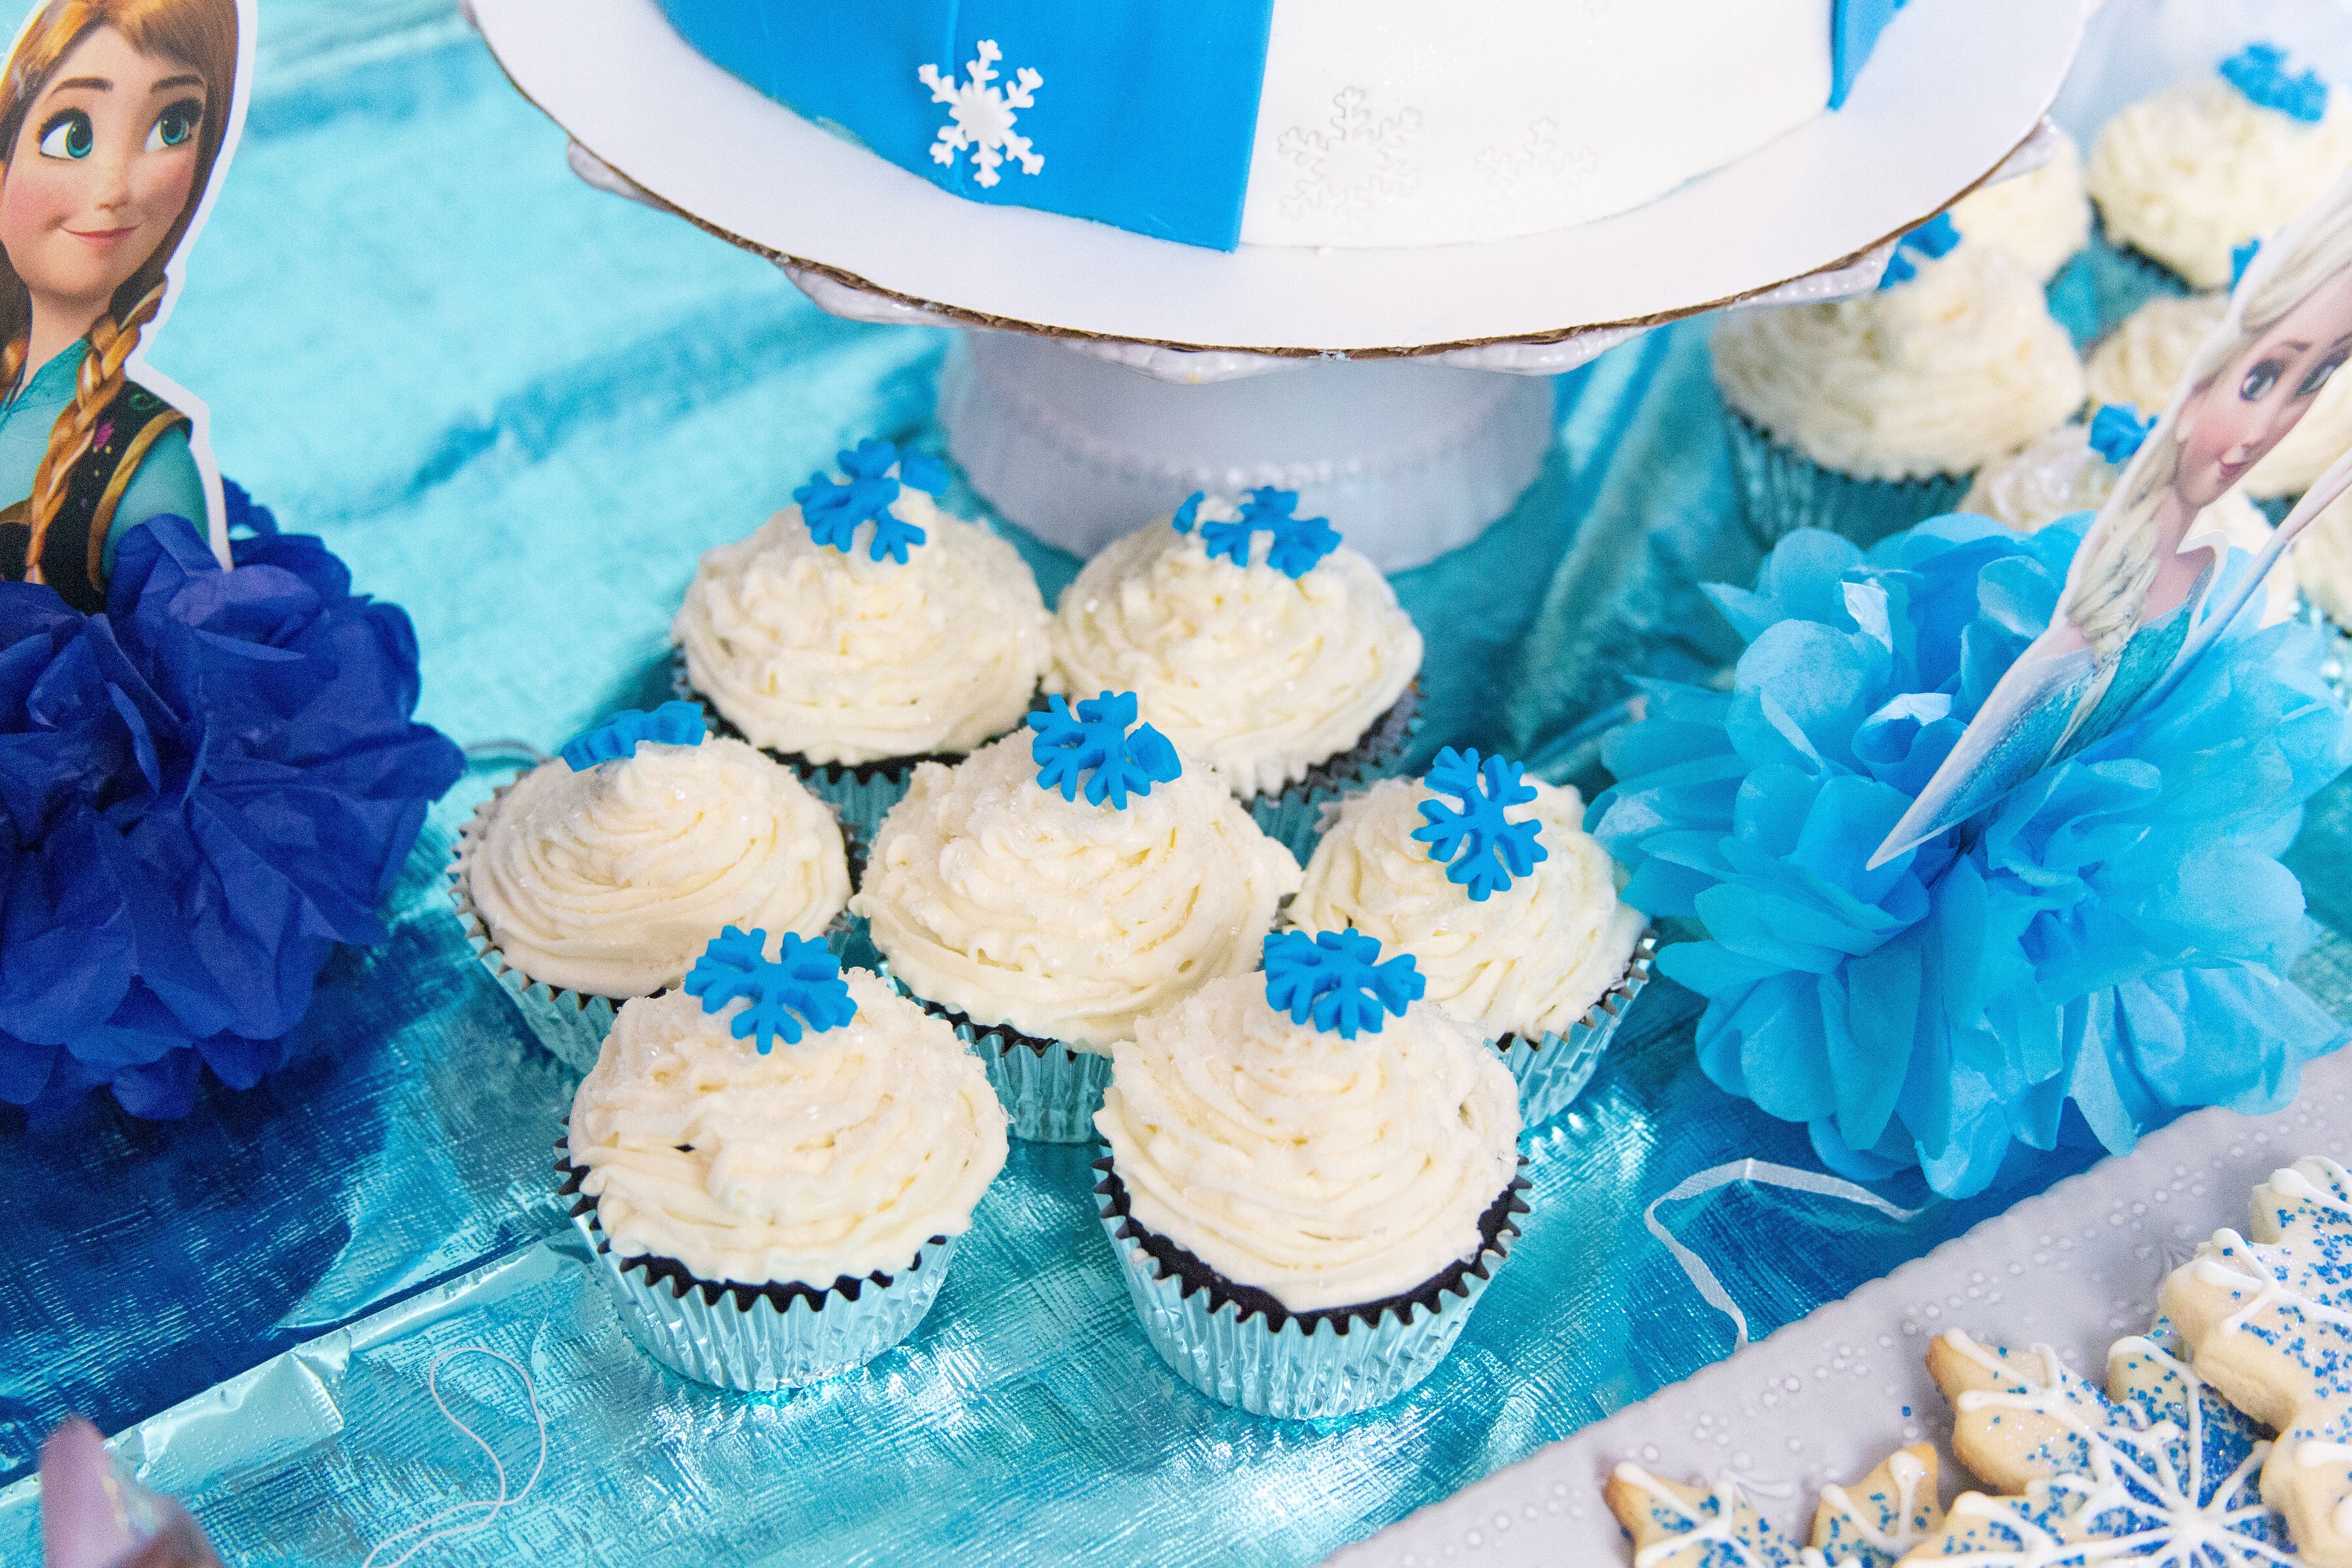
- Cupcakes
- Elsa Doll Cake & Ice Cream

THE PARTY DETAILS
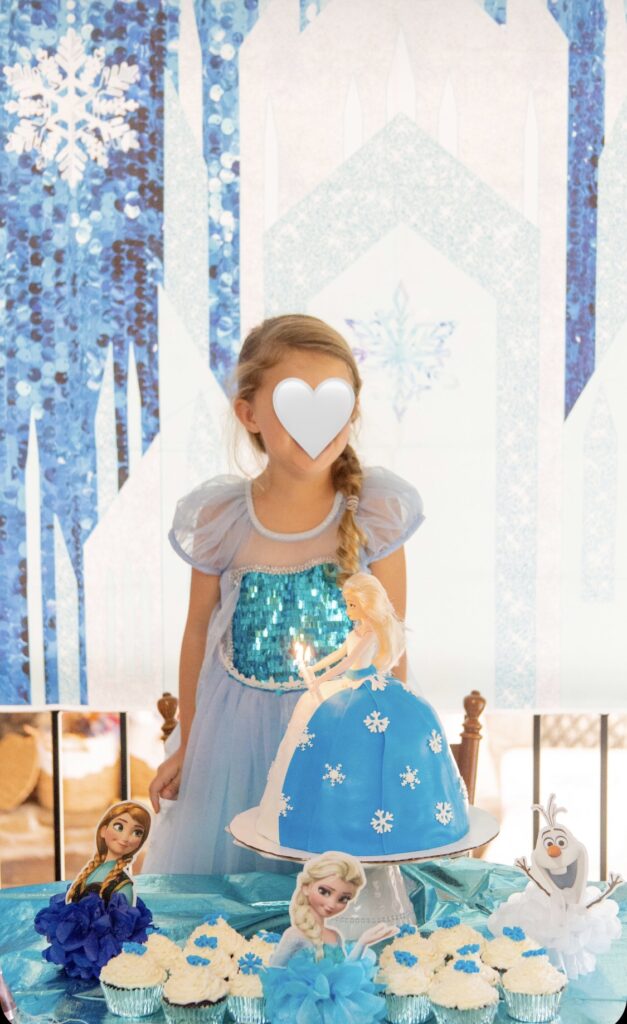
Greta definitely wanted to dress up as Elsa for her birthday, so on the invitation I requested that the kids dress up as their favorite princess. Dress up parties are so much fun, right?!
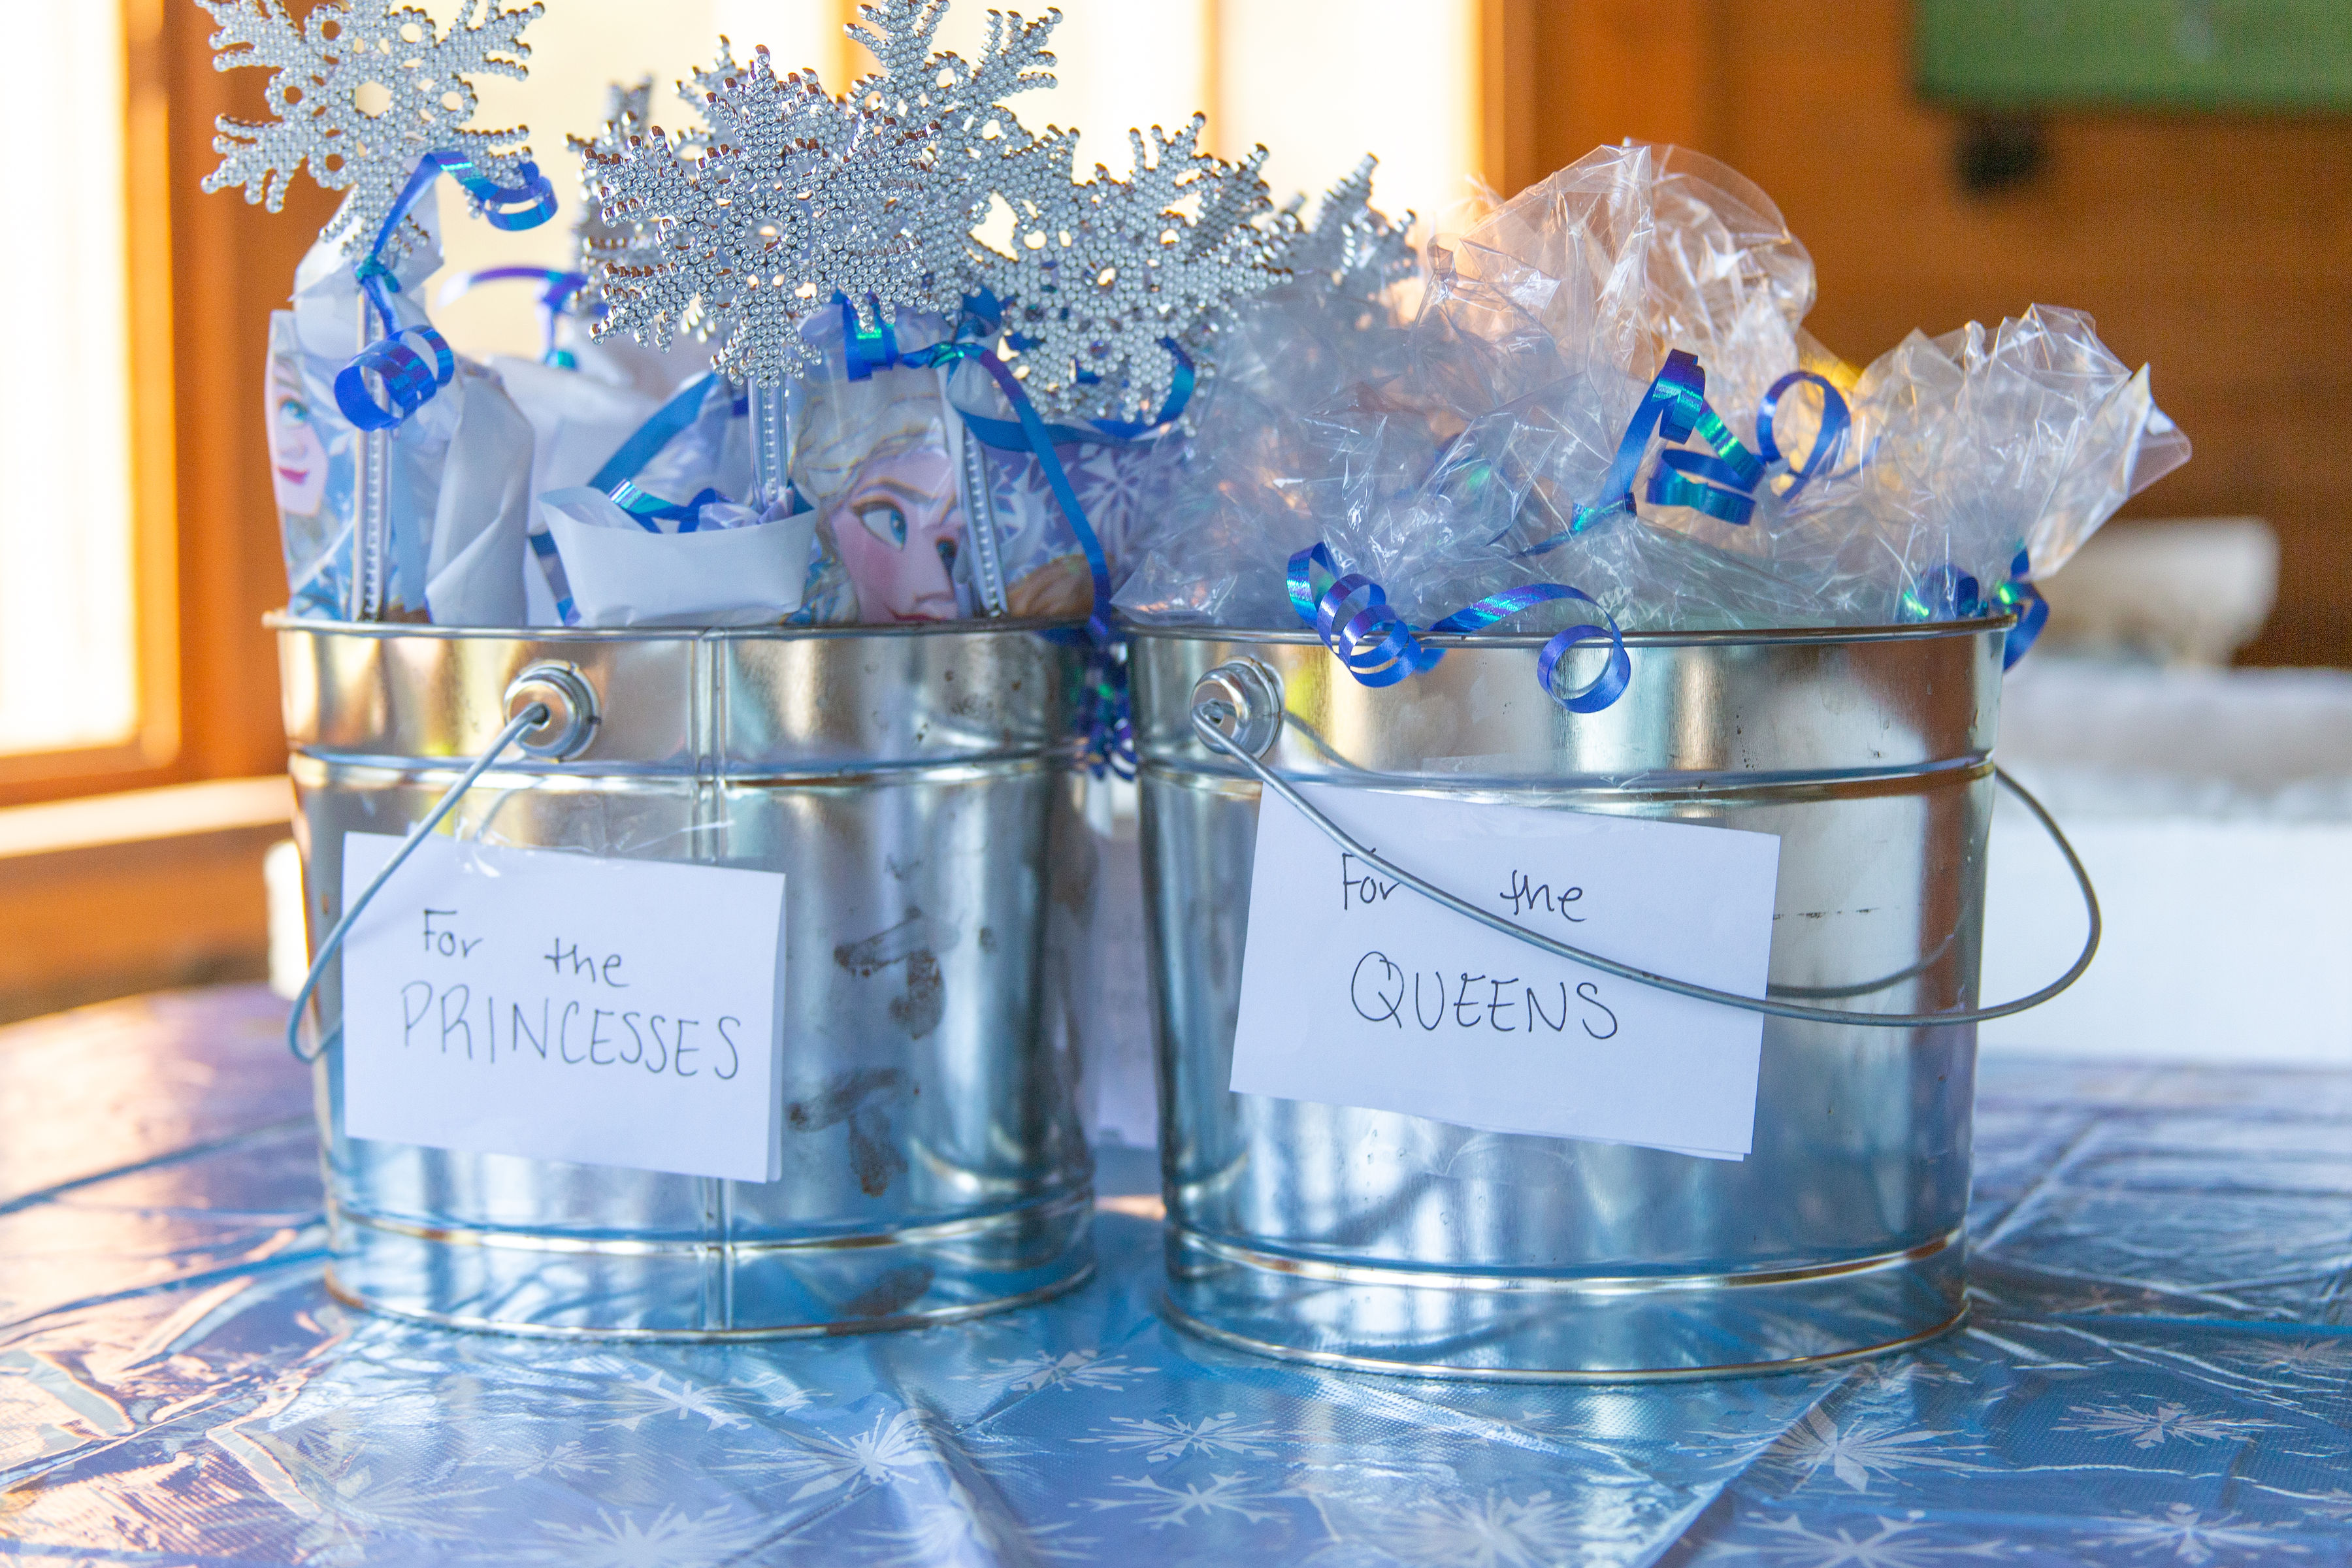
Most of the Frozen party decorations and balloons on were found on Amazon (of course). I also love finding the backdrops (table cloths) for the photo booth from the Dollar Tree I also found party favors for the kids, and the party hats from Oriental Trading.
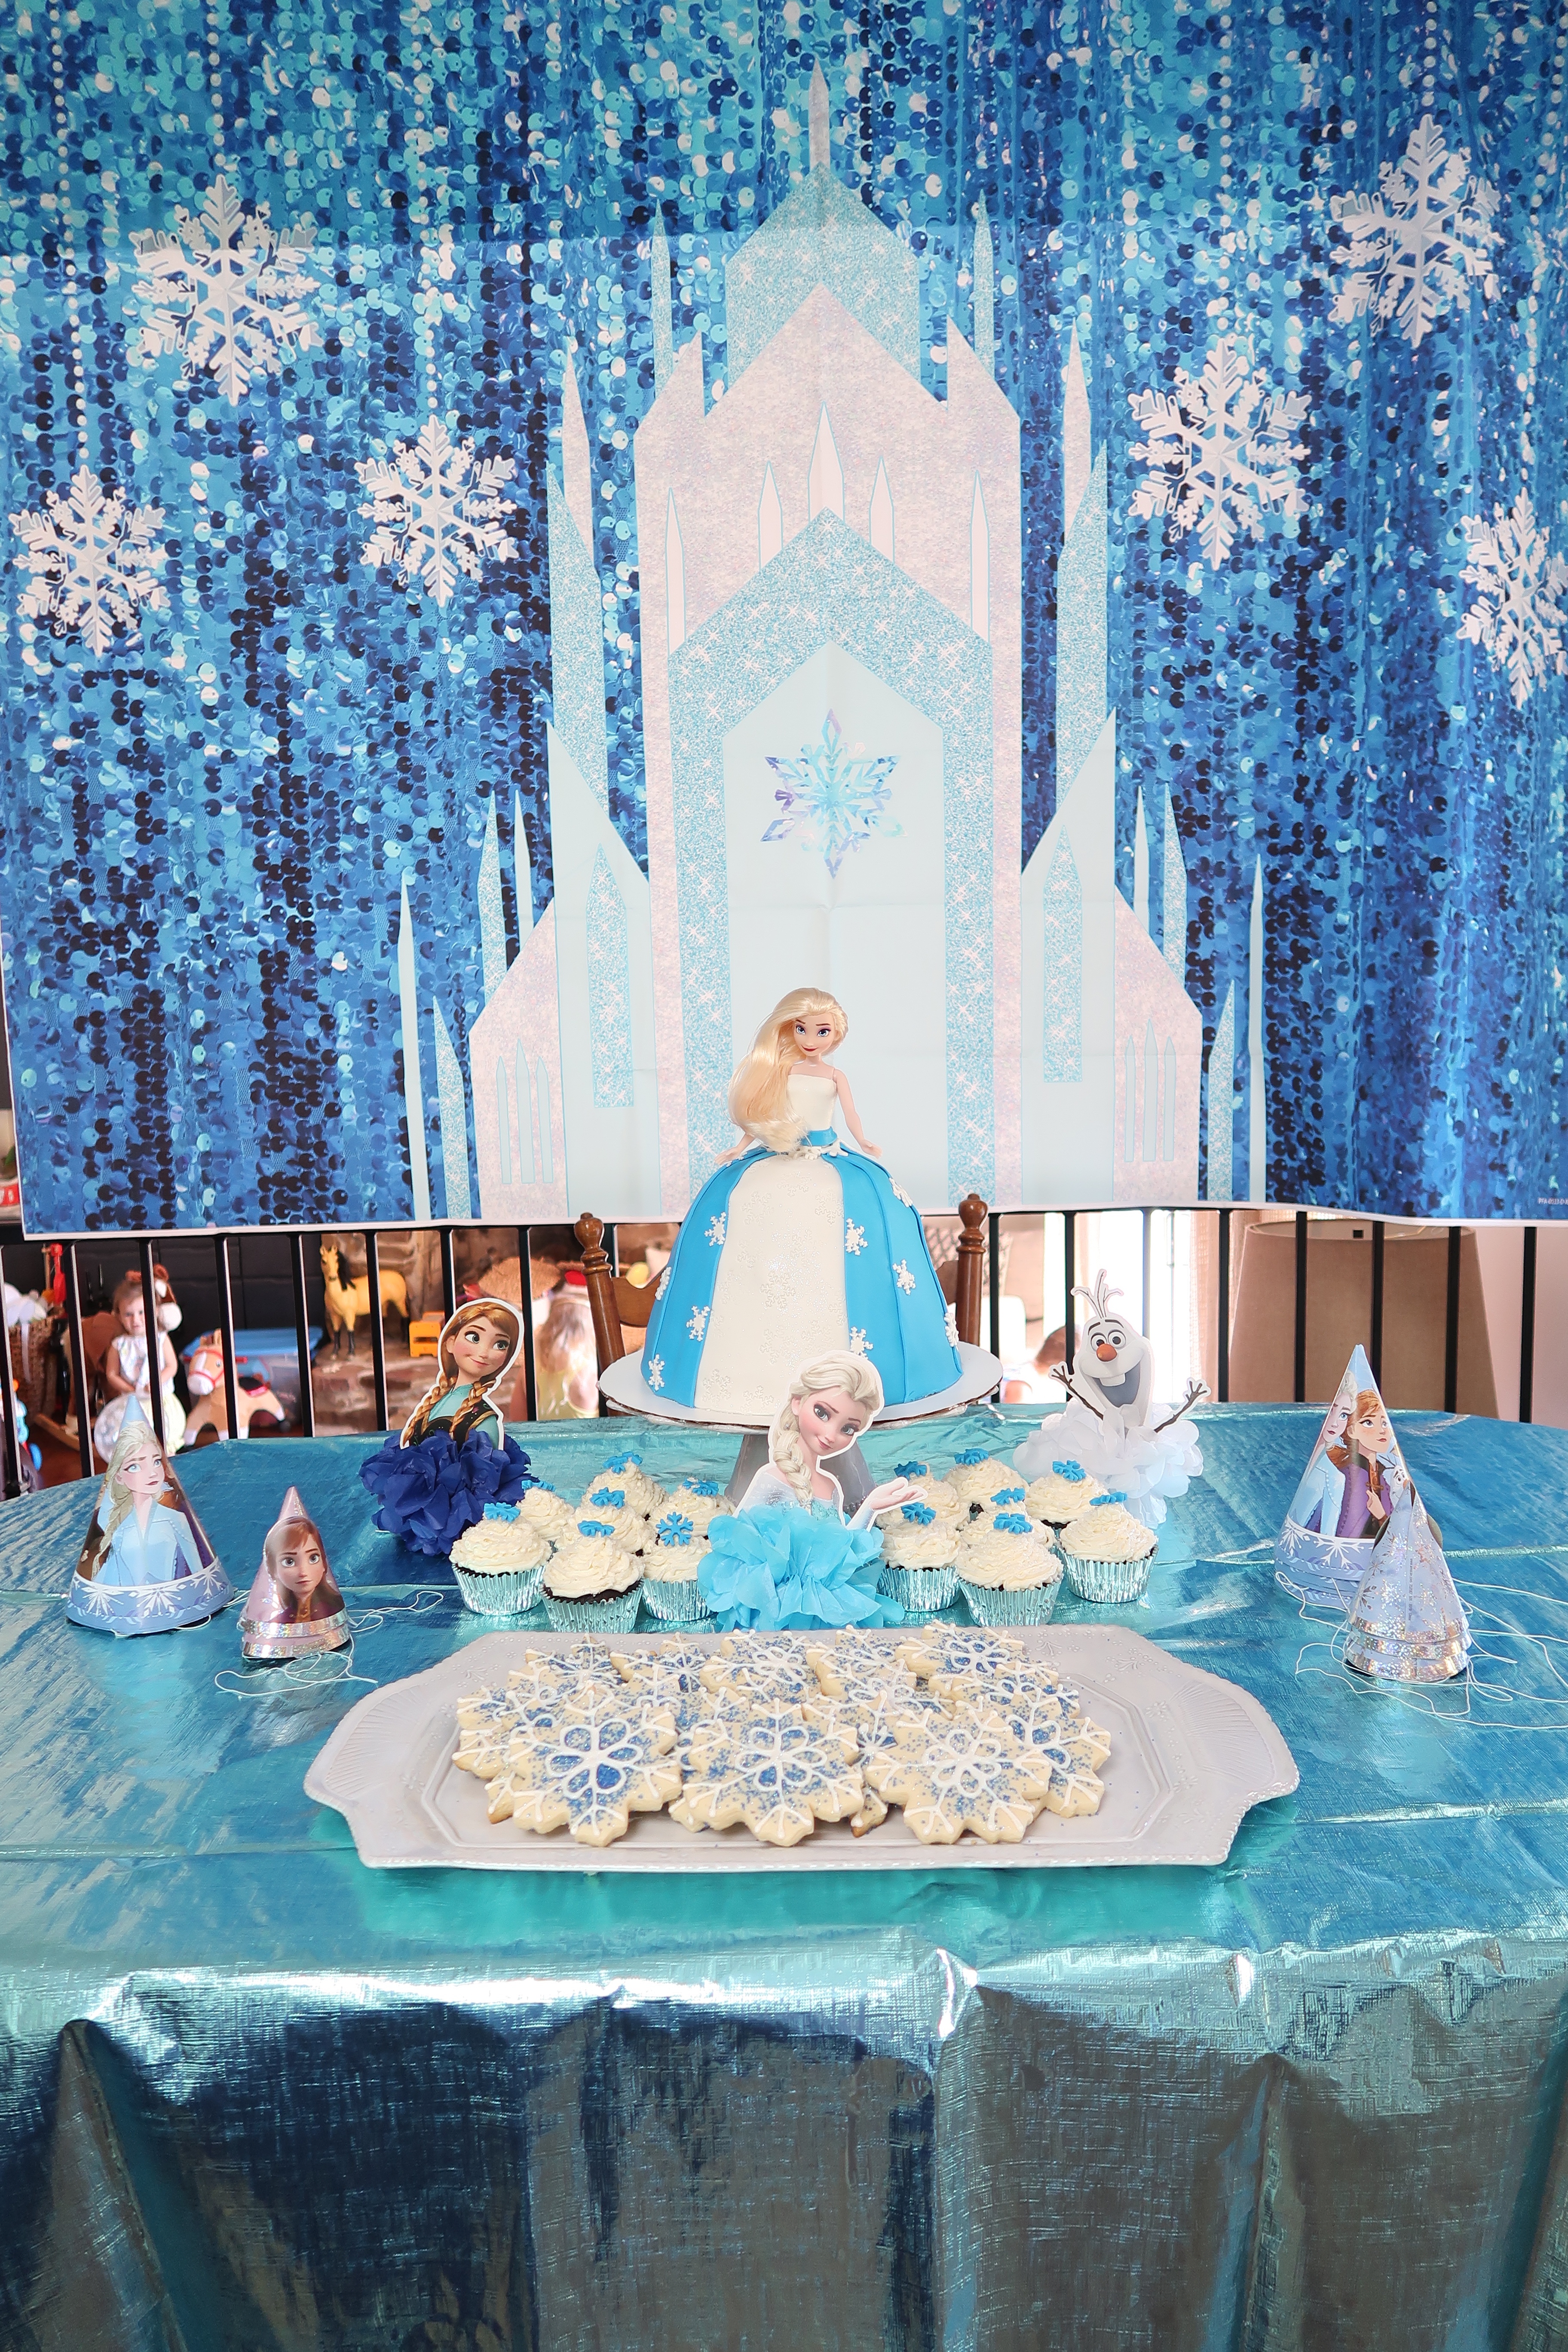
Last year I had my husband buy some PVC pipe (and elbow & T joints) from the Home Depot to make me a little frame to do a backdrop on. It makes doing an Instagram wall/photo booth so easy, and I can set it up anywhere!
Instead of having everything inside, I set up the photo booth on our screened in porch, and had some Frozen table cloths out there on our patio tables. The weather was so great, and Greta got a new play set in our backyard for her birthday, I thought it would be nice to have as much as we can outside so everyone can enjoy the sunshine and the new playground.
I didn’t get any pictures of the ballon arch or all the snowflakes I had hanging from the archways, but you can see a little video clip of it in my party reel on my Instagram HERE.
Find all the frozen decor you need here:
[show_shopthepost_widget id=”4651649″]
My serve ware is a mix of Finger Print Pottery from a local store on our town square, and some serving dishes from Anthropologie.

THE Elsa Doll CAKE
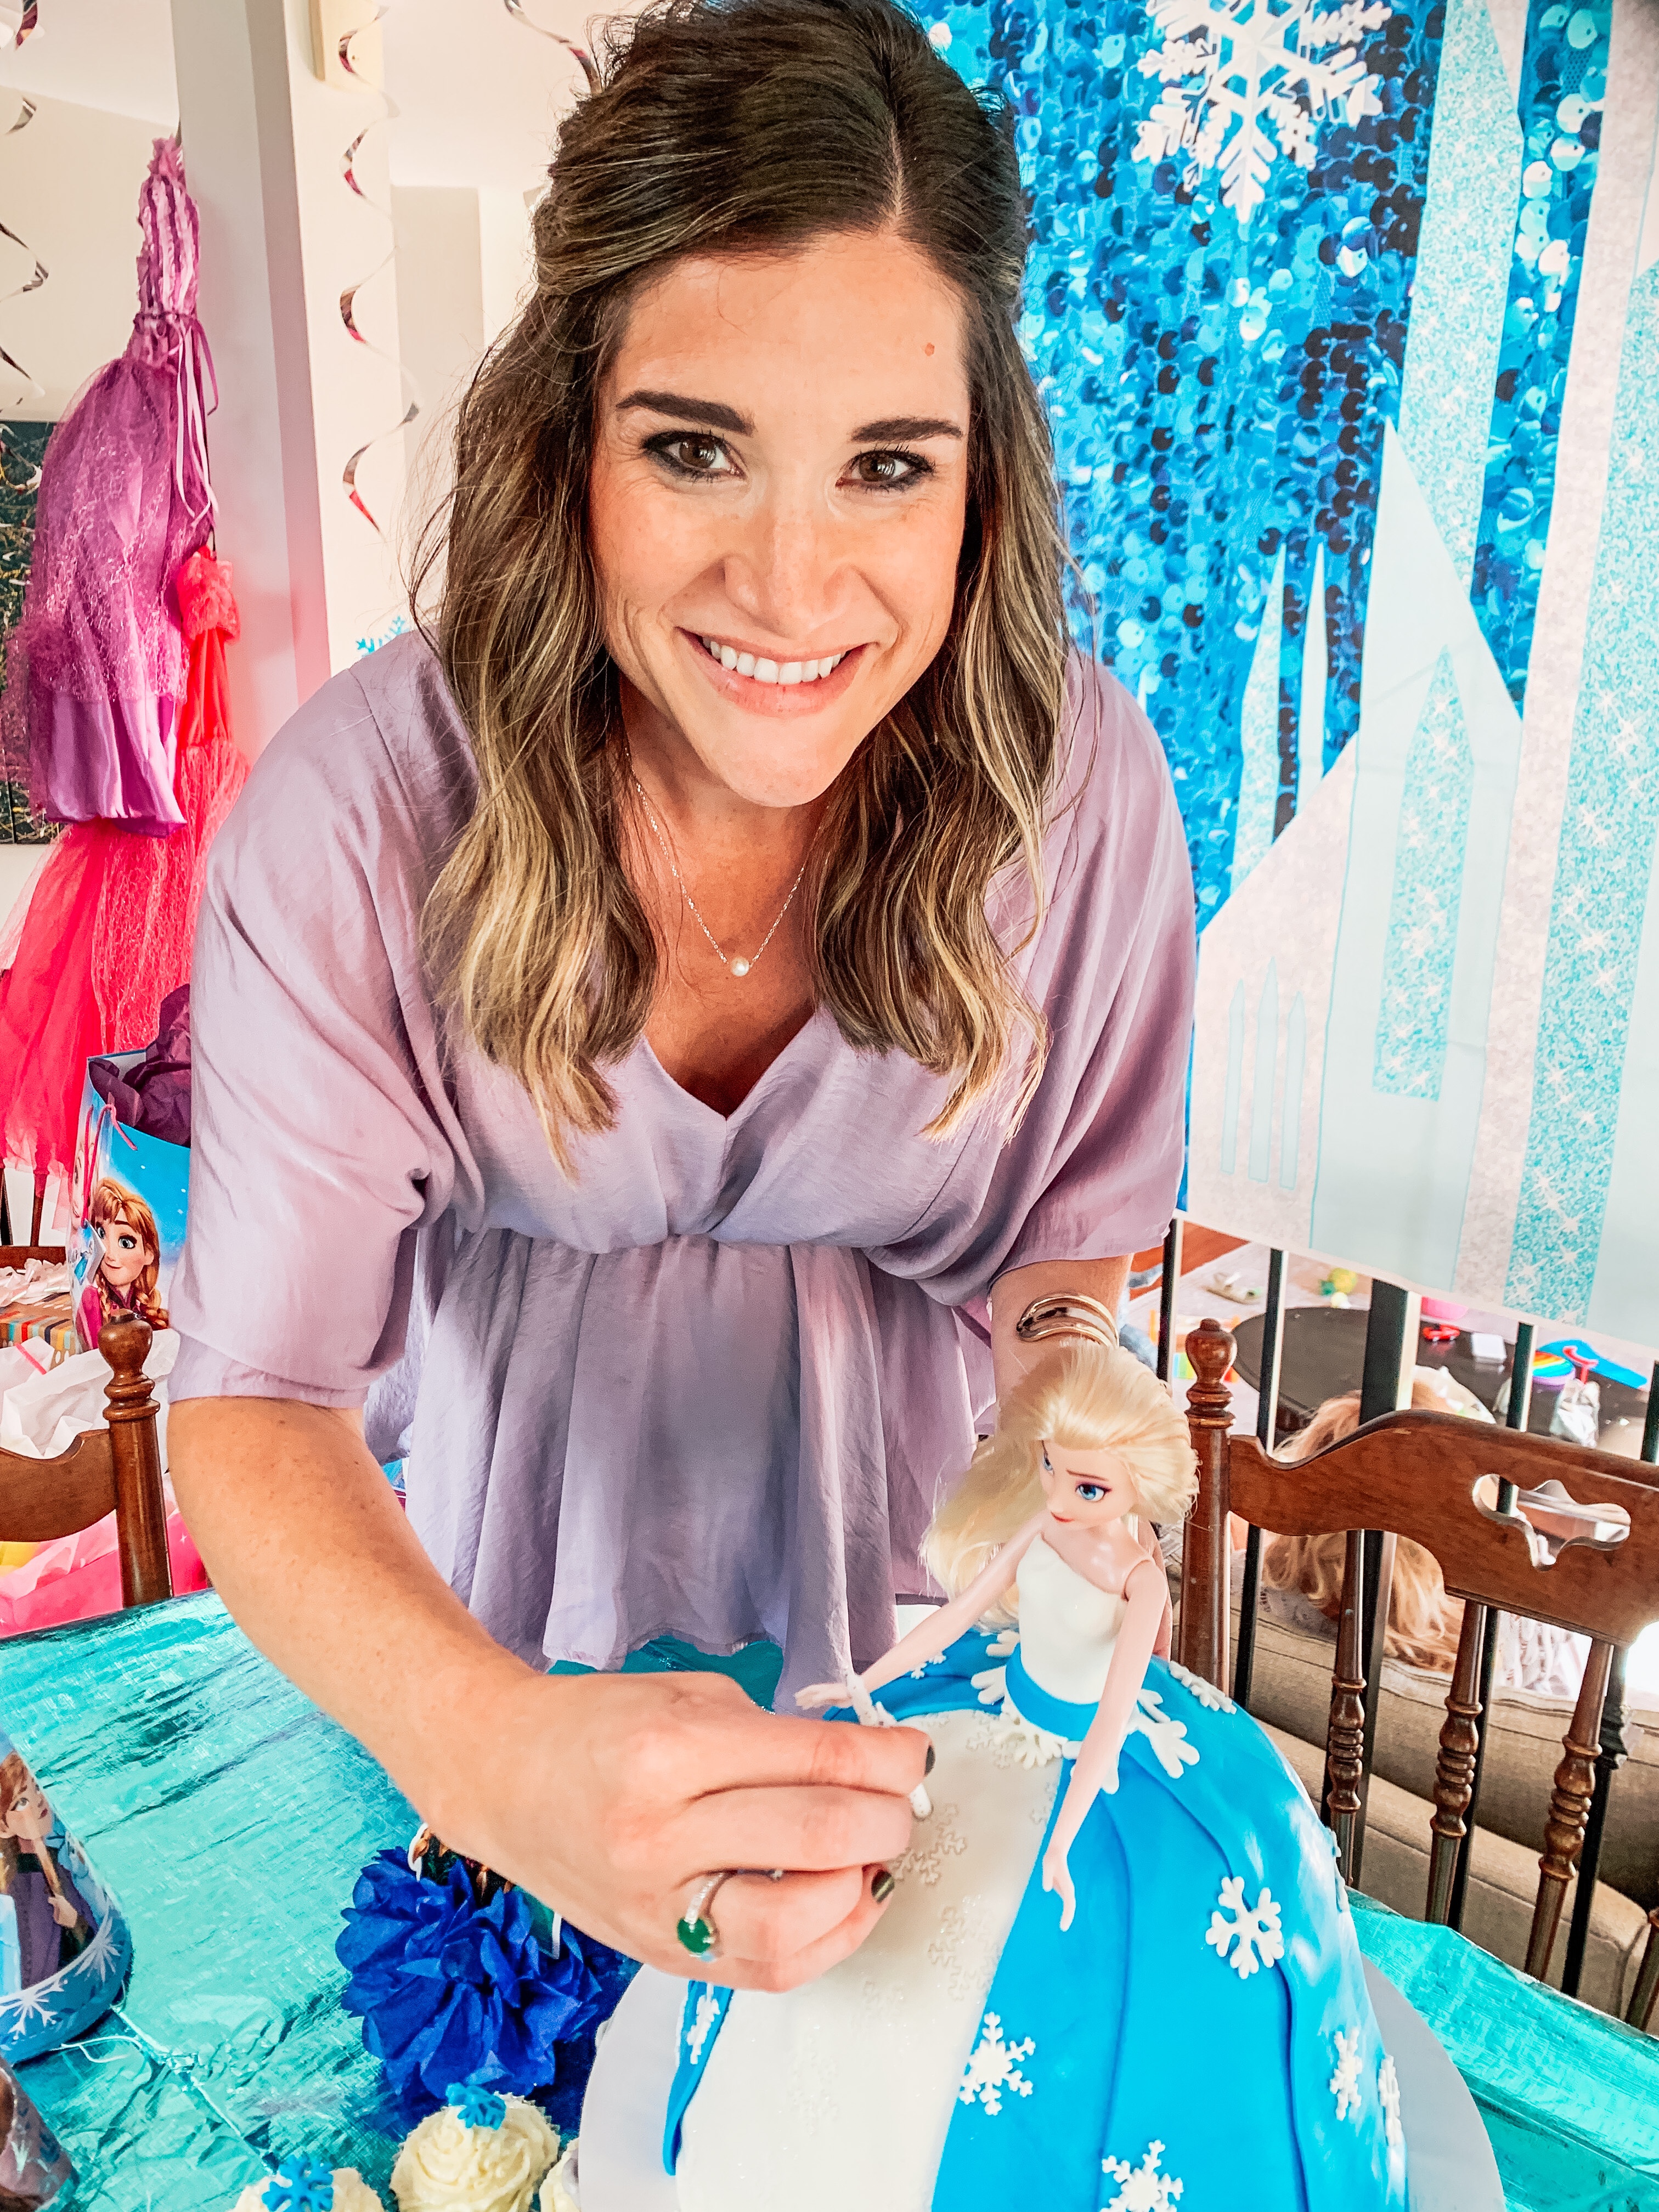
Now aside from the actual birthday celebration, making the Elsa Doll Cake was the most exciting thing for me to prepare for the party. Since having kids I have loved baking and decorating cakes for their birthdays. And as a girl mom, I knew I’d have to do a doll cake at least once for my girls. After watching several YouTube videos to see what to do I thought I had a good base knowledge to get it done.
Per usual, I made the cake layers a few weeks in advance and wrapped them well before I froze them to maintain freshness. If you like to DIY as much as you can for parties I highly recommend making the cake in advance, so when it comes closer to the actual party date, all you have to worry about is decorating it.
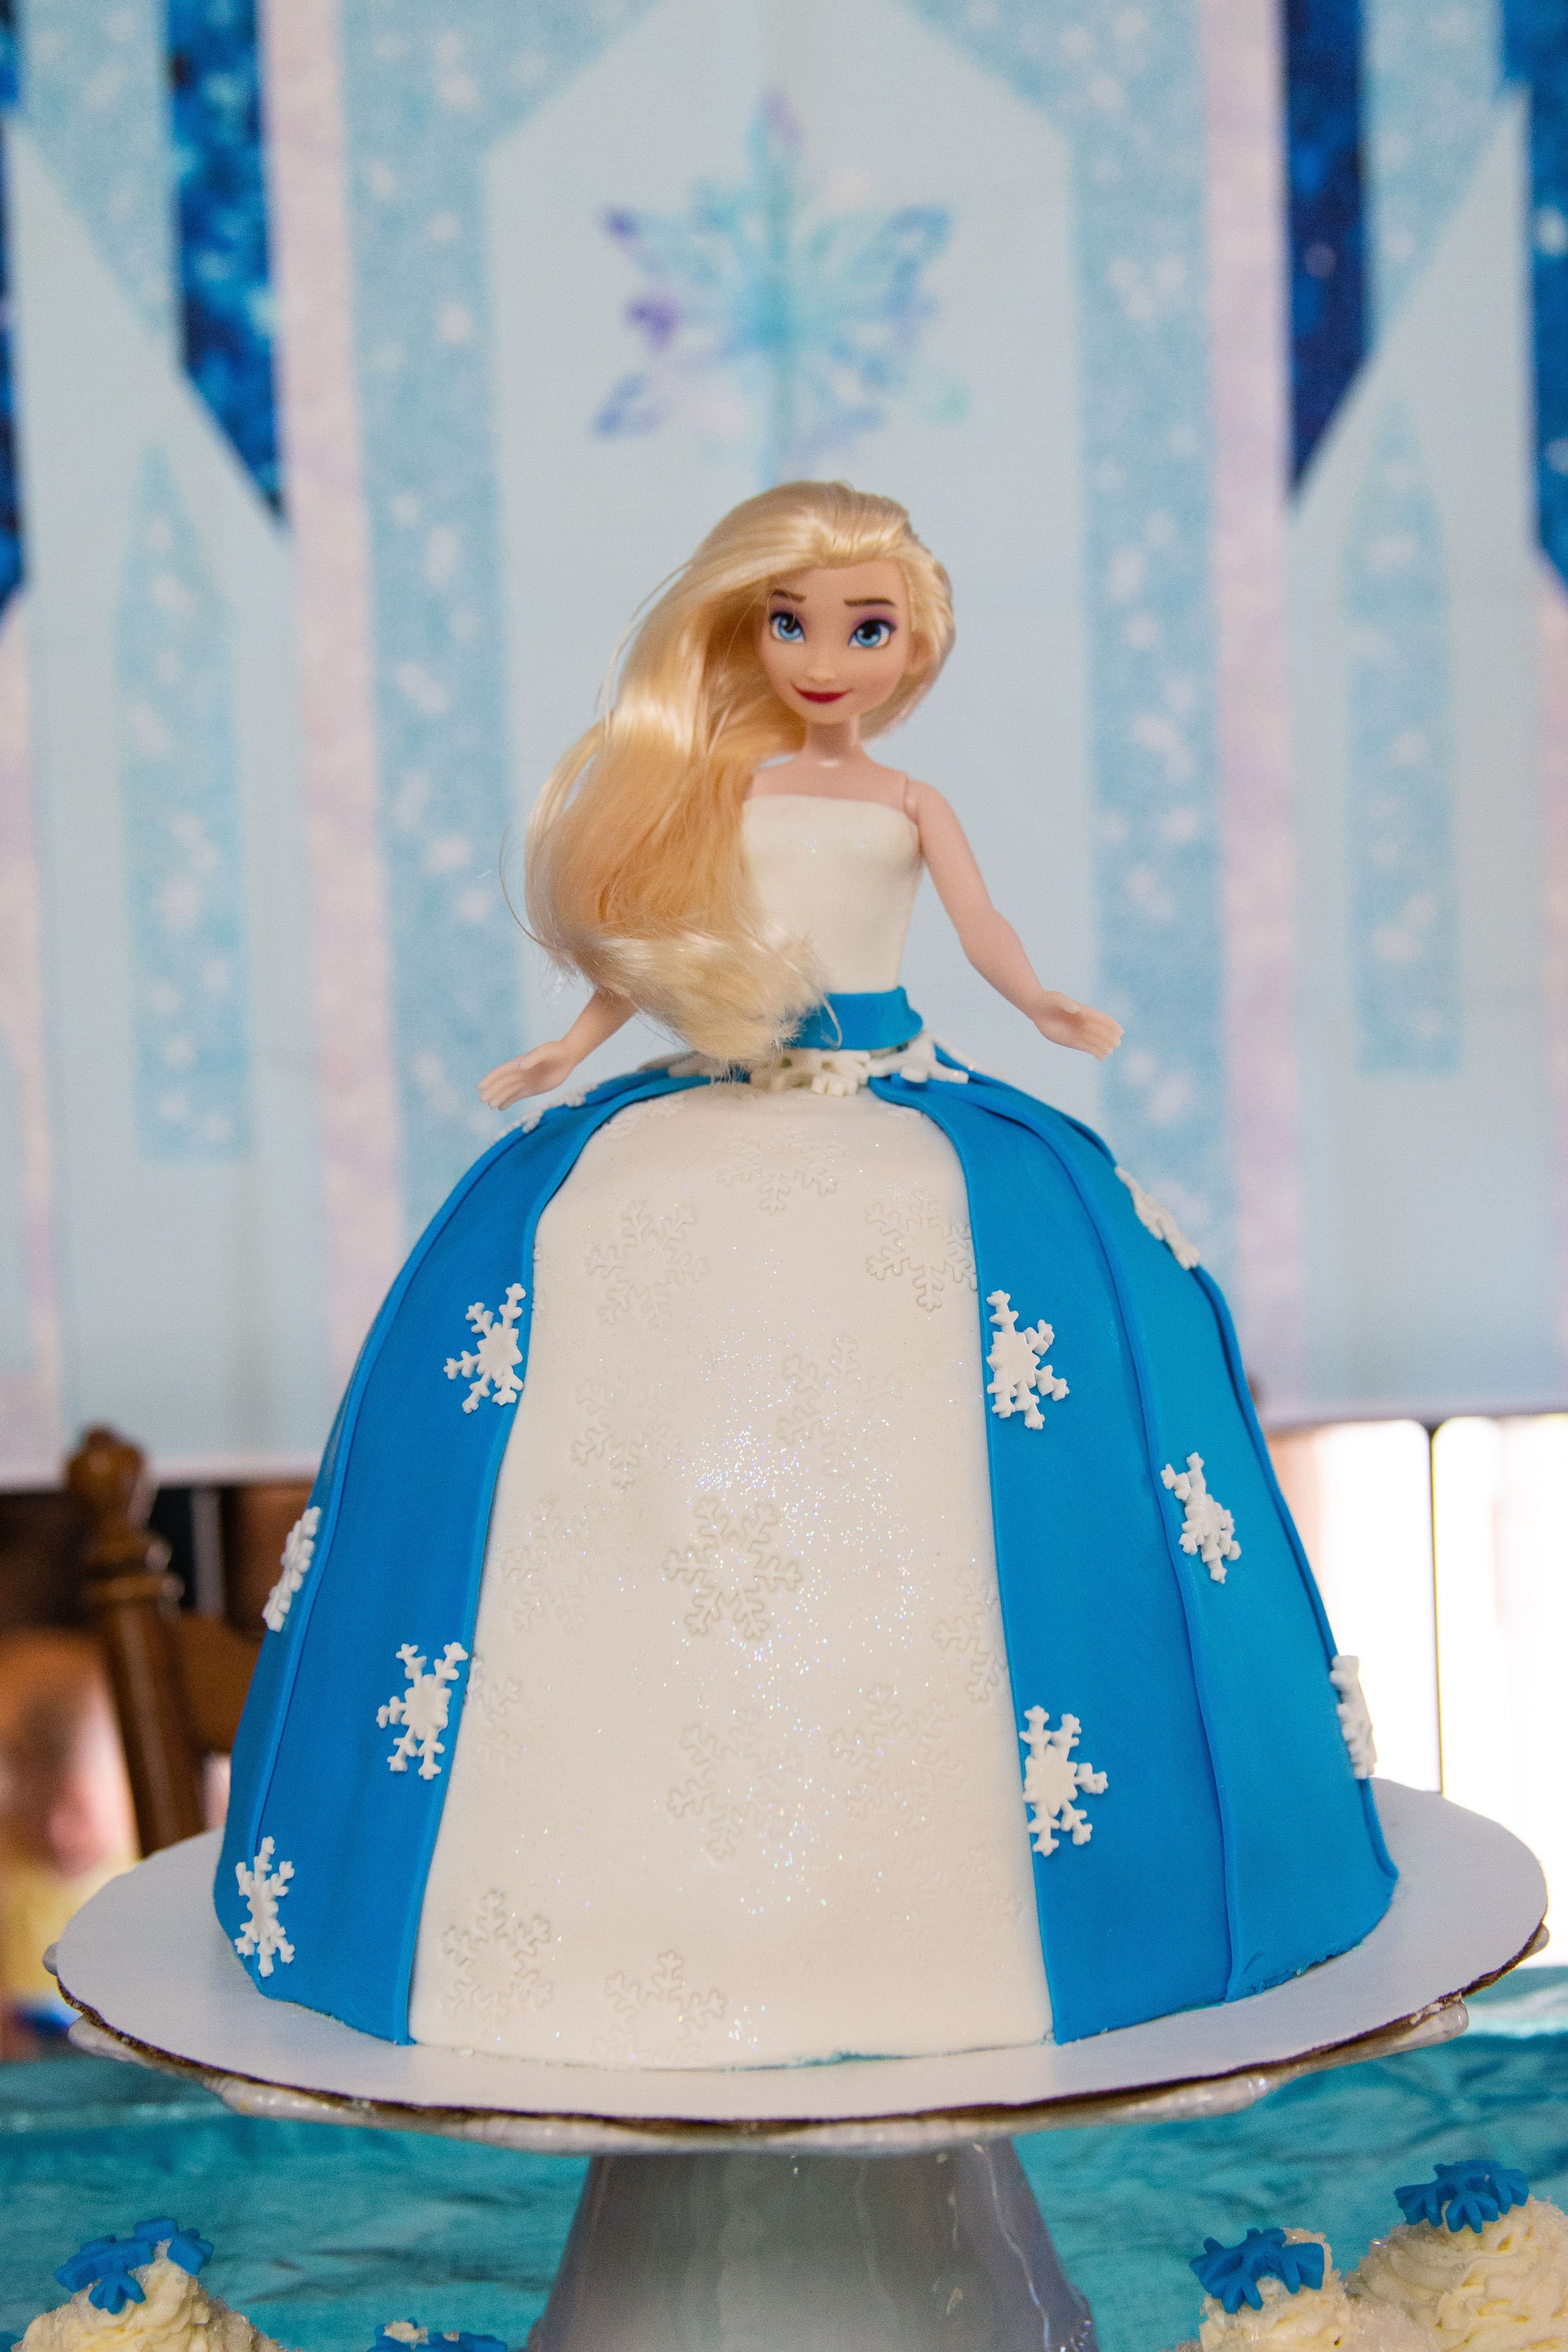
I decided to go with fondant to make the dress because it seemed like it would be easier, and would look more realistic. I also liked the idea of purchasing the fondant, so it is a little less work that I have to do as well.
I also found these adorable snowflake punches that I thought would be cute all over the dress. I also used them to make some little snowflakes for the cupcakes as well.
How to Make the Doll Cake:
- Bake your cake layers (I used five, or six layers to build up the skirt of the doll)
- Glue the bottom layer of the cake to your cardboard base with a little bit of buttercream frosting and assemble the cake layers with buttercream in between each layer.
- When you have the cake to your desired height, cut down the top of cake until you achieve a nice dome shape. Discard shavings, or save to make some cake balls!
- Remove doll’s clothes and wrap bottom half of doll in cling wrap to protect from all the cake and frosting.
- Cut a hole in the top/center of cake large enough to place the doll in. Put doll in cake up to her hips.
- Add a base layer of buttercream around the skirt of the cake.
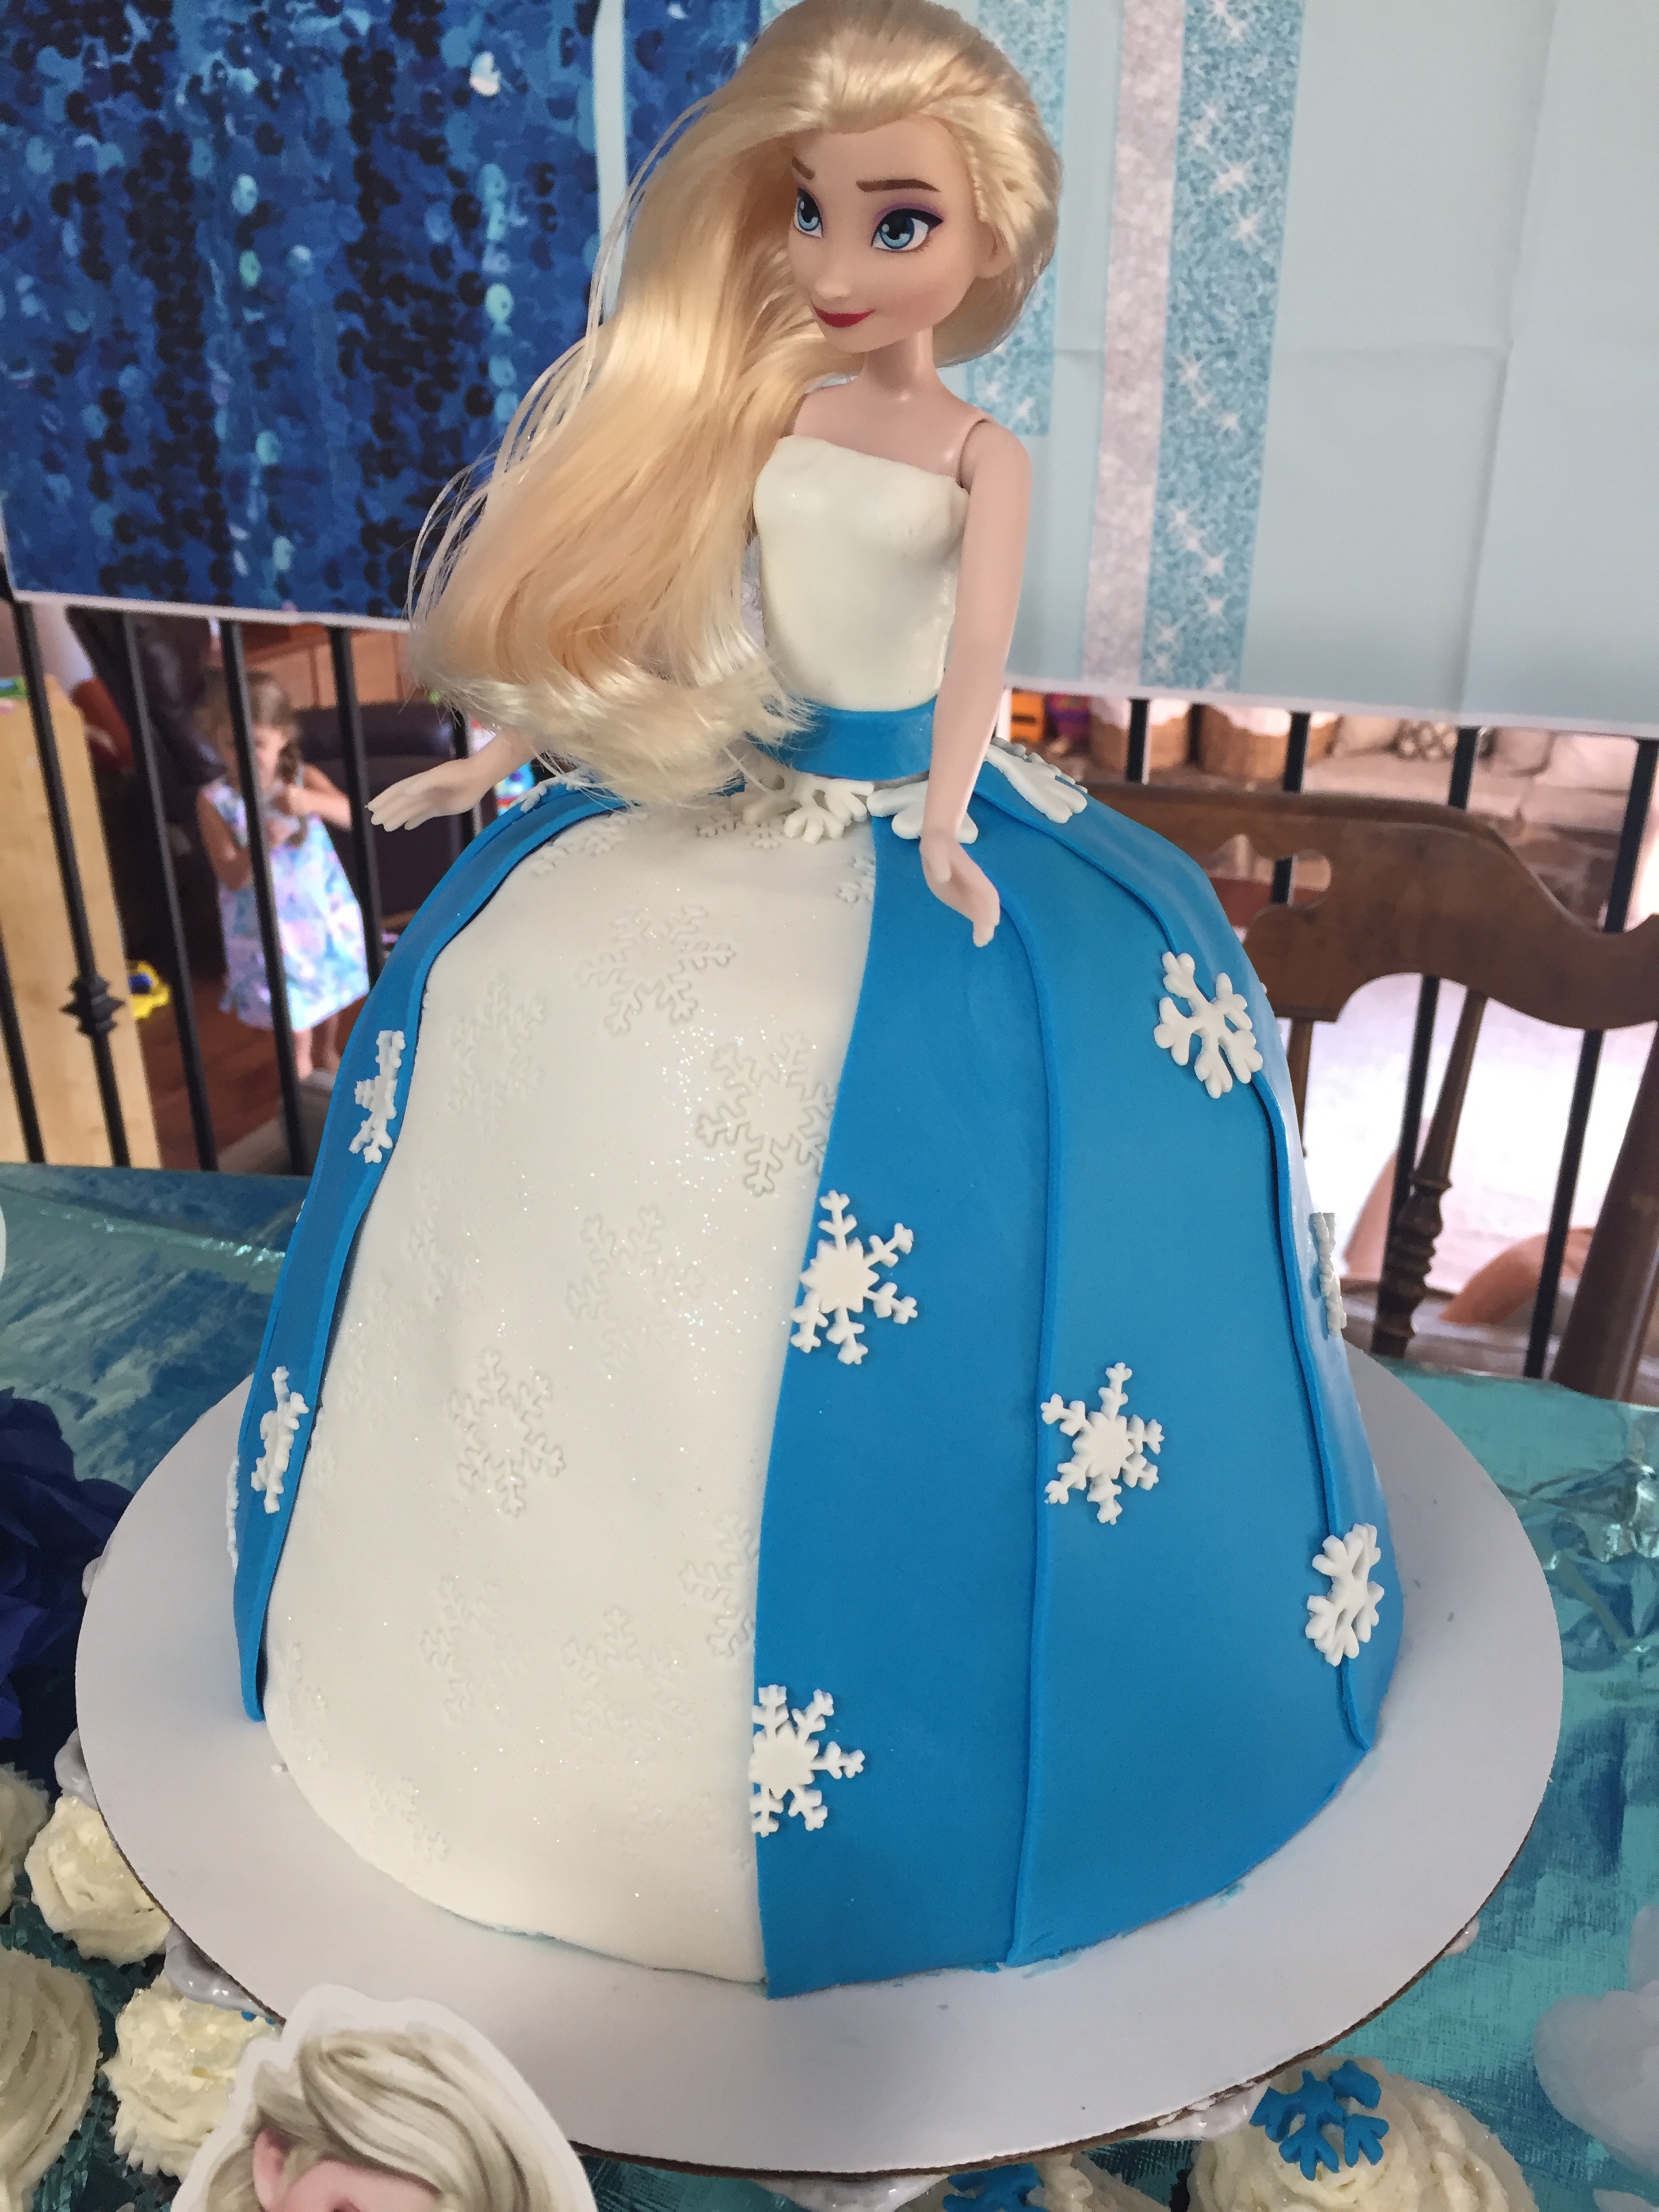
- Get out your fondant and start making the dress! I bought four packs of this fondant (two blue and two white), and it was just enough!
- I mixed two of the blues with a white to lighten up the blue fondant a bit, and kept one white to make the bodice of the dress, front, and snowflake details. I had just a little leftover that I used to add some snowflakes to the cupcakes. If you want to make sure you have enough fondant so you have room for error (or don’t want to get worried like I did when it comes down to decorating day), get one or two more packs of fondant.
- Roll out your fondant into thin layers and cut into long, trapezoid shapes to layer on the skirt. Start in the front (I did the front, white layer first and then worked my way around the back with the blue layers.
- I cut the top and sides of the long trapezoids, and left the bottom long to trim off after I laid it gently onto the cake.
- Repeat the skirt layering process until the whole skirt bottom is covered with fondant.
- Decorate the skirt as you wish (I cut little snowflakes to press onto the skirt and glittered them with edible glitter).
- Next make the bodice of the gown. I cut out a rectangular shape that had a little arch on the top and wrapped it around Elsa’s bodice, connecting the top in the back. I ended up trimming a little of the fondant off under the armpits, and also trimmed a little around her waist, and in the back to make everything look neat.
- Cut out a rectangular belt to cover up all the lines where the skirt and bodice connect.
- Add sleeves if you’d like with another rectangular piece that you cut to form to the doll.
I used a pizza cutter and small pearing knife to cut the fondant. At the time, I forgot all about this decorating tool that I use when making royal icing cookies. It has a needle on one end, and a small blade on the other for cutting fine details.
You can find my reel of me decorating the cake, HERE.

Things YouTube did not teach me about a doll cake:
Where in the heck do you put the candles?! This was not something I thought about in advance. Don’t want to light the doll’s hair on fire accidentally! If I did it again, I would put the cake on a larger cardboard round and add some buttercream frosting to the base to stick the candles in.
I ended up making sure the doll’s hair was out of the way and placed the candles in the front of the cake. It worked out!
How do you cut a doll cake!? I am still not sure the right way to neatly cut a doll cake, but I started by shaving off a hip and cutting that up. Eventually I just pulled the doll out to cut up the rest of the cake. Got to be careful not to nick that doll though!
In addition to the cake, I made some chocolate cupcakes with buttercream frosting because I thought the kids would like that better than the actual cake. Buttercream tastes a lot better than fondant after all, right!?
I also made some snowflake cookies for people to munch on (this is another item that you can make ahead of time and freeze for your party).
What you need to DIY your Cake:
[show_shopthepost_widget id=”4651650″]
Sharing is caring!
Be sure to Pin and share this post, so you have something to refer back to when planning your own Frozen party! You can also follow me on Instagram @ShipsHQ and check out my reels from the party. I posted one of me decorating the cake, one decorating the cookies, and one rounding up some of the party details.
You can also check out Mattie’s Winter Onederland Birthday party for additional Frozen-ish ideas, and check out all the past birthday parties, HERE!
Thank you so much for stopping by. Be sure to leave a comment and let me know what you think, or if you have any questions about anything. I love hearing from you!


Recent Comments