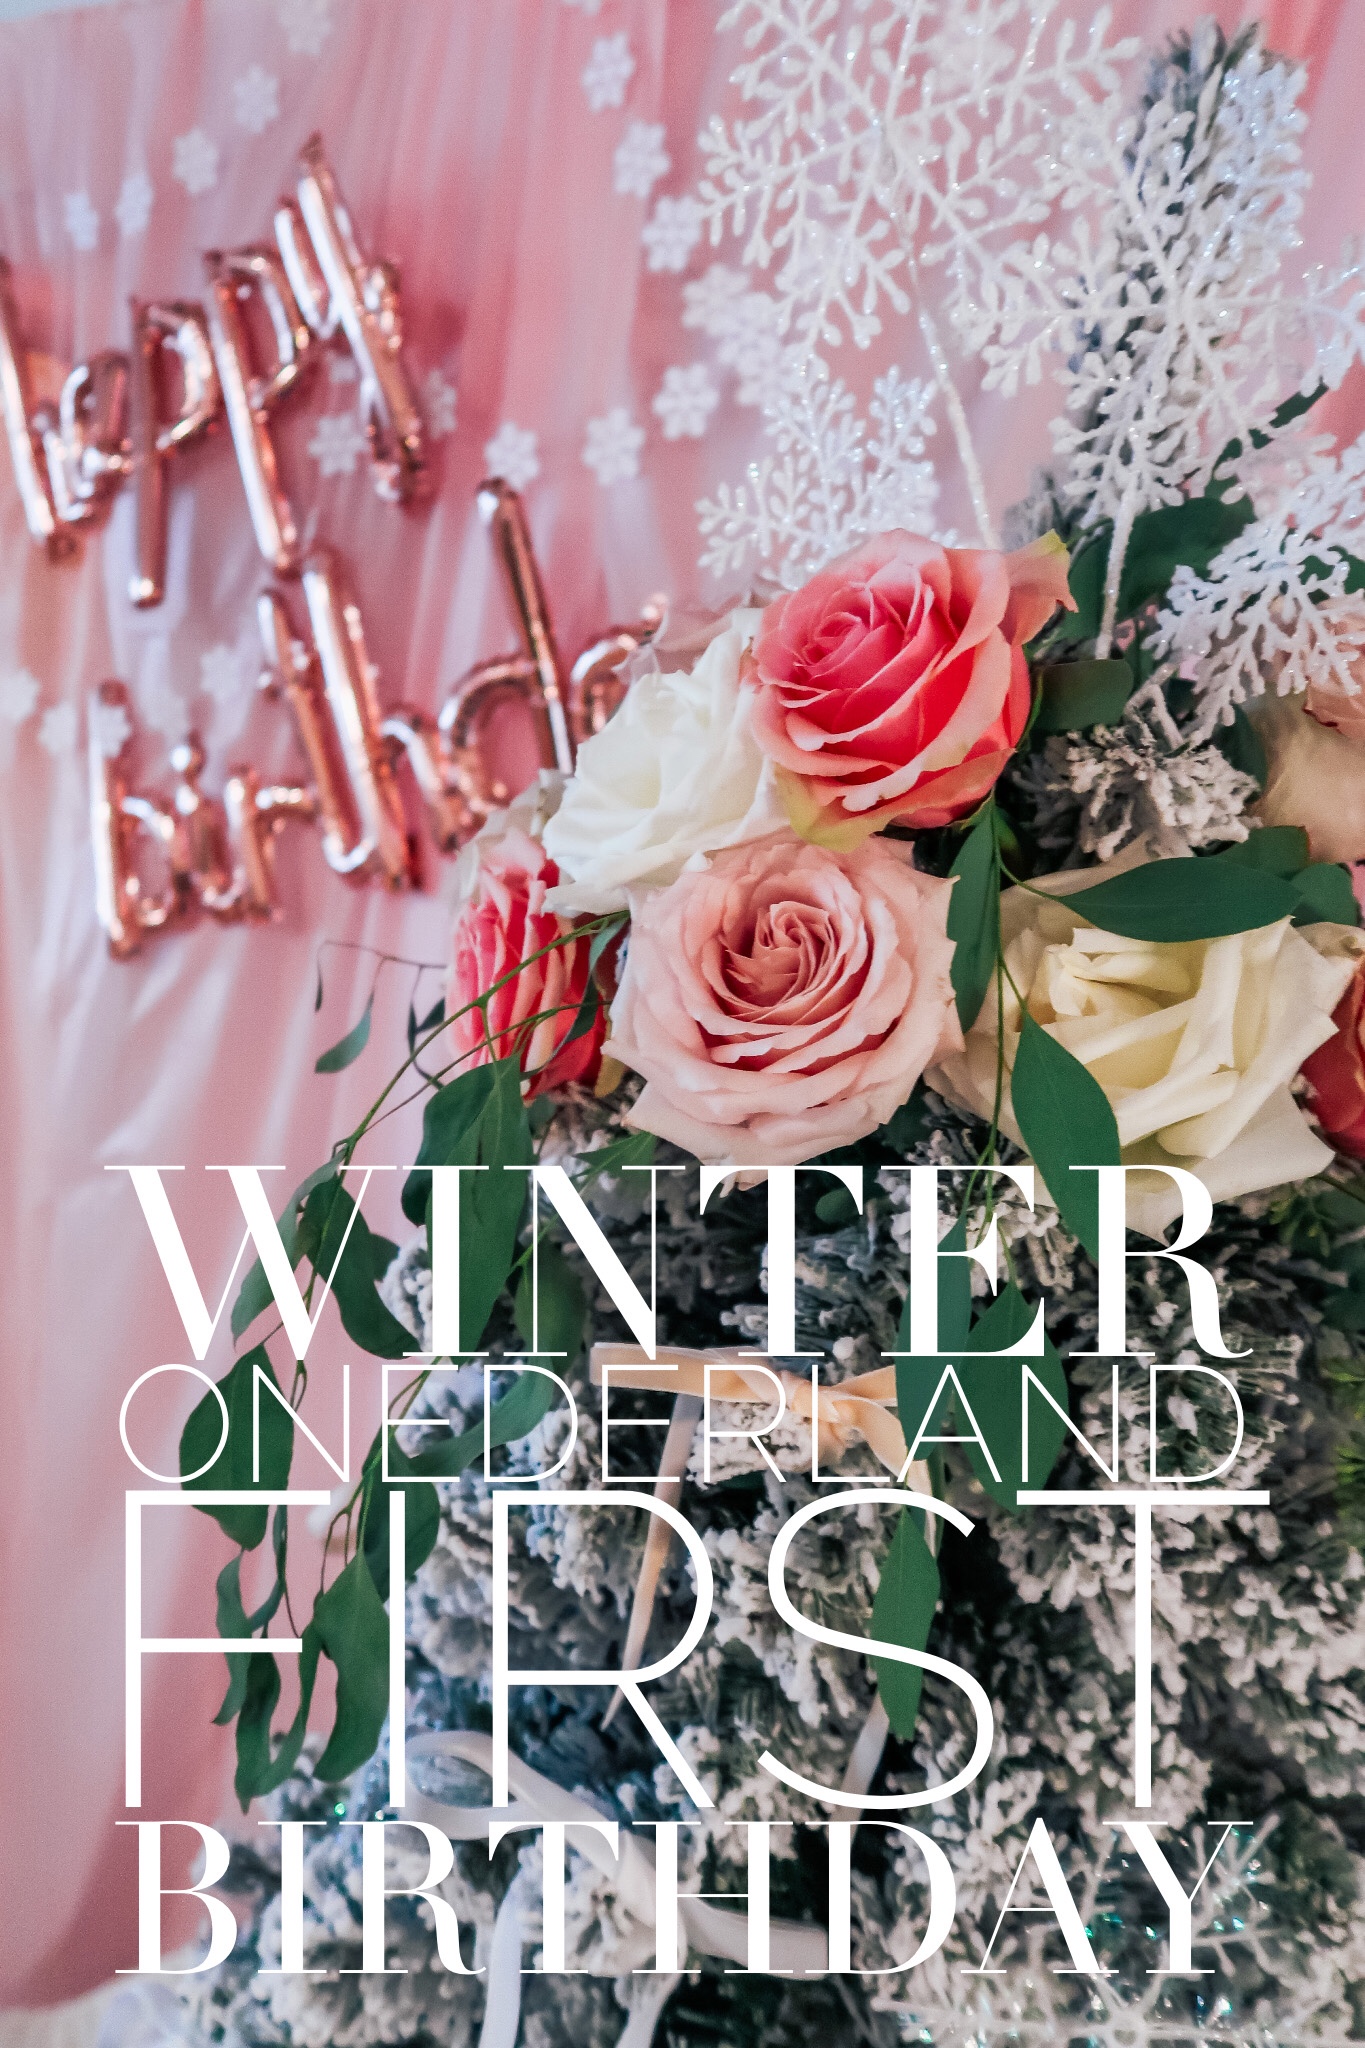
My youngest daughter, Mattie, recently turned one. I just can’t believe how fast time flies. She recently started to walk, and aside from saying things like mama and dada, she can also say Anna and Elsa! Although she might love them just because her big sister does, I think it was fitting that we had a “Frozen-ish,” Winter Wonderland, or “Onederland,” for her first birthday. Although, instead of blue and purple for actual Frozen colors, I went with pink. Keep reading for more details!
Disclaimer: Ship’s HQ might earn some commissions on purchases made from links in this post. Commissions help me bring you better content, so thank you!
After going all out for my first daughter’s first birthday, I decided I had to do the same for my second as well. They only turn one once, right?! And that first one is extra special.
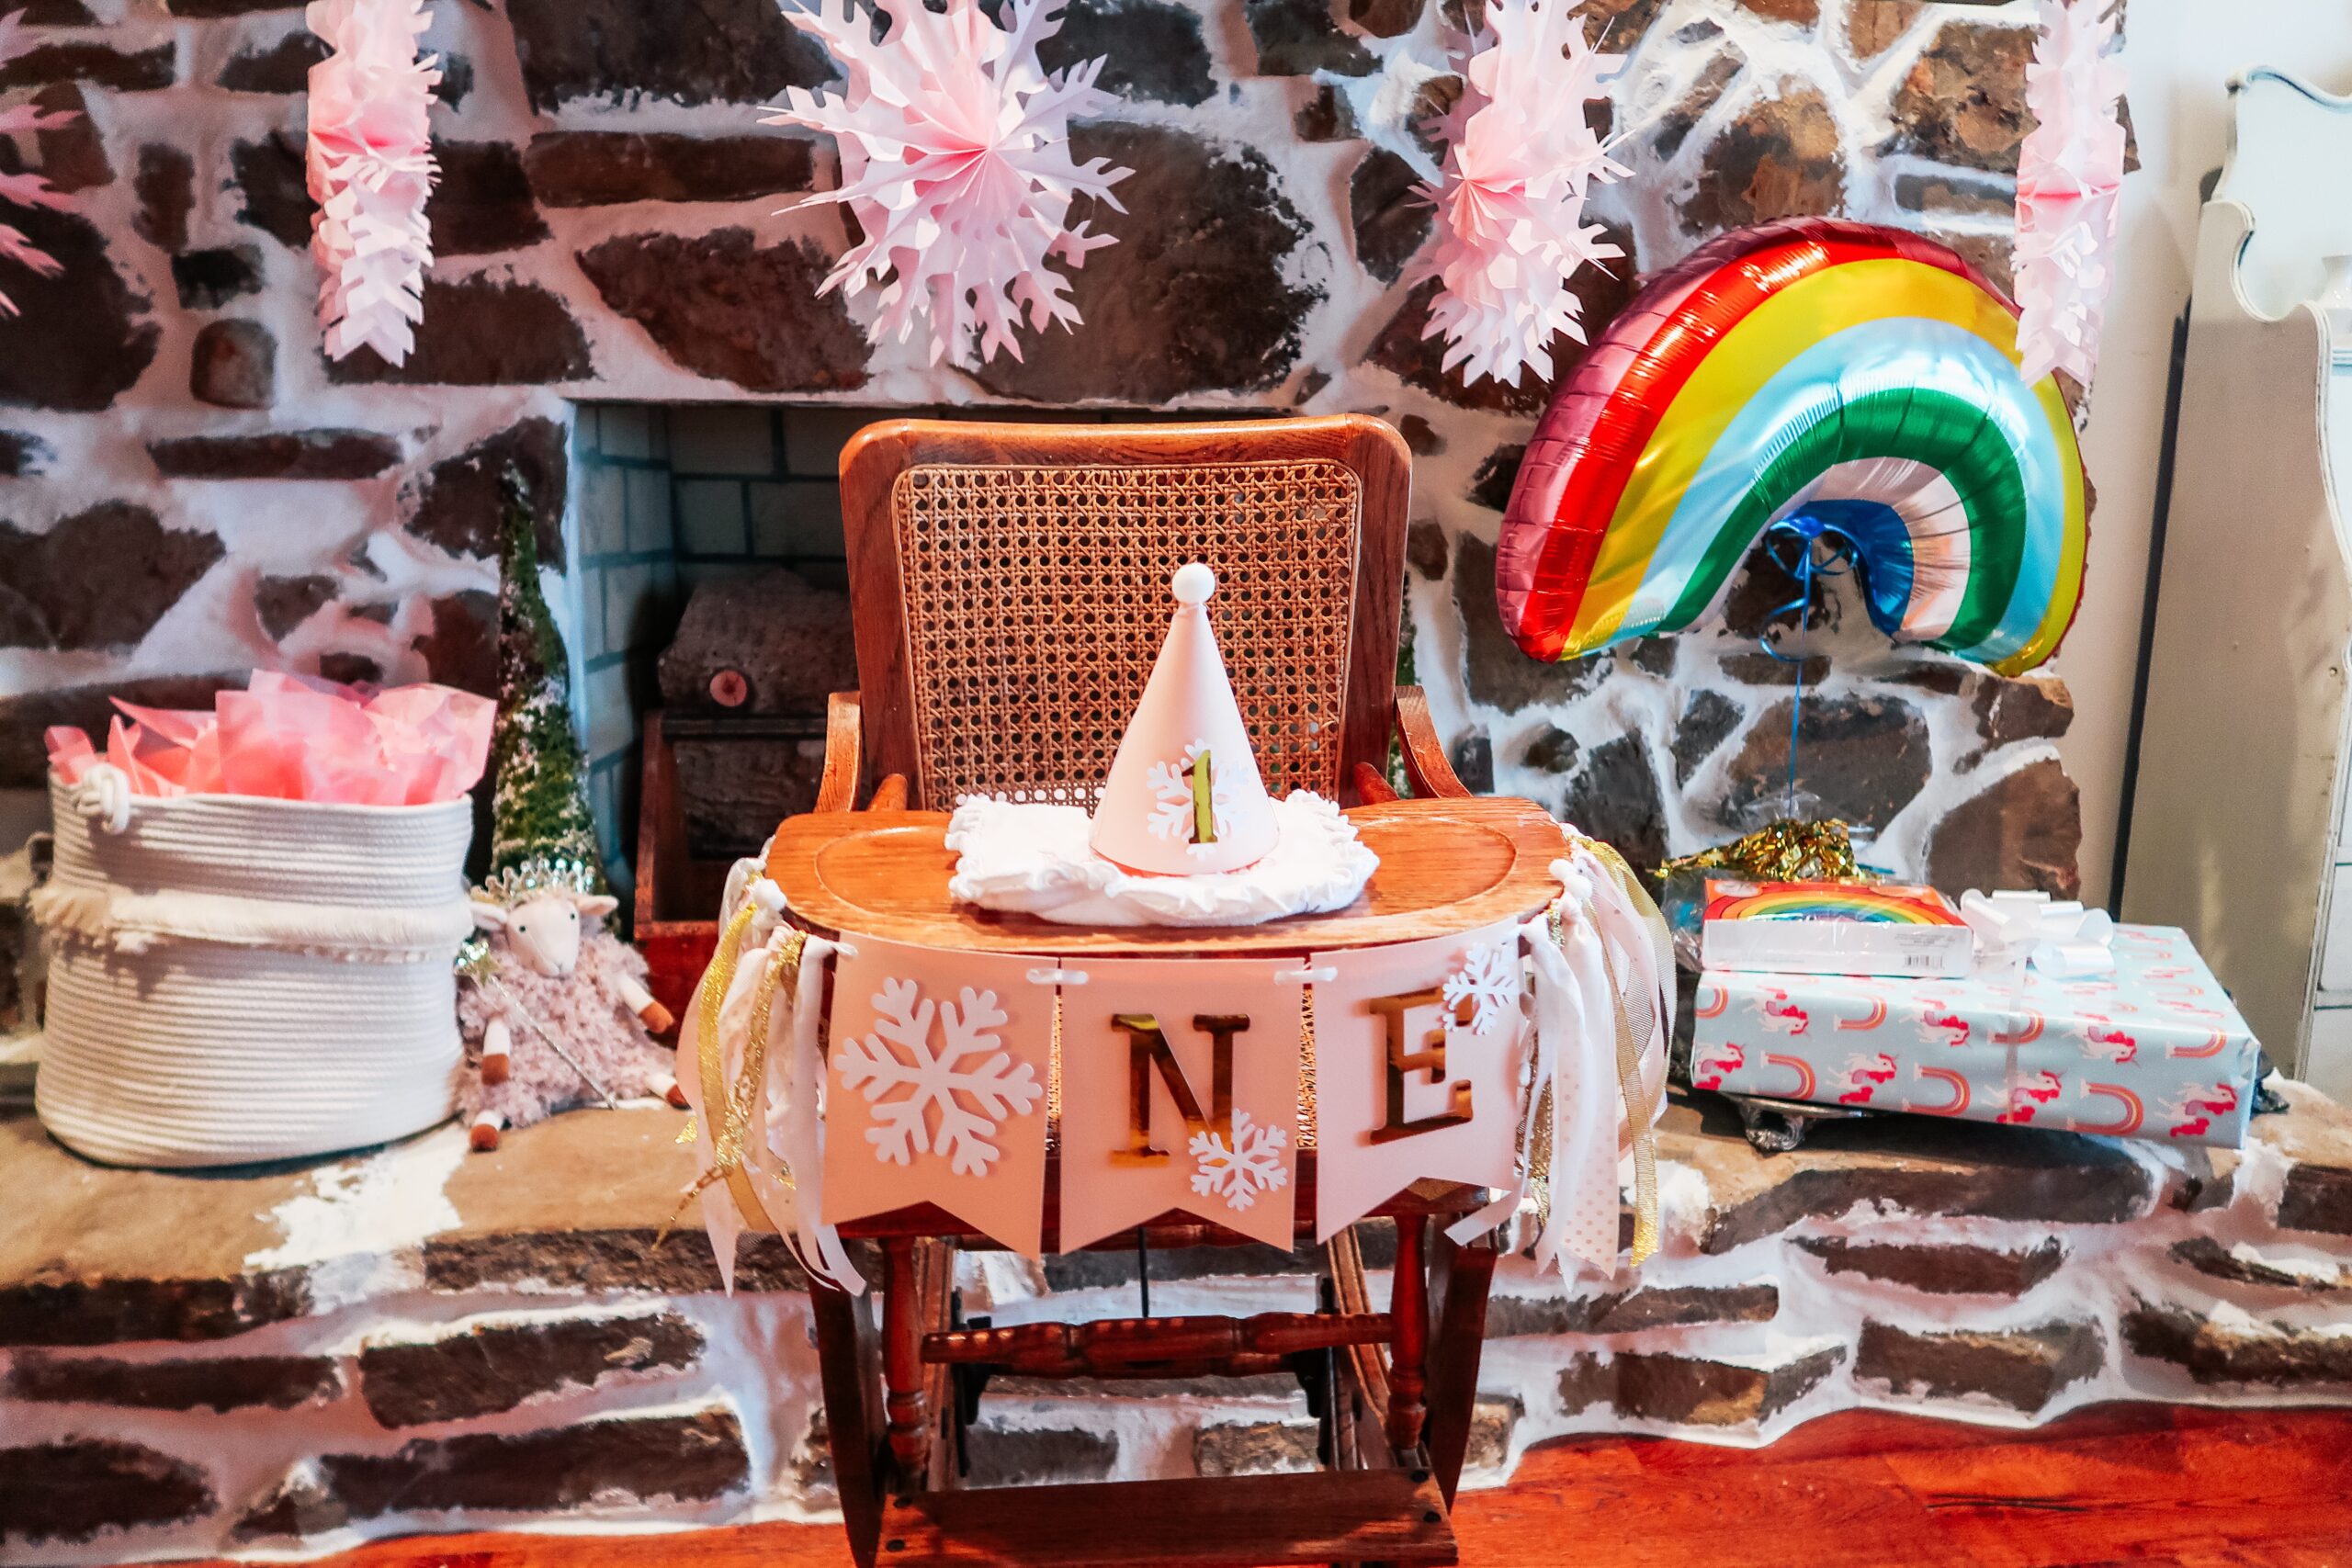
Since Mattie’s birthday is in January, I decided it would be easy (and cost effective) to have a “Winter Onederland” themed party. After all, her birthday is right after Christmas, so why not re-purpose some Christmas Decor into birthday? Also, why not have an excuse to extend that magical season?
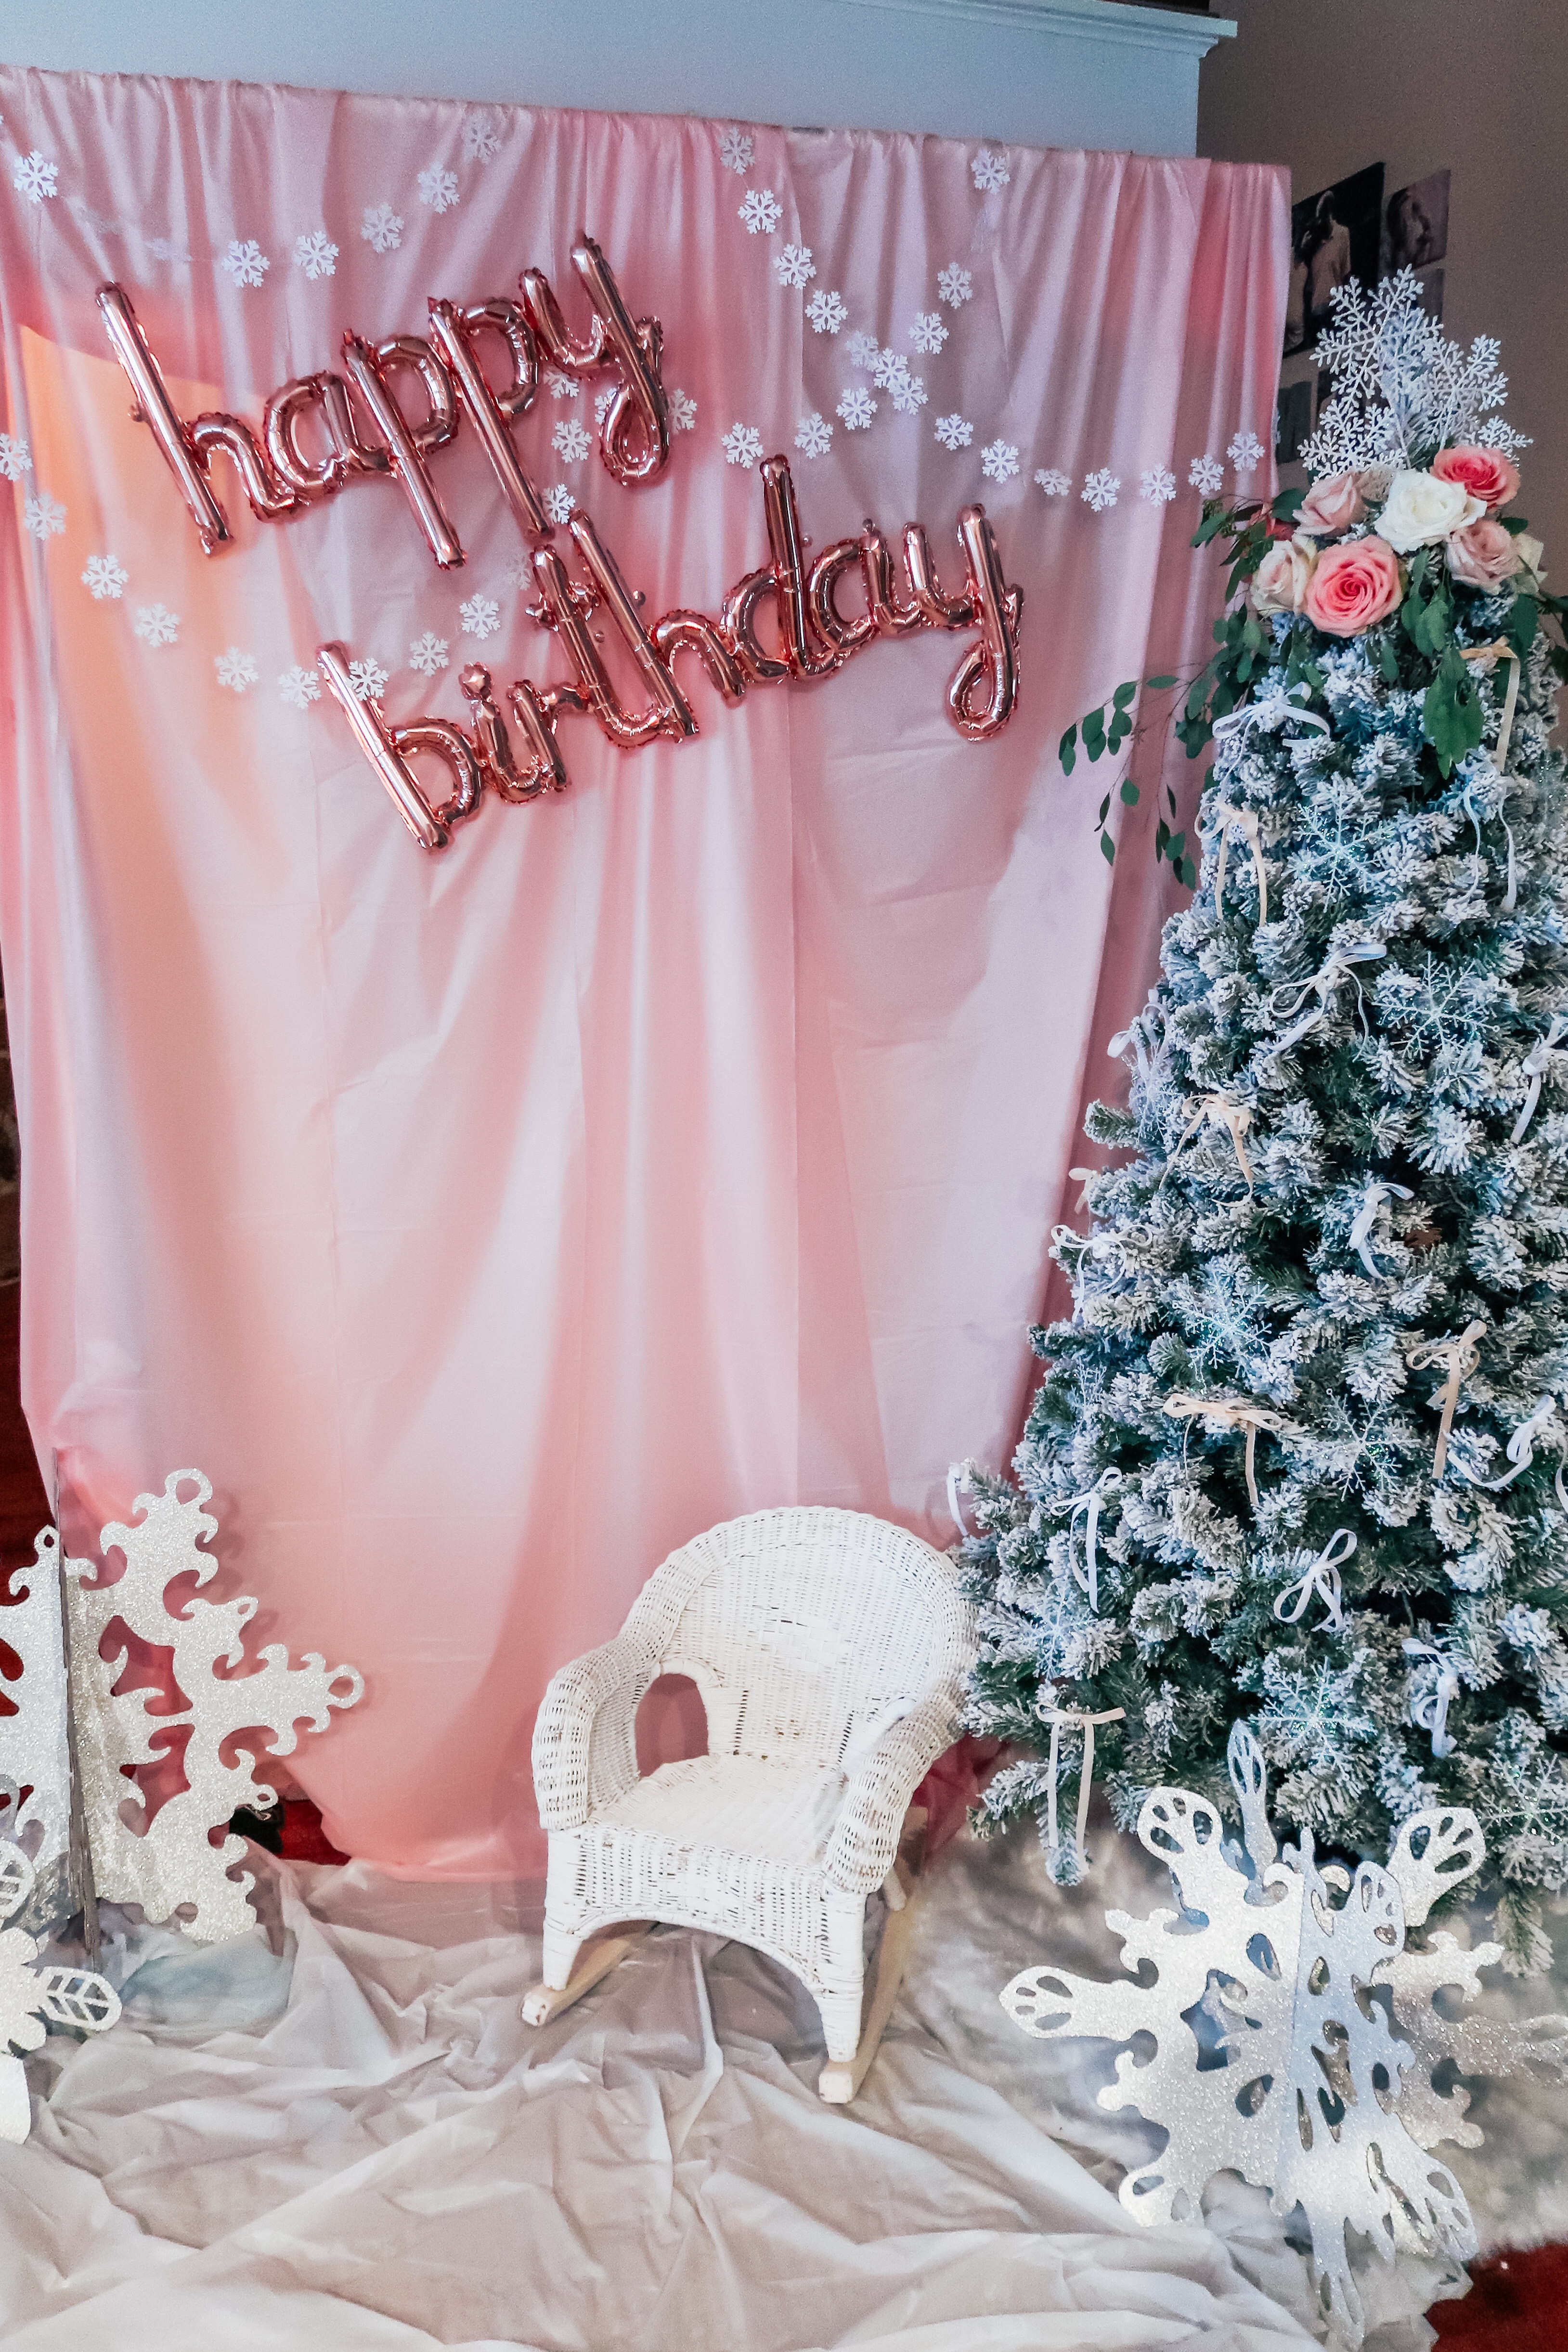
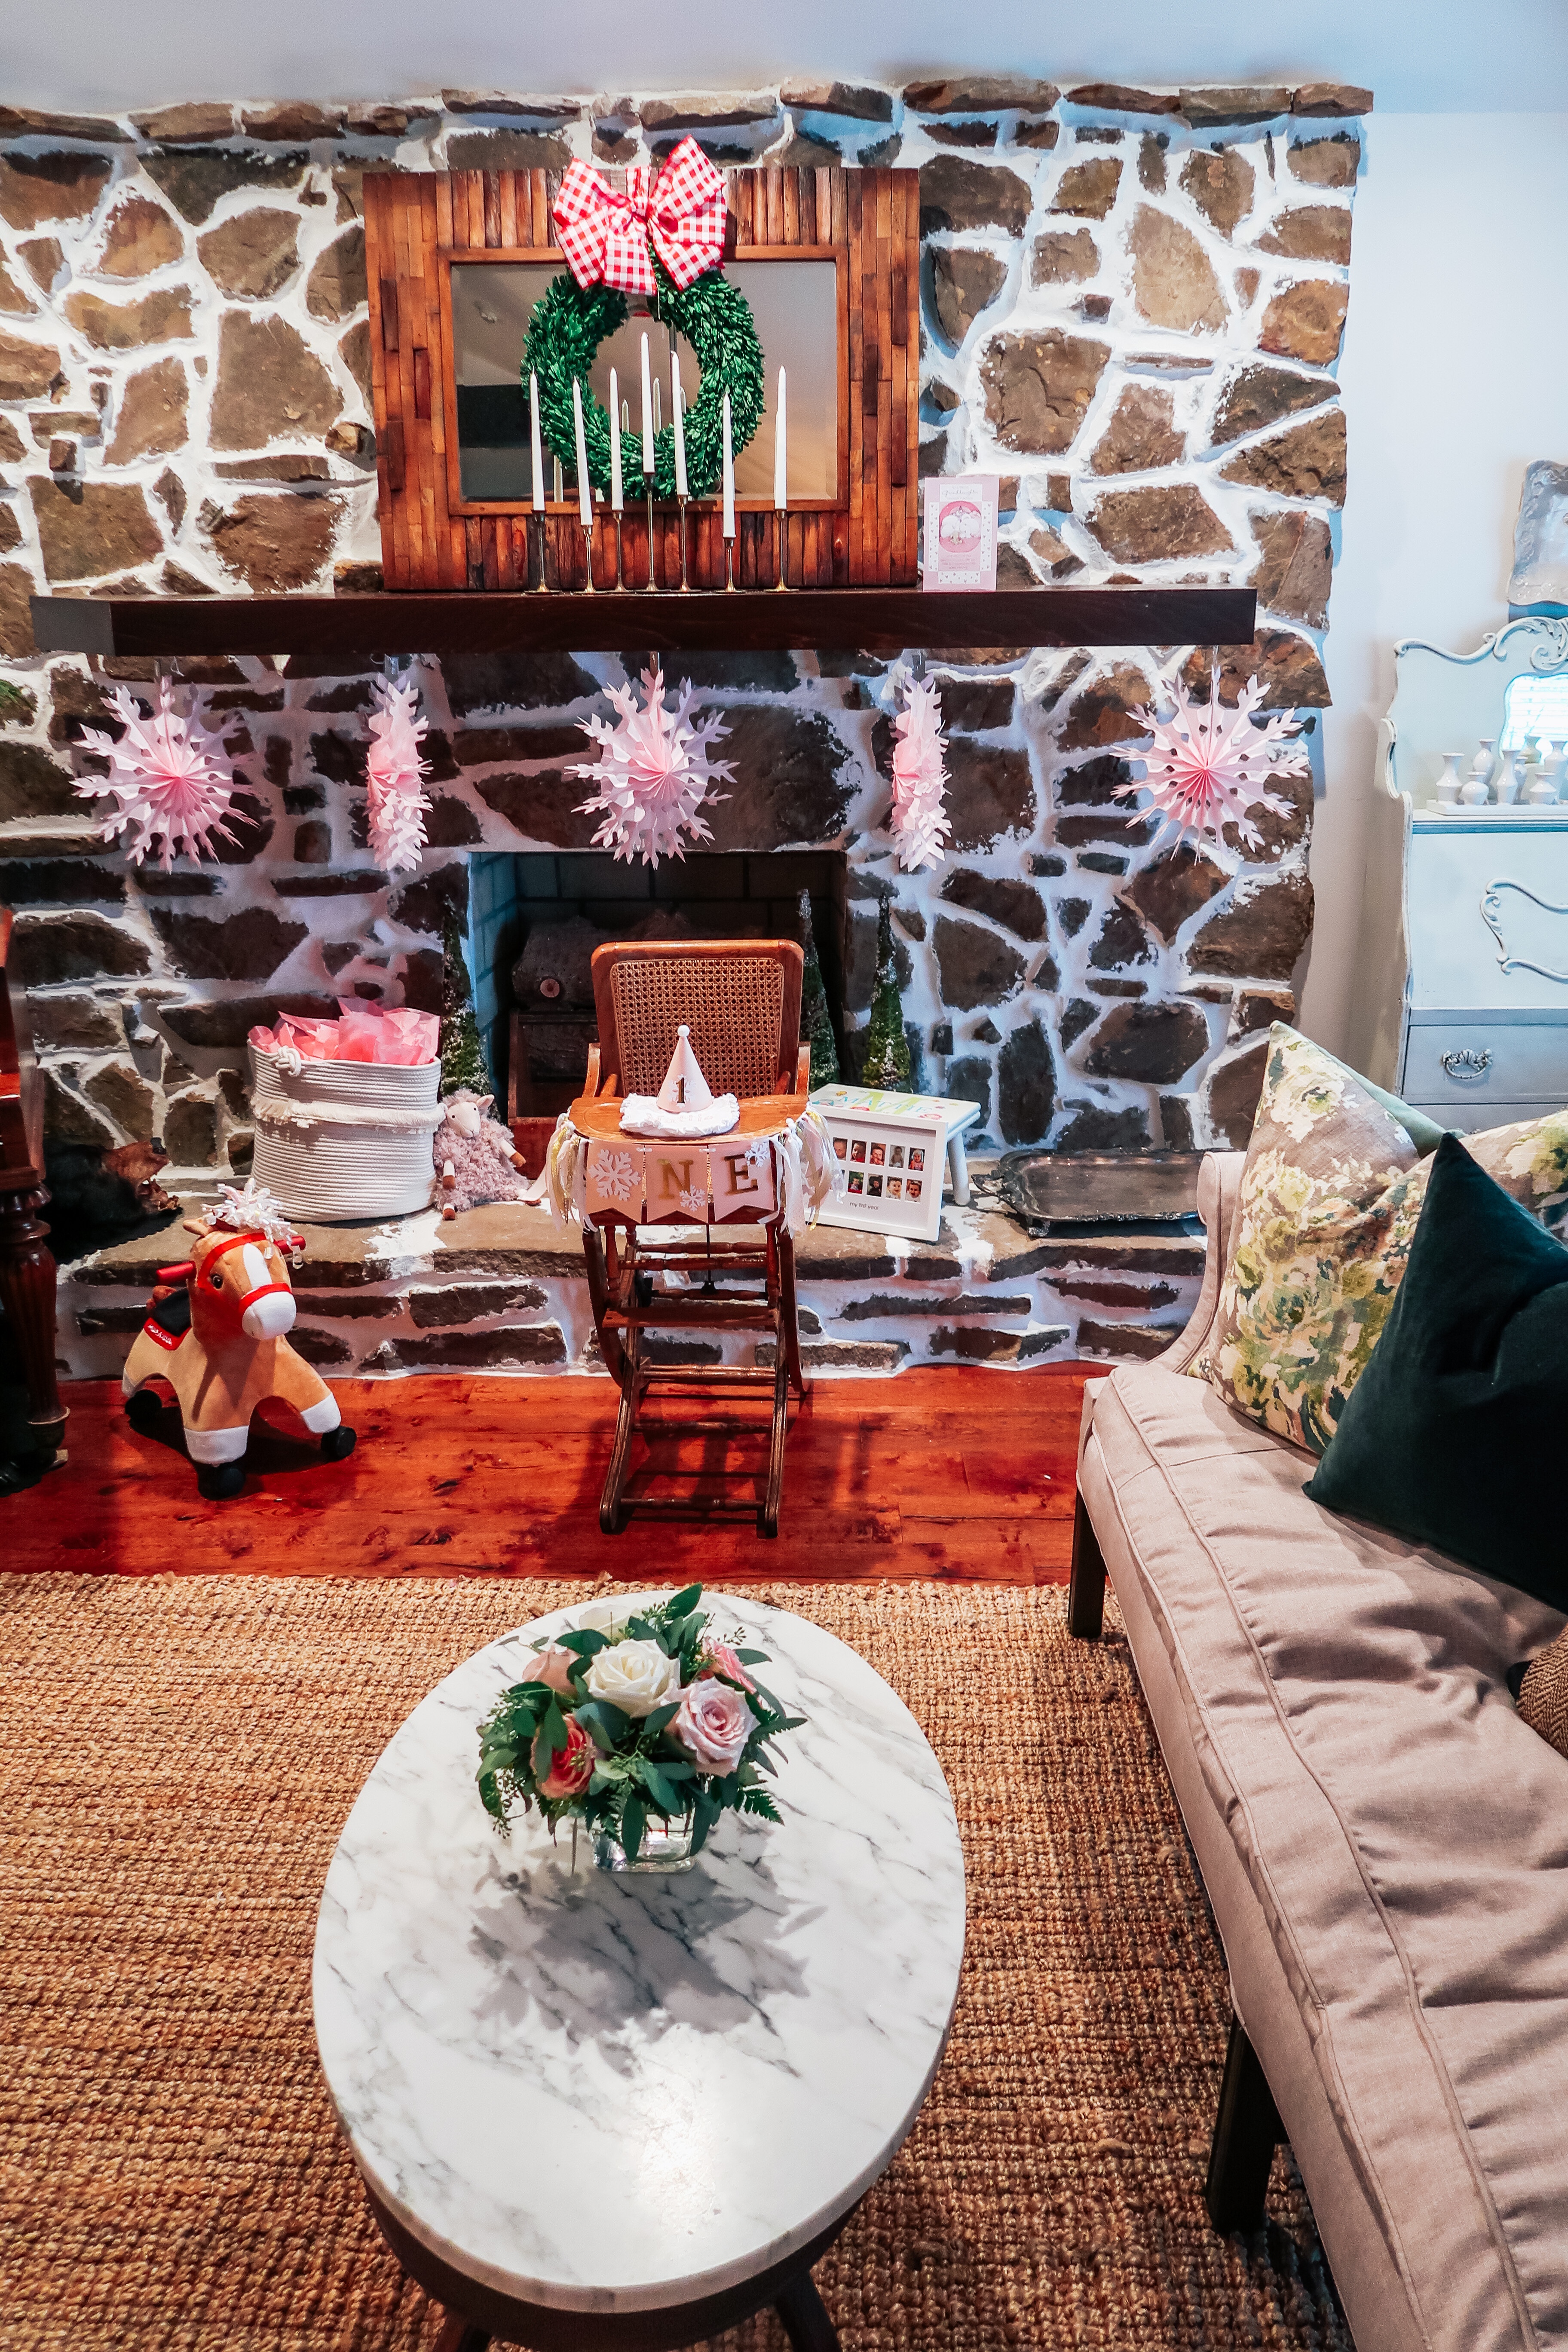
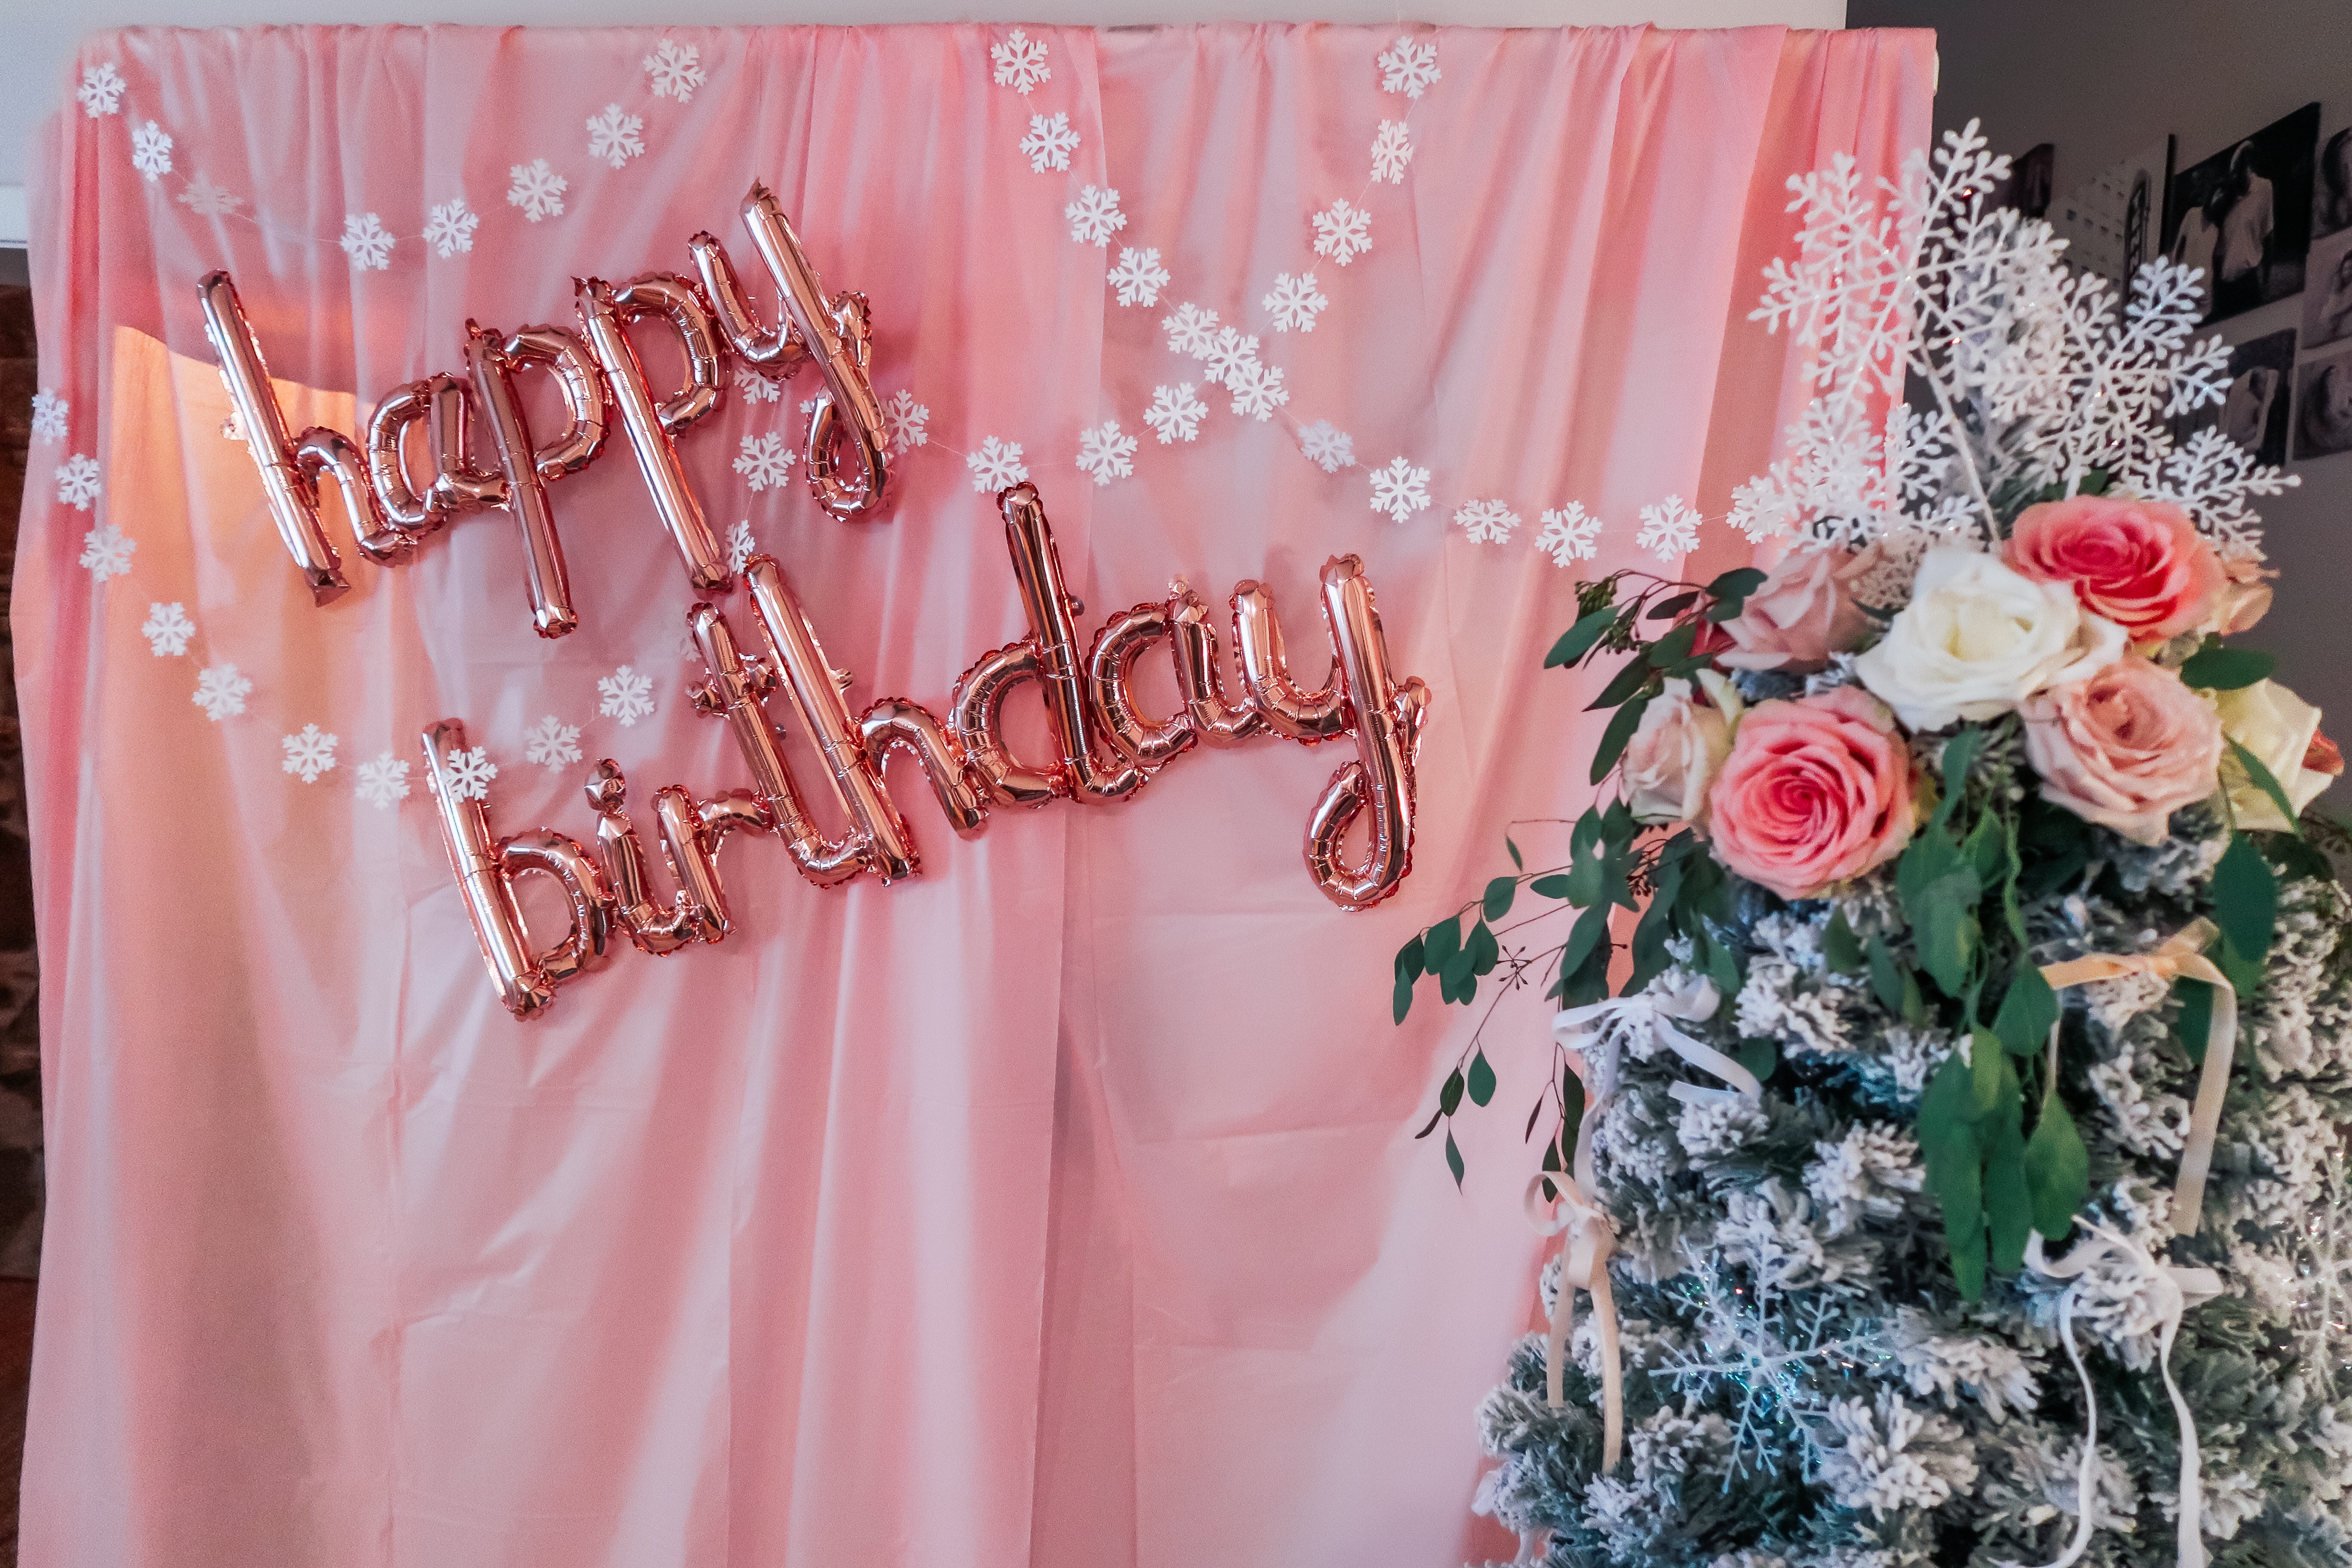
I put away most of our Christmas, except for our tree (currently on sale!) and some mercury glass decorations that I wanted to use as props. I thought the tree would be perfect for a photo backdrop and ya’ll I’m obsessed with how this turned out! Ever since helping throw my sister in law’s bachelorette party where I made a Kate Spade themed photo backdrop for the gram, I have kind of been obsessed with photo booths. It is fun having a little space where guests can take pics to share on IG. Not to mention, it is a great excuse for me to get creative!
the party decor
After deciding on a winter themed birthday, I started keeping my eye out for snowflake decor that I could use for the party. Since it was Christmas time when I was planning the party, I had a lot to choose from.
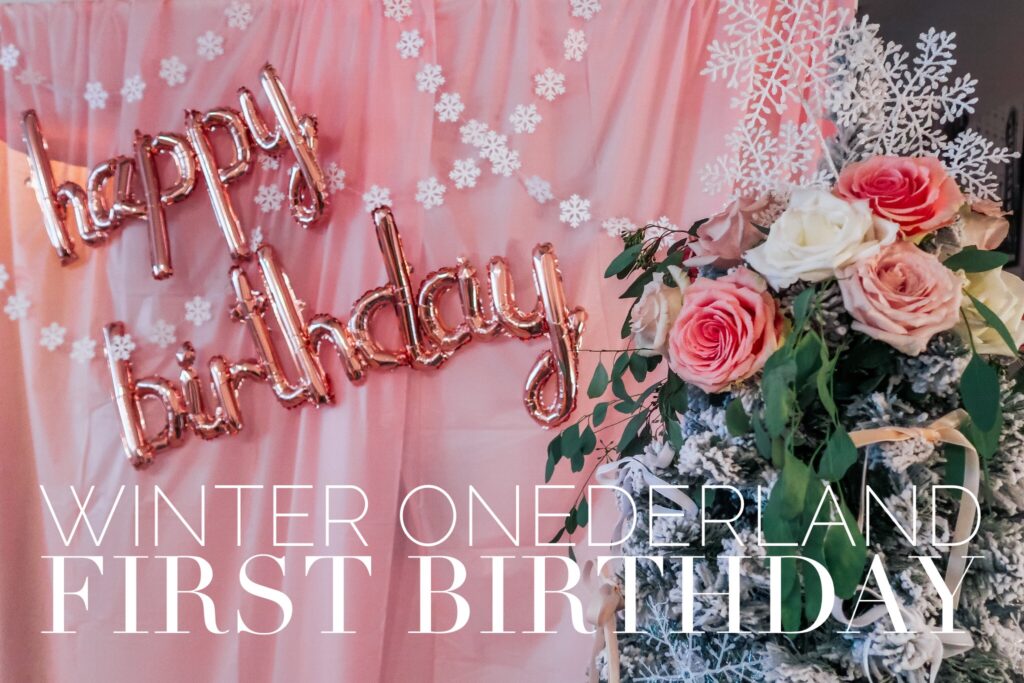
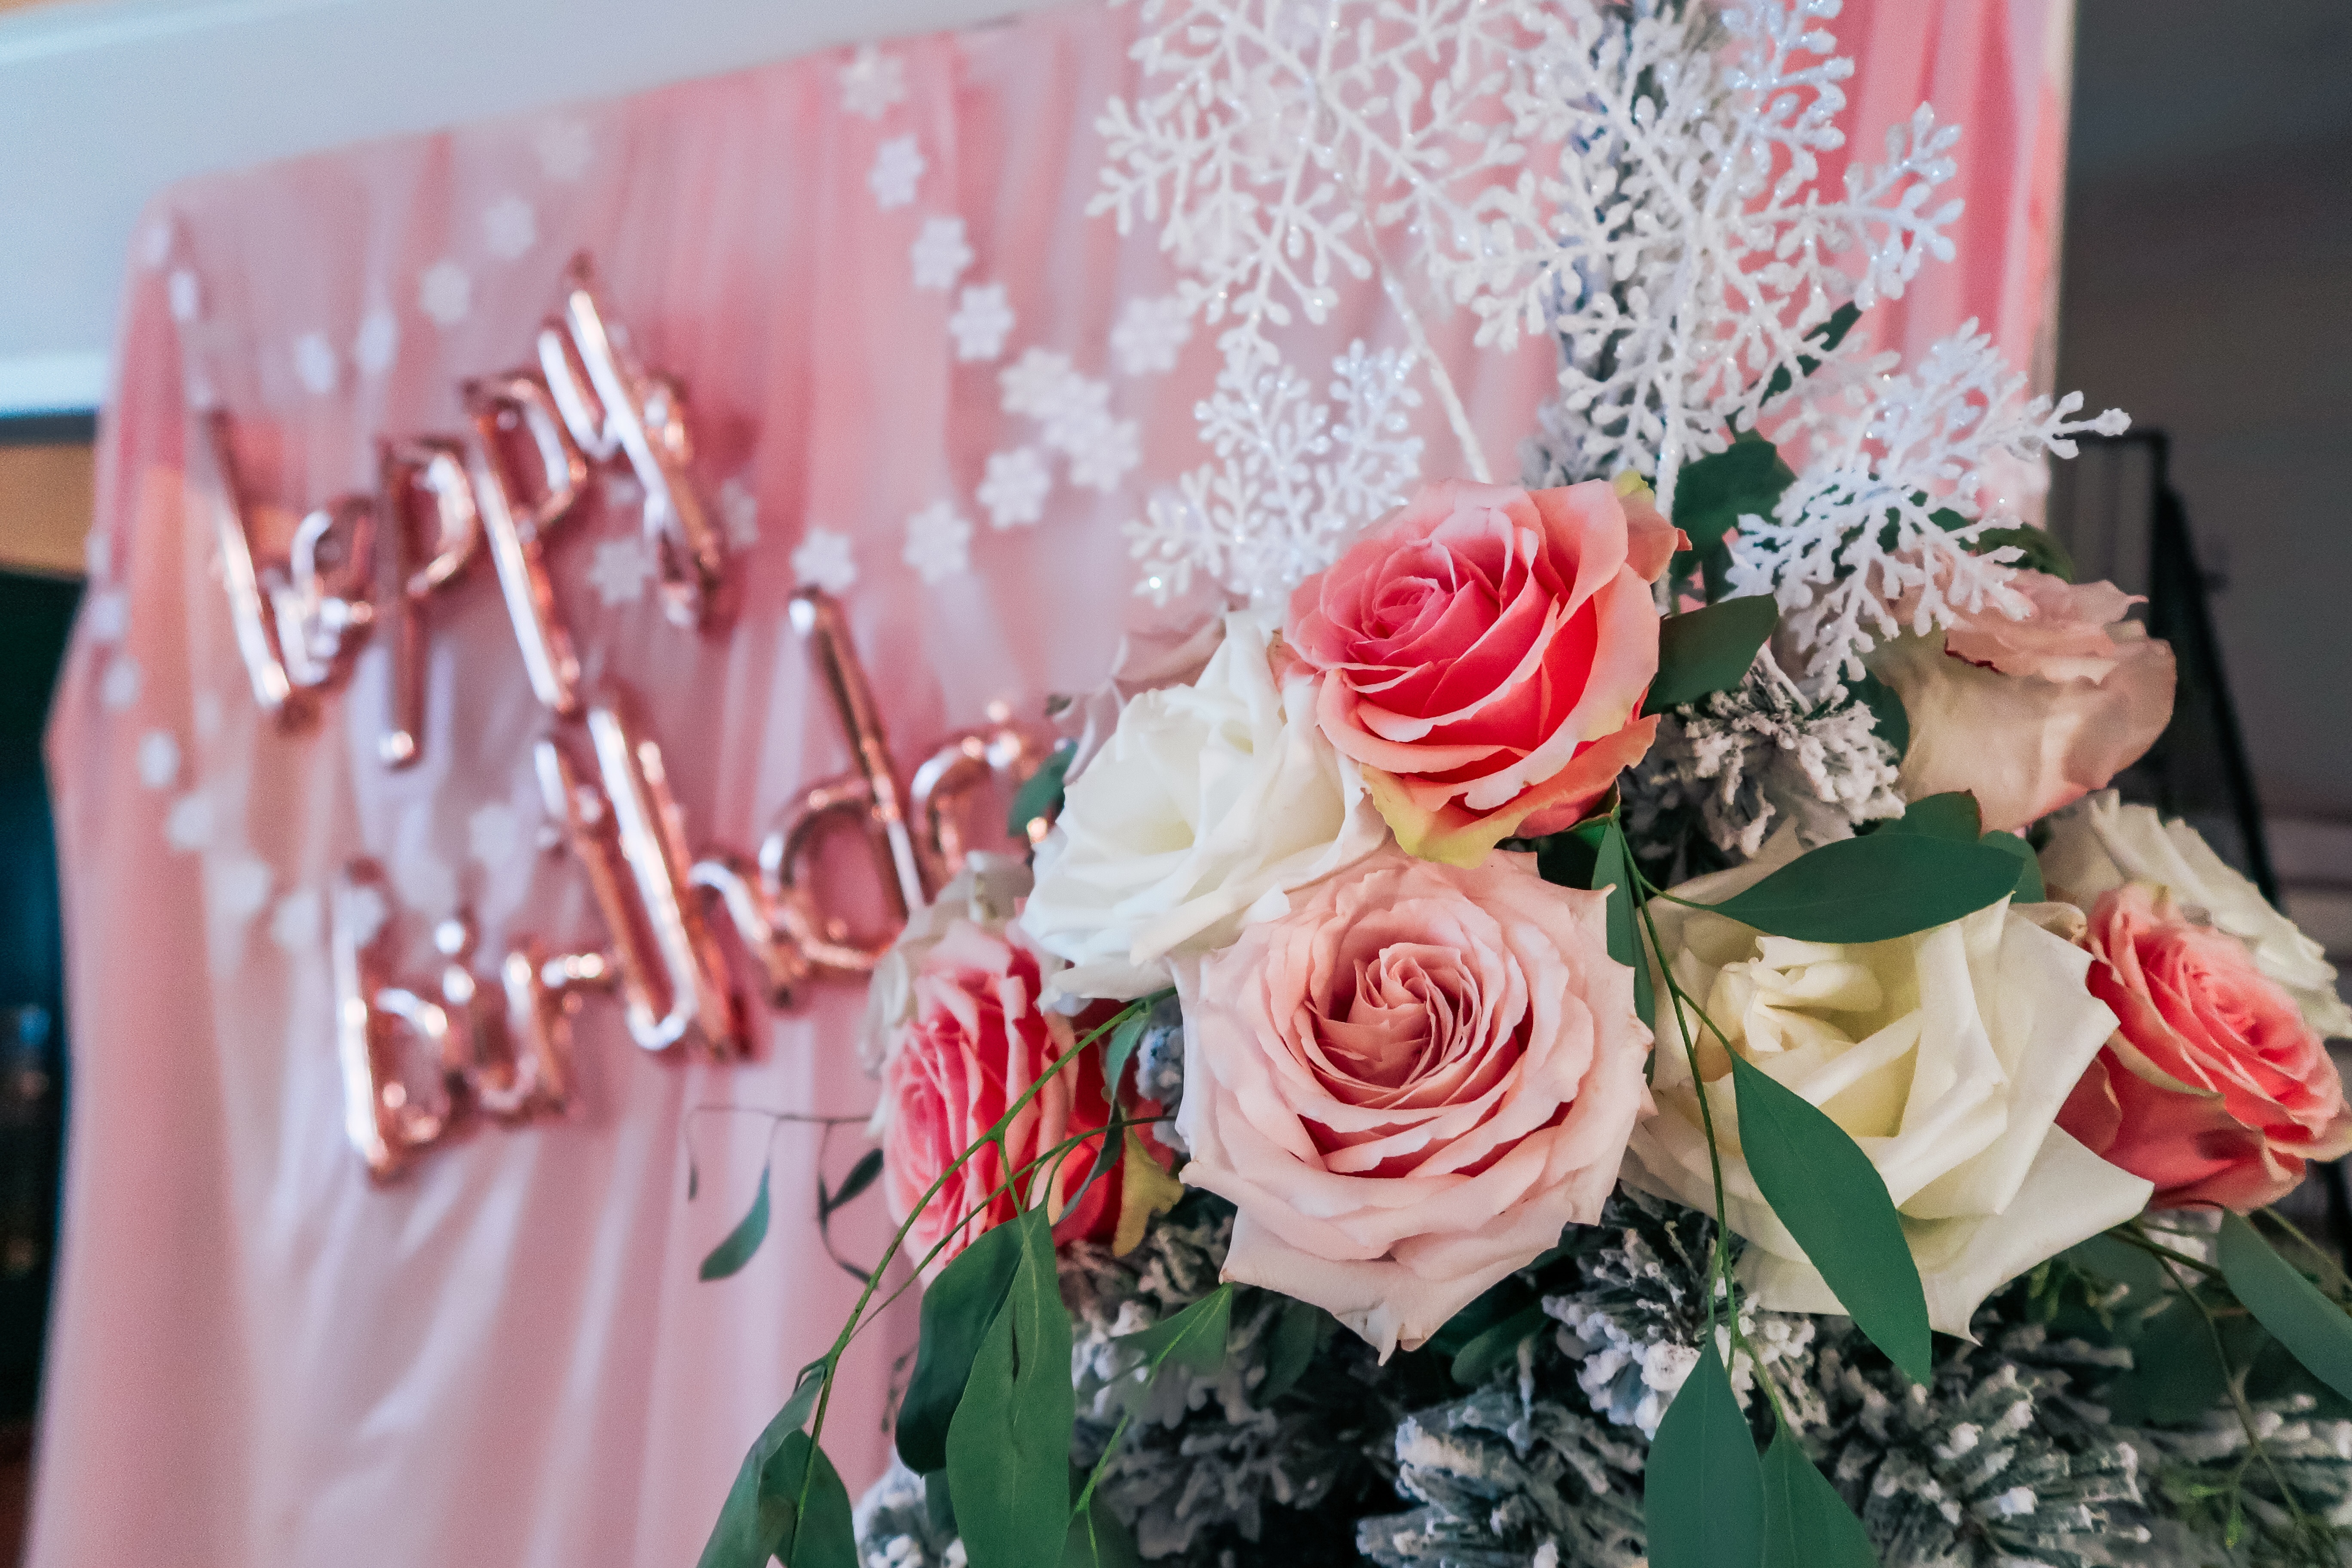
For inspiration, of course, I went to Pinterest, but I also searched on Etsy! I found the sweetest pink, winter onederland invite with roses on it, and thought I could play off that with pink and white decor.
For the photo booth, I had Will build me a simple frame out of PVC pipe so that I could avoid putting more holes and tape all over our walls. Especially since it is something that I plan on doing year after year, I don’t want my walls to start looking like swiss cheese! I love that now I have something that I can reuse over and over, and it doesn’t take up much storage space in our garage. I also like the idea that it is mobile, so I can have a wall in different rooms (or outside) depending on how each party is set up.
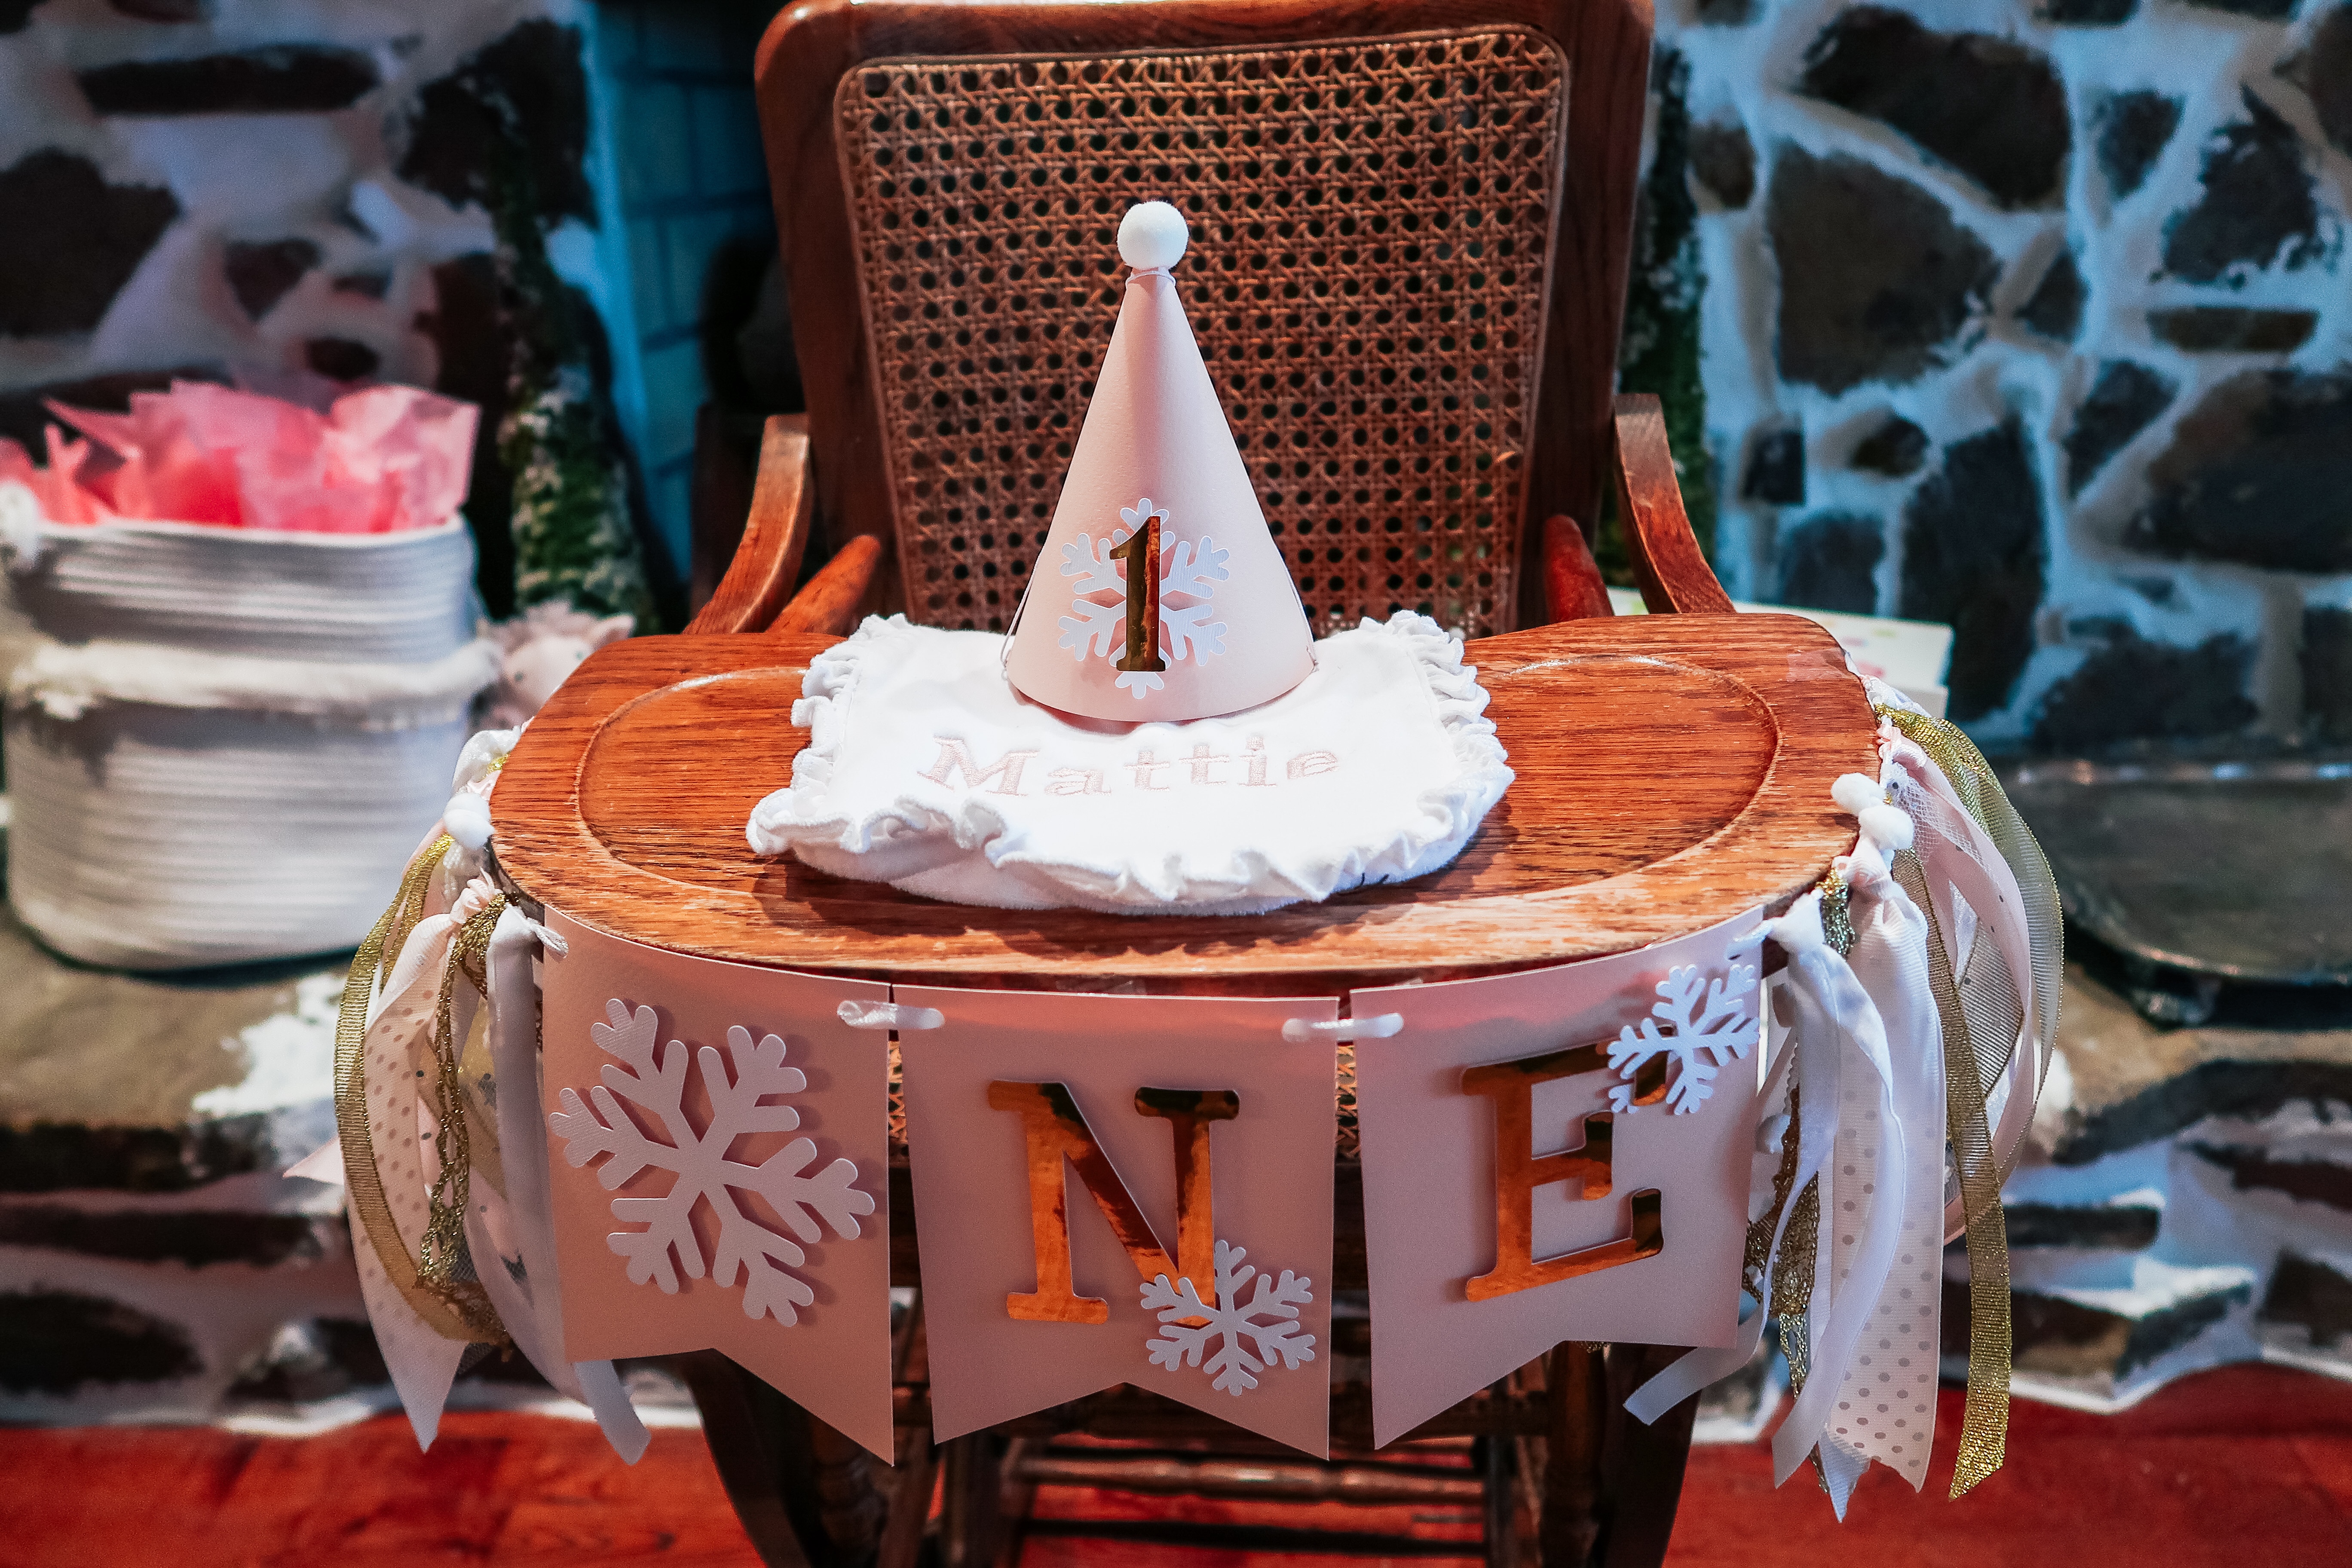
All the snowflake decor I found online from places like Amazon, Walmart, and Oriental Trading. I purchased the velvet ribbon for the tree from Amazon as well. The happy birthday balloons for the photo booth I re-used from Greta’s third birthday party, and the snowflake banner came with the package I selected when I ordered Mattie’s birthday hat and high chair banner.
The actual pink backdrop for the photo booth was two pink table cloths that I purchased from the Dollar Tree. I literally just taped everything up with clear packaging tape and was good to go!
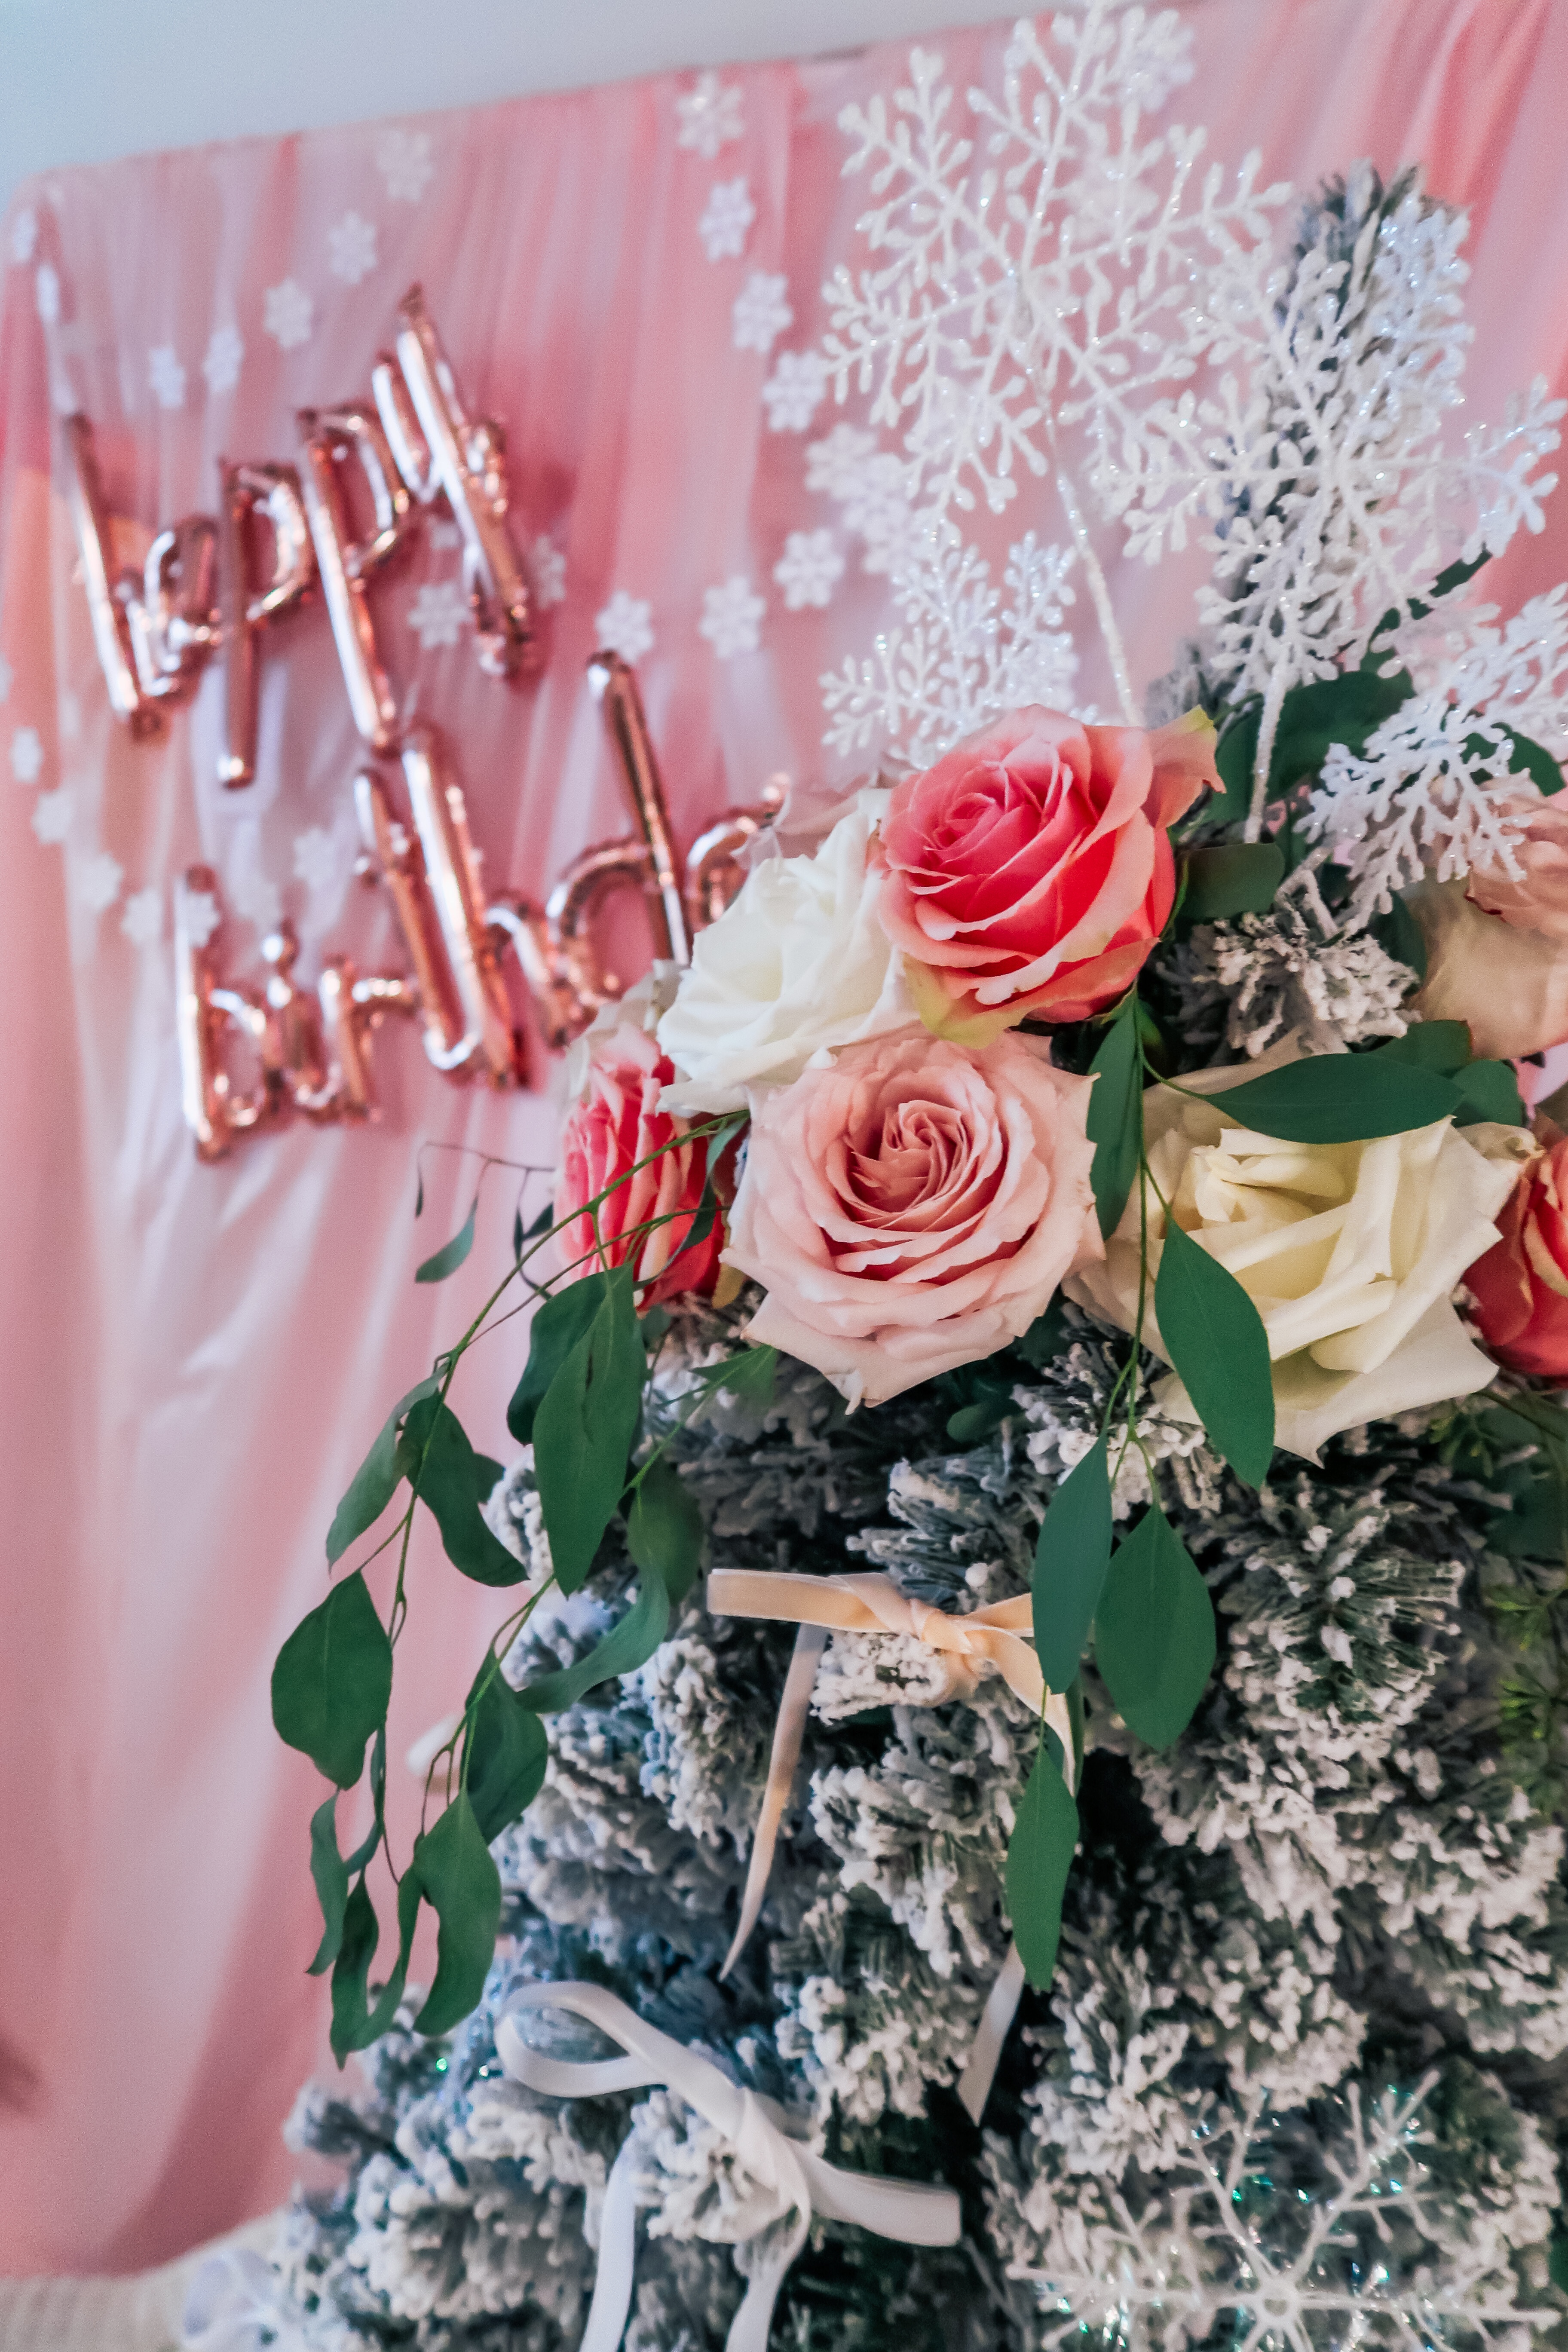
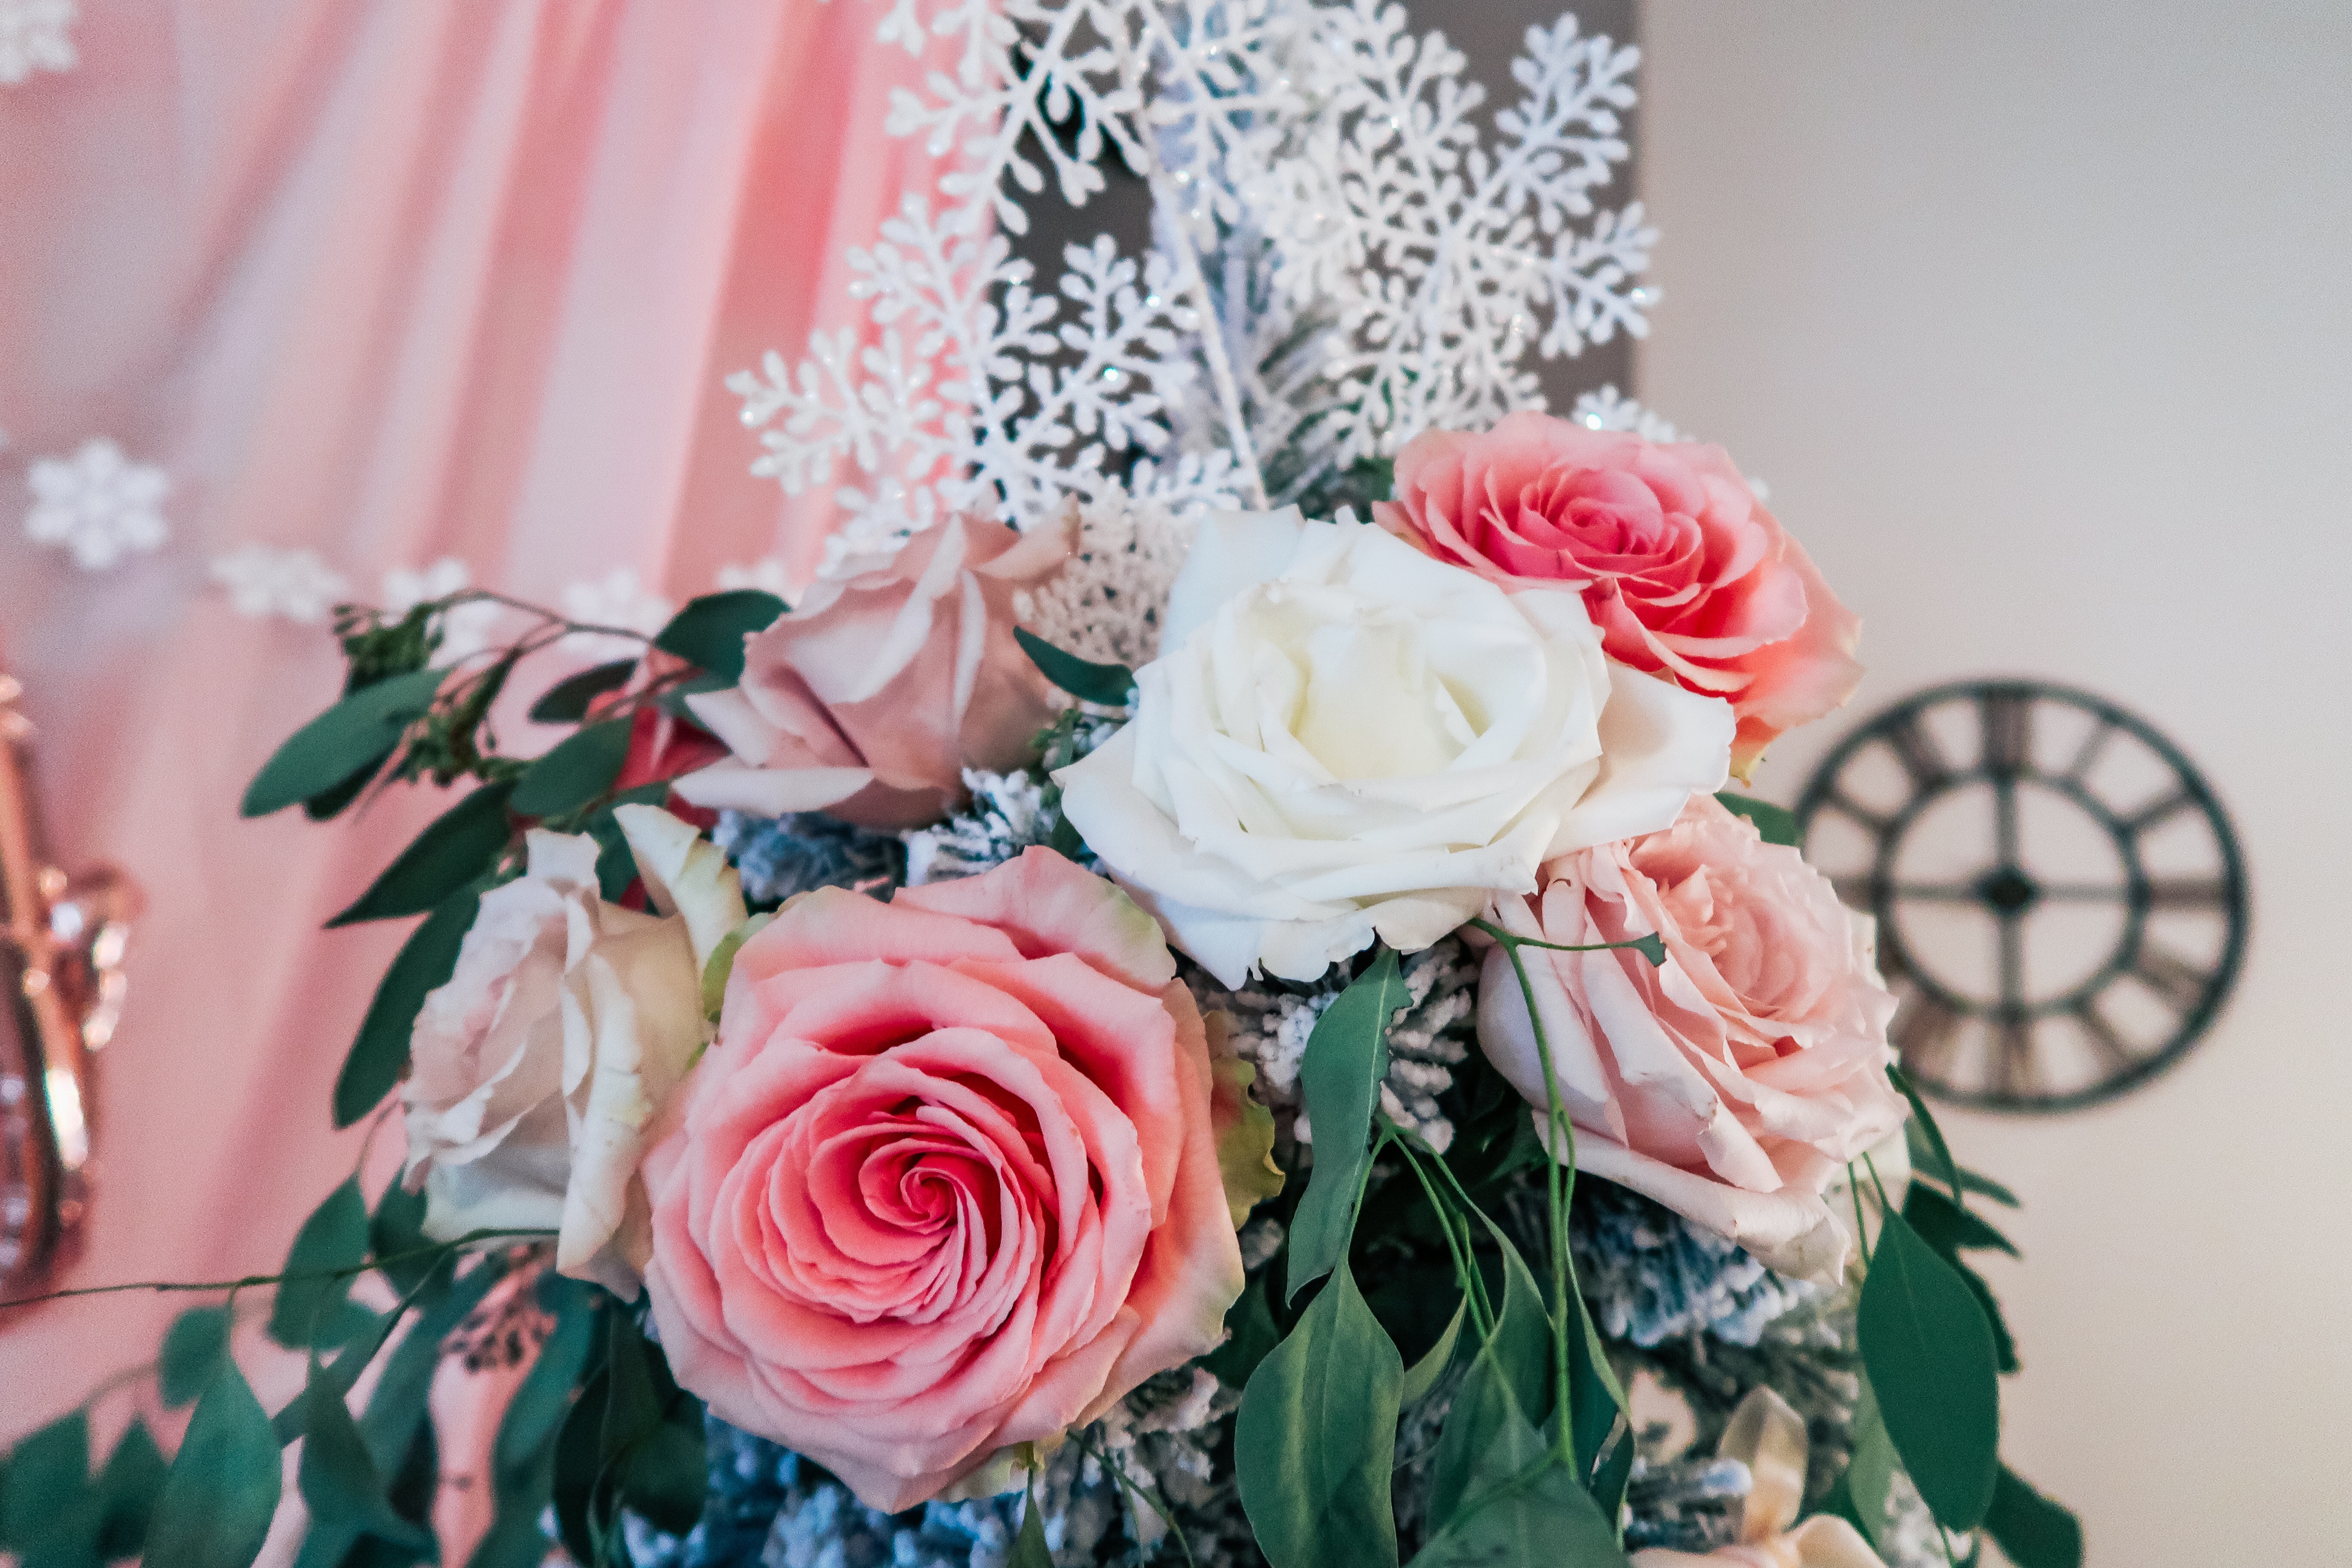
I did splurge a little on the flowers for the party, but I wanted to support local business instead of going to Costco/Trader Joes for flowers like I normally do. Shout out to Knot Just Flowers, in Munford, for helping me find the right colored flowers and doing an amazing job! I also went with a local florist because I was not sure what kind of color selection would be available at the grocery stores since it was winter. I wanted roses specifically that matched the invites, so I went with recommendations from a professional.
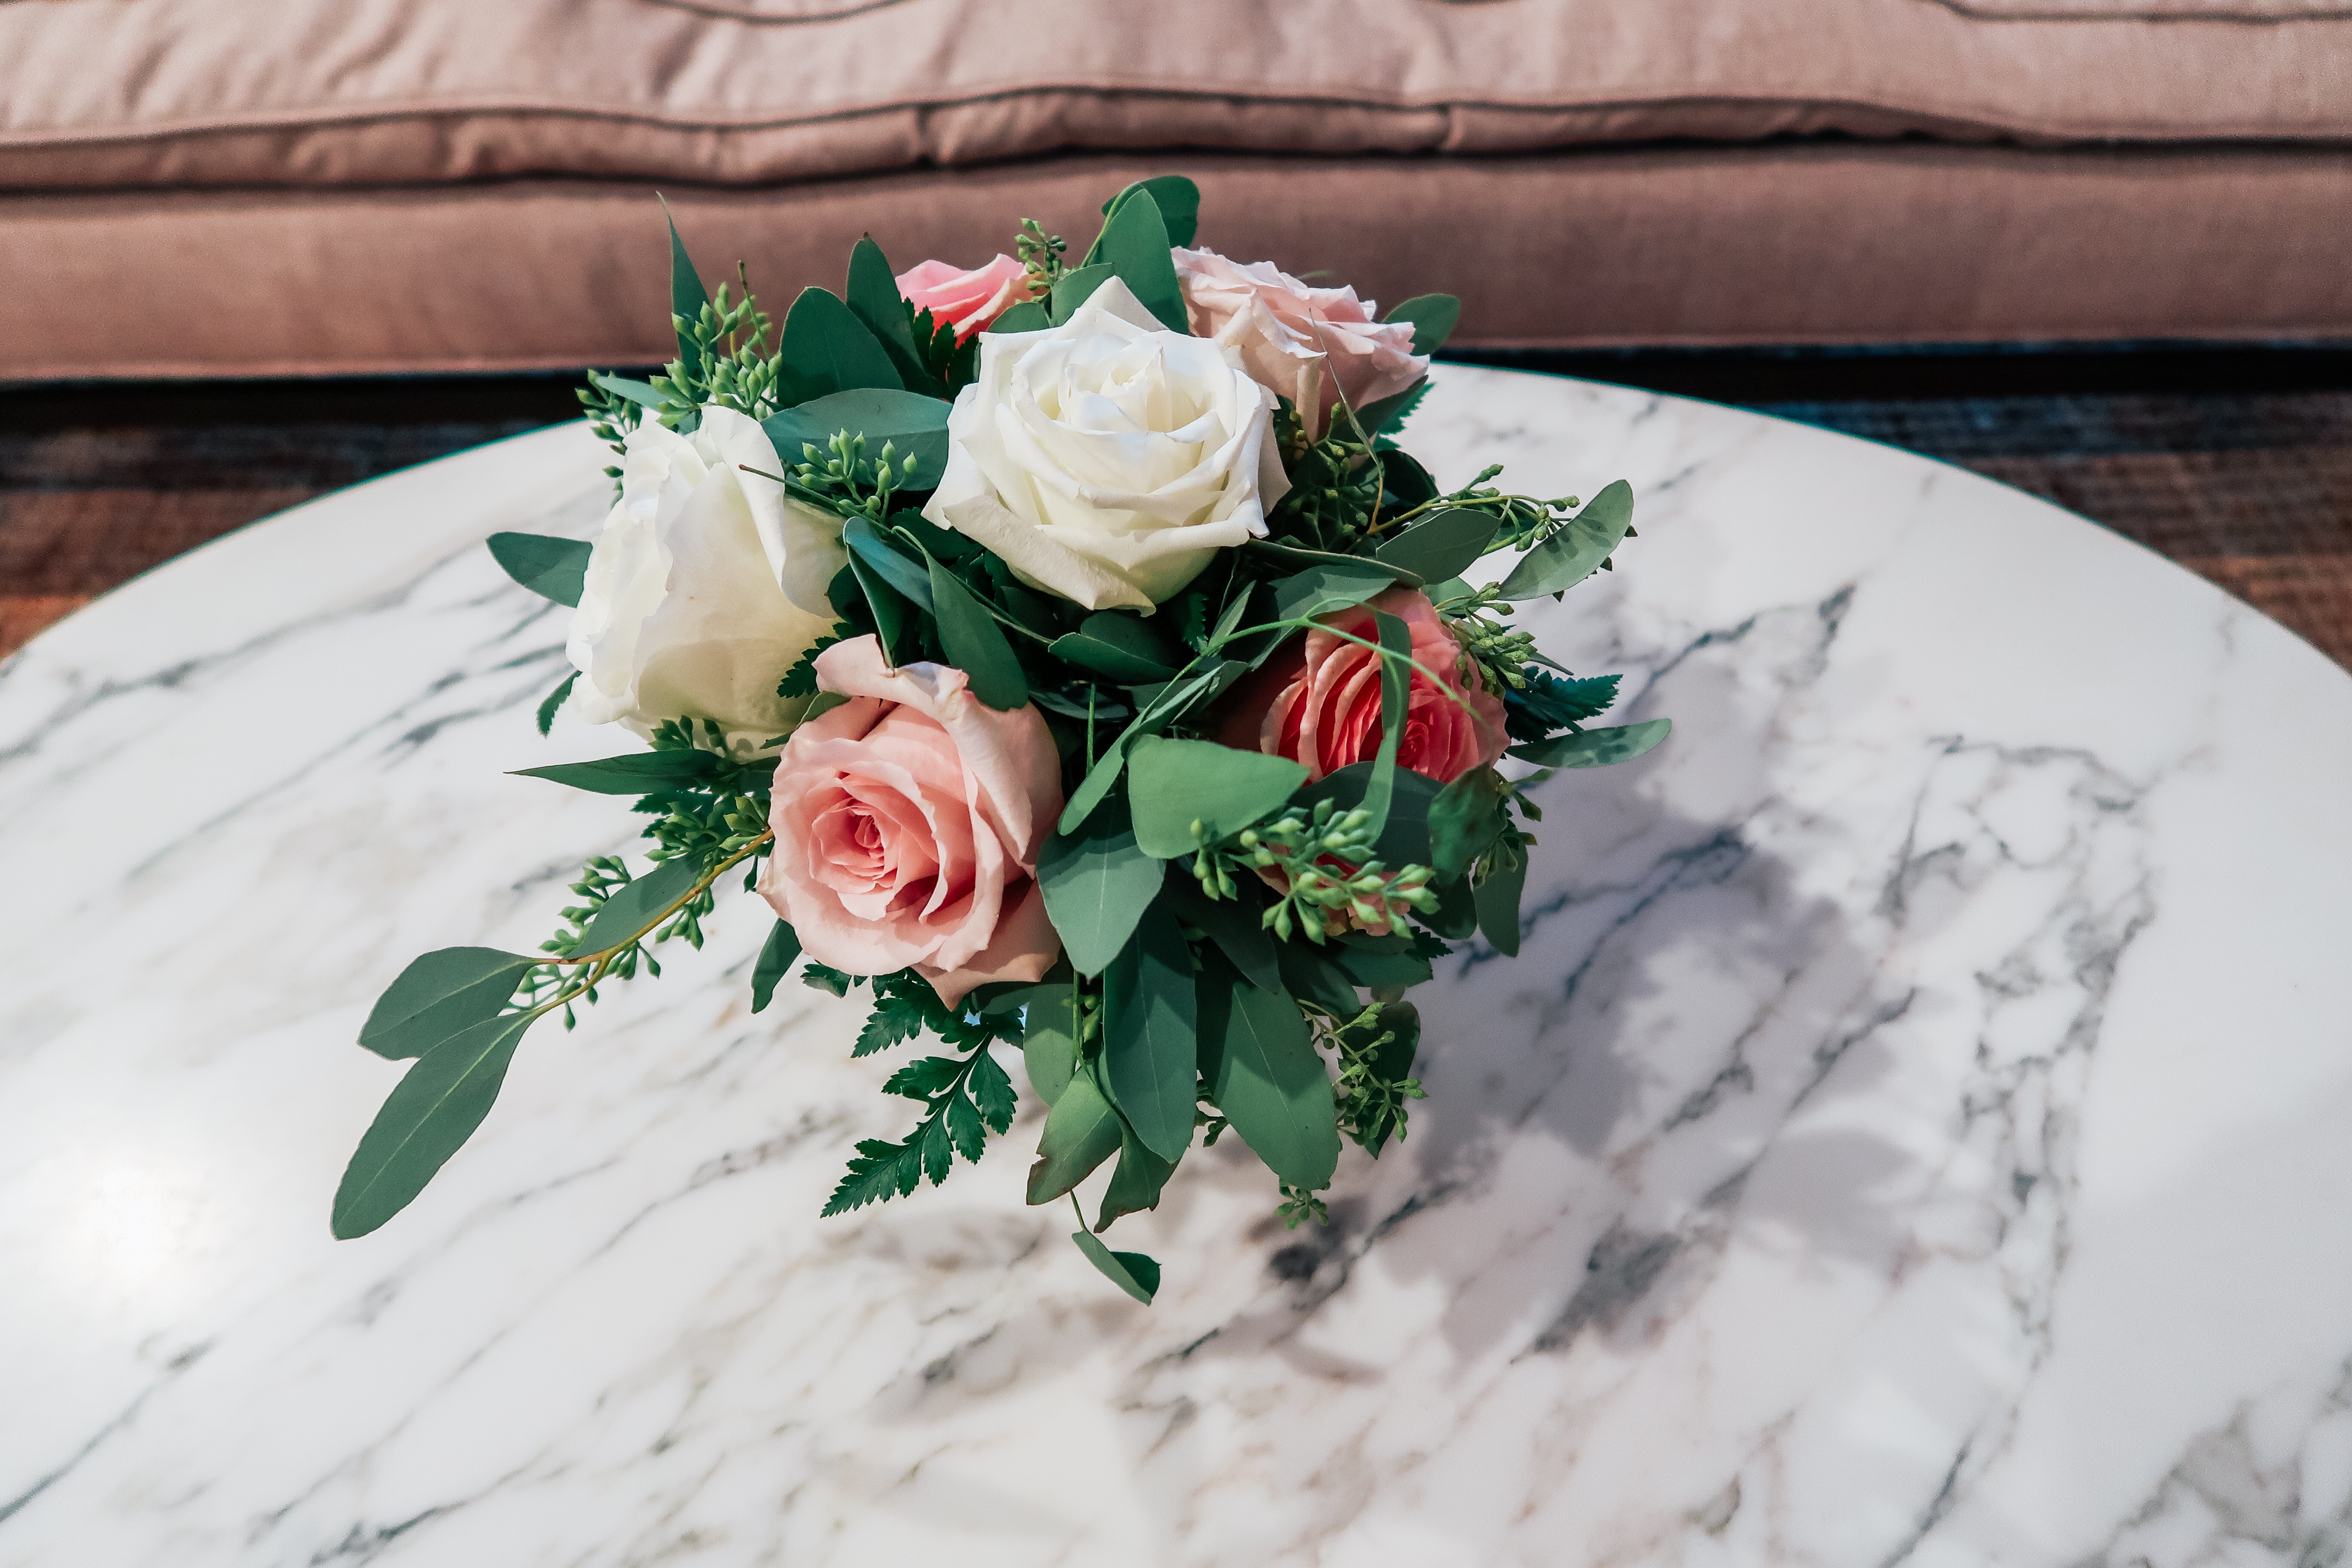
For the tree topper, I had individual stems tubed off with water, so I could arrange them in the tree, but have them keep for over a day. After the party, I tied up the long stems and hung them in a closet to dry out! I plan on making some sort of memento with them for Mattie’s room, although I’m still deciding exactly what to do…
[show_shopthepost_widget id=”4398630″]
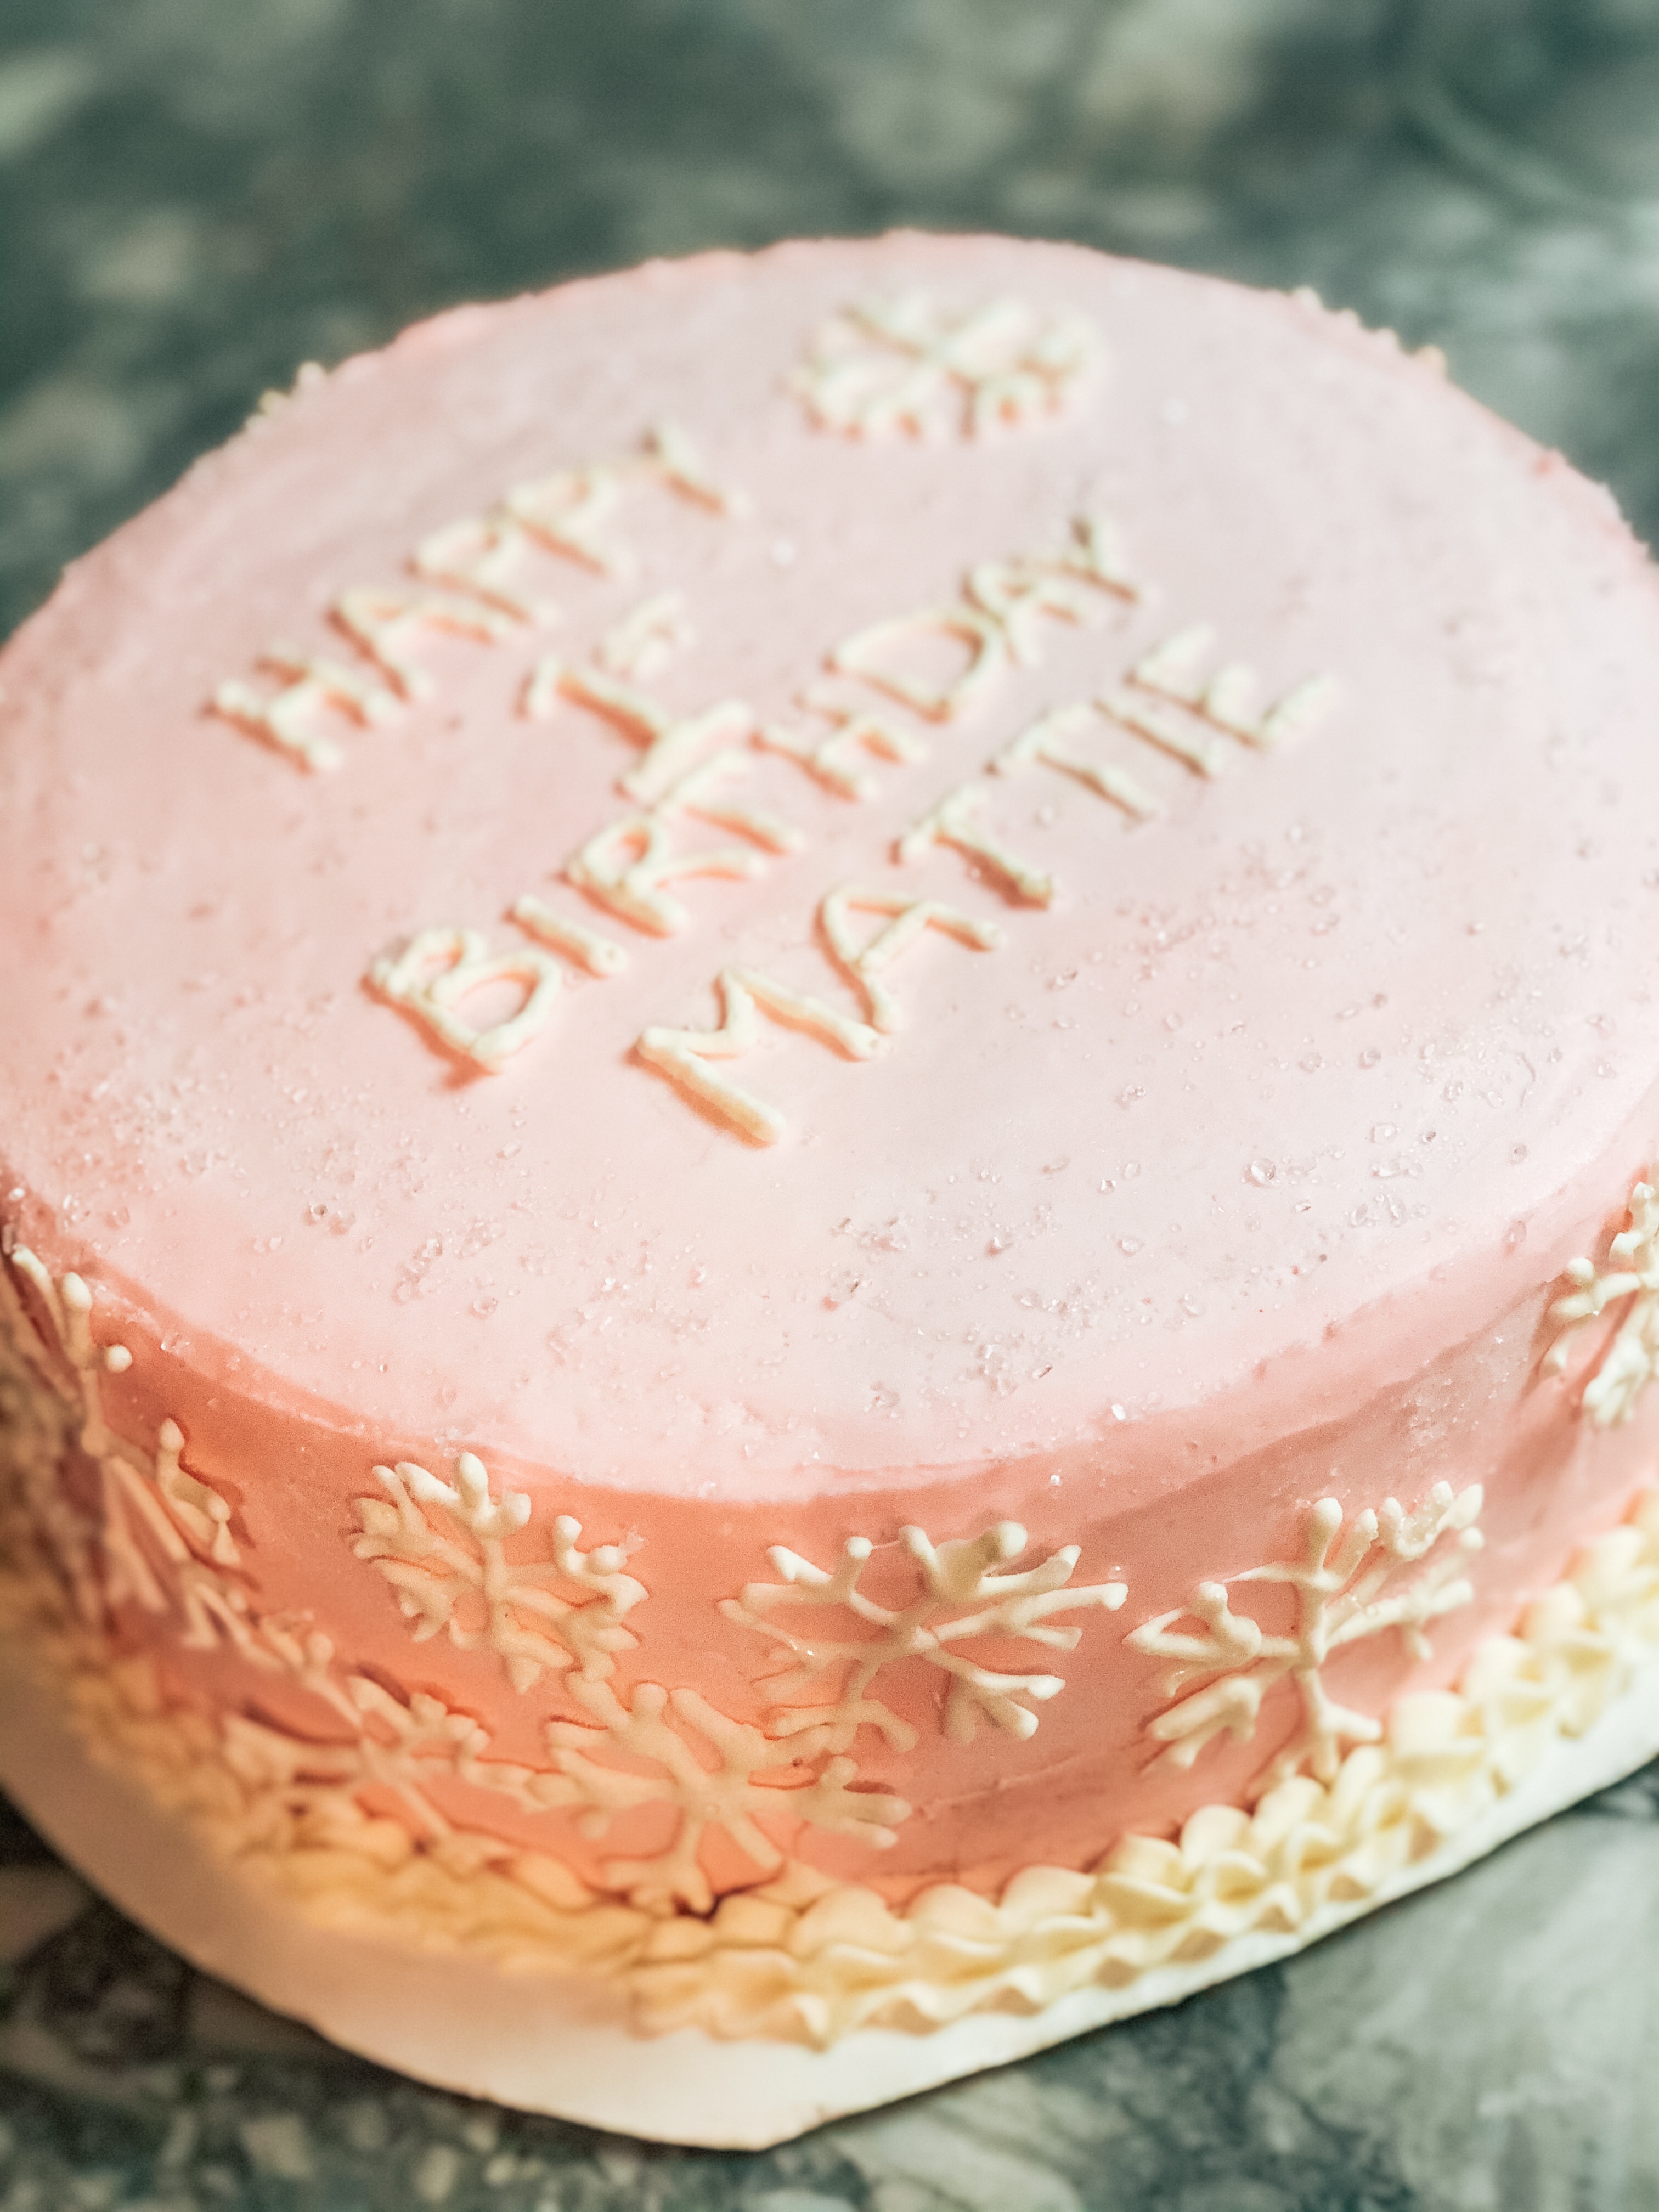
the cakes
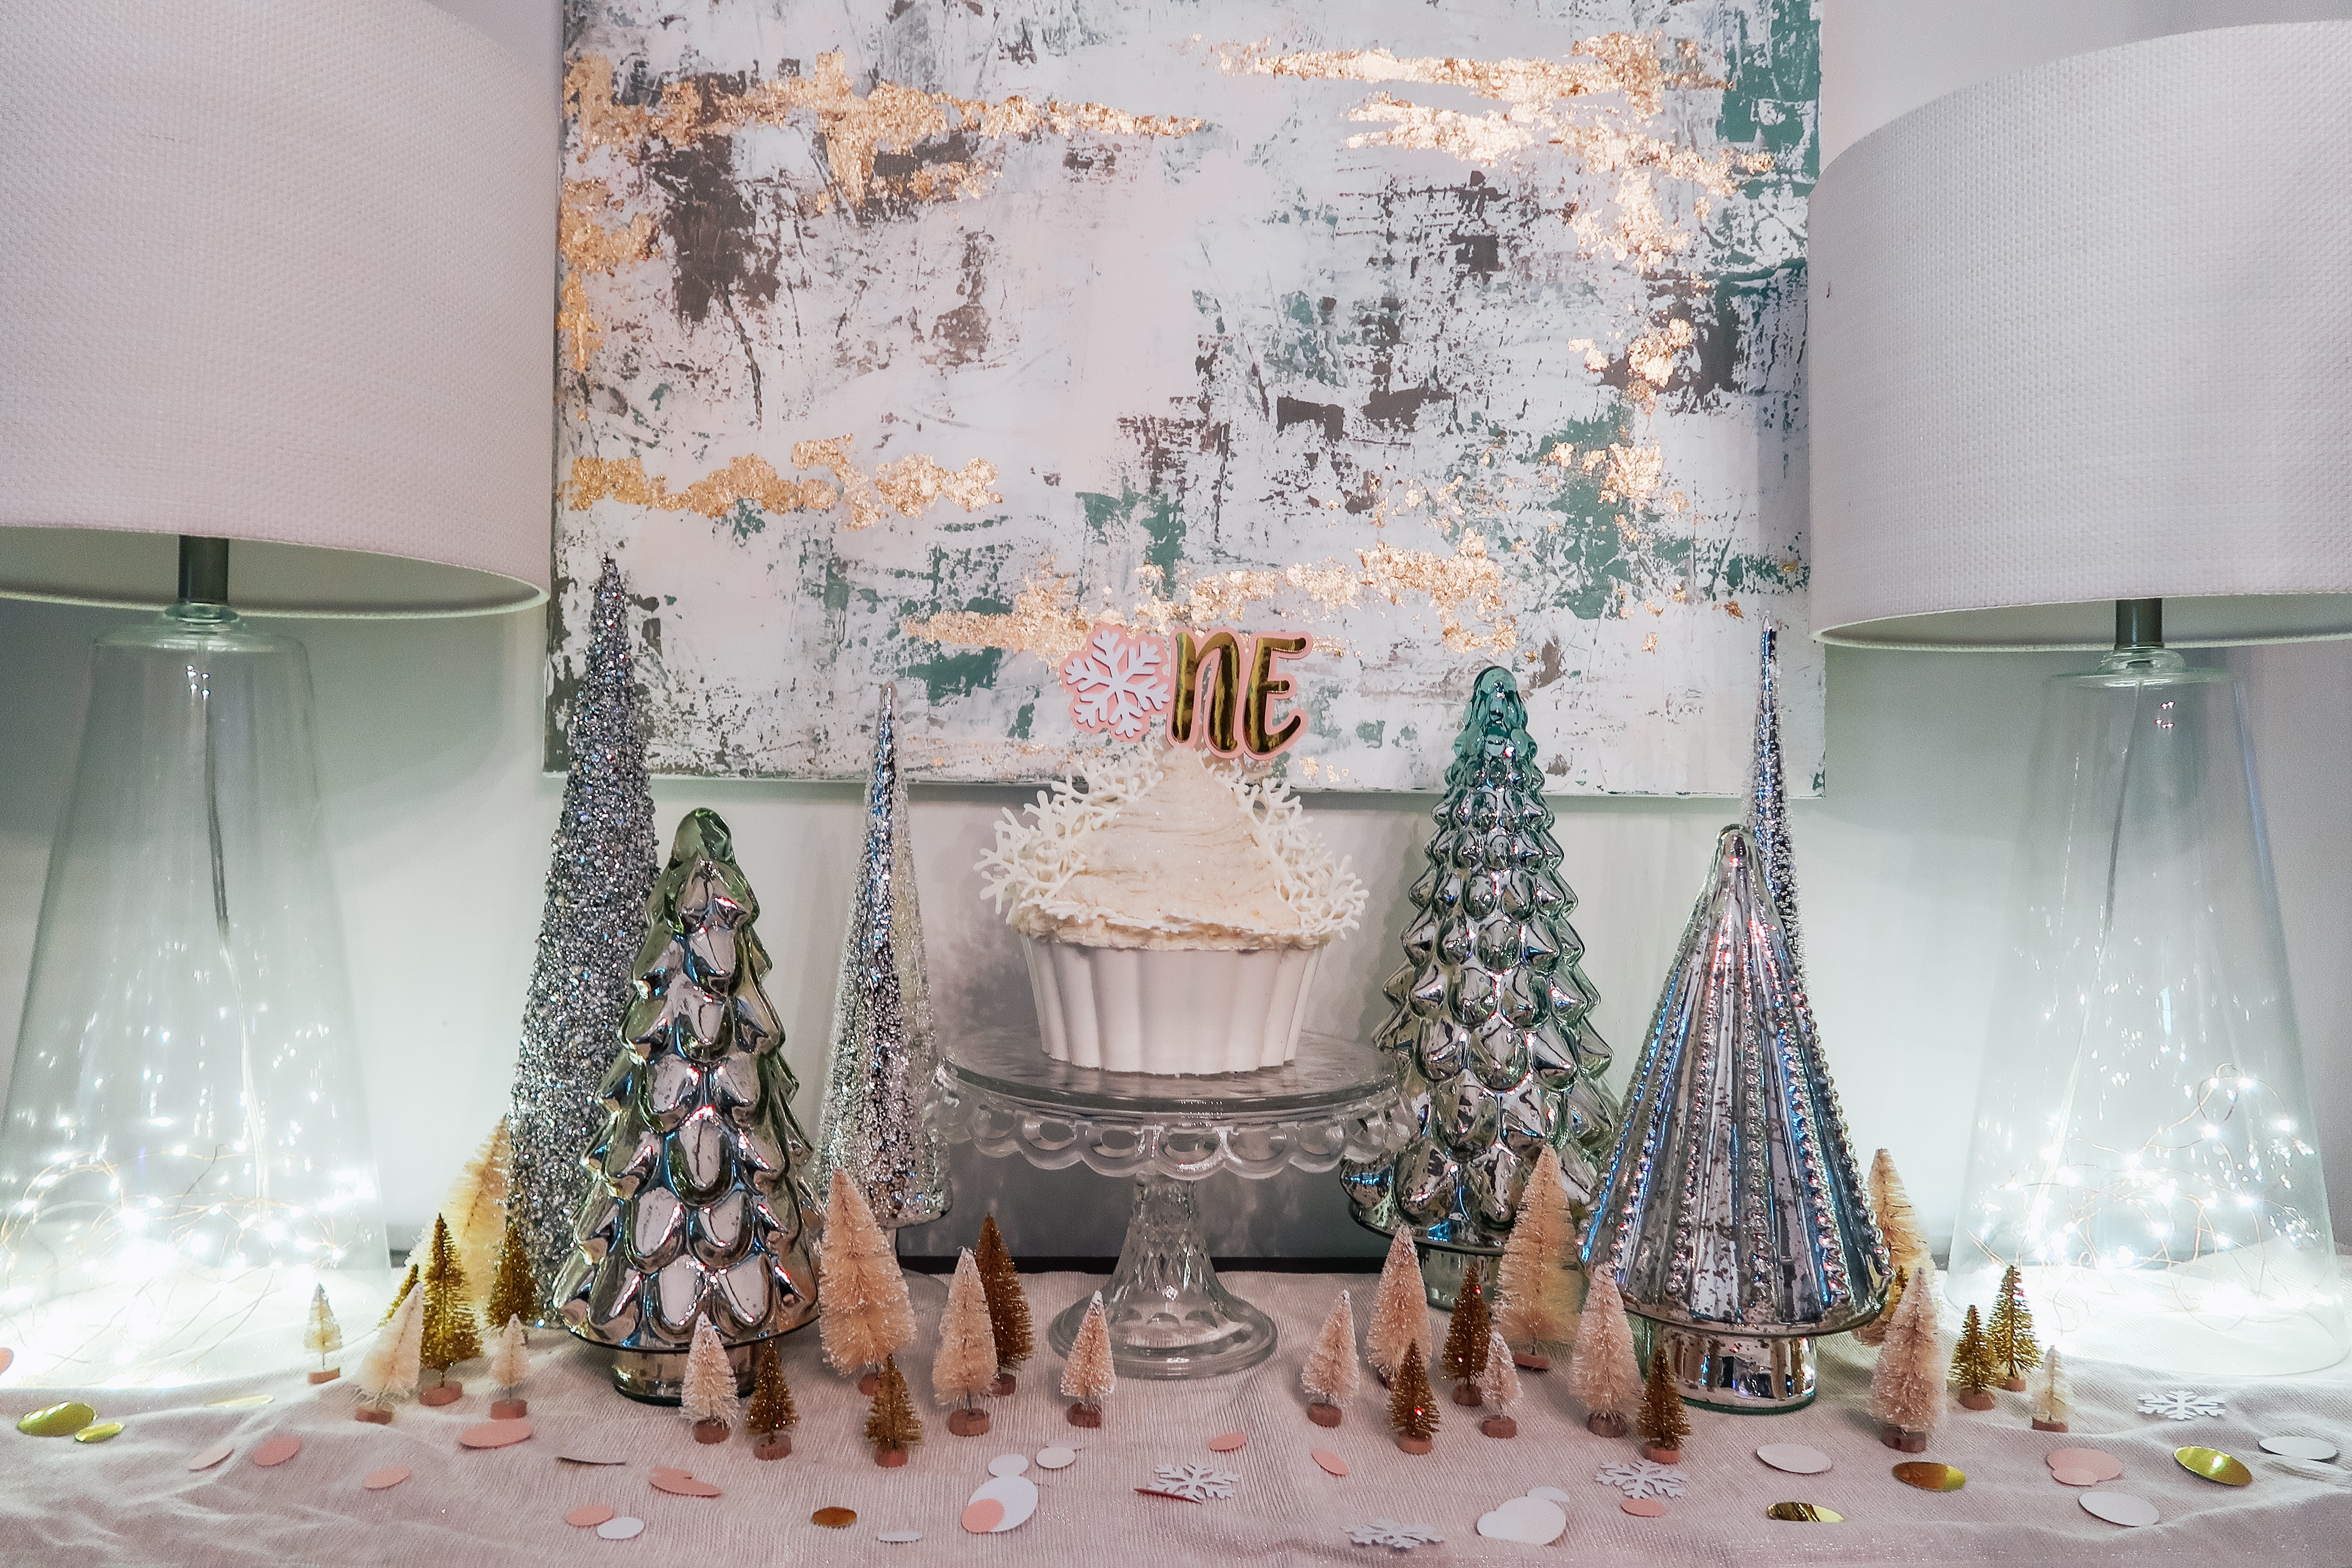
I tried to keep Mattie’s cakes simple for the most part. Since I did a giant cupcake smash cake for Greta’s first birthday, I wanted to do the same for Mattie. I did have fun decorating the giant cupcake for Greta, so I wanted to give it another go. I hadn’t made one since Greta’s first birthday three years ago!
the smash cake
I kept it simple with a white candy coated bottom and white cream cheese frosting. Since I had lots of white chocolate leftover from the “cupcake wrapper,” I made a bunch of white chocolate snowflakes to decorate her cakes with. I think I went a little overboard with the smash cake (it was a little busy), but I had all those snowflakes, so I just threw them on there. It was just going to get smashed anyway!
To make the hard candy/chocolate cupcake liner:
- get your chocolate candy pieces and melt in a double boiler (I used a jar in some hot water), or in the microwave.
- Grease the bottom of your giant cupcake pan with coconut oil, and with a small spatula, spread the candy coating around the edges of the pan.
- You may have to refrigerate in between layering on the candy coating to get it good and even into a shell for the cake to go into (you don’t want it too thin where it will crack).
- When you think you have a good coat for the “cupcake liner,” and it is all hardened gently tap it out of the pan.
- Shave off the outside of the bottom half of the cake, little by little, with a knife until it is the right size to fit inside the candy/chocolate cupcake liner.
- Glue the top of the cupcake on with some frosting, and then decorate the rest of your cake!
The cake to Serve
I decided to make an icecream cake to share with our guests after Mattie smashed her cake and had that first sugar rush of her lifetime. Making the cake is pretty simple, here is what I did:
Bake one cake layer of cake. For the second layer, take a spring form pan of the same size and fill with softened ice cream (I used cookies and cream!). Once the ice cream layer is frozen you can “glue” the two layers together with frosting, and then get ready to decorate!
Ice cream is a little more difficult to work with because of the melting factor. I had to freeze the cake after putting the two layers together, and also in between each layer of frosting. Because you have to work so quickly with it, I just kept the cake really basic with a few white chocolate snowflakes around the sides and some piping on the bottom to cover where the ice cream melted out a little.
Here is a video:
Ship’s Tip: I’ve said it before, but remember, cakes are something that you can bake ahead of time! If wrapped tightly (cling wrap and then foil) and frozen they will stay fresh for a a while! Take out and defrost when you’re ready to decorate. Same with royal icing cookies!
[show_shopthepost_widget id=”4398631″]

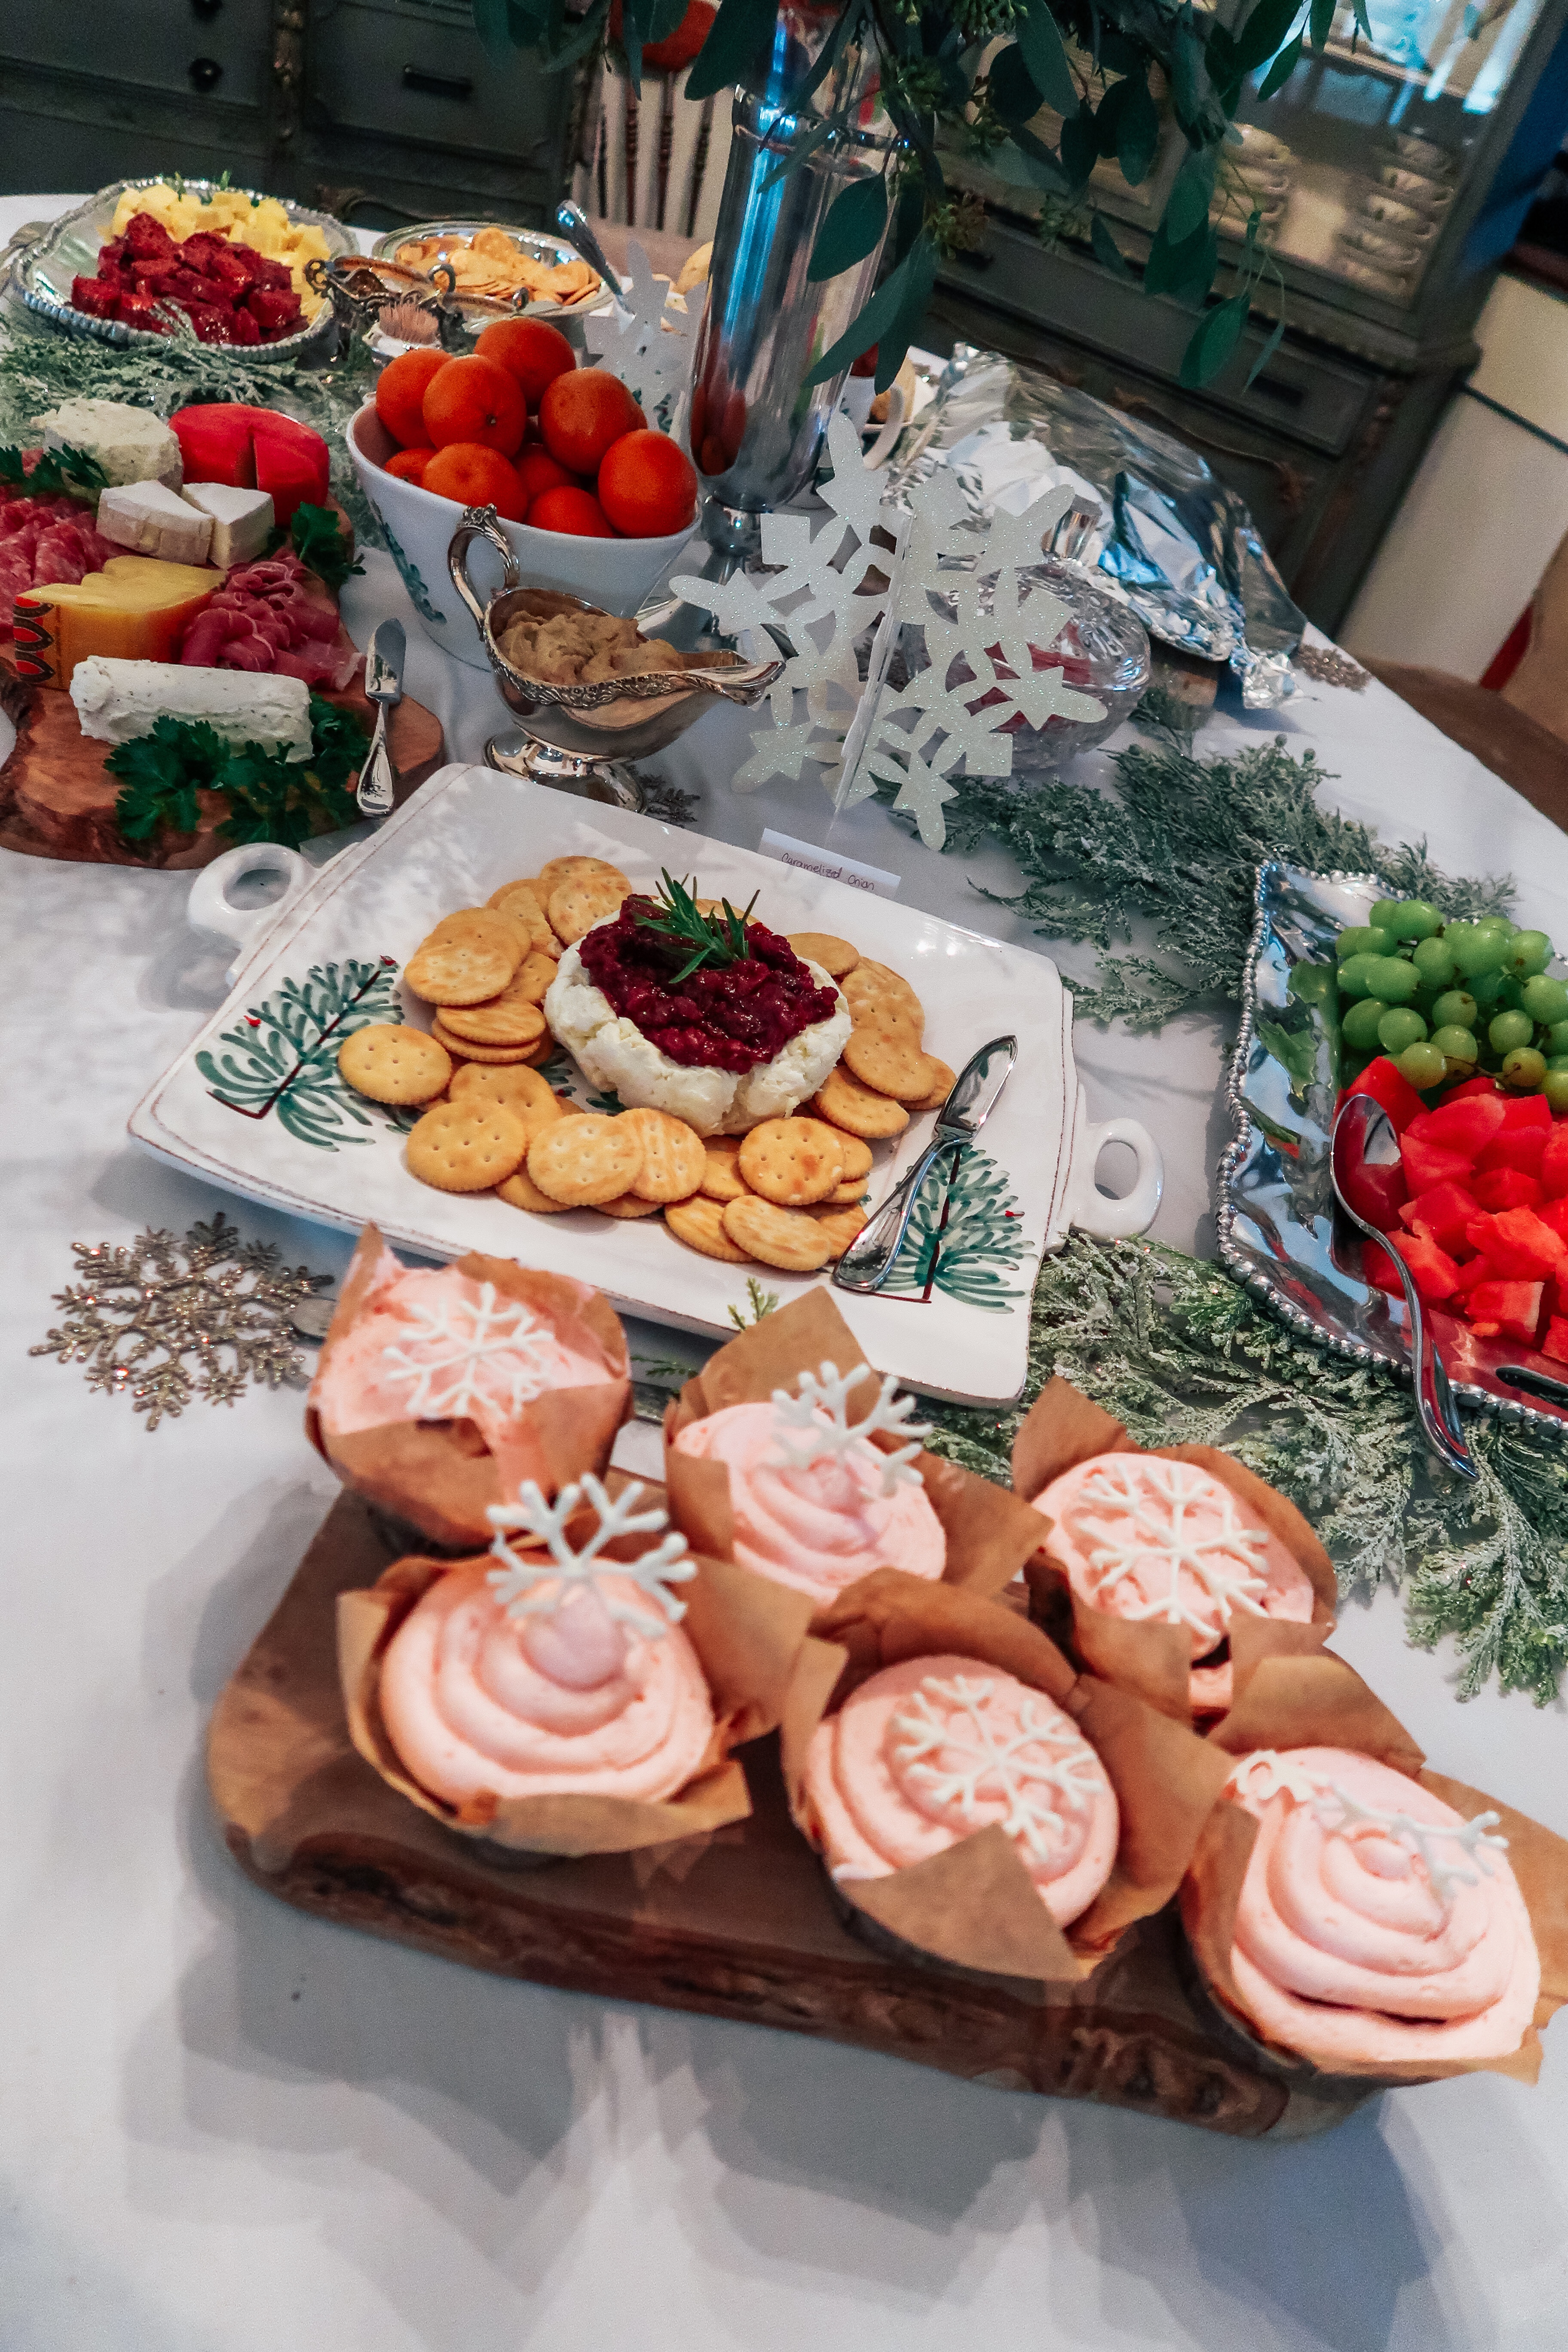
the food
Okay, so cheese is kind of my love language, and I had way too many cheesy foods on the menu. But is there really such thing as too much cheese?! It was cold, so I spared Will the grill duty (aside from one sausage) and this is what we had:
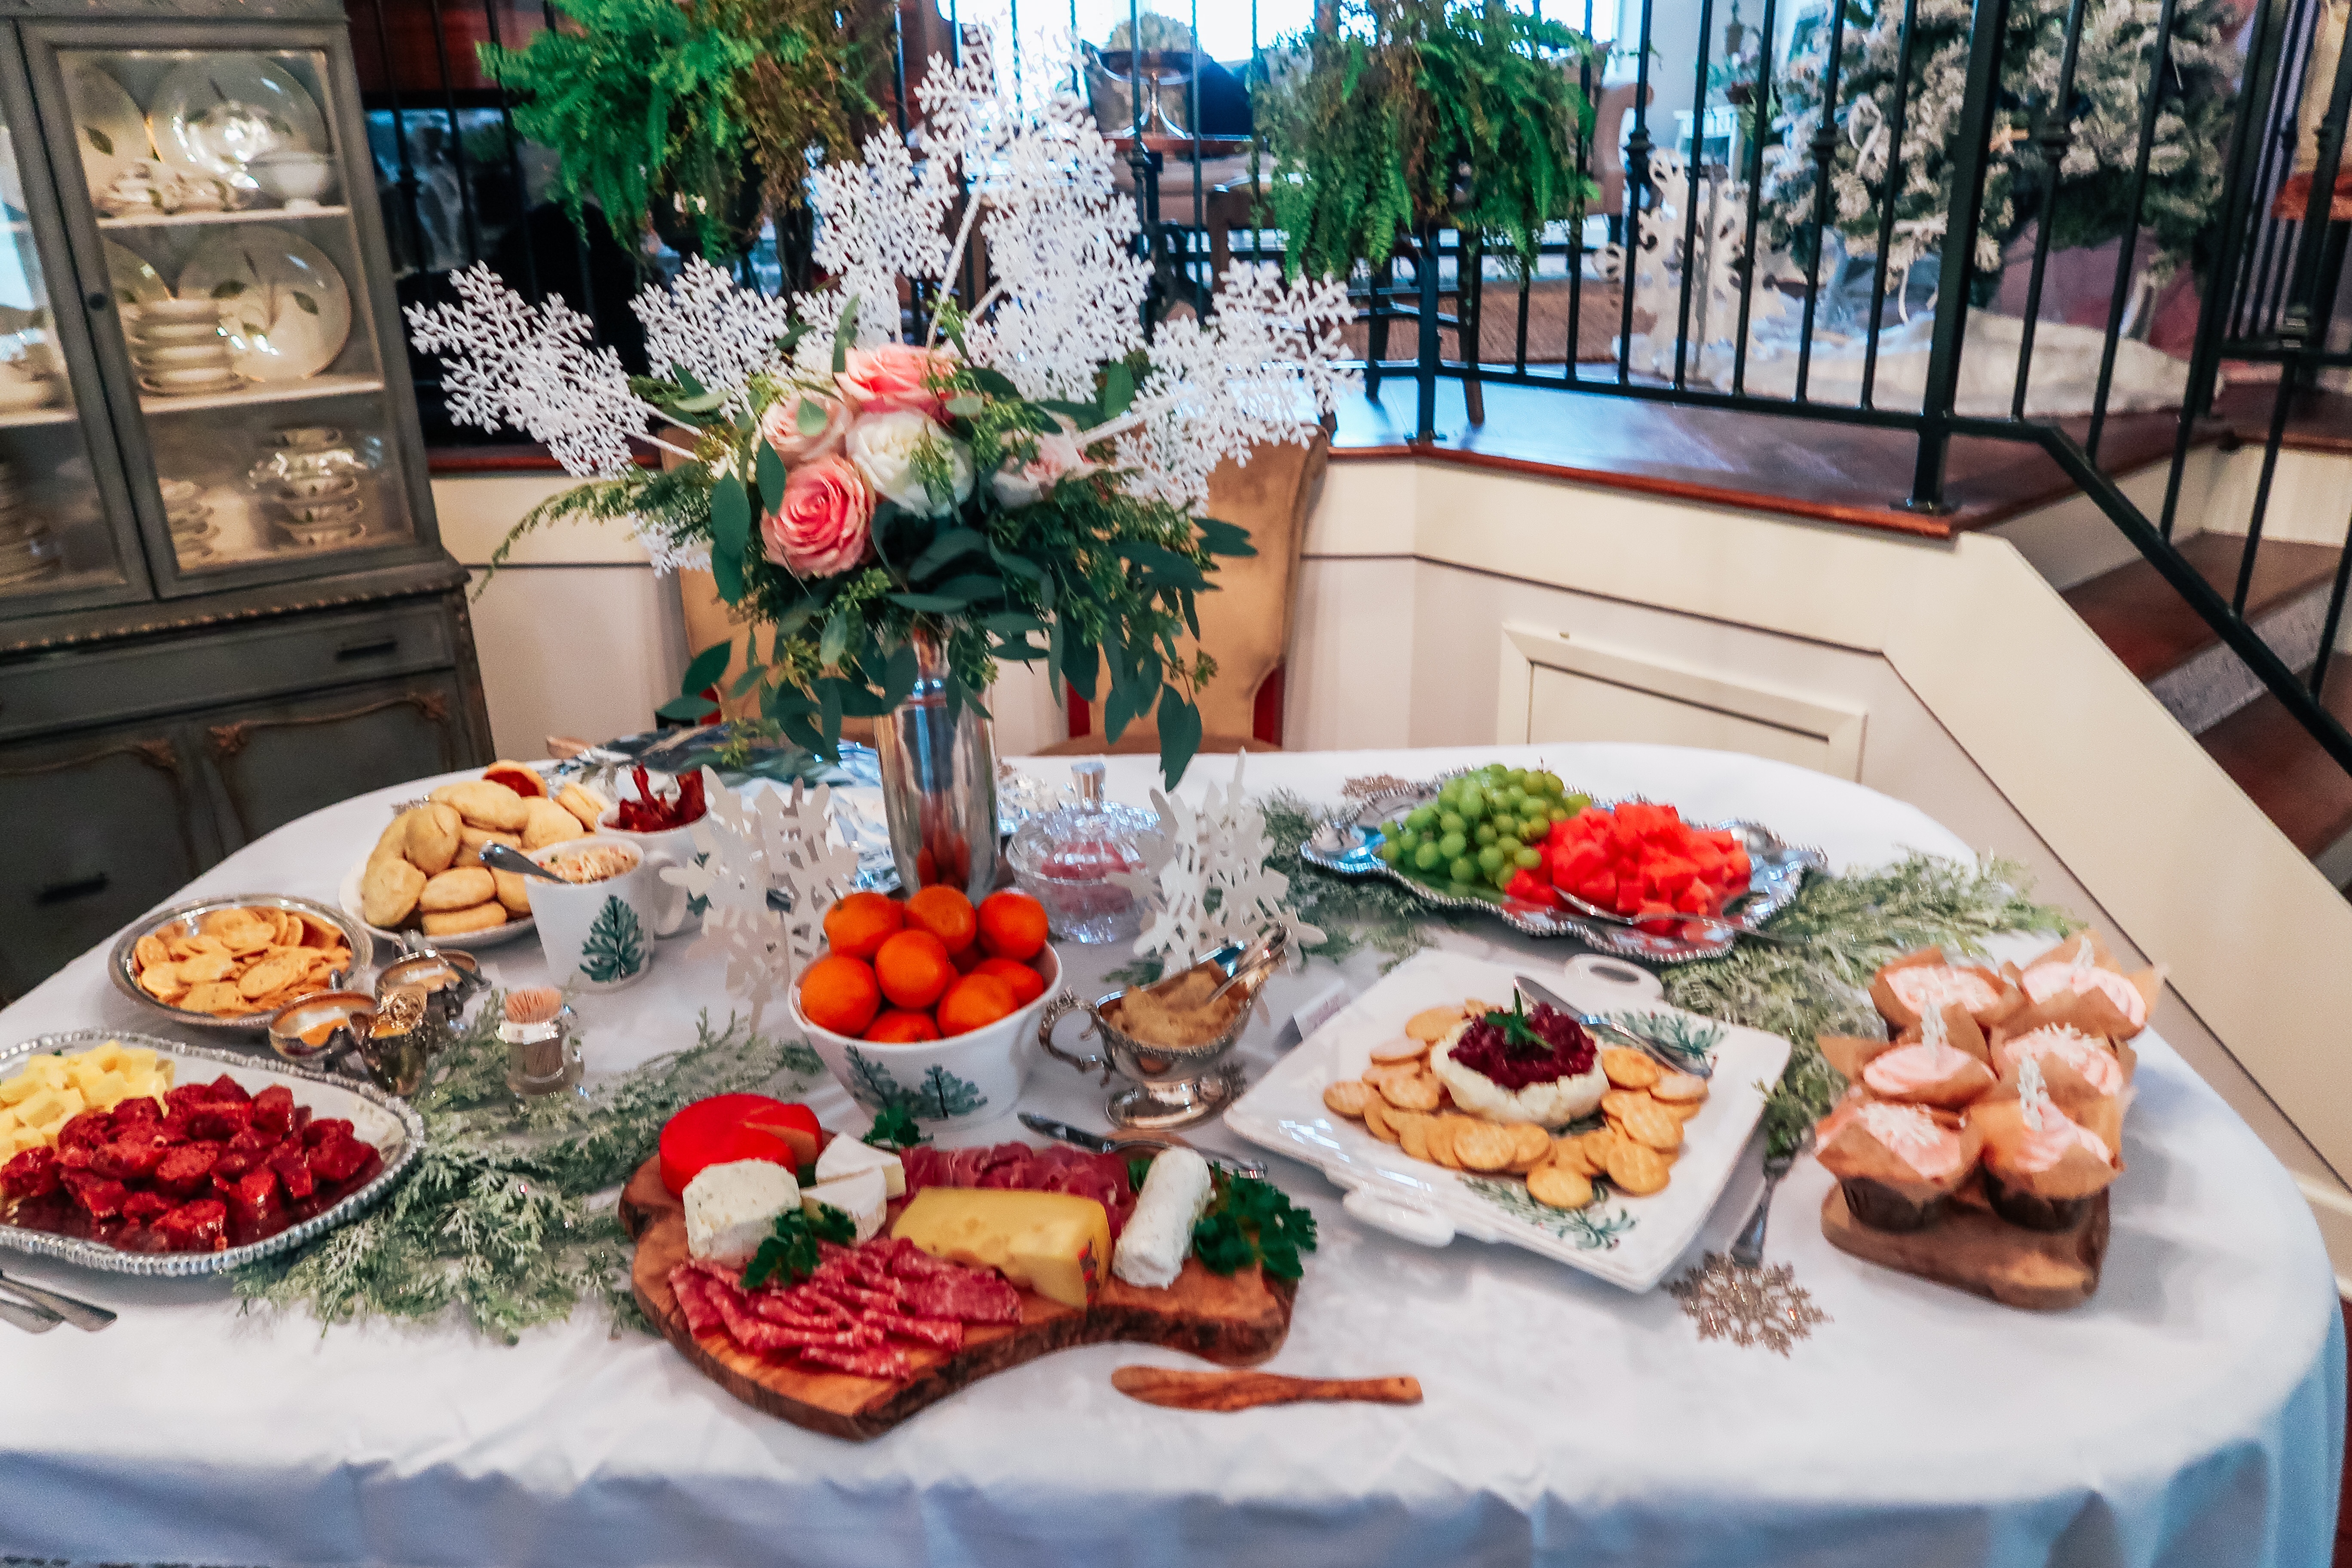
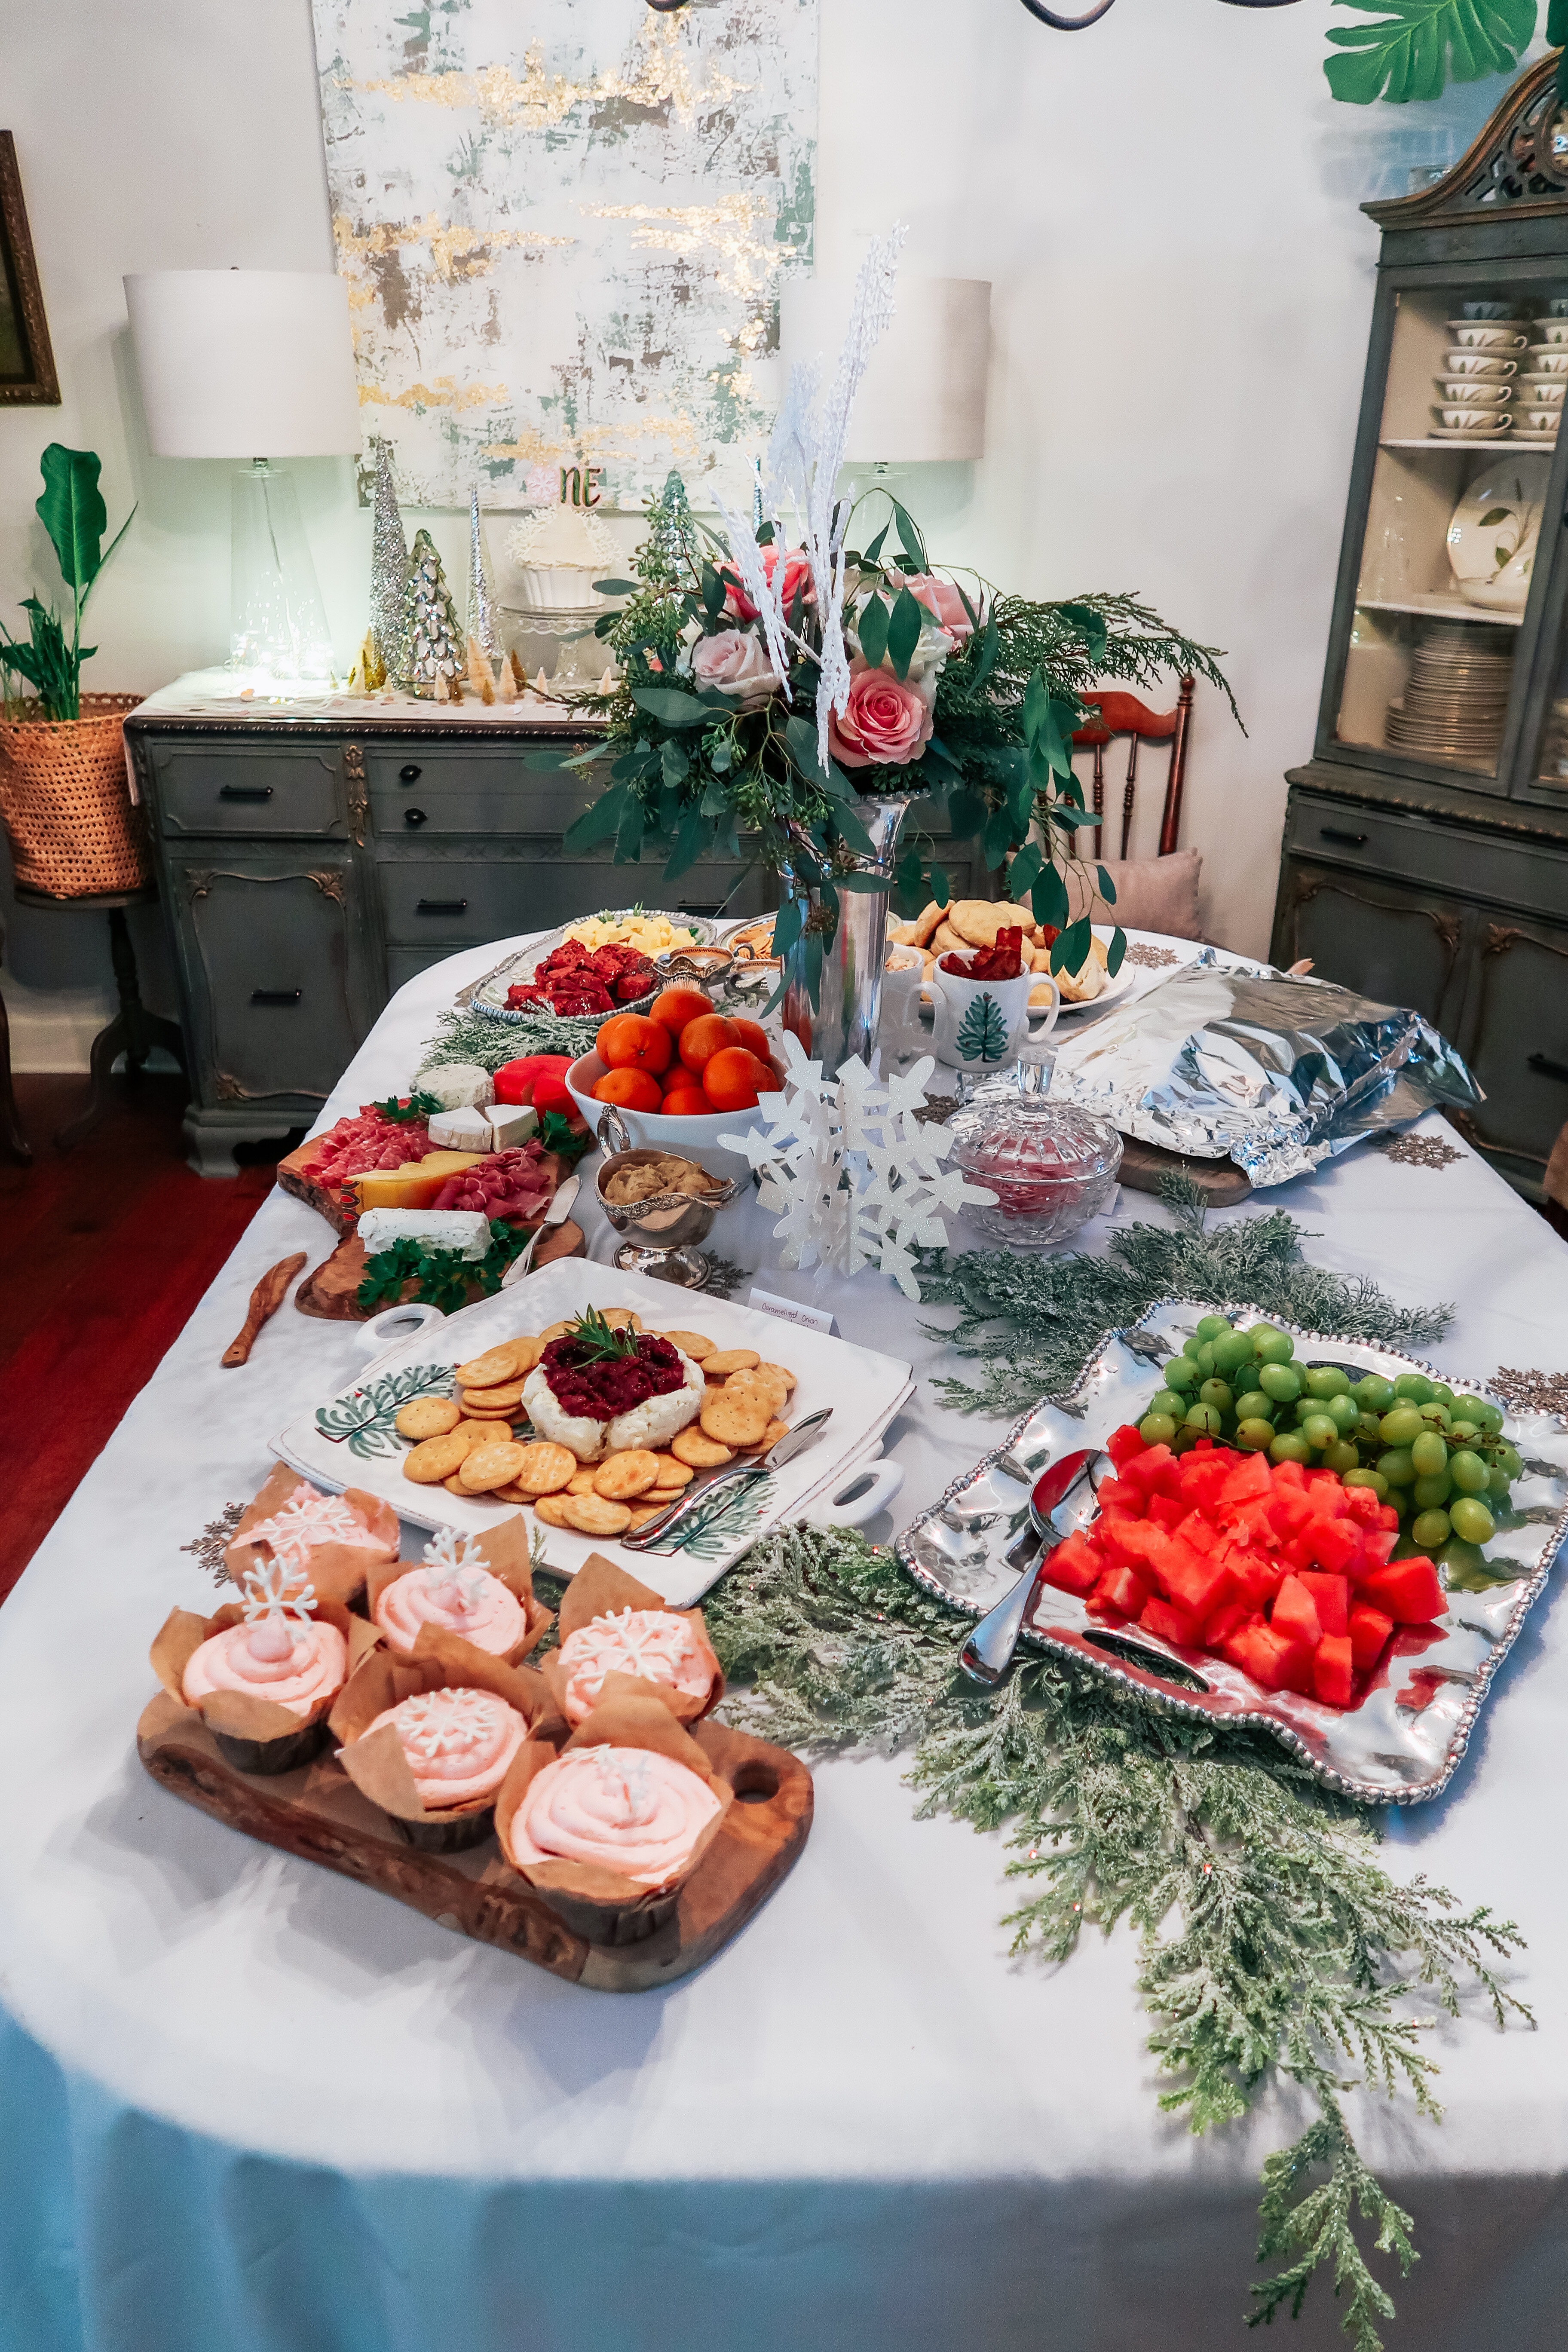
The Menu:
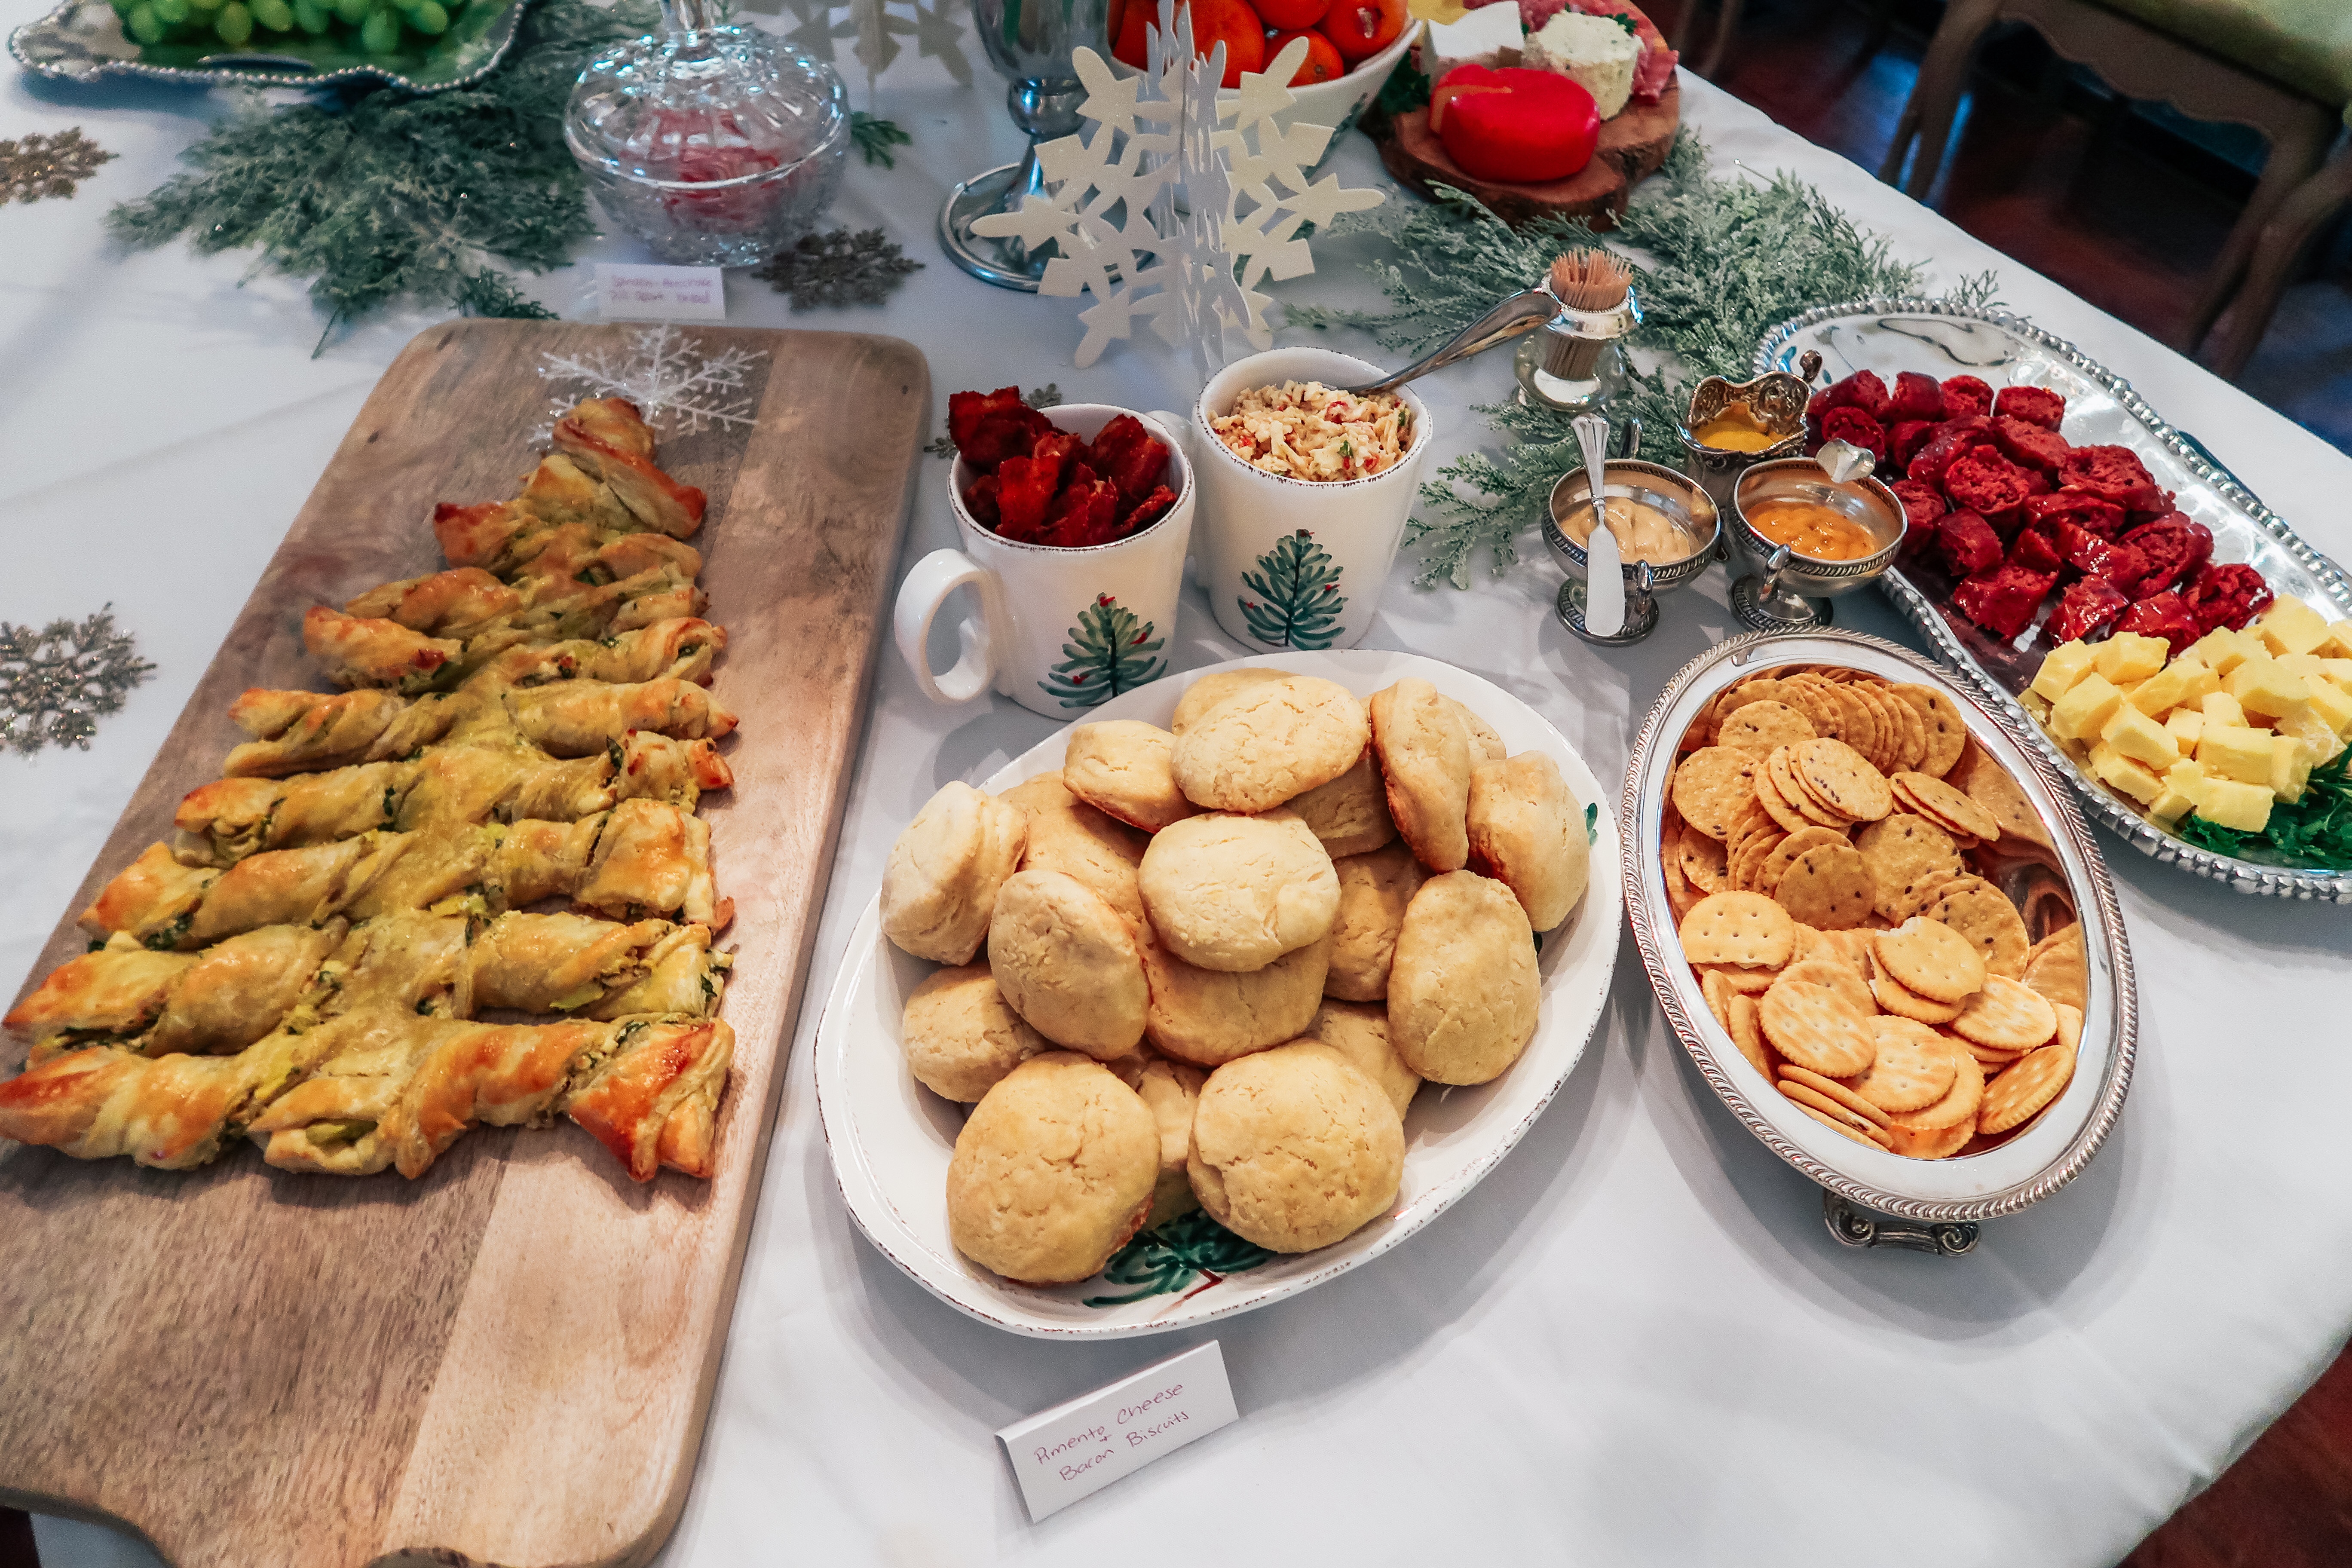
- Spinach Artichoke pull apart Christmas tree
- Caramelized Onion and Cranberries with cream cheese and crackers
- Bacon and Pimento Cheese Biscuits
- Charcuterie board of assorted meats and cheeses
- Watermelon & Grapes
- Grilled Sausage with Extra Sharp Cheddar and assorted mustards
- Cuties
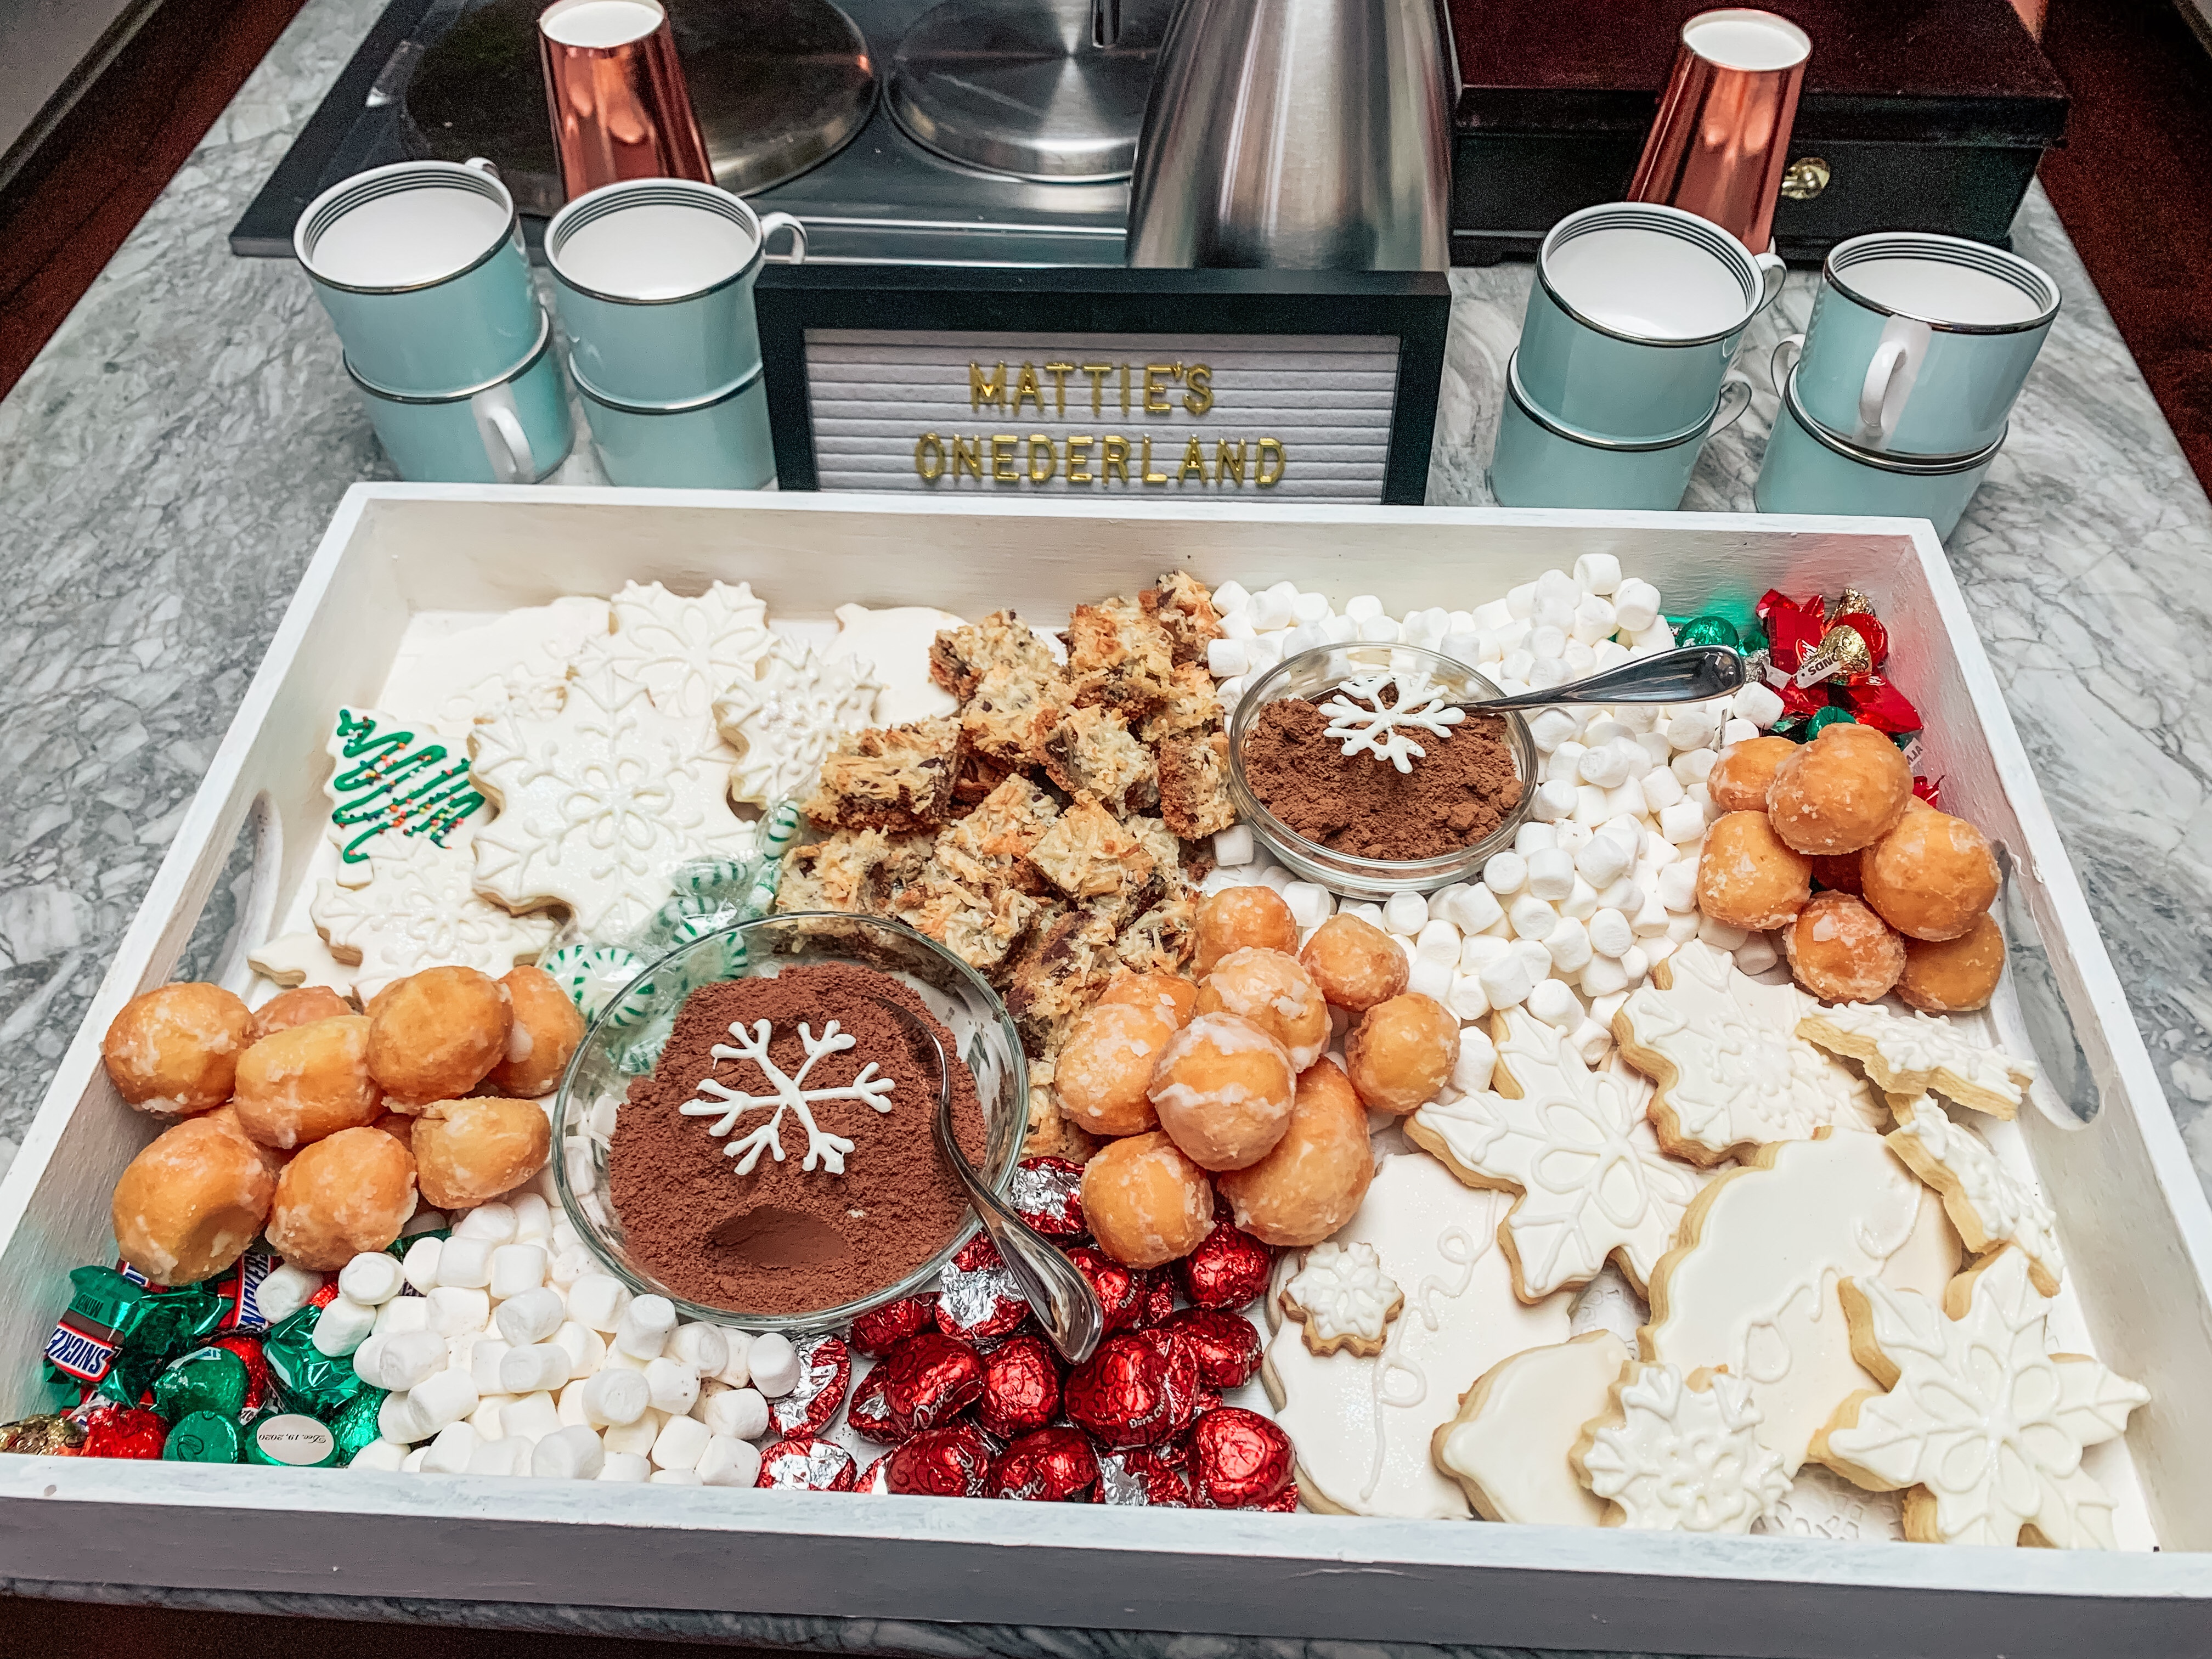
- Hot Chocolate Bar with Royal Icing Cookies, Donuts, Layer Bars, Marshmallows, & assorted chocolates
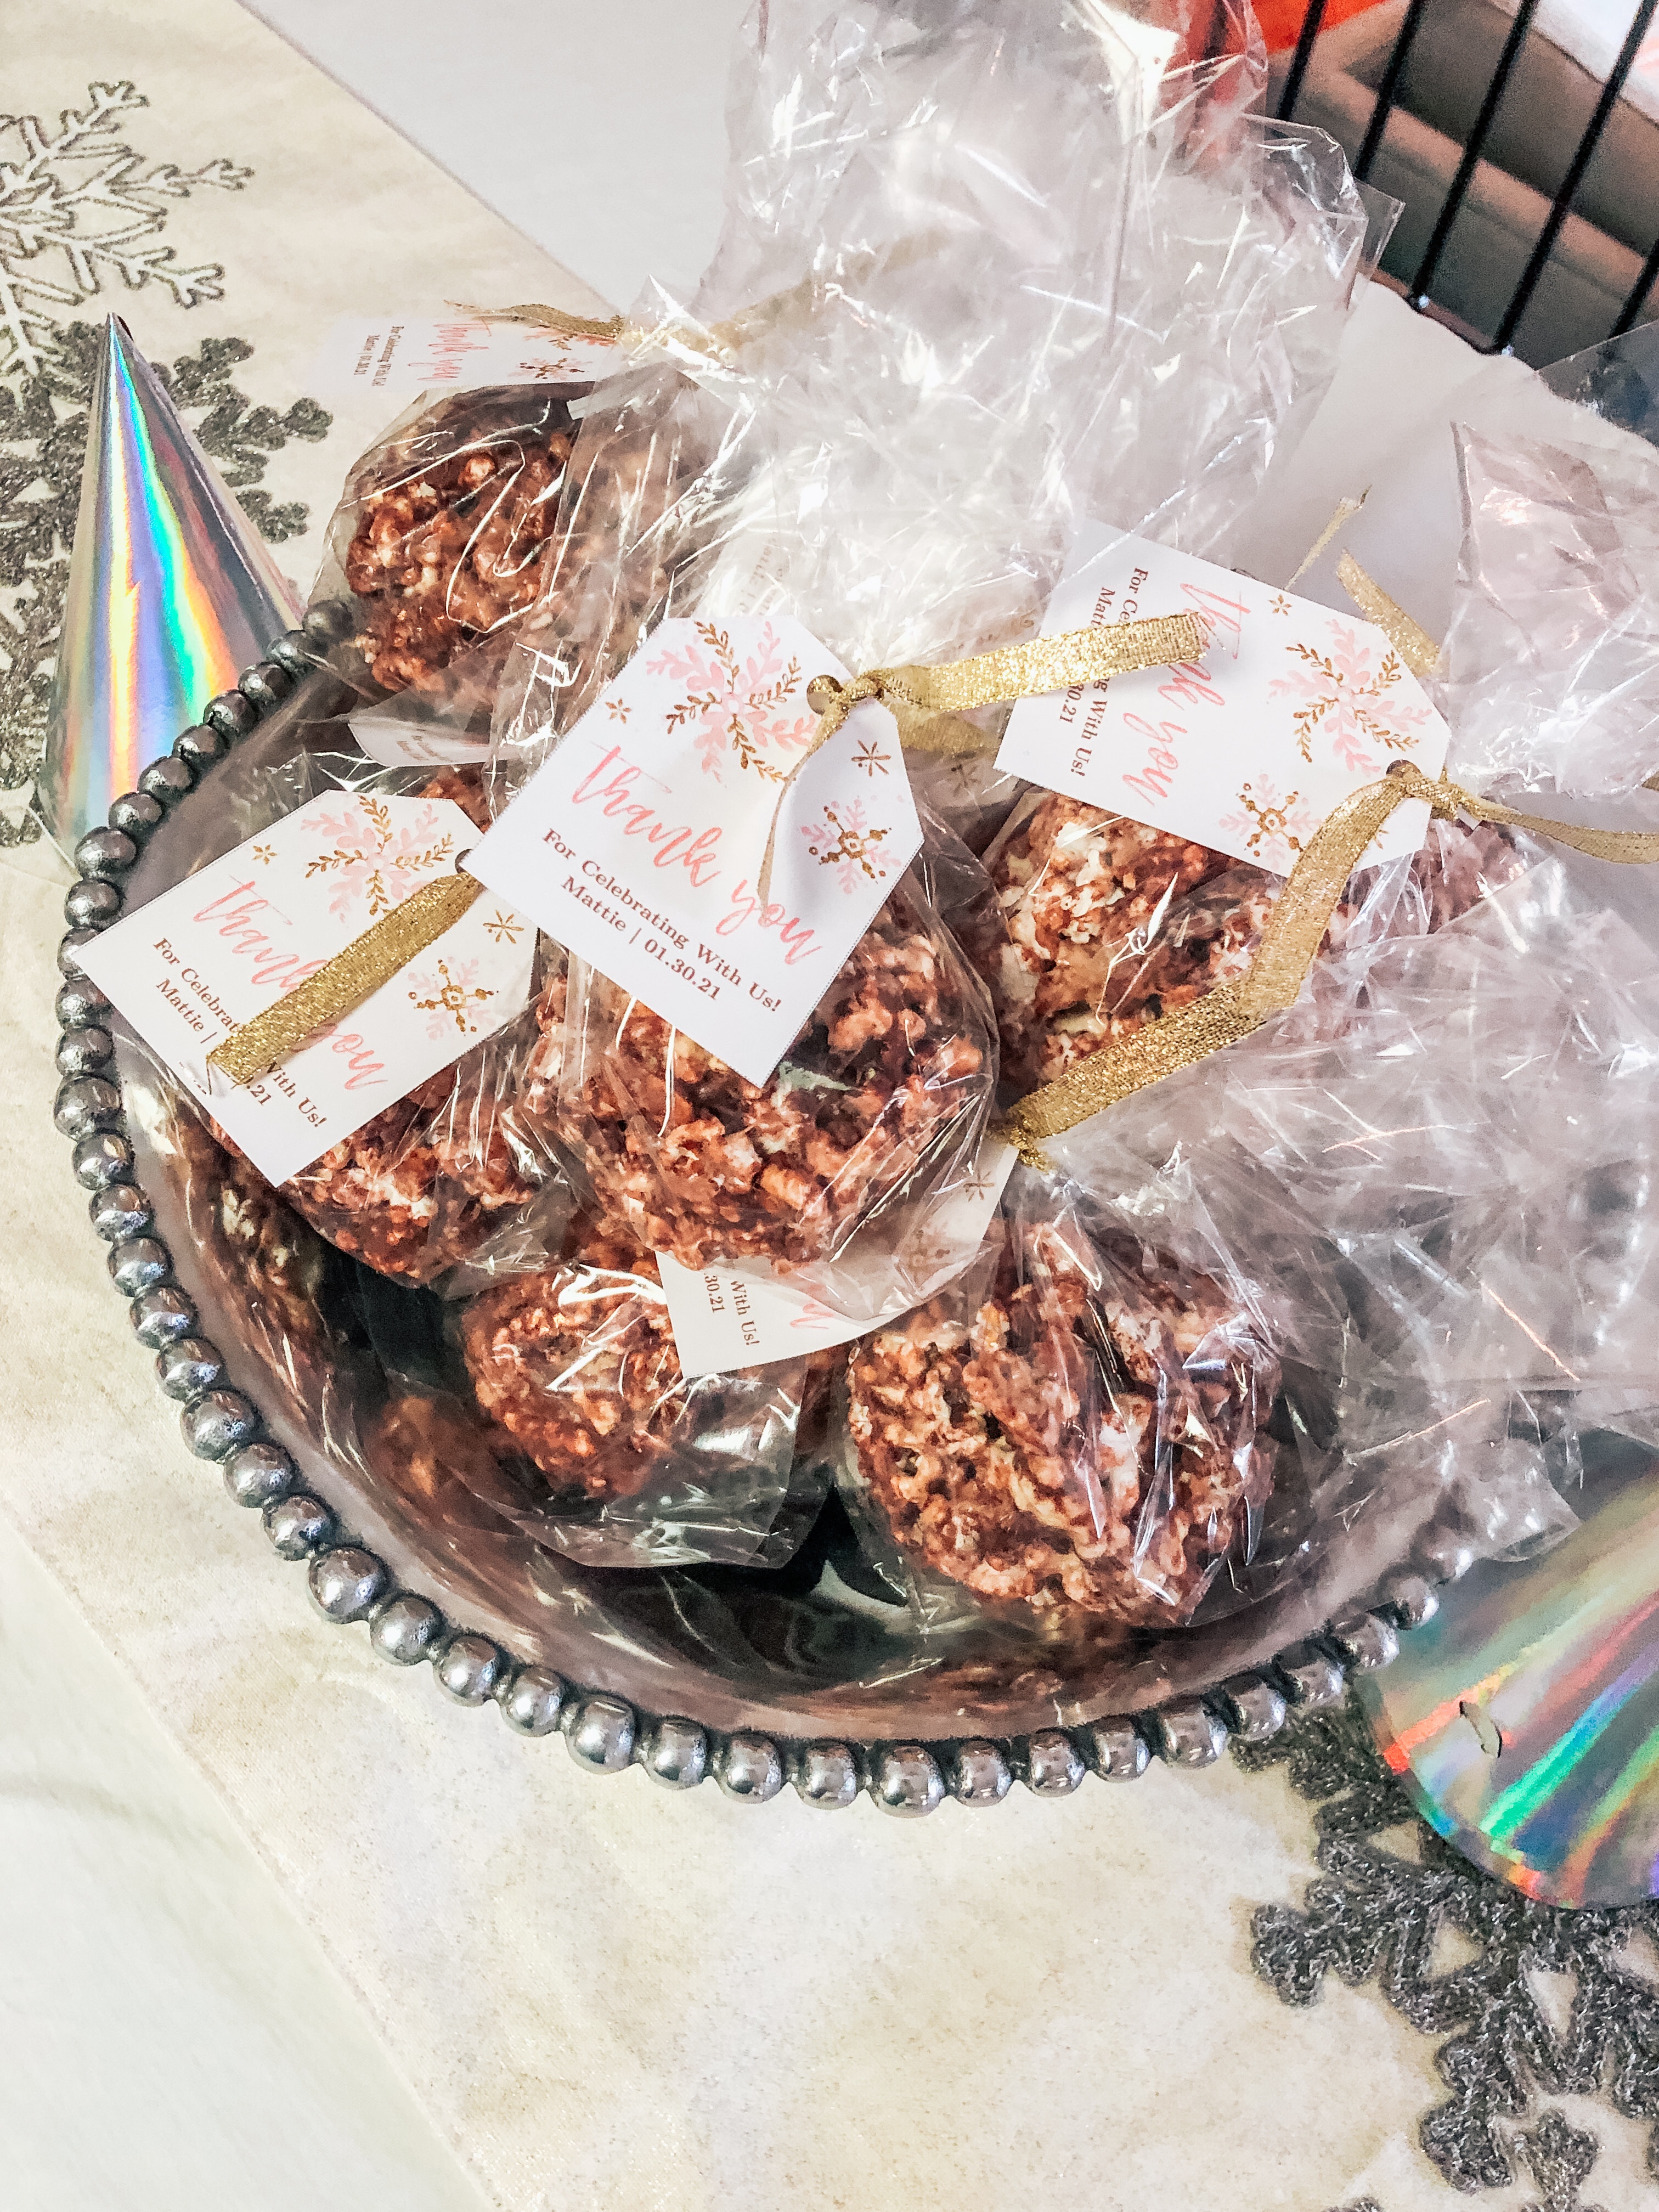
- Smores Popcorn “Snow” Balls
- Ice Cream Cake
There were also too many sweets, but what is a birthday party without too many sweets!? When browsing Pinterest for winter party inspiration, I saw so many hot chocolate bar ideas, I just had to do one!
I did have a grand idea to put together some doughnut trees on cone shaped crafting foam, but it is a lot easier said than done. I should have actually taken notes on the Pinterest tutorials I browsed one day, because mine did not look good at all!
And I also made some smores popcorn balls for our guests to take home just in case they didn’t have enough sugar at the party. My sister told me that they were a perfect treat for their long car ride home after visiting for the weekend because they kept the kids quiet and occupied for a while! Lol.
[show_shopthepost_widget id=”4398632″]
Here are a few more pictures of Mattie’s tree because I just can’t get enough of it. I wish I had the budget for fresh flowers on my Christmas tree every winter! Might have to try to recreate this for the kids’ tree next year.

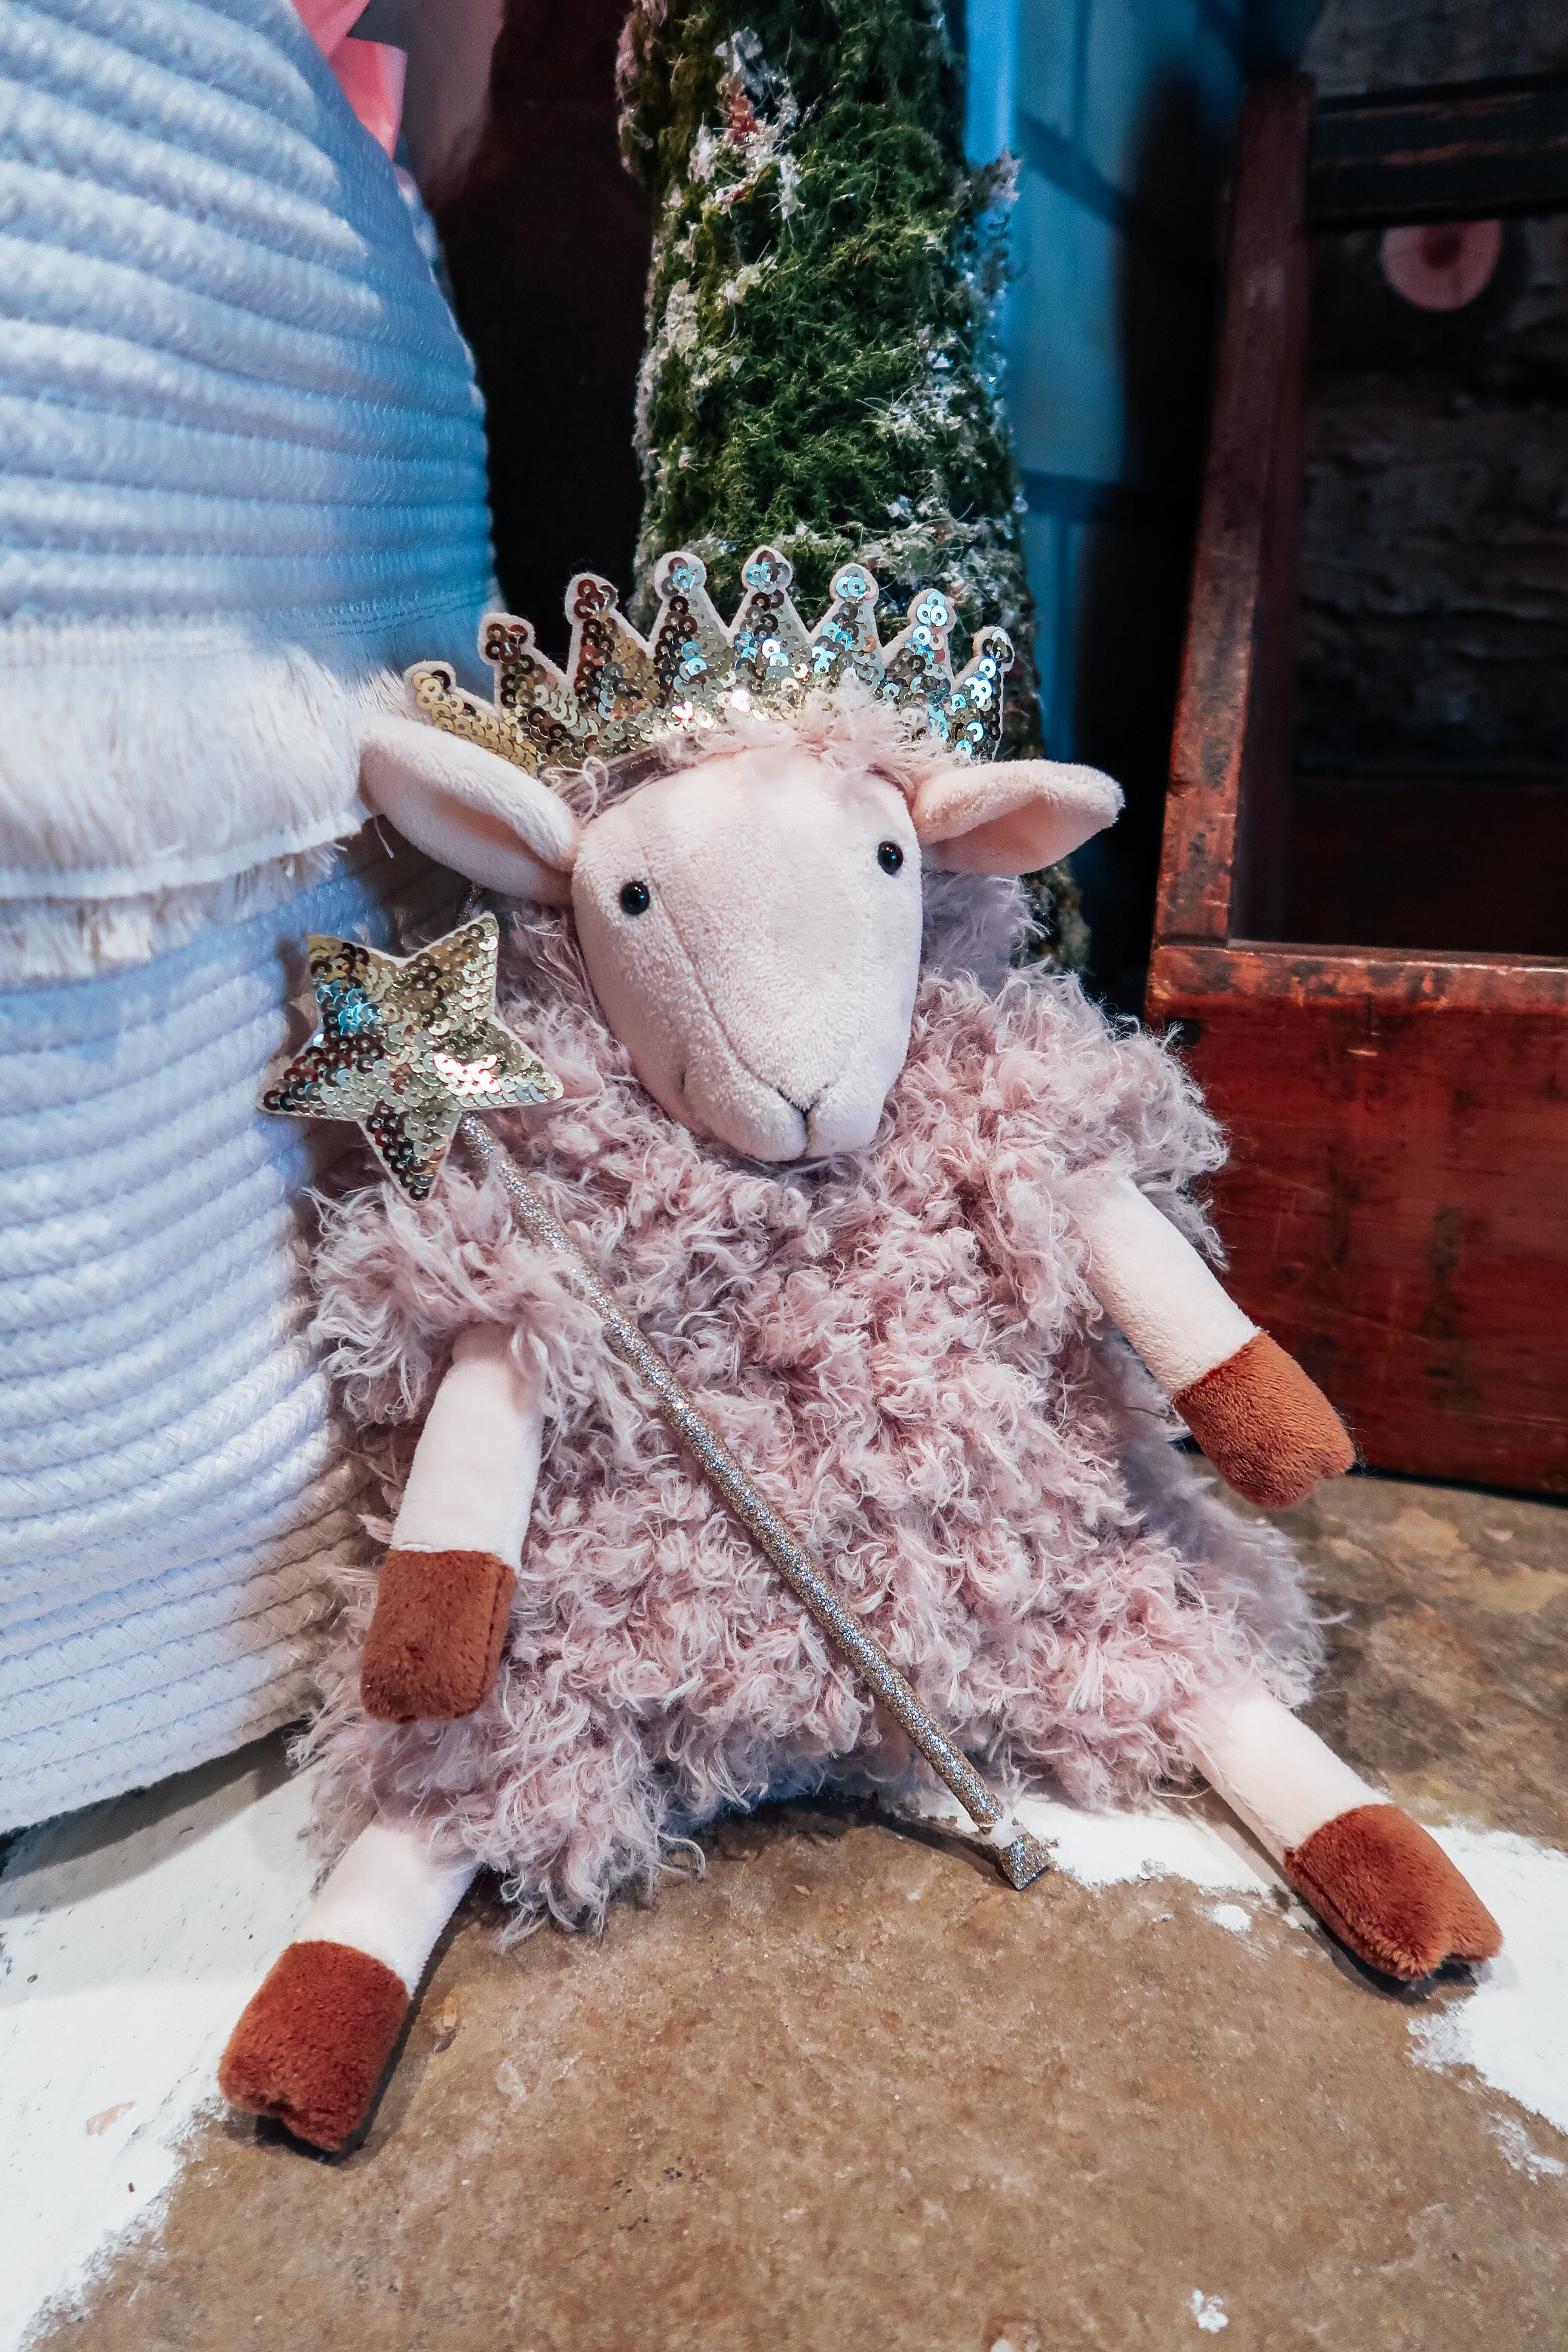
And just in case anyone is wondering, I do plan on saving all the snowflake decor because I know with two girls there is probably a 99.99% chance that one of them will request an actual Frozen birthday in the future. I’m all for reusing all that I can. Anyone else?
Did you enjoy this post? I would love to hear from you, so feel free to drop me a line with a comment to this post or on Instagram @ShipsHQ. Also, be sure to Pin this and save it for later!
[show_shopthepost_widget id=”4399029″]


Recent Comments