There’s nothing like the holidays to use as an excuse to make a delicious, sweet, buttery treat! Monkey Bread has always been a top favorite of mine since childhood.
Disclaimer: I may earn a small commission if you purchase something from a link provided in this post.
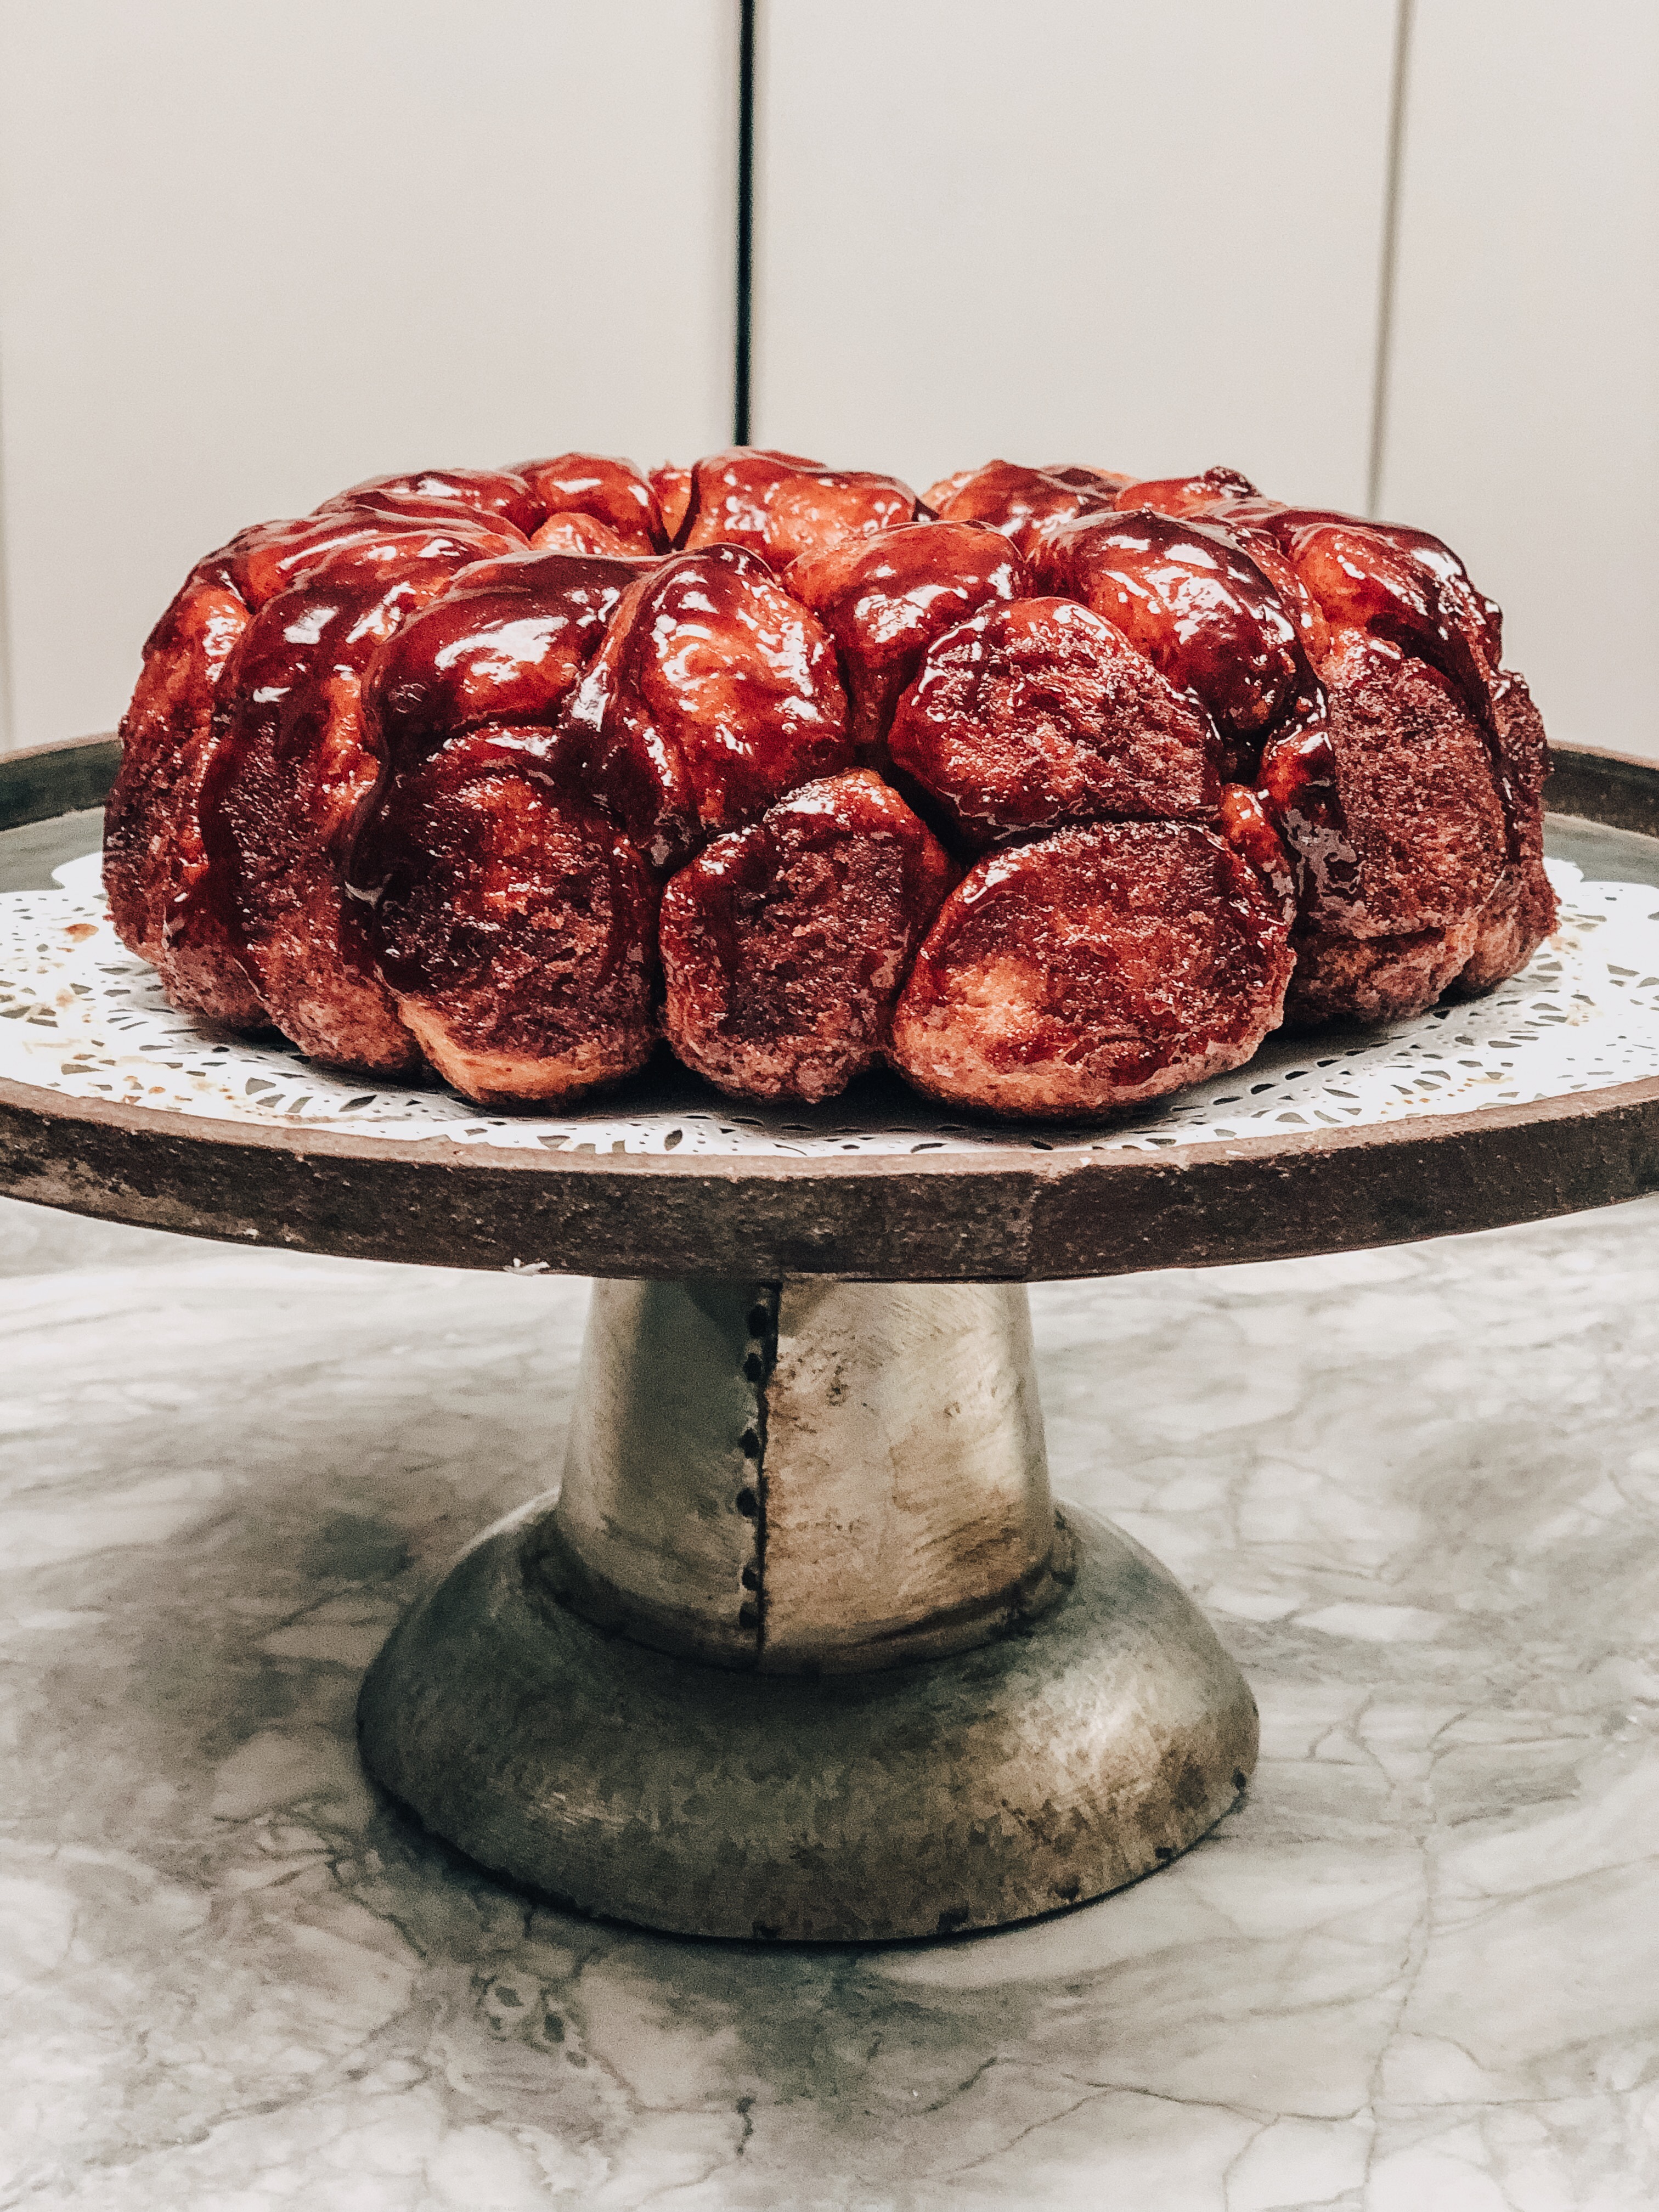
I recently made some monkey bread for Hogan and Evan’s plaid party, and I think it was a hit! I was having a craving, and thought the party was a great opportunity to share something yummy with friends and family. Did I mention that the party was a big success too?!
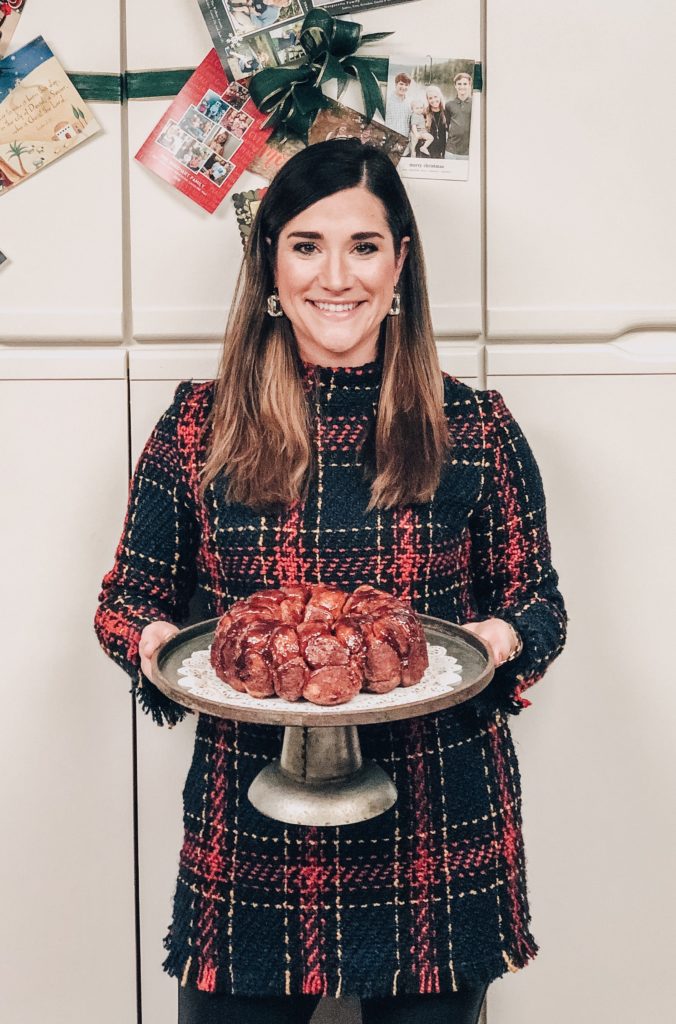
Dress: Amazon (Under $30 and Multiple Colors) | Faux Leather Leggings: Spanx | Cake Stand: Patina on the Square (Similar Here Under $20!)
Many monkey bread recipes use Pilsbury rolls, and while that is definitely a faster way to make it, I prefer the old school method, from scratch.
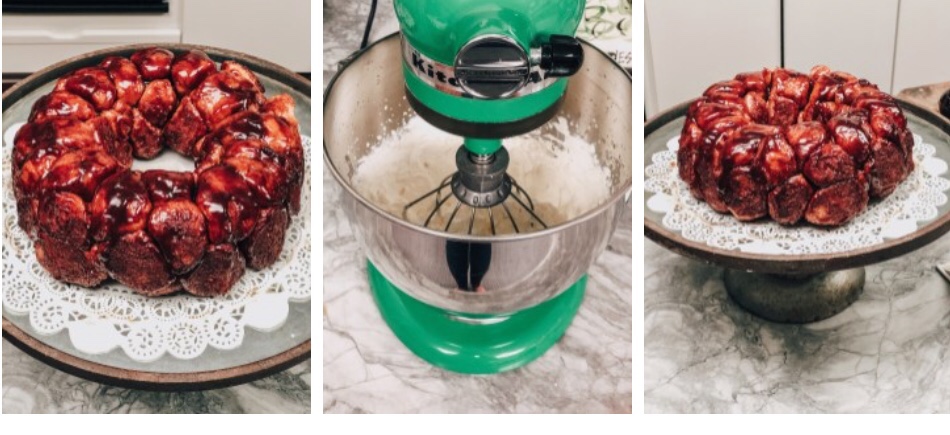
I really only started making monkey bread (and other varieties of bread) this year, when I got into a book that I stole from my mother, called Bread in Half the Time. The book is full of awesome Bread recipes and their “half the time” method, which is pretty genius, uses a food processor and a micro rising method of rising the dough in the microwave!
I, however, don’t use the microwave method. I prefer the slower method of letting the dough rise in the oven instead. It takes a little while longer to do it this way, but I usually just take care of some work, or something else around the house while I’m waiting on the dough to rise.
For the Dough:
- 3 C. Bread Flour
- 2 1/2 tsp. 50% Faster Active Dry Yeast
- 1/3 C. Instant Nonfat Dry Mill Solids
- 1 TBSP unsalted butter
- 1 tsp. Salt
- 2 TBSP Sugar
- 1 C. Hot Water (120-130 F)
Cinnamon Sugar Coating:
- 1 Stick Butter Melted
- 1 C. Sugar combined with 2.5 tsp. Cinnamon
How to:
- In a food processor bowl fitted with the steel blade, add flour, yeast, dry milk, butter, salt, and sugar. Process to blend for about 10 seconds. You can also mix this up in a Kitchenaid Mixer with the regular steel blade, just make sure butter is soft so it blends together easier.
- Heat your water in a glass measuring cup (I do use the microwave for this… approximately 45 seconds to a minute). With the motor running, drizzle the water in very slowly into the dry ingredients, holding back the last portion of liquid to see if dough will form a ball.
- Process until dough begins to leave the side of the bowl (add last amount of liquid only if necessary). Knead dough in the machine for 45 seconds, adding flour as necessary if dough seems sticky. Dough should feel soft, smooth, elastic, and warm.
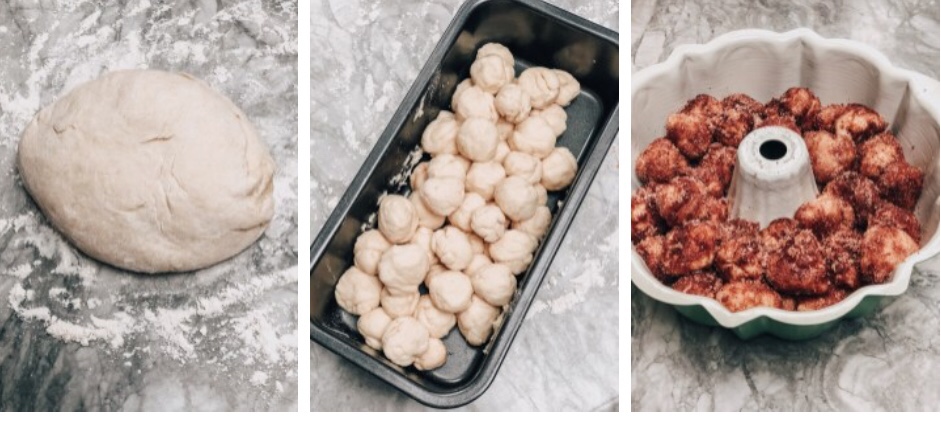
- Remove dough from mixing bowl and prepare to rise. To do this I preheat my oven on the lowest setting it has for a couple minutes to create a warm, draft free area for the dough. Knead the dough a little and place in a stick-free pan (I use a loaf pan). Cover pan with a damp tea towel and let rise until dough doubles in bulk (about 45 minutes).
- Remove dough from pan onto a lightly floured surface and knead down by hand for a few seconds into a smooth ball.
- Line up your dough and remaining ingredients and the pan that you want to bake your bread in. I like using a bundt pan, but a loaf pan would work too.
- Tear of pieces of dough and roll them into balls. I’m not too precise with the size, but about the size of a walnut or a little smaller. I prefer to make a whole bunch of balls with the dough, then dip them in the butter, and roll in the cinnamon and sugar mixture and assemble them in a lightly greased pan. If you want to do one ball at a time into the baking pan you can.
- Cover dough again with damp tea towel and let dough rise again in the oven until dough almost reaches the top of your pan (about an hour).
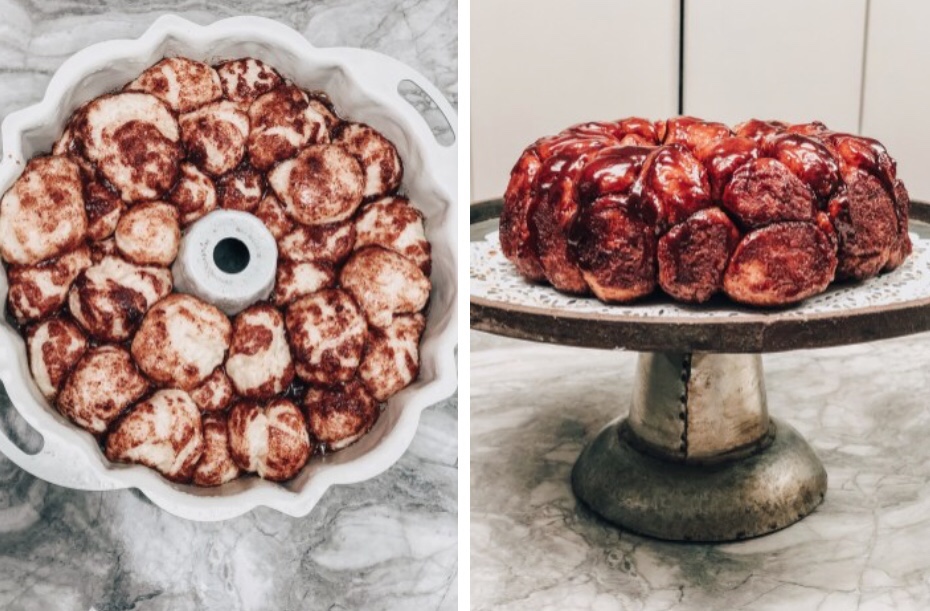
- Bake on the middle rack in your oven, preheated to 375 degrees F, for about 30 minutes, or until wooden skewers comes out clean.
- Let the loaf rest on a rack in the pan for about 10 minutes before removing, because the loaf is fragile when hot. Carefully loosen loaf from sides of pan and turn over onto serving platter. Serve warm.
I forgot about taking pictures, until the dough was done with it’s first rise, but you can get the idea of what to do with the pictures provided.
I made some fresh whipped cream to dip the bread in and it was so good. This bread is great any time of the day (would be a great breakfast treat on Christmas!
FIND ALL THAT’S IN THIS POST HERE:
HERE IS THE RECIPE IN PDF.
I have really enjoyed making several different breads from this book this past year. The process takes some time, but it is worth it for a delicious loaf of bread. And did I mention that bread smell too?!
Hope you enjoyed this post. Comment and let me know if you’re interested in more bread recipes, and don’t forget to add yourself to my email list so you never miss a post!

Recent Comments