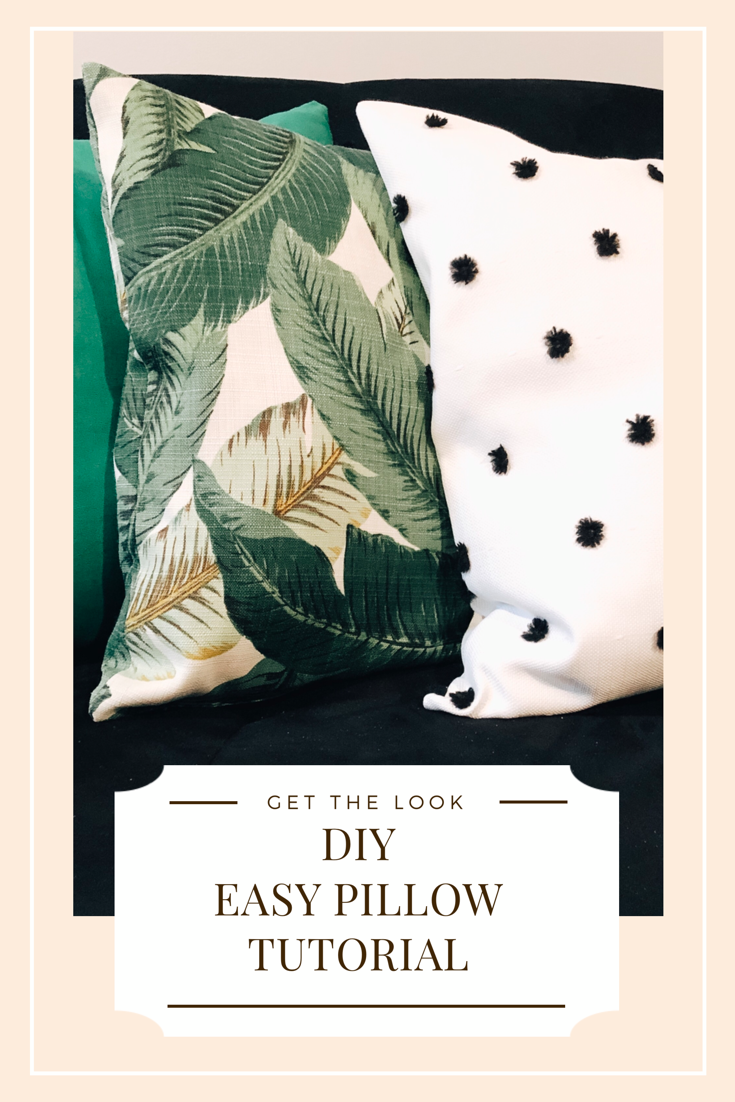
As I have mentioned in previous posts, one of my favorite ways to update a space is to add new accent pillows. Well guys, I’ve been at it again, and thought I’d share, step by step, how to do it.
Disclaimer: If you purchase something from a link provided in this post, I may earn a small commission from your purchase. Headquarters by Ship appreciates your support and thanks you!
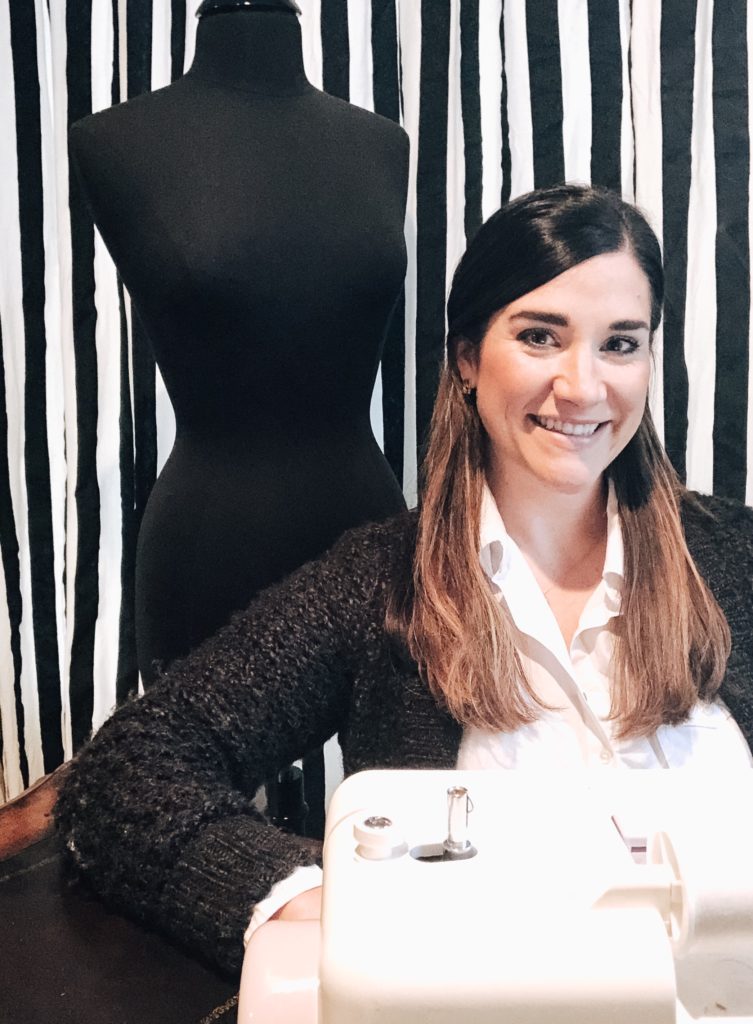
Collared Tunic: J.Crew Factory (Similar on sale now)| Cardigan: T.J. Maxx (Similar here on sale!)
My home office has an old, black click-clack that is seriously lacking in style, but we’ve been keeping it around because it comes in handy, during those times when we have a lot of guests staying over. I have been wanting to spruce up the couch (and my office) for a while, but have been waiting until I found that right fabric to inspire an update.
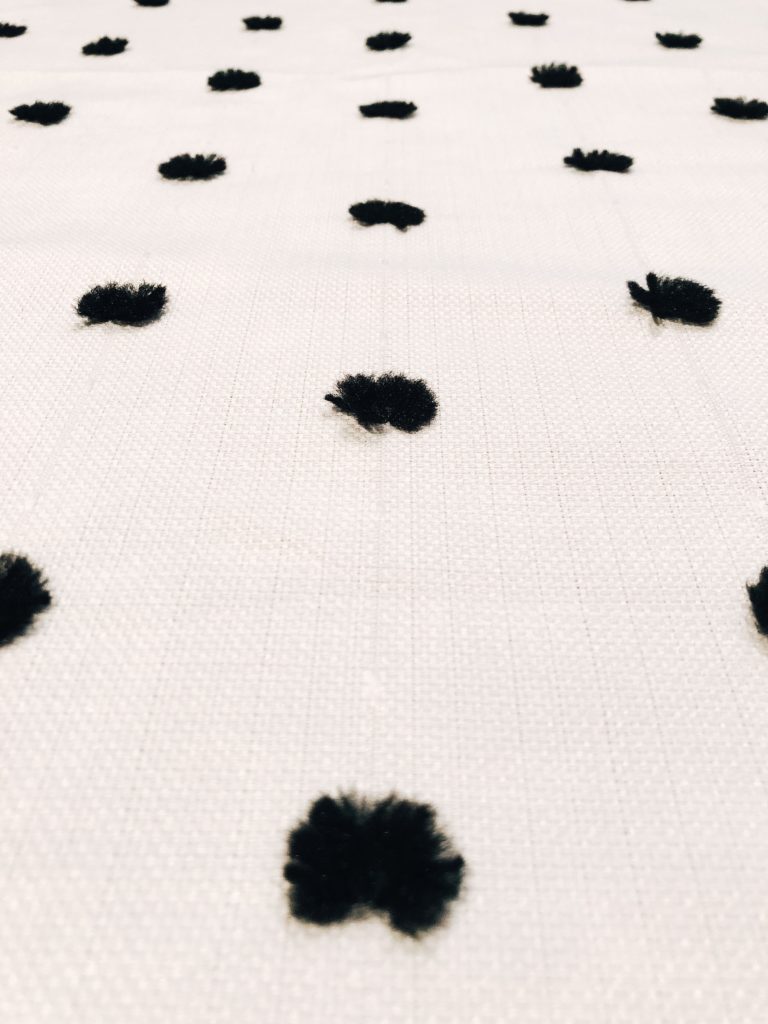
One day when I was browsing some close-out sales on fabric.com, I came across the perfect pattern! It was a black and white polka dot print, that had a description that the dots were raised on the fabric. I thought the raised dots would add more interest than just a regular flat print.
Now normally I would not choose polka dots for pillows, but the curtains that are currently hanging in my office are black and white striped! They came with the house, and while I did not want them in the den and kitchen (where they originally were), I thought they’d work in my office for the time being.
I also feel a bit sentimental about the curtains, because they remind me about my wedding day! We had black and white striped table runners at our reception in downtown Knoxville, back in 2015!
With that being said, the polka dots caught my eye because I could play off the curtains and go for a Kate Spade vibe in the room. Look at these polka dots!
Making pillows is an easy project to do, especially if you’re just starting out in sewing. It’s mostly just prepping, ironing, and sewing a square. It also doesn’t take very long to do! I finished these two pillows during Greta’s morning nap.
Here’s what you need to do:
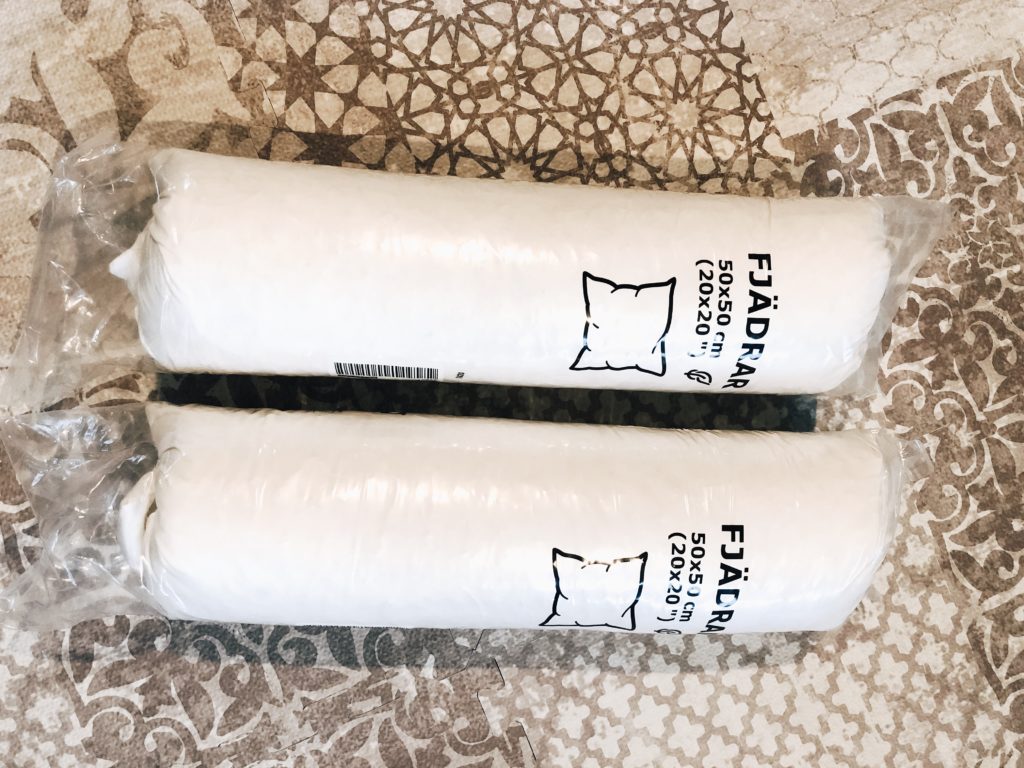
1. Get your pillows and enough fabric for the size of the pillow you’re making. IKEA has down pillows for a great price, if you’re trying to make new pillows instead of re-covering old pillows.
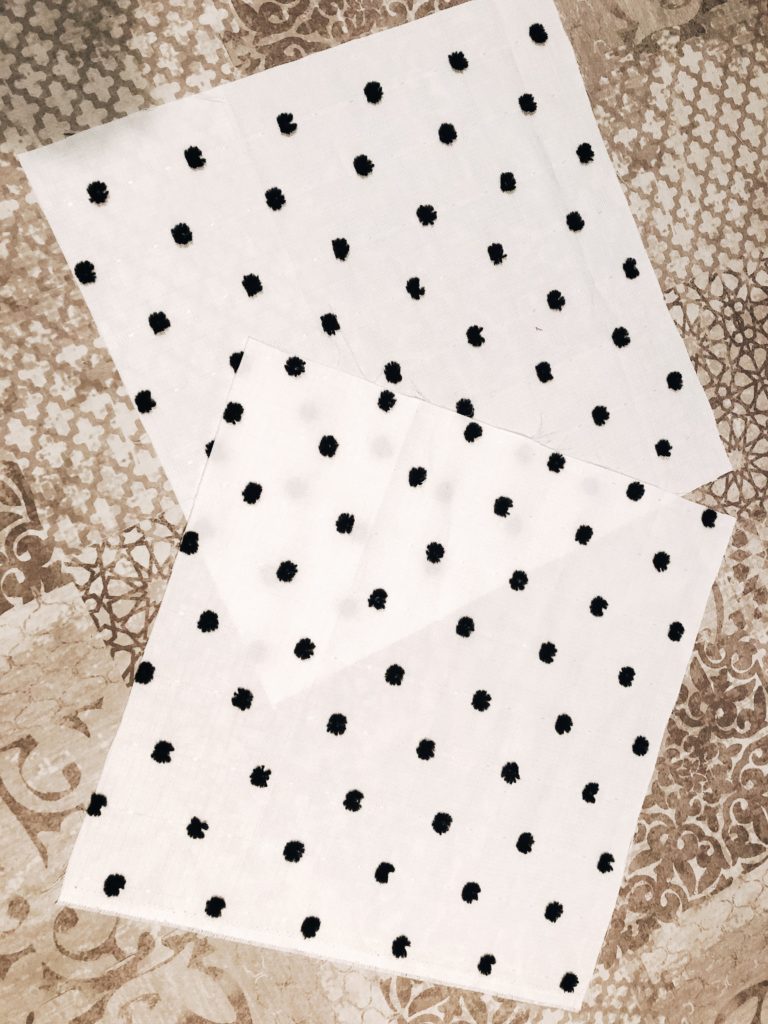
2. Cut your fabric into squares depending on the size of the pillow you’re making. I made two 20″ pillows, so I cut four 21 1/2″ squares out of my fabric. I sewed an inch hem when sewing the pillow together, but only added 1 1/2 inches when cutting the fabric because a snugger pillow case makes the pillow look more full and fluffy.
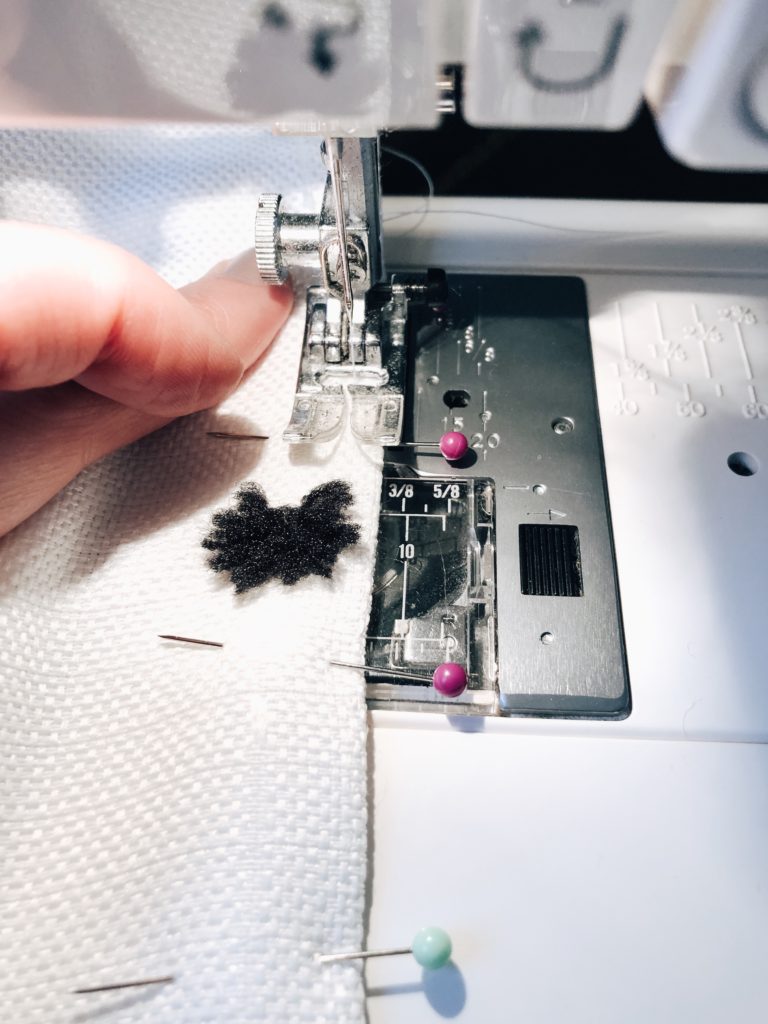
3. Line up two squares with the right side facing inward (wrong side facing out), and pin together.
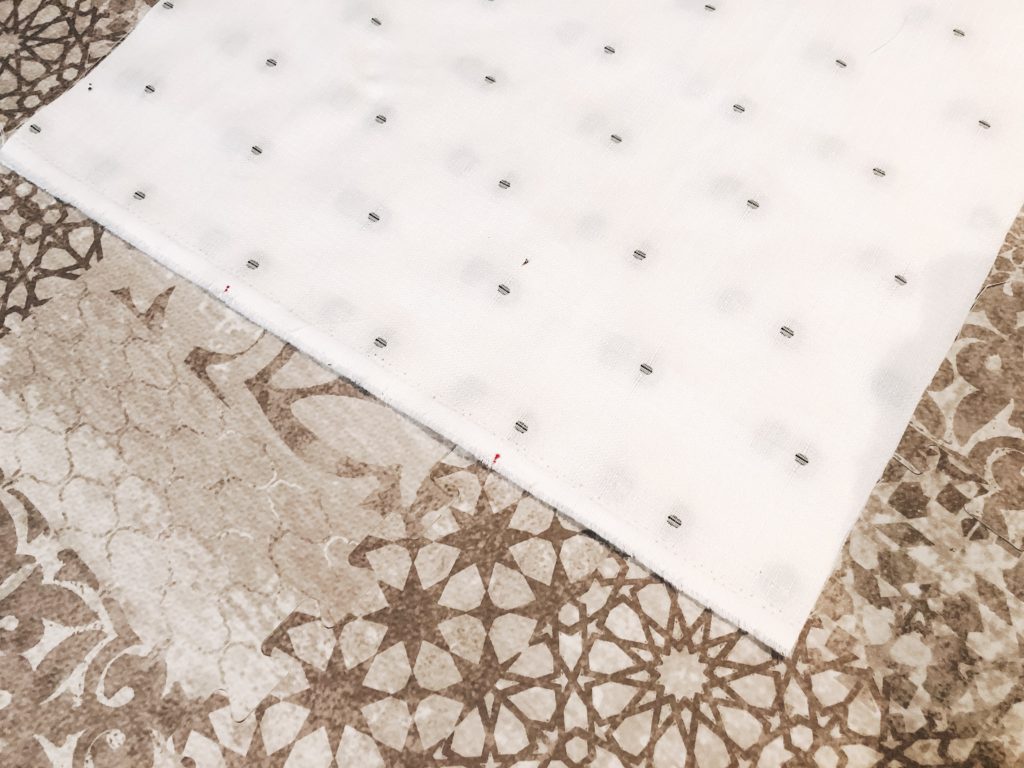
4. Mark one side of the square (I divide the length into thirds and keep the middle third open) where you want your opening to be. If you want to add a zipper, keep the opening the length of the zipper. I did not add a zipper on these pillows to save time and money on the project (and because I don’t care if it has a zipper).
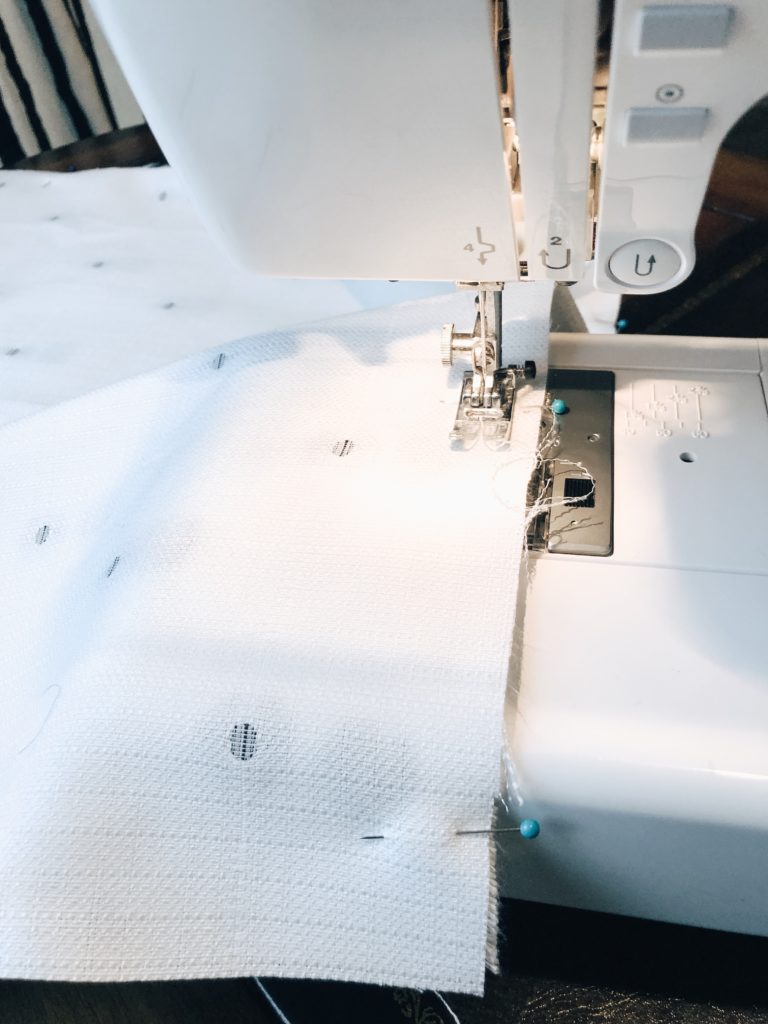
5. Sew your pillow together with a 1″ hem around all four sides, except where the opening is. If you’re more OCD than I, you might want to iron the 1″ hem around the cut squares so it’s easier to see where to sew and match patterns. With this pattern of fabric, and because I was only sewing a square, I decided I could skip that step, and still have nice looking pillows.
6. Cut the corners off each corner of the pillow (but don’t cut where you just sewed!), so the corners will be neat when you turn it right side out.
7. Turn your pillow right side out, and press flat with an iron.
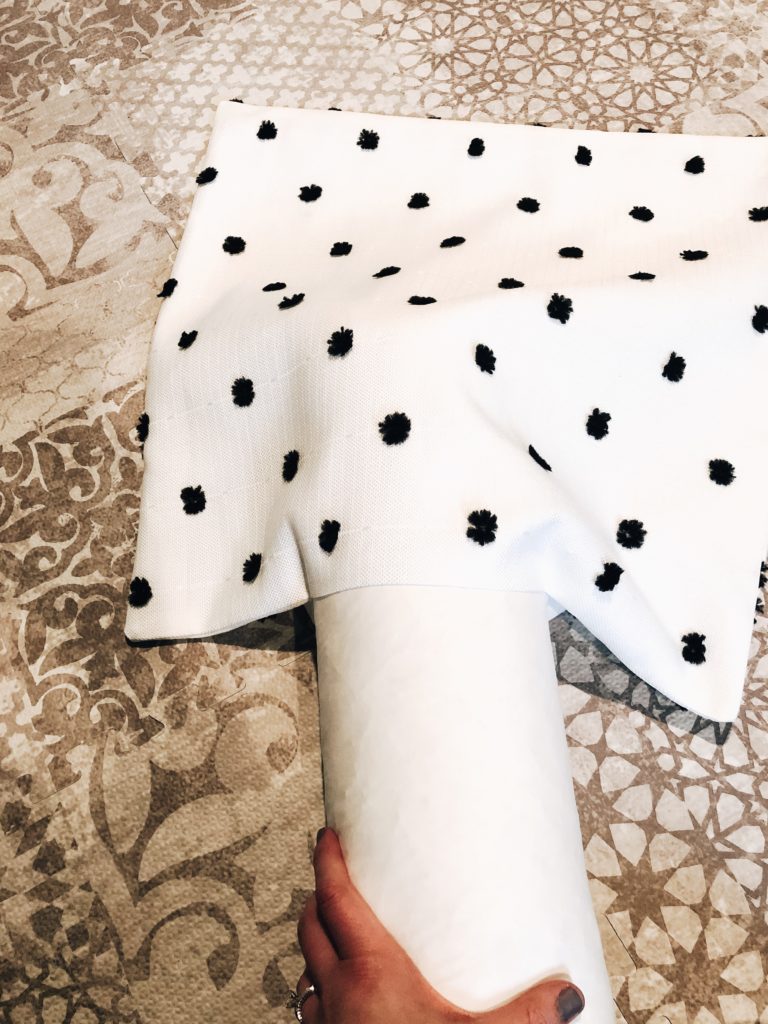
8. Insert your pillow into the pillow case. I keep the IKEA pillows rolled up when I put the pillow in the case to get it in there easier. Lay your pillow flat in the case, but save the fluffing until the very end!
9. Line up your hems at the opening, pin the opening shut with pins, and sew the opening shut with a 1/4″ hem; back stitching at the beginning and end to hold it all together.
10. Trim any hanging threads, fluff your pillow, and enjoy!
11. Repeat with additional pillows for your personal project.
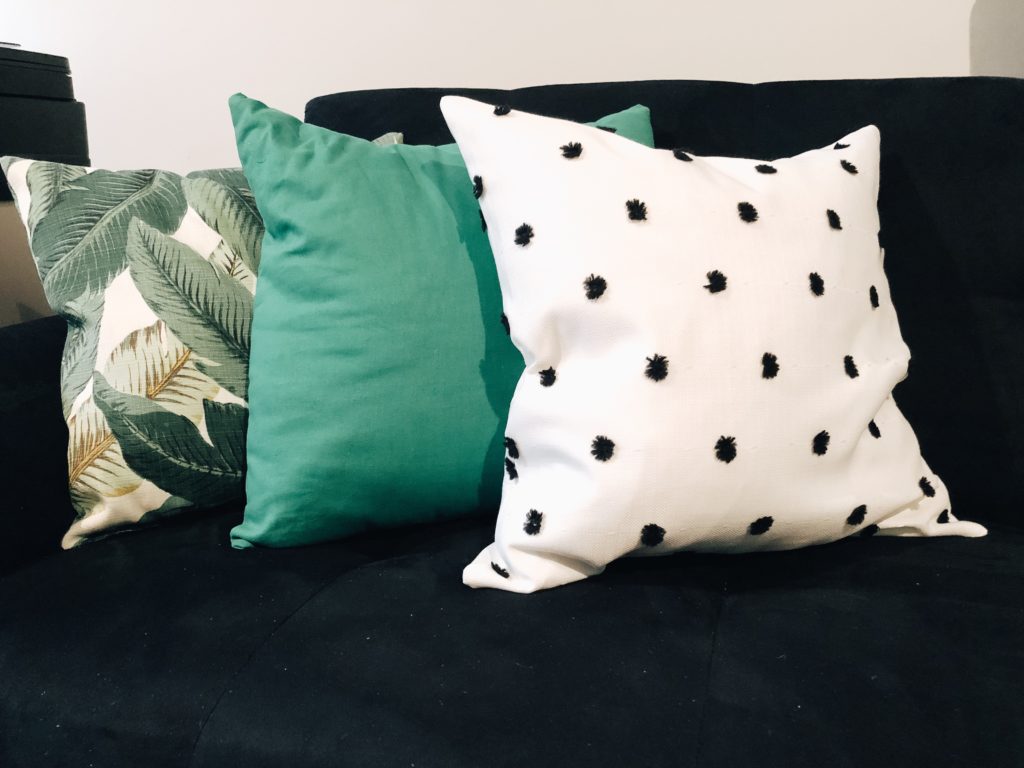
Now that I finished my pillows, I just need to put together a nice office wall above the couch to bring everything together. Stay tuned for that!
I hope these pictures were easy to follow. I skipped a few steps in the pictures because I’m still working on figuring out my layouts with the new system I’m working with. I will give this post an update once I figure it all out.

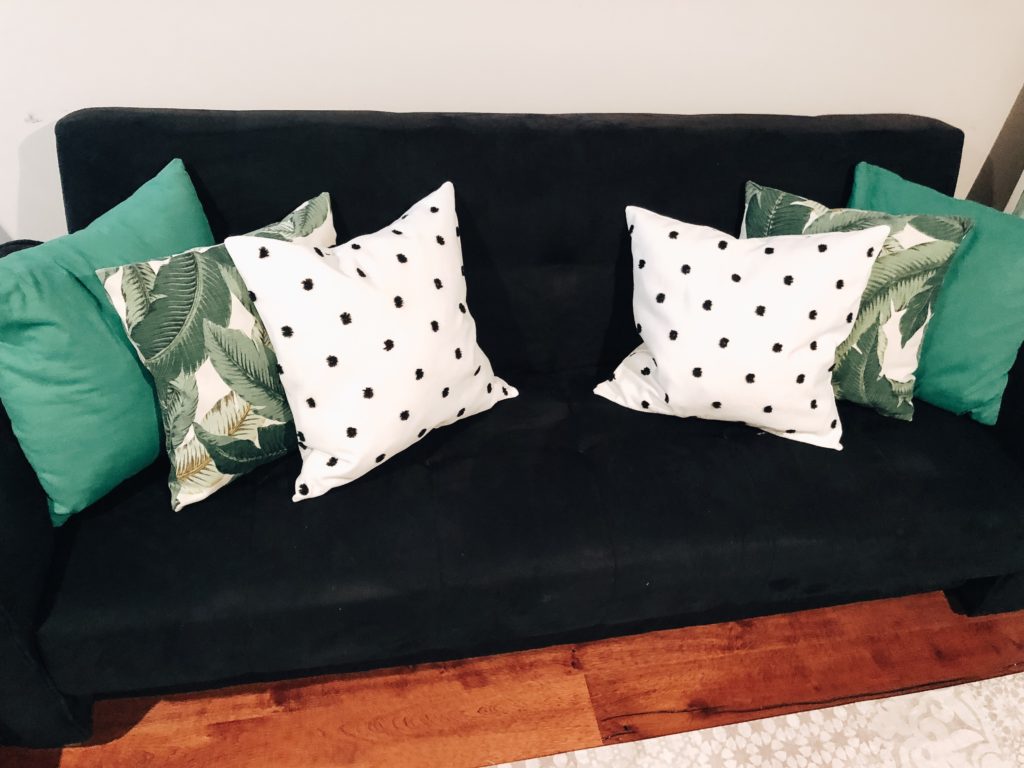
Polka Dot Print (similar) | Palm Print: Tommy Bahama| Green Linen | Floor Mat: Little Nomad
I hope you enjoyed this tutorial. Let me know if you have any questions, and tell me what other kinds of projects you’d like to see!
Here is a link for FREE SHIPPING off your order from fabric.com! Code FAVORITE15 will also get you 15% off your order.
Want some new pillows, but not into sewing? DM me on Instagram @headquartersbyship. I’d love to help you with an update! And Subscribe to Ship’s HQ so you get all my DIY projects and home inspiration straight to your inbox!


Recent Comments