While I mainly love houseplants for the air purification they provide for your home, I sometimes day dream of creating a bohemian vibe in some rooms full of cascading, lush potted plants. Know what I’m talking about?! I recently bought some Pothos Plants to spruce up a ledge in our entryway and chalk painted some plastic terra cotta pots to give really cheap pots a more expensive look. Continue reading to see the before and after!
Disclaimer: This post contains affiliate links, meaning I may earn a small commission if you purchase something from one of my links. Commissions help me bring you great content, so thank you!
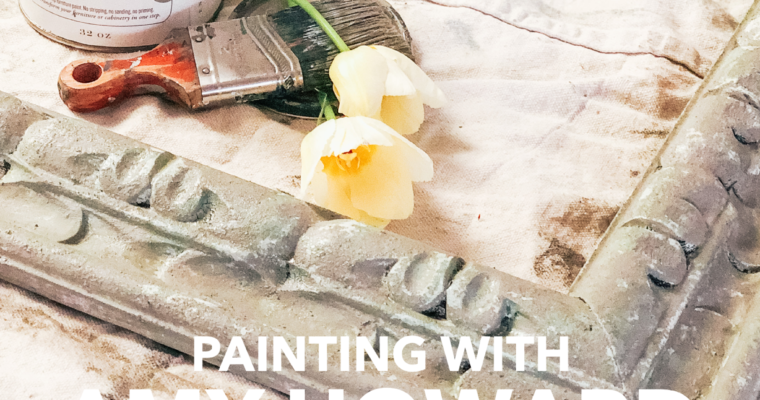
WHY I LOVE AMY HOWARD ONE STEP PAINT
Over all my years of DIY and up-cycling furniture, I have tried practically ALL of the chalk and milk paints. Time and time again, however, I always have gone back to Amy Howard’s One Step Paint because the consistency of the paint is really easy to use, and I always love the results that I get with her products.
In addition to creating fabulous looking furniture, I also love that Amy Howard paint is non-toxic, and Amy Howard Home is a Memphis based business, so I feel like I am shopping local when I buy her products.
first things first
Before you get started, get all your supplies together so you can hit the ground running.
When I went to Home Depot to get my plants and pots, I saw these really cute, white, French Country looking pots that were exactly what I was looking for, but they were around $9 a pot! Instead of paying $50+ for this project, I kept it under $50 total by buying plastic terra cotta pots for under $2 each, and chalk painted them white with some Amy Howard, One Step Paint, that I already had at home.
What you need to get started:
- Plastic (or terra cotta) pots
- Paint Brush (I use just a regular paint brush, but you can find chalk paint brushes here)
- Amy Howard One Step Paint (I used Bauhaus Buff)
- Pothos Plants
- Potting Soil
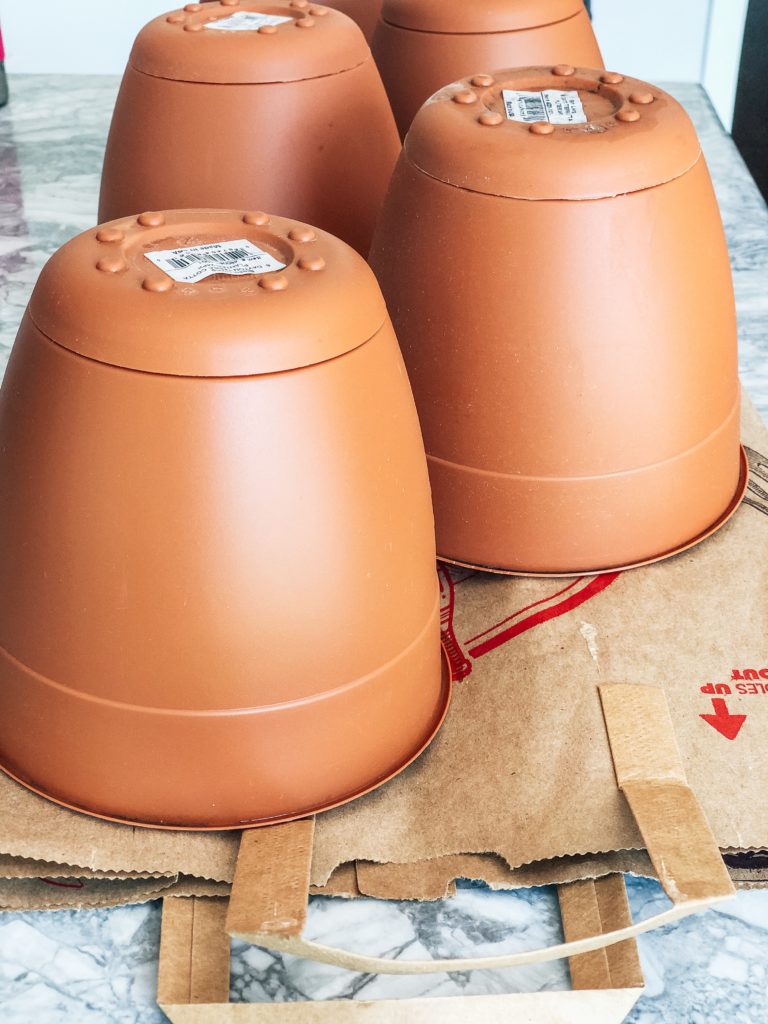
Make sure your pots are clean of any dirt and debris that might have accumulated on them in the store.
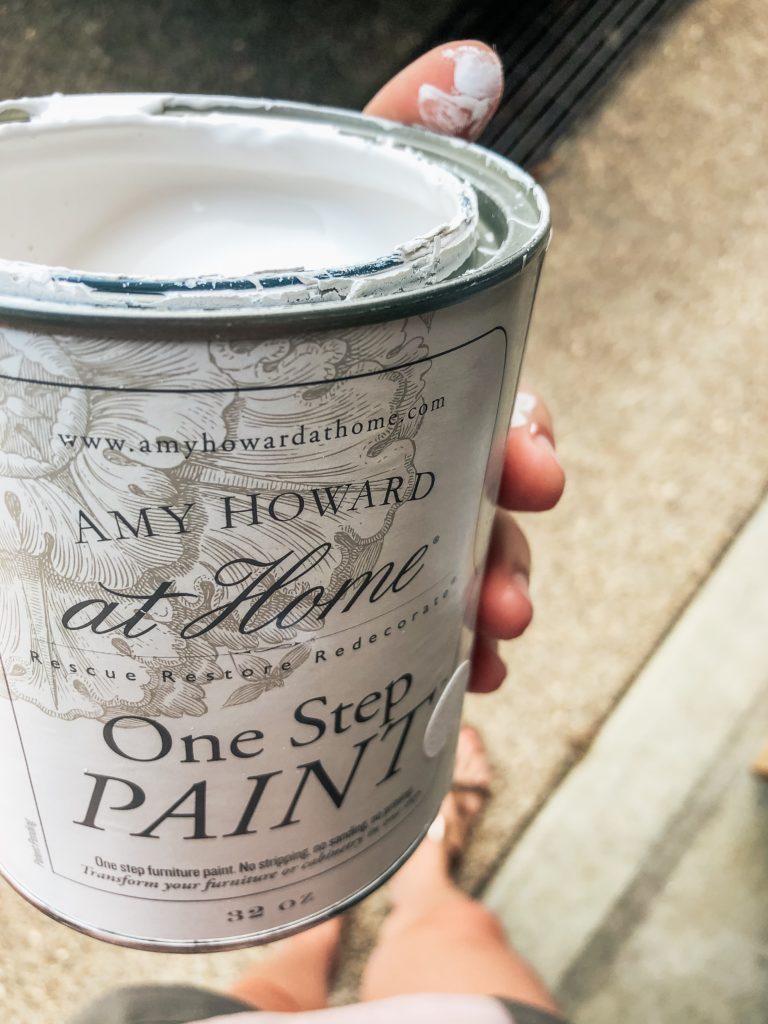
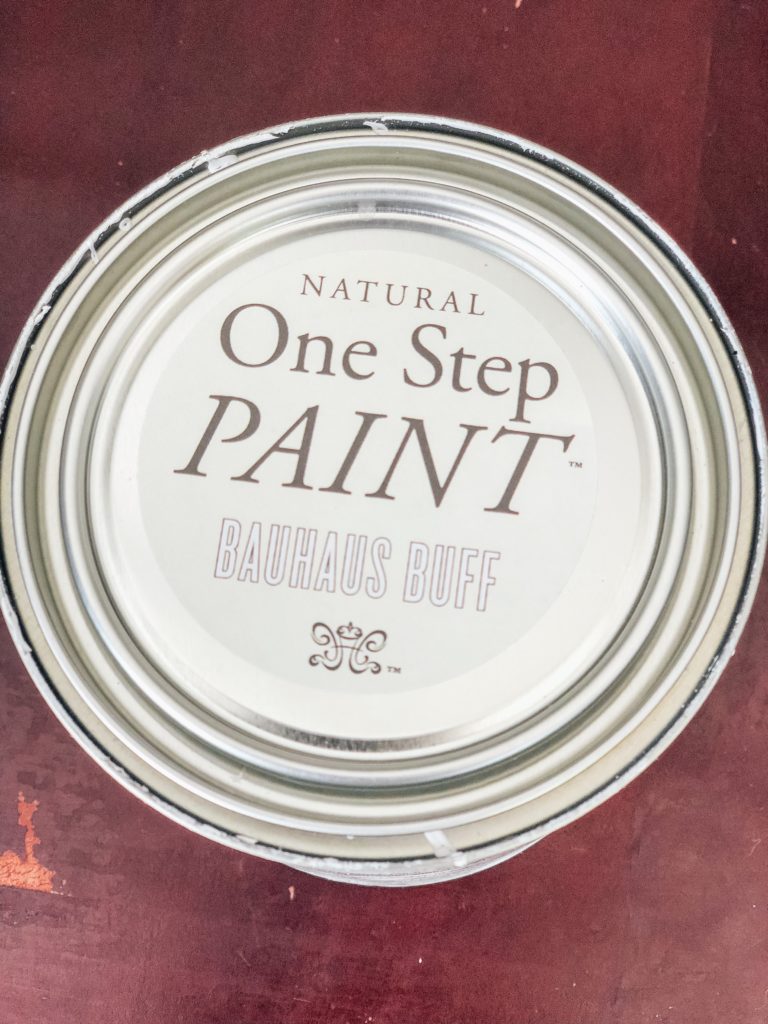
Time to Paint!
Next get your paint. To get a weathered sort of look on your pots you don’t want your paint brush to have much paint on it at all. You want to have a little paint on your brush, with the brush being almost dry with paint (you might want to dab your brush on a piece of paper to make sure there’s not too much paint on your brush).
Start painting your pot! Use light brush strokes in different directions, until most of the pot is covered in paint! You don’t want it completely covered because having some terra cotta color coming through the paint gives it that distressed look. Imperfection is the beauty of chalk paint projects!
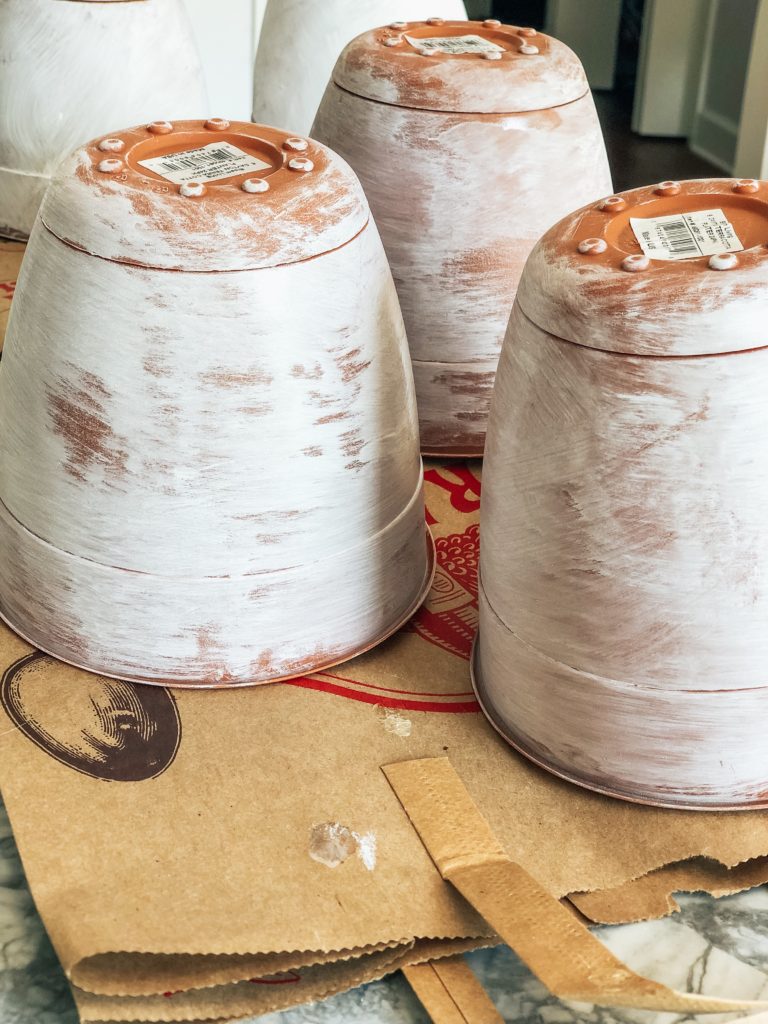
I only applied one coat of Bauhaus Buff paint on these pots, and when the paint was dry, potted my plants! Because I put these pots up high I did not seal them with a wax or anything, but you might want to do that if you’re painting larger pots or have them in a more high traffic area.
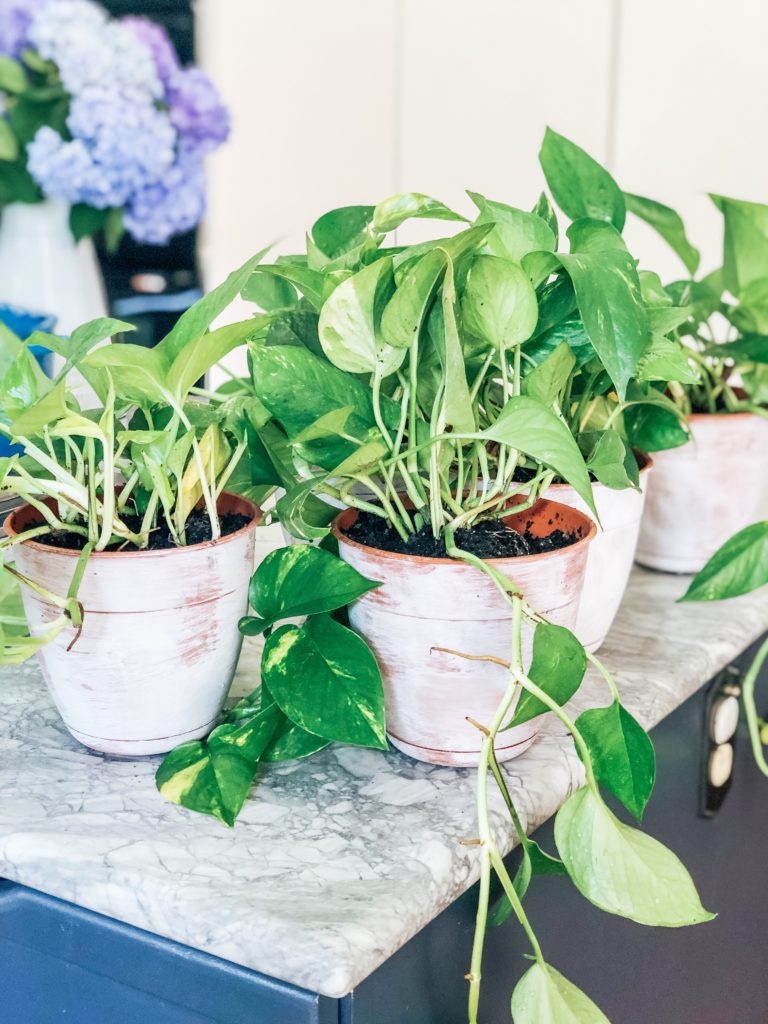
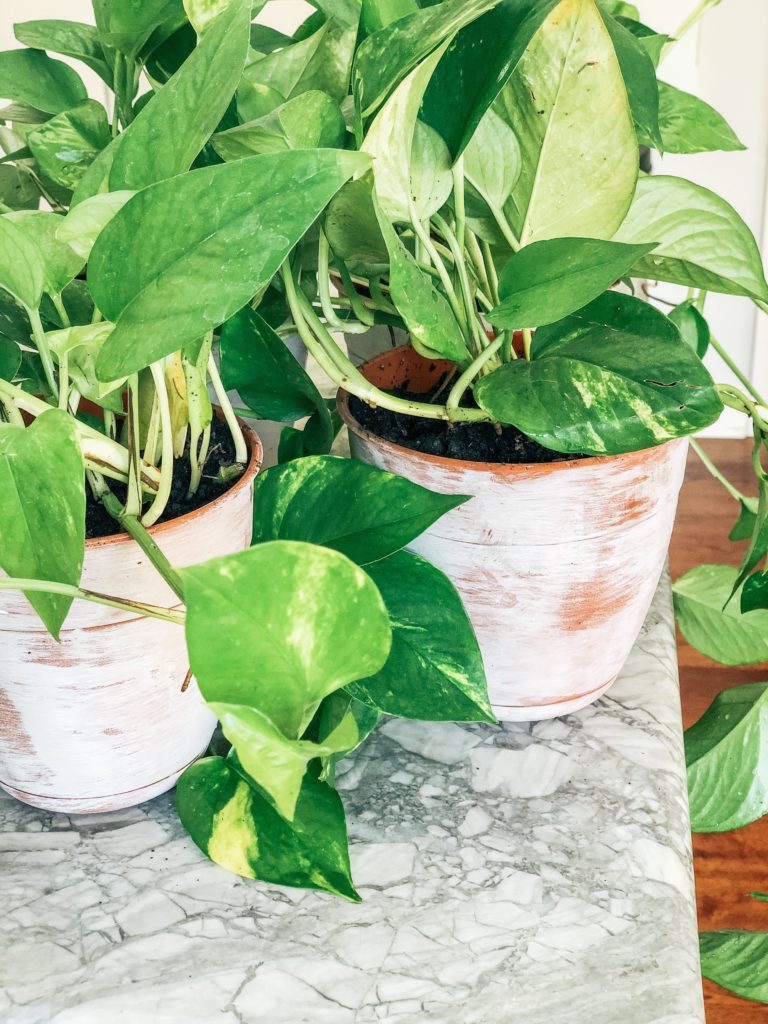
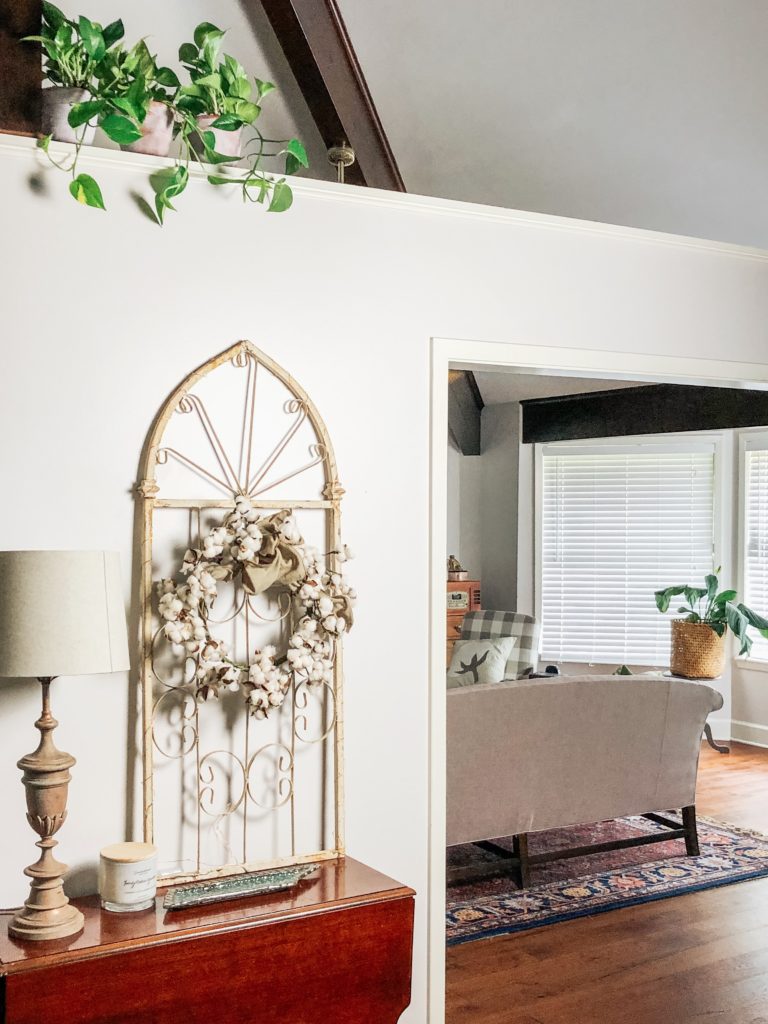
Here are where the pots ended up
I put three on one end of the wall, and two on the other end. The plants are starting out small, but they will be cascading down the wall one day!
YOU CAN FIND ALL AMY HOWARD PRODUCTS ALONG WITH SOME FABULOUS TUTORIALS HERE!
Stay tuned for more upcoming chalk paint projects, and subscribe to Headquarters by Ship so you don’t miss a post!

Recent Comments