After about almost two years, I’m finally getting around to finishing up Greta’s nursery by adding the dresser that she has needed for so long. We were previously using a small desk for her changing table, and well, she is not so small anymore, so we needed to update the area properly with a dresser. Since her nursery is an emerald green, my goal for her room was to have a lot of white furniture, and other white accents to keep the space bright with such a rich color on the wall.
Disclaimer: I may earn a small commission if you make a purchase from links provided on this post. Headquarters by Ship appreciates all your support!

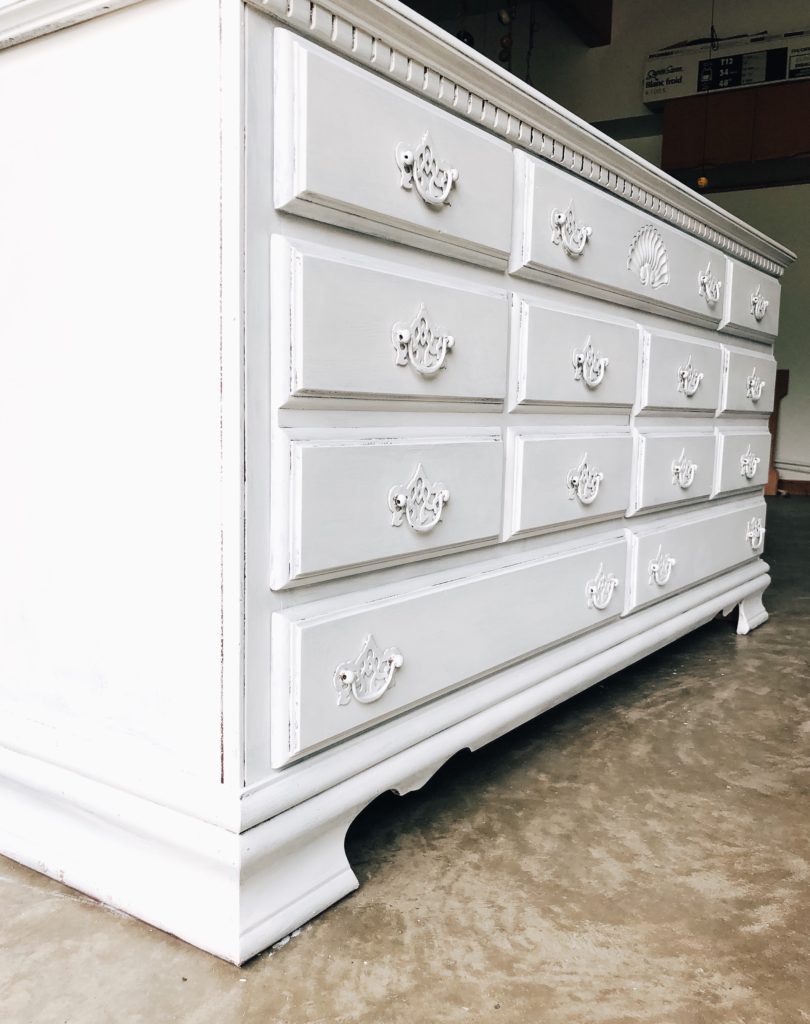
When I finally decided that this project needed to be done once and for all, I picked a day to do some thrifting, to see if I could find an old dresser at a decent price. As luck would have it, I found the perfect piece at a Good Will for under $75. It didn’t look very dirty, and all the drawers were in good working condition. The wood was in decent condition, and it was an actual wood dresser. S O L D!
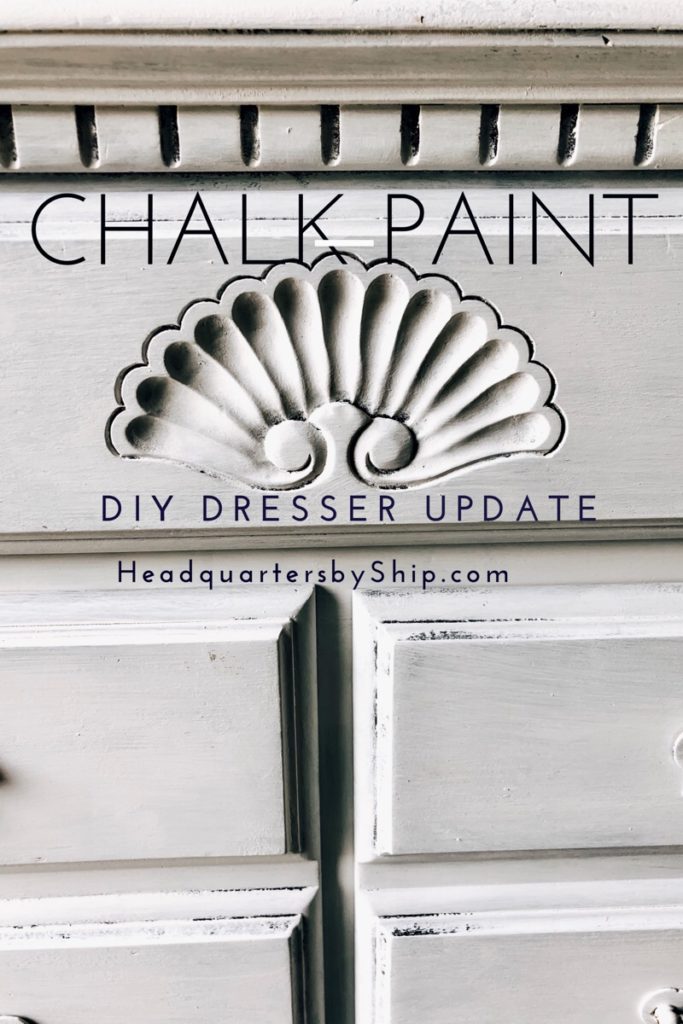
For this dresser project I used Amy Howard One Step Paint, my favorite chalk paint out of all the chalk paints (you can see more reasons why I love Amy Howard One Step Paint here, including being a local business and made in the USA).
Here is the before and after:
First give your piece of furniture a good washing and clear out a workspace
Always be sure to thoroughly wash your piece of furniture before painting. You can get TSP from your local hardware store. It is a great cleaner for furniture because it removes all dirt, and grease that has built up on your project piece. I also like to remove all pulls and knobs before washing because you’d be surprised at the dirt build up behind your pulls (especially the brass kind shown in this picture).
We have a good work area in our garage, so that is where I took care of this project. You can definitely complete this project in one day. It took me a weekend to finish this project because I like to work on my projects during nap time, so I just do a little bit here and there. I also did a really thorough job cleaning the dresser (and that probably took longer than the actual painting and waxing!).
GET YOUR SUPPLIES
- Trisodium Phosphate, A.K.A. TSP (for cleaning and prepping your furniture)
- Amy Howard One Step Paint (Bauhaus Buff)
- Paint Brush
- Wax for finishing/sealing paint (I used Light Antique Wax)
- New pulls/knobs (optional)
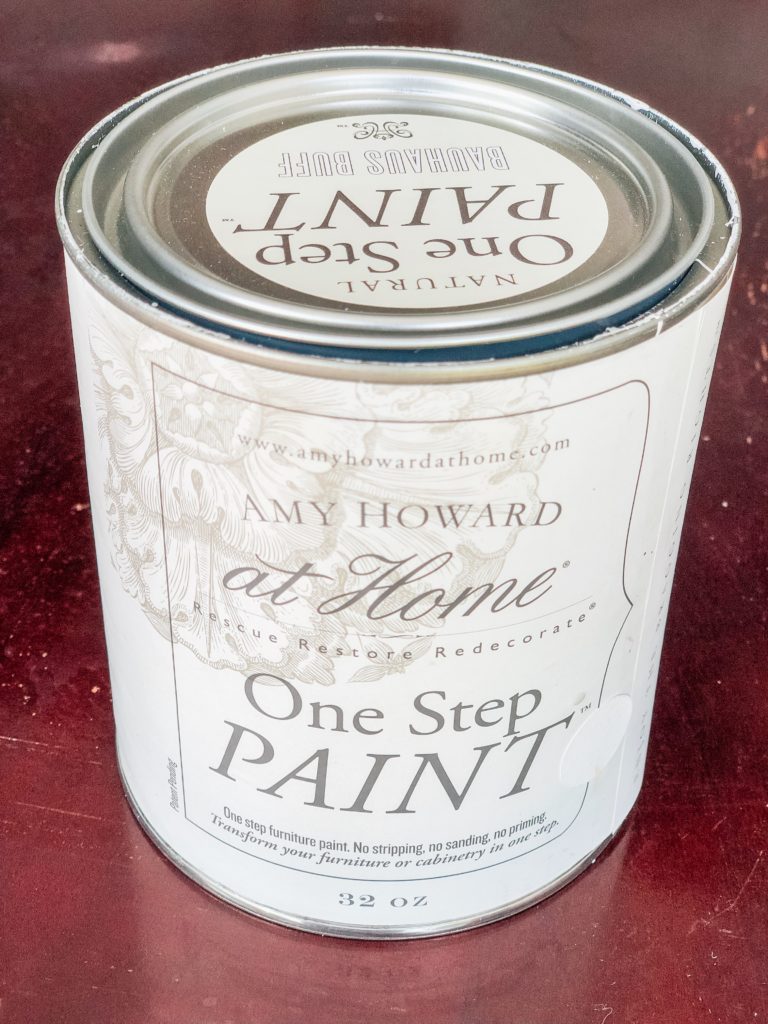
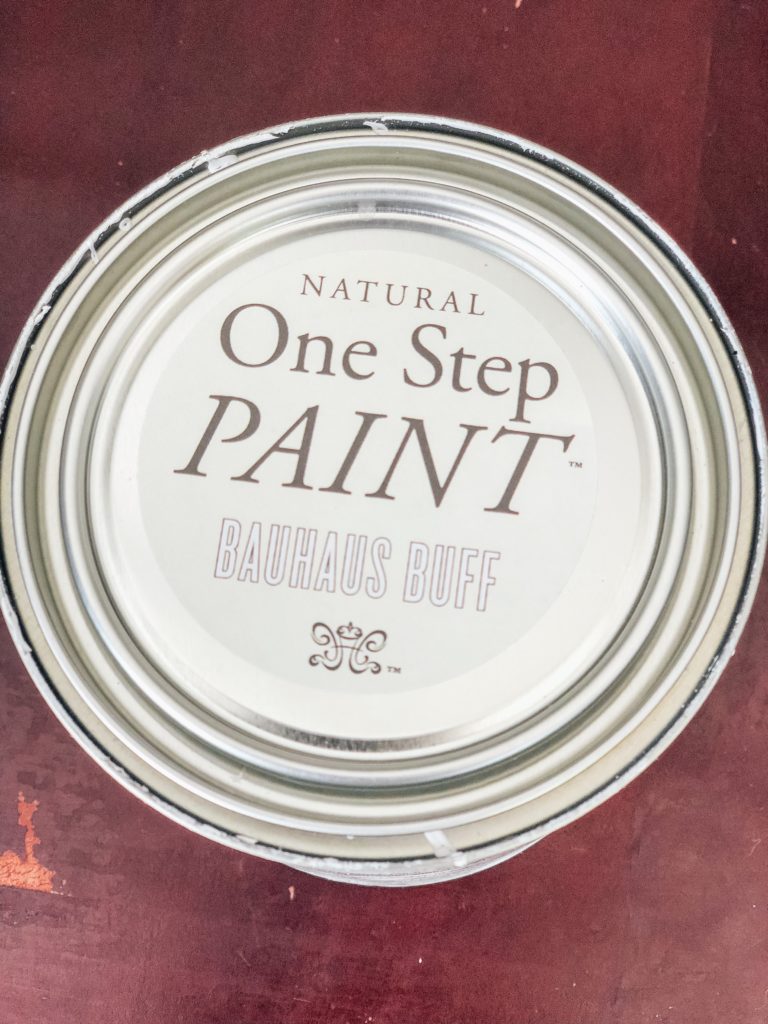
Find Amy Howard’s Bauhaus Buff One Step Paint HERE.
GET STARTED

When painting your project piece, just slap the Amy Howard One Step Paint on! I use liberal brush strokes when applying the paint, and also spread the paint out on the wood by brushing in all different directions (the One Step Paint is a thicker consistency so brushing in different directions helps spread it out), and then finishing with a couple strokes in the direction of the wood grain.
What things look like after one coat:
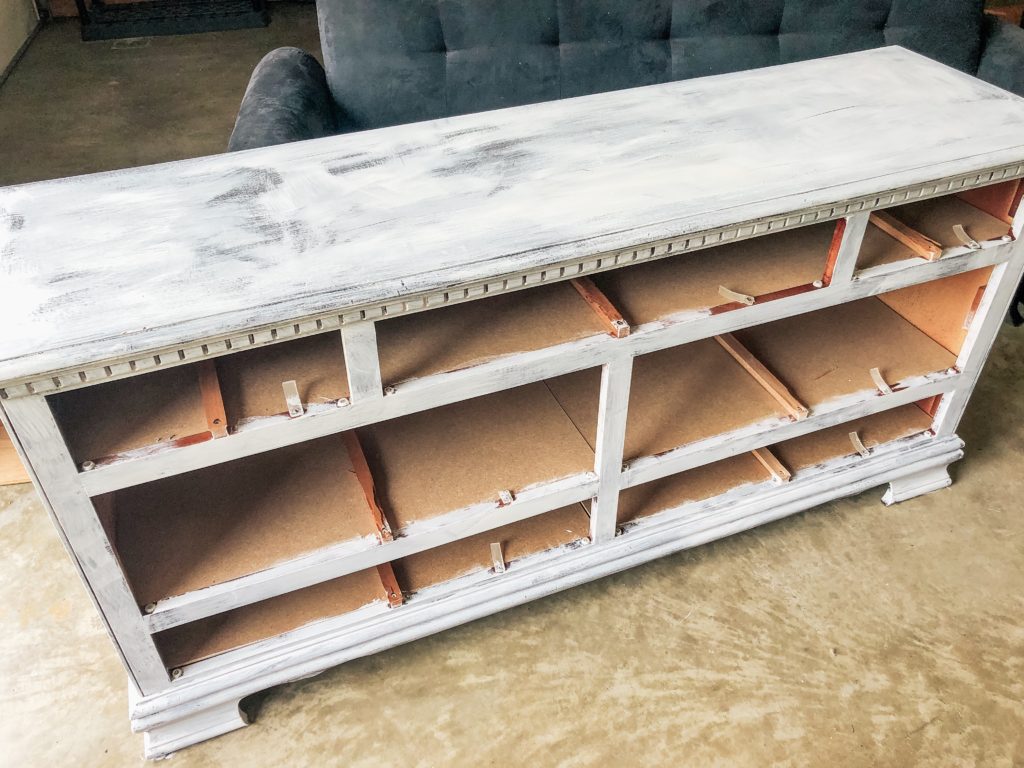
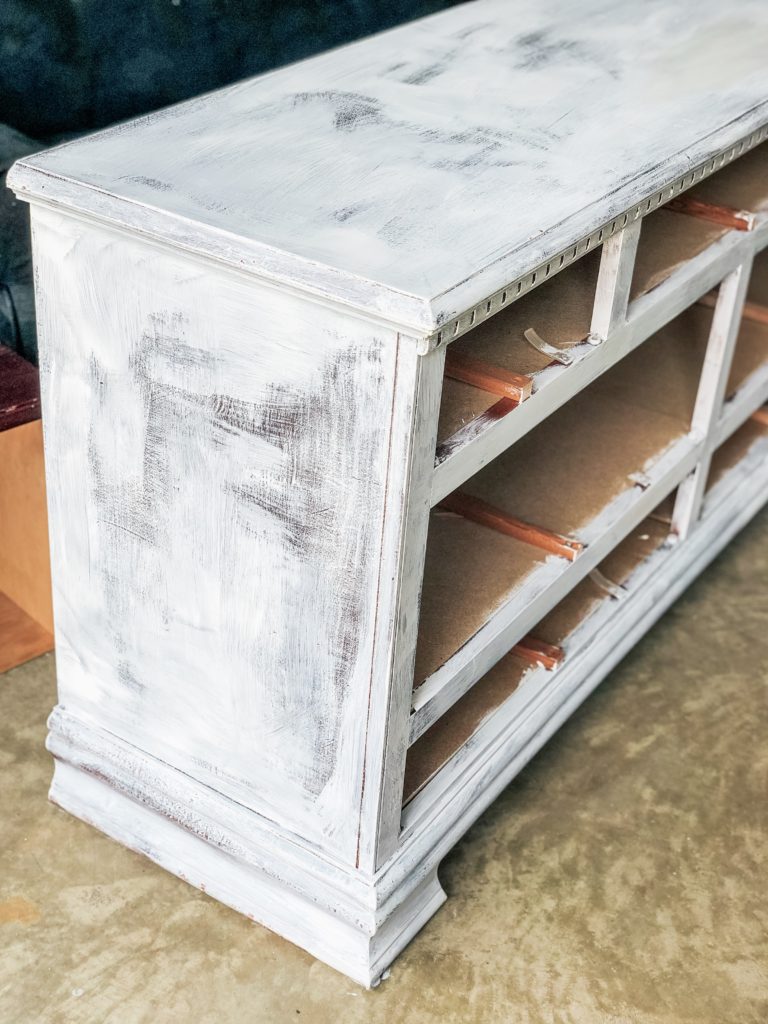

As you can see (above) with one coat, the paint does not go on completely evenly, but this is part of the beauty of the paint, that helps you achieve a distressed look without you having to work extra hard to distress with a ton of sanding (although sanding is encouraged if you want to add some extra distressing after you’ve achieved your desired look with the paint).
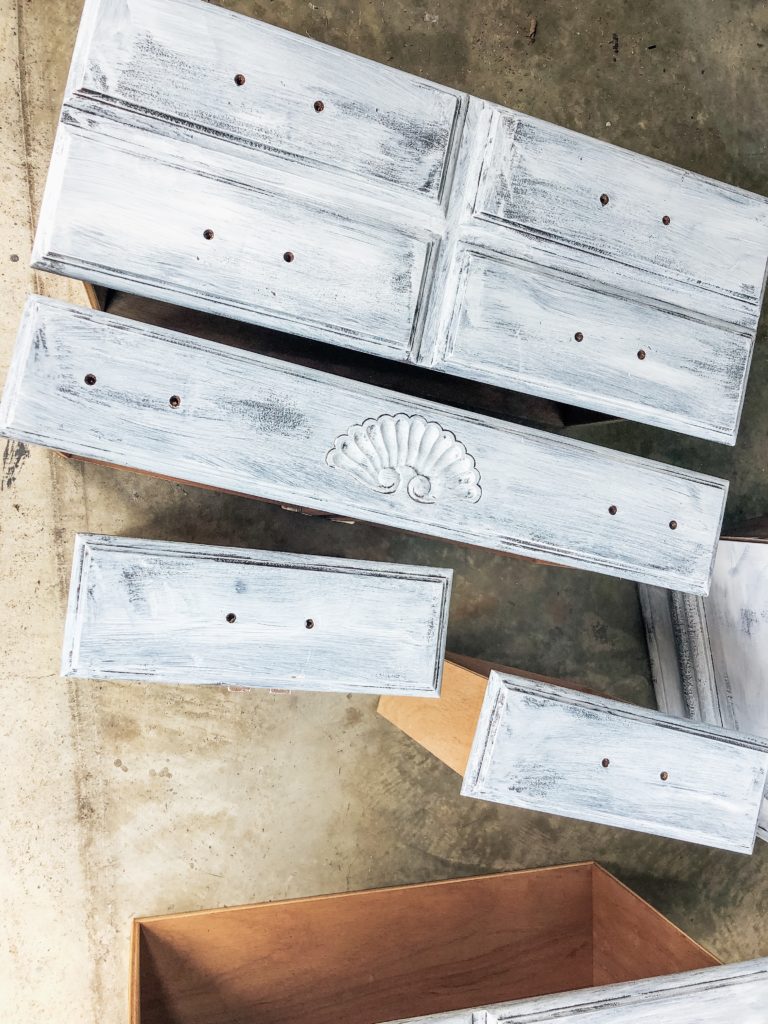
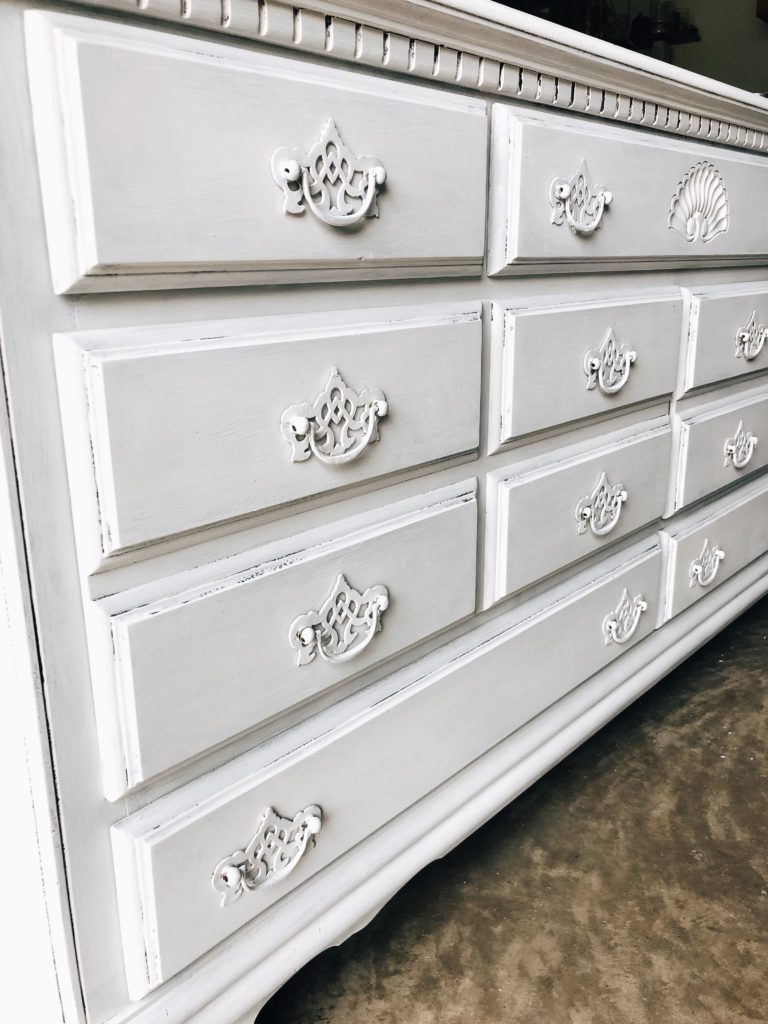
When painting in areas with detailed woodwork, I stipple/dab the brush on the wood, and then brush over it lightly in the direction of the wood grain.
I wanted things to be mostly white, so after the first coat dried, I applied two more coats, letting each coat dry completely in between.
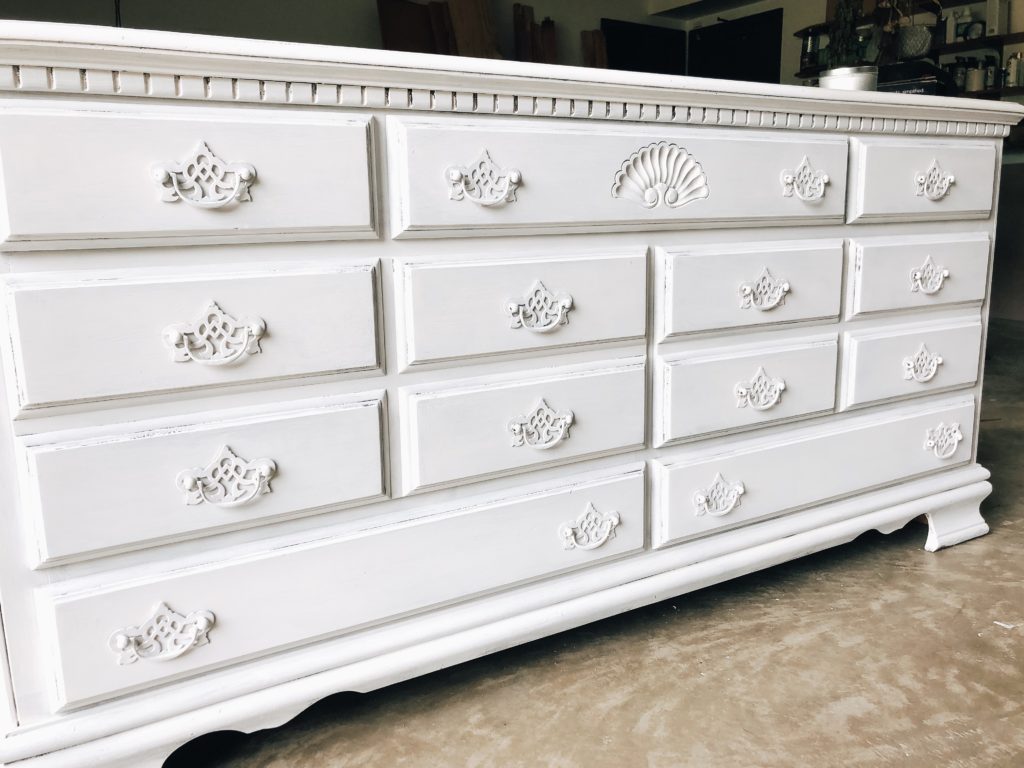
The finished product
If you can tell, with the finished product below, I didn’t cover every single square inch with paint. I wanted the detailed areas (and dings and dents) to have a little bit of wood peeking through, so that detail really pops. I didn’t do any extra sanding on this piece because after finishing the three coats, I thought it looked good as is.
I finished the dresser with one coat of Light Antique Wax. If you really want to bring out details in the wood, Amy Howard’s Dust of Ages, and the Dark Wax, are really fun products to work with depending on what kind of look you are trying to achieve.

Stay tuned to see how this piece looks in Greta’s nursery, along with some other updates that I have made to her room in the past several months.
Do you enjoy up cycling furniture? Leave a comment and tell me about your favorite product! I personally read every comment, and really appreciate feedback from my readers.
Also subscribe to Headquarters by Ship so you don’t miss out on other DIY and inspiration for your home.


Recent Comments