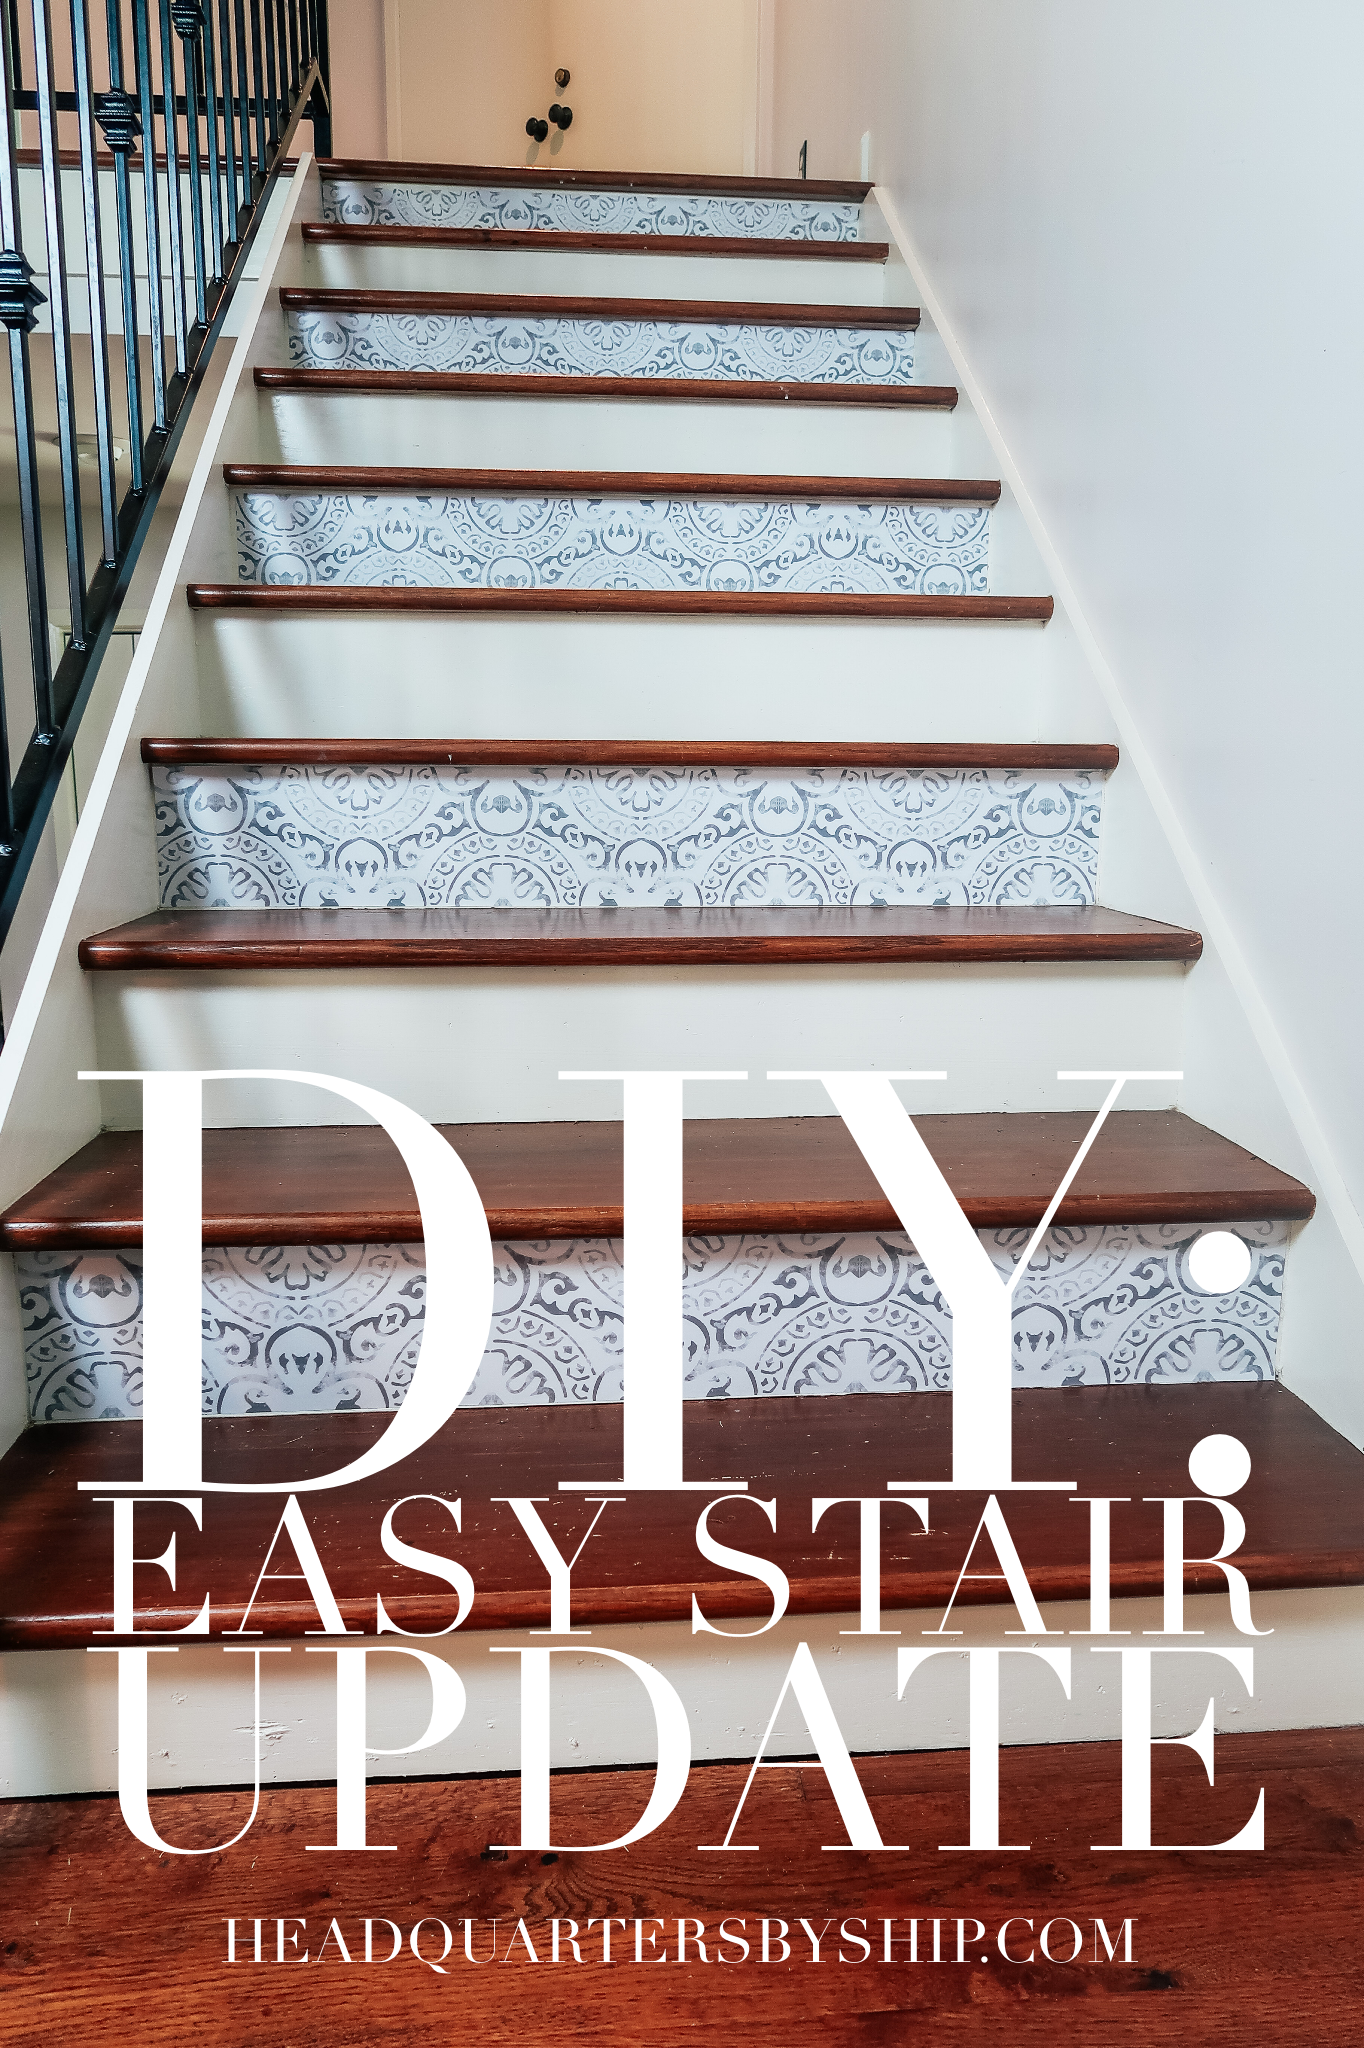
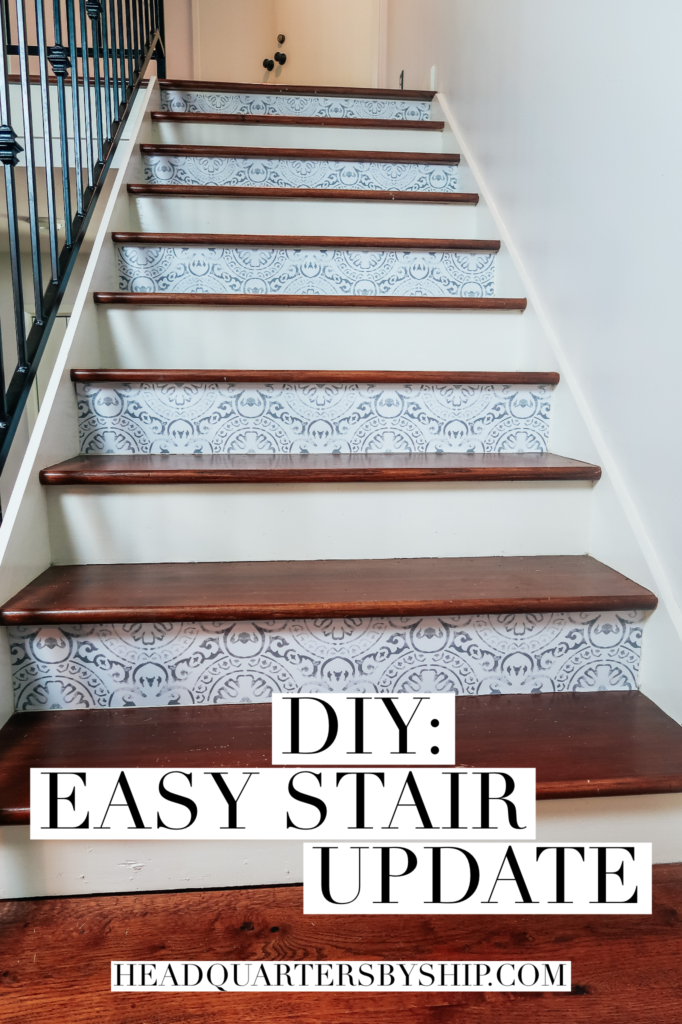
I recently did an easy installation on the stair risers in my house and I’m completely in love! Our house is very open concept so there is limited wall space to add decoration and character. After day in and day out of walking up and down our stairs, I decided that I wanted to do a little update with them.
Disclaimer: If you purchase something from a link provided in this post, I may earn a small commission from your purchase. Headquarters by Ship appreciates your support and thanks you!
As I have probably mentioned before, I think our house has a bit of a southwestern, California ranch house vibe to it and I’m not opposed to adding things that will enhance those characteristics. I love talavera tiles and stairs with tiles as a riser. Whenever I see pictures of tiled staircases it reminds me of the years we spent in Los Angeles as a child. When considering how to update my staircase I wanted to find something to achieve that southwestern sort of look, but I wanted something easier than a tile installation. I figured I could find a cool looking stencil to paint the risers, but during my Etsy search I came across these amazing decals and decided that they’d be perfect for our stairs. I thought the decals were a perfect mix of that talavera style, but with a mediterranean feel (and the color options were a perfect match to the color scheme that we currently have in our house).
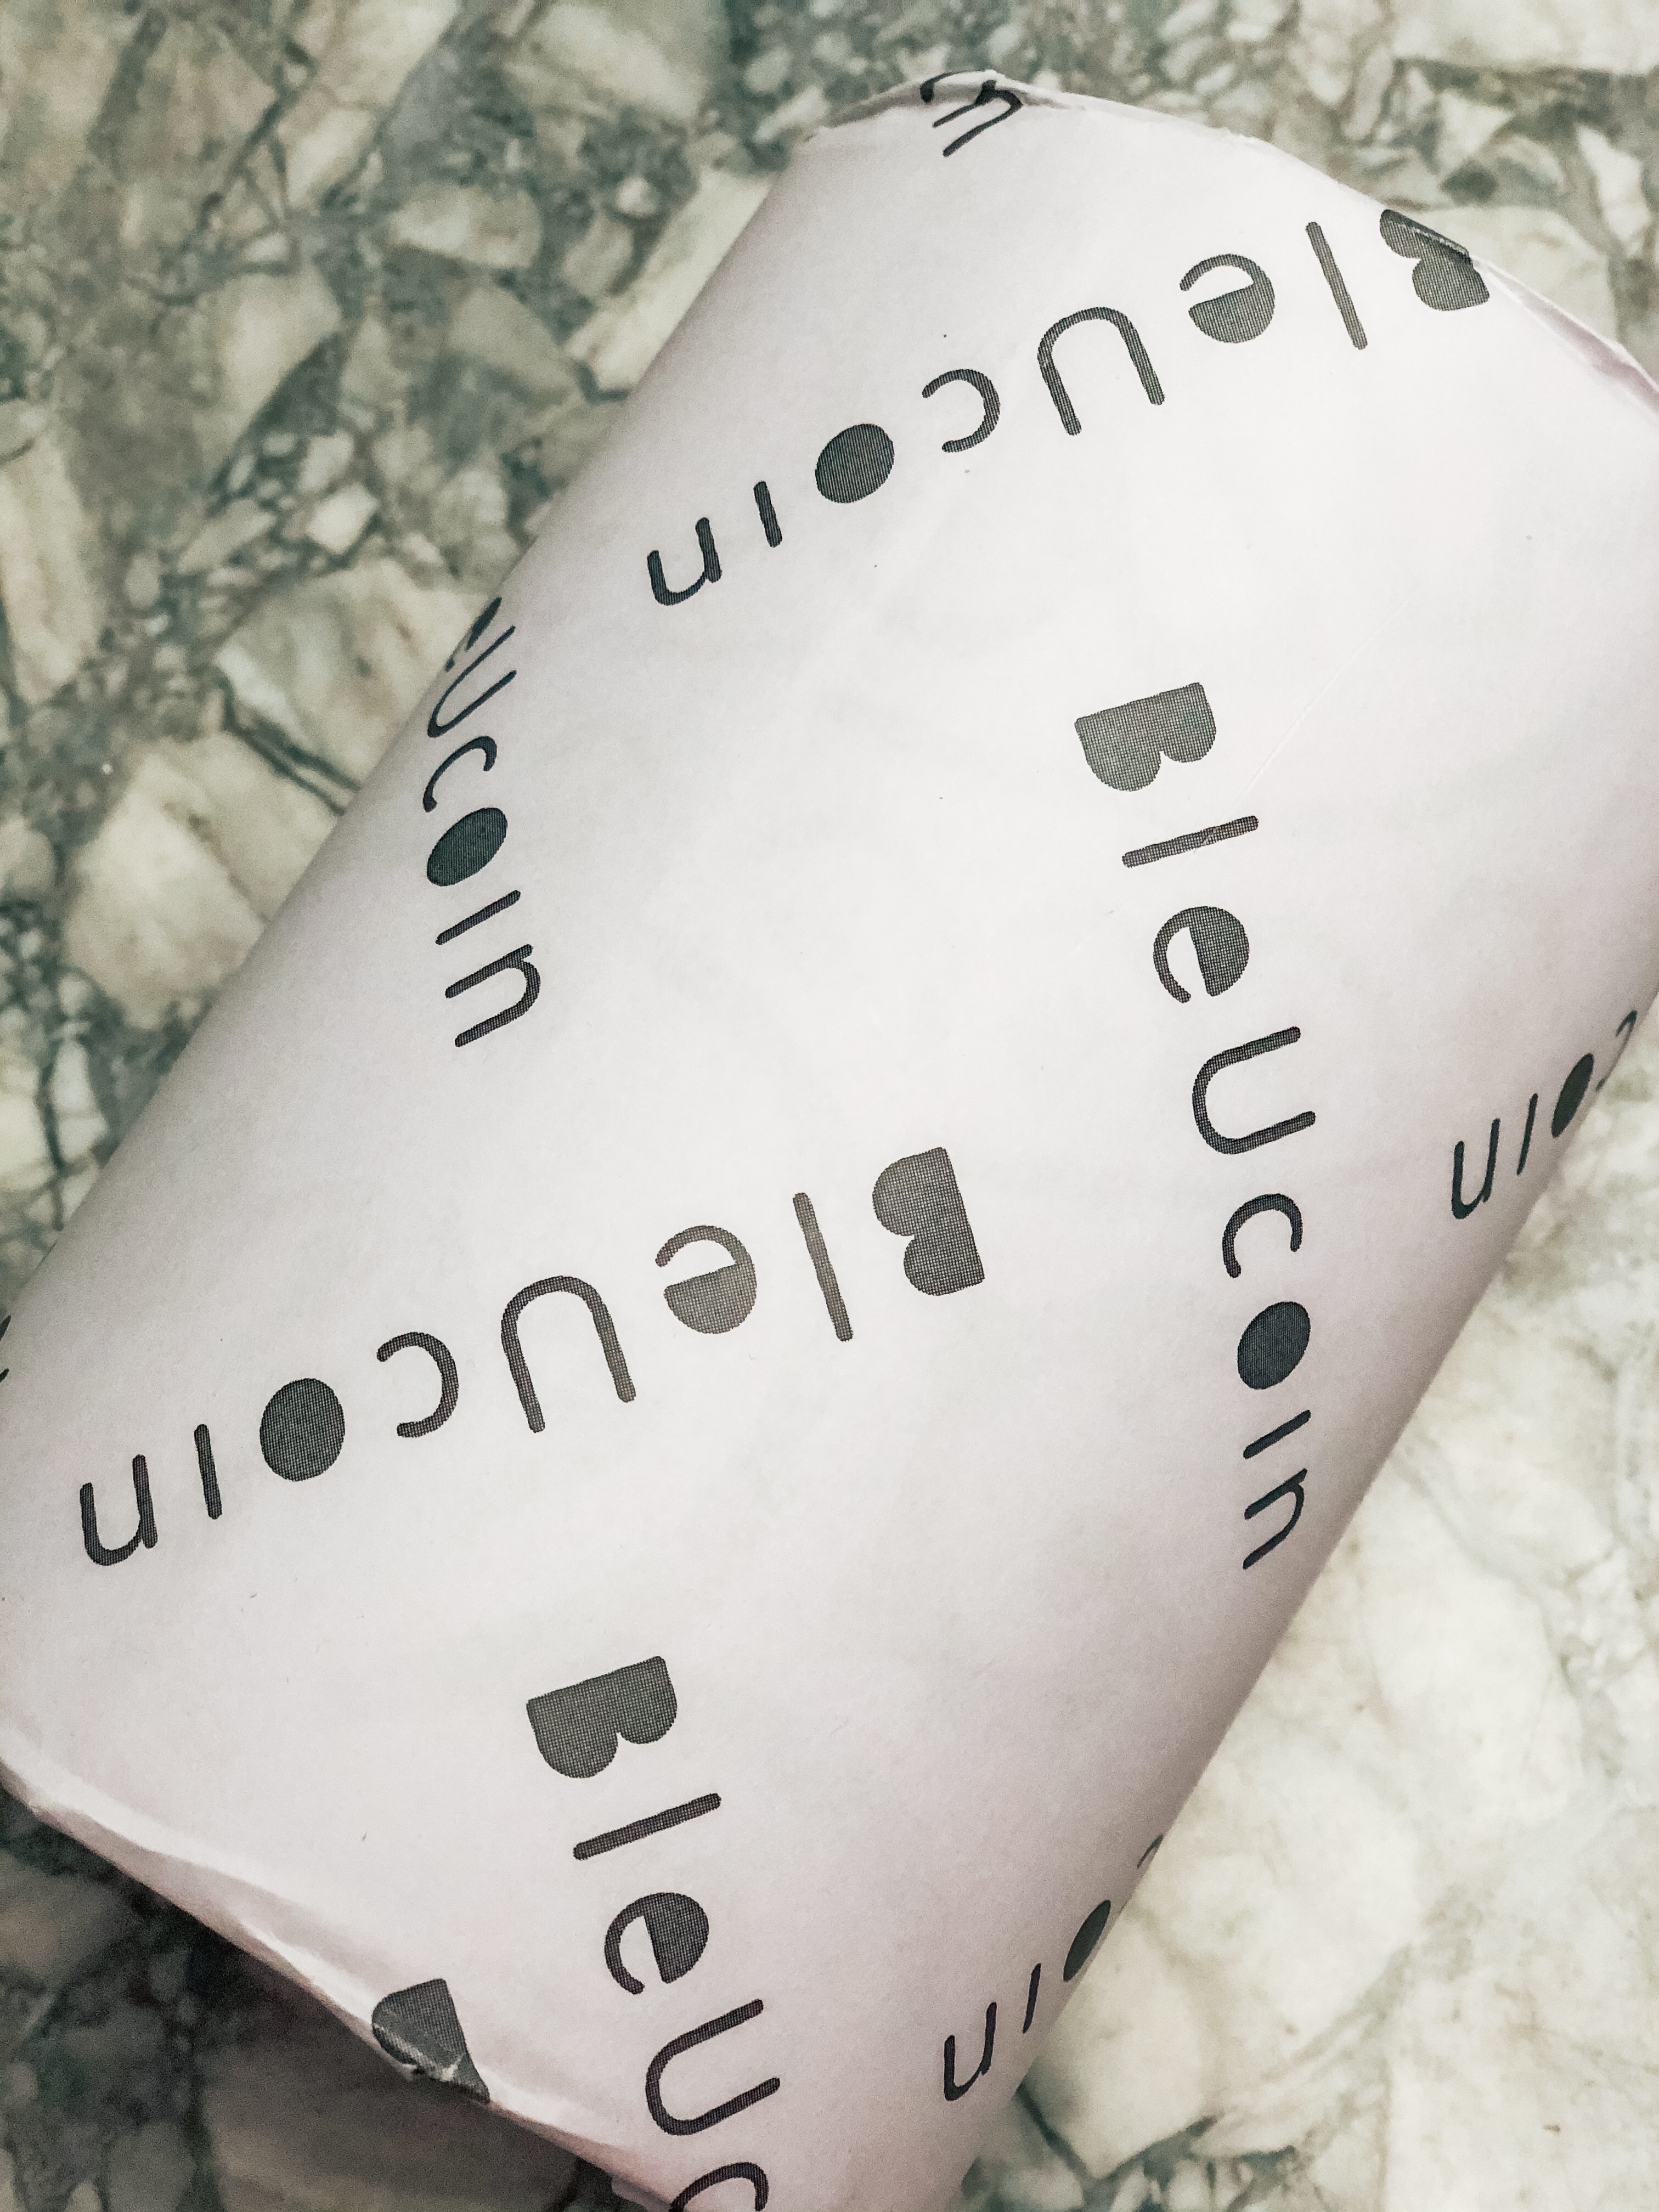
The layout of our home is split level with some very wide steps, so I had to place a custom order with Bleucoin Official. They were very helpful with answering my questions, and easy to work with. The company is located in India, but everything arrived very quickly.
THE INSTALLATION:
The decals arrived all rolled up in what looked like a large toilet paper roll. I could not wait to get started with my installation once they arrived!
Prior to installing my decals, I made sure to dust and clean the floors really well so I’d have good adhesion to the stairs prior to installing as well. We do have a large dog who tracks in a lot of dirt, so I didn’t want any pet hair or dirt getting in the way of a clean application of the decals.
BEFORE

-

My Assistant Birdie -
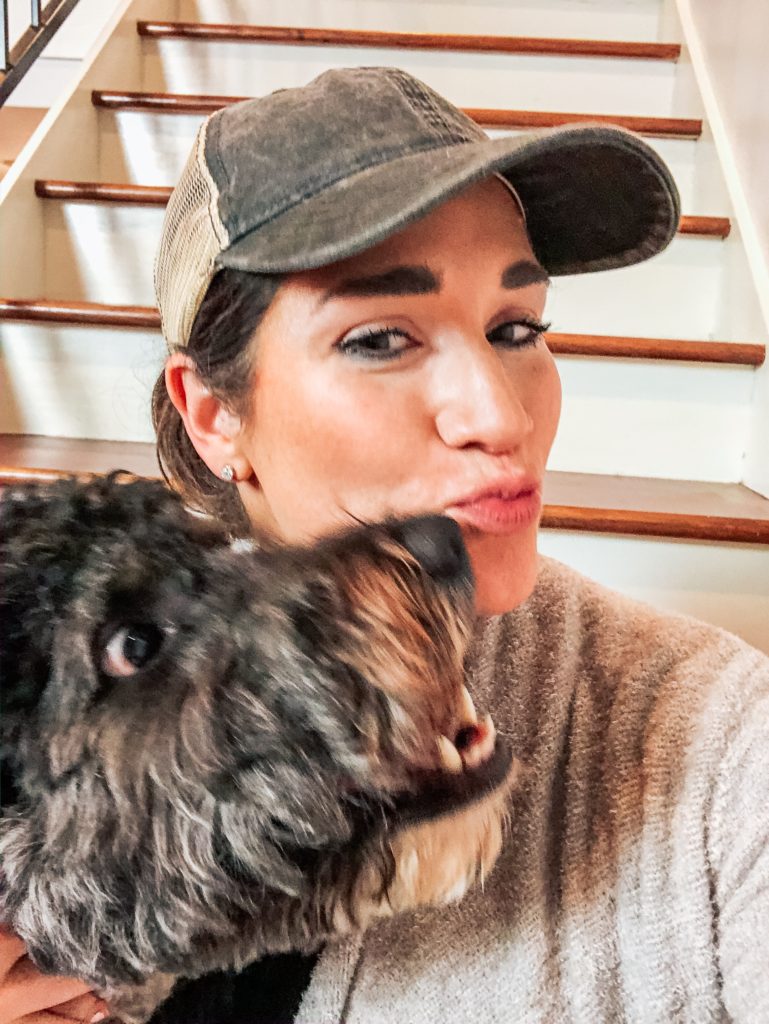
Making Every DIY a Little Harder…
The installation was super easy. All you do is peel and stick the decals onto your clean riser! After applying I smoothed them out to make sure that there are no air bubbles or anything. If I messed up with applying one (some of my stairs are over 50 inches wide, so those were a little more difficult to apply), I just peeled it off and tried again until I got it right.
The hardest part of everything was the preparation in cleaning all my floors (and I also decided to clean the baseboards too while I was at it).
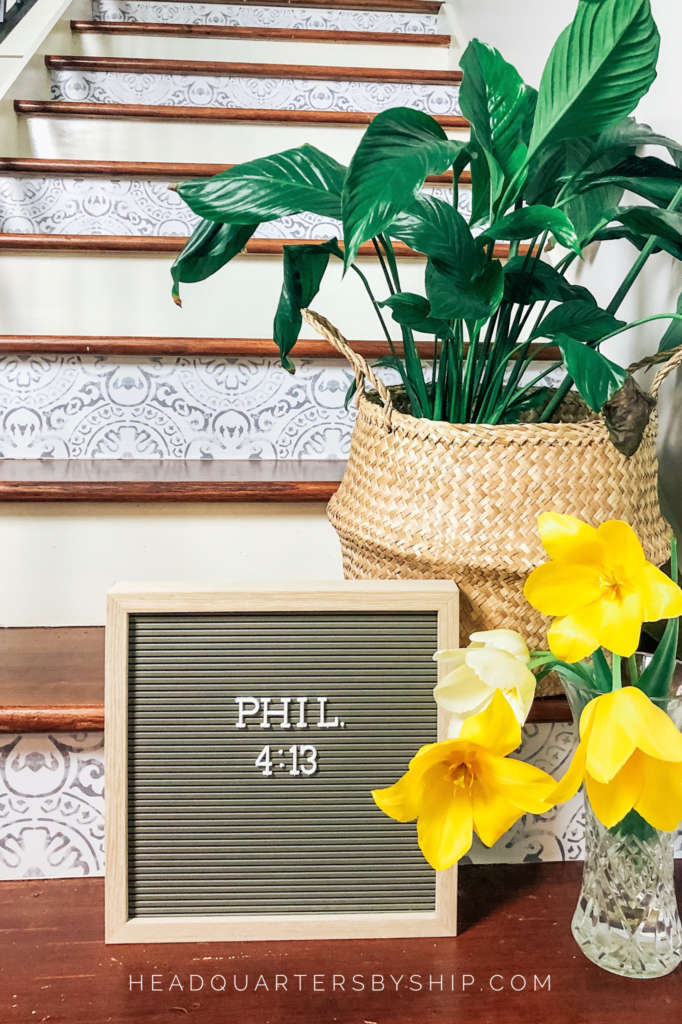
AFTER
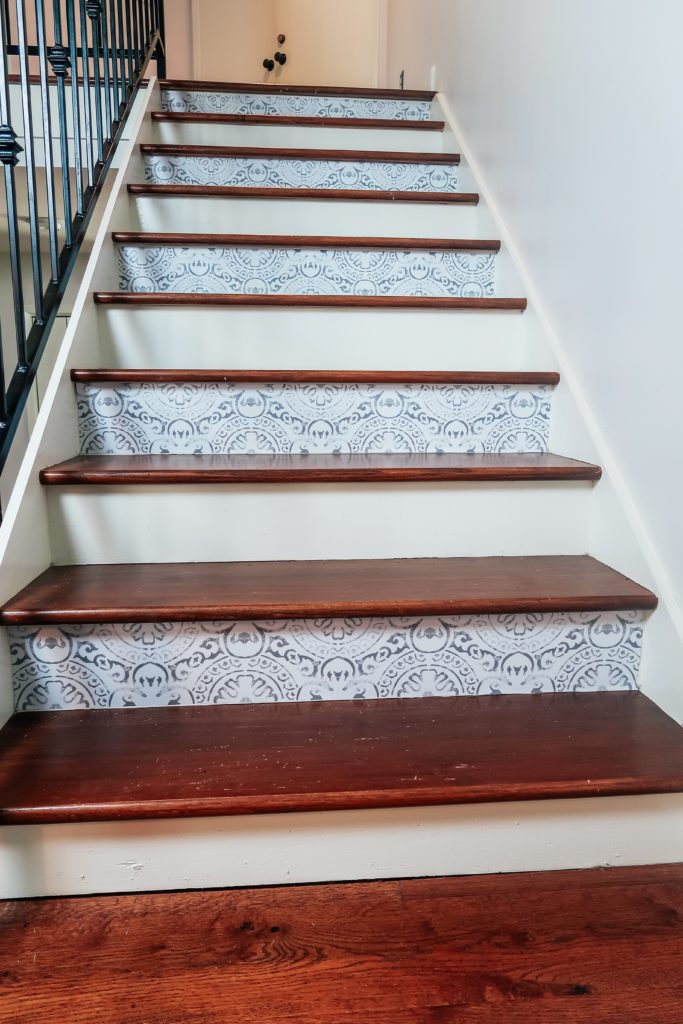
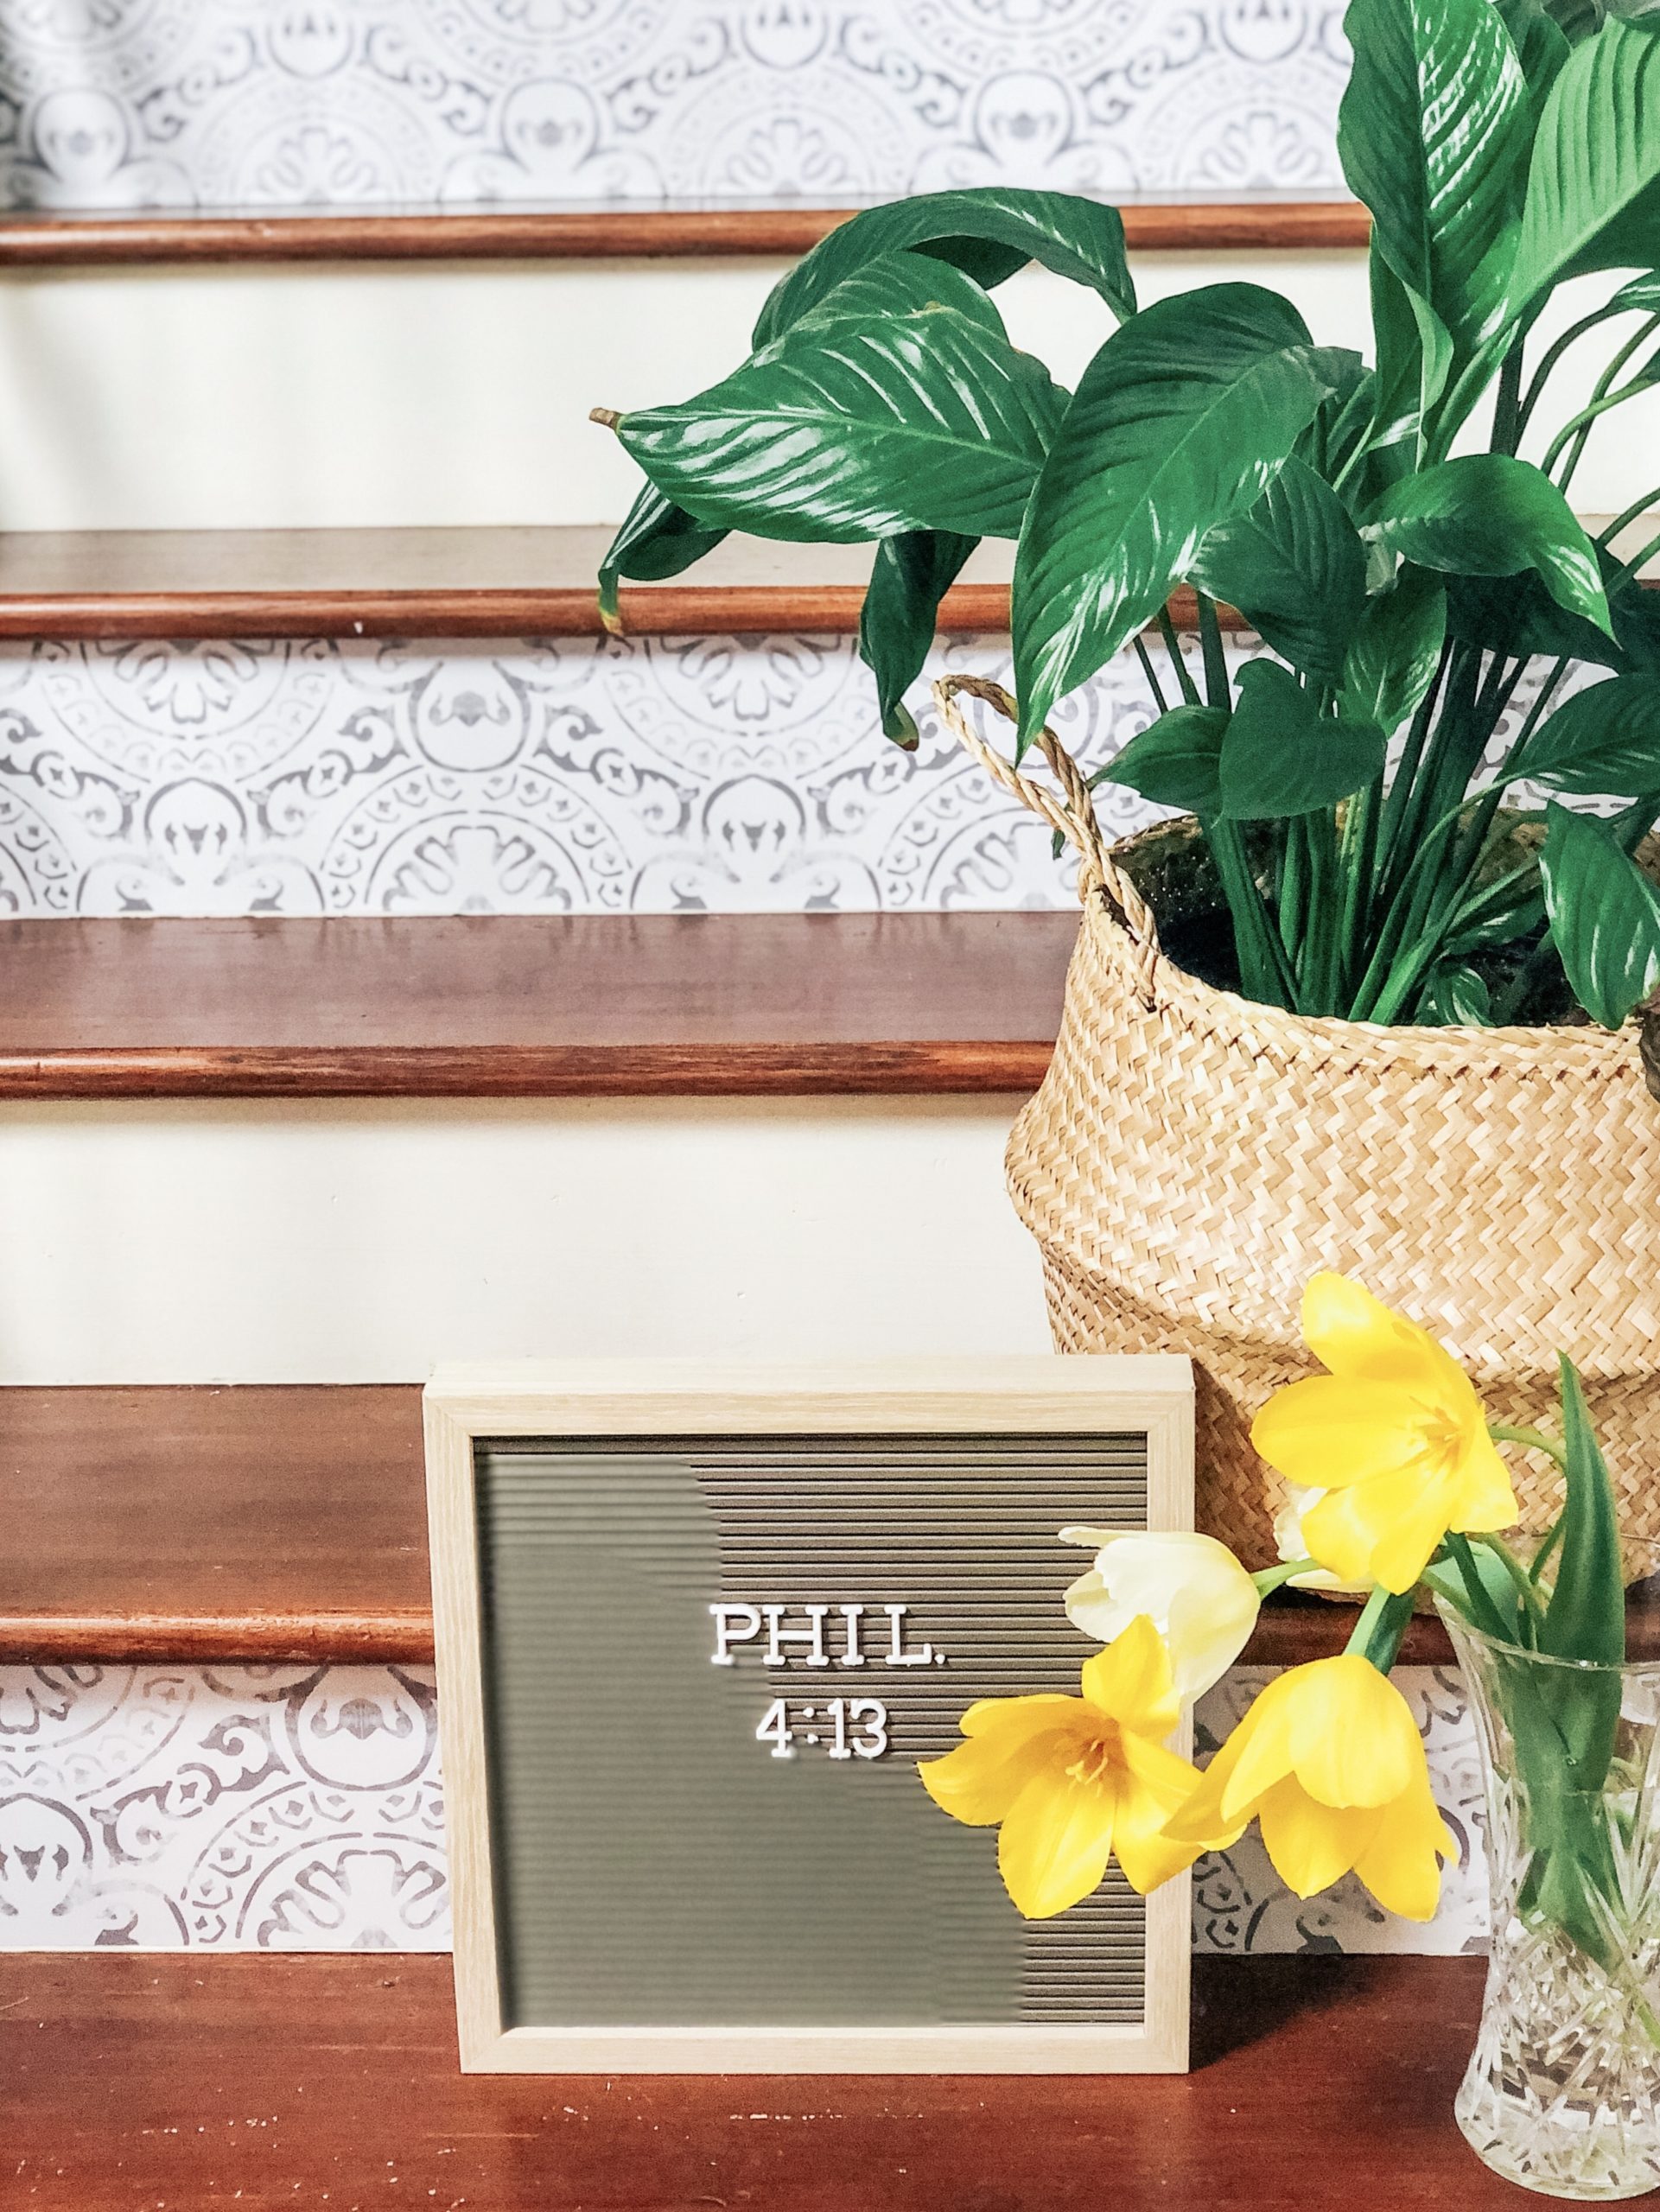
HERE’S THE BEFORE AND AFTER SIDE BY SIDE
-
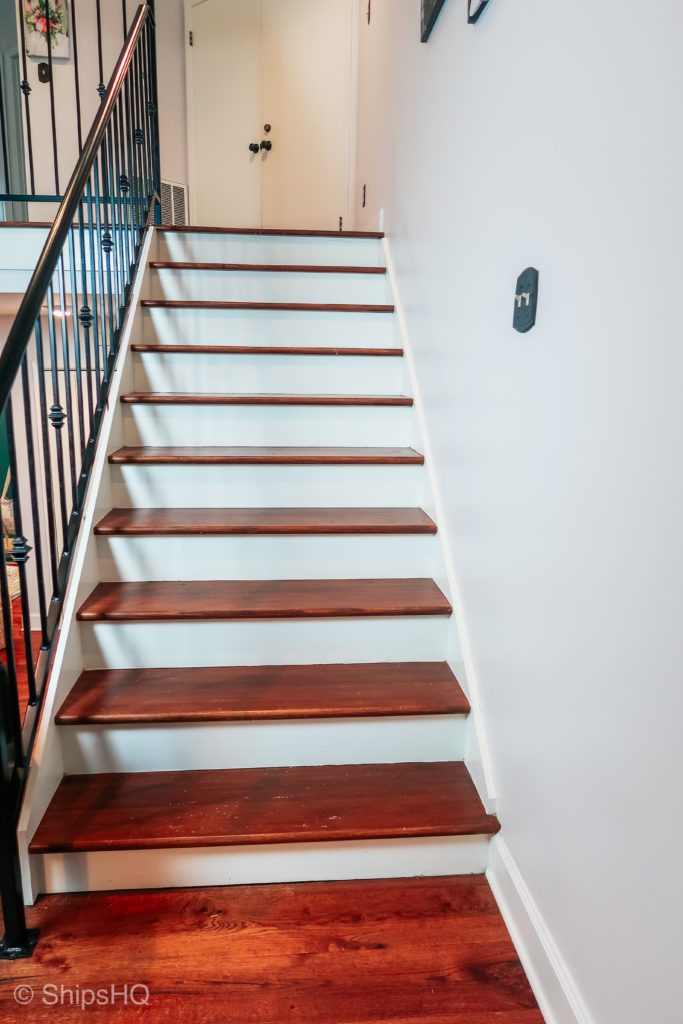
Before -
After
SHOP THIS POST HERE:
[show_shopthepost_widget id=”4001314″]
WATCH MY QUICK INSTALLATION HERE:
IF YOU’D LIKE TO SEE SOME OF MY OTHER DIY’S:
♥ Check out this URN UPDATE I did for my front porch with Amy Howard One Step Paint and Cracked Patina.
♥ Here is another easy DIY furniture project for a LIVE SLAB BENCH.


Recent Comments