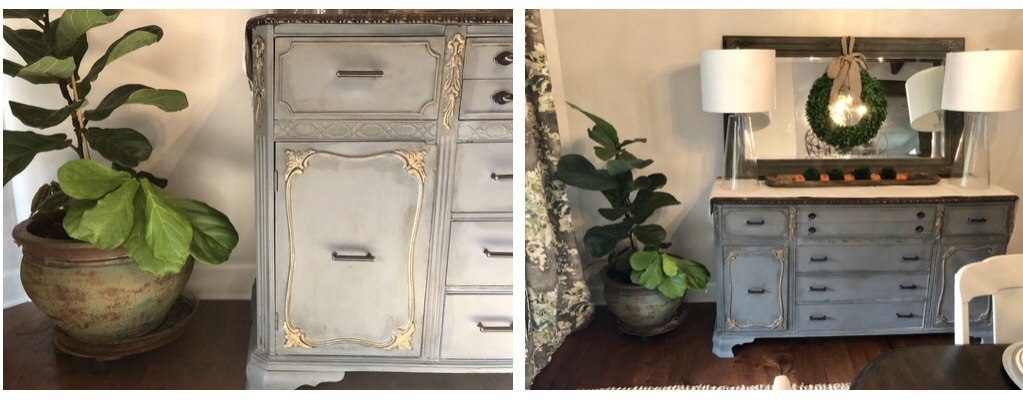
We bought our first home a couple years back. It was a big transition moving from a two bedroom condo to a house with a formal dining room, formal living room and a den. Our house was built in the mid-eighties. The house had great bones and was super cool looking. The downstairs is split-level and open-concept with beamed, vaulted ceilings and rustic stone accents. It kind of reminded me of a mid century modern, California ranch style home.
Disclaimer: If you purchase something from links provided on this post, I may earn a small commission from your purchase at no additional cost to you. Headquarters by Ship appreciates, and thanks you for your support!
Because everything in our home was original, we had a lot of work on our hands to get the house updated and changed to match our style. Will and I were lucky enough to be able to live with his parents for a few months while we did some MAJOR upgrading.
While I loved making all the design decisions, the idea of trying to style and fill all these new rooms all at once was a bit overwhelming. I decided to try to focus on doing one room at a time, so much of the house is still a work in progress.
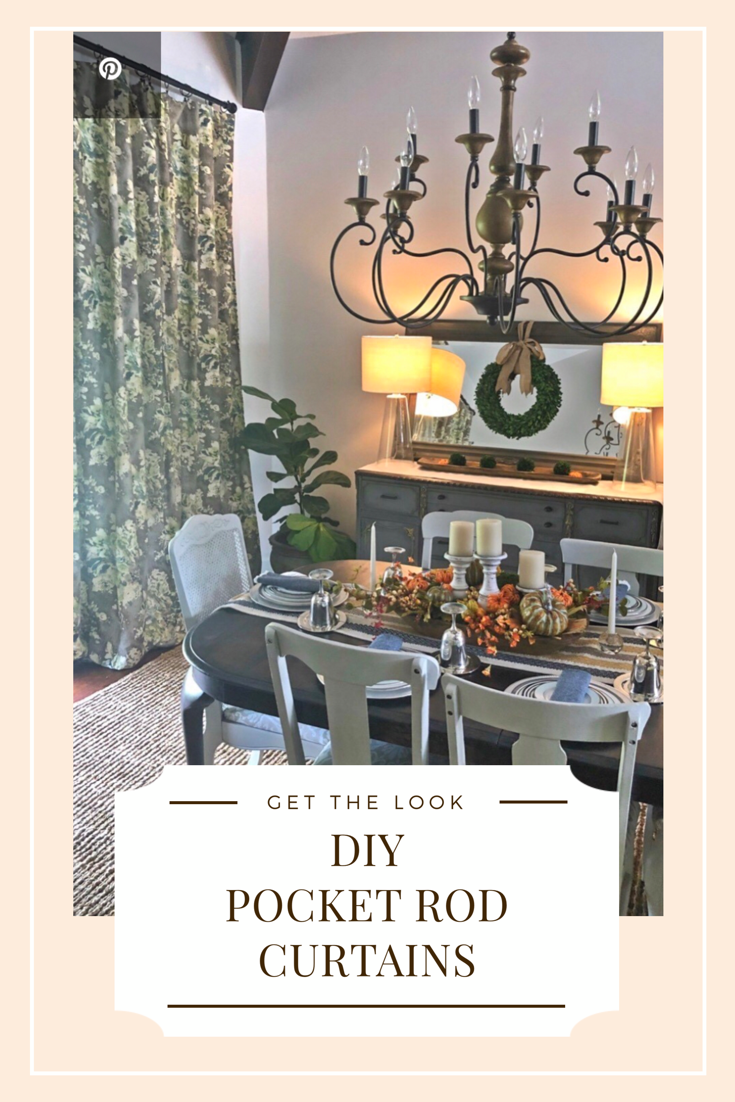
When covering the windows in the dining room, I wanted to use the height of the vaulted ceiling and have long curtains (even though the sliding glass door is a standard height). I couldn’t find any curtains I liked right away, so I ended up finding some huge canvas drop cloth’s in the painting section at Walmart and just hung those up instead of buying real curtains. Couldn’t beat that price (Under $20!) for the time being!

Recently, however, I was vacuuming in the dining room, and when I pulled one of the drop cloths to the side to vacuum under the curtain, half of the curtain rod came crashing down on top of me! Did I pull to hard, or was it an installation error? We will never know, but it gave me a good excuse to do some upgrading.
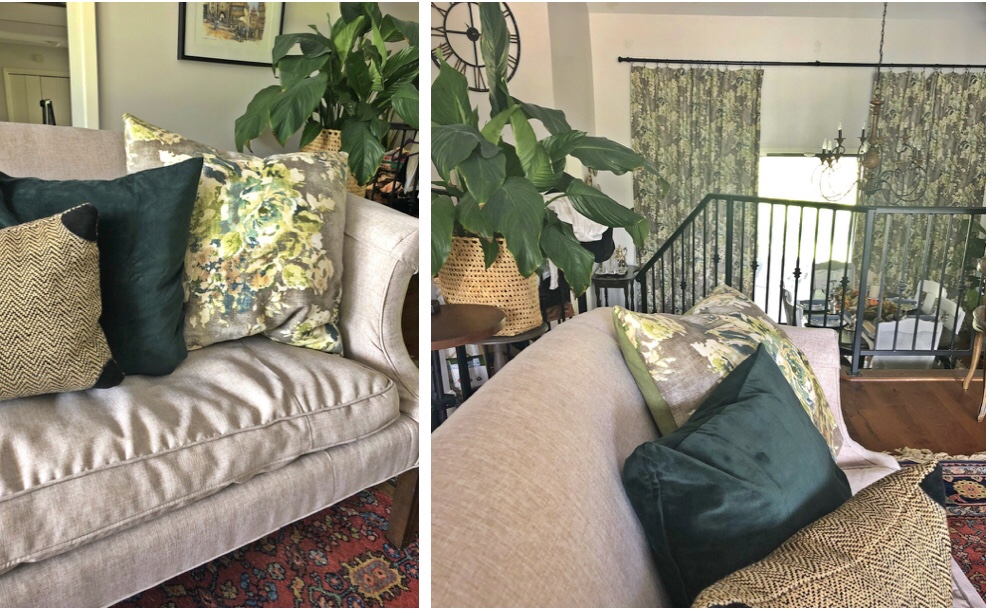
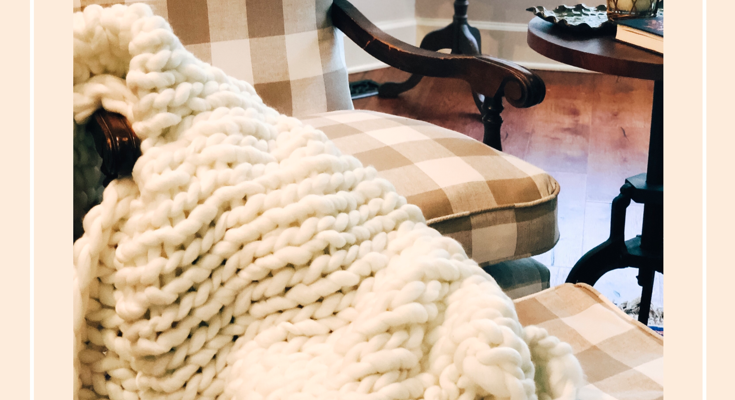
I had recently made some pillow covers for pillows on a couch that we just got refinished for the formal living room, and loved the fabric so much that I decided to make it into curtains for the dining room. The fabric is colorful, yet muted, and is also a good blend of grays and beiges to match the rest of the house. Since the living room is open to the dining room too, I thought it would be good to have some matching elements to transition from one room to the other.
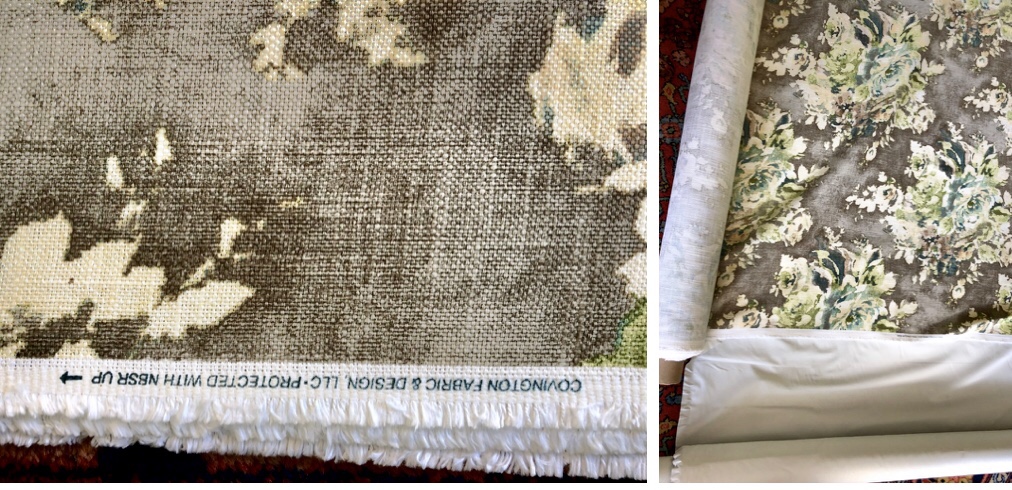
I found this fabric, like all the fabrics I buy, on fabric.com.
Fabric.com is my favorite fabric website; I have been buying from them for years. They have a great return policy (although I have never returned anything to them). I have never had a bad experience buying from this company, and recommend them highly if you have an upcoming project you would like to tackle.
The fabric on the couch also came from fabric.com. The more yards you buy, the better the discount! Here is a better picture of the couch below:

Did I mention that I also found this fabric in a Ballard Designs magazine that was recently mailed to me as well? If you’re not the DIY type, you can always order a custom piece of furniture from them!
Anyway, I decided it would be easiest to make some pocket-rod curtains, because it would basically just require me to sew some straight lines. I also wanted to keep things more casual in the dining room as well.
What you need for this project:
- Fabric (order yardage according to window size + hem allowance)
- Blackout Liner
- Thread
- Iron
- Sewing Machine
- Curtain Rod
- Curtain Rod Rings (Optional)
Here is what I did:
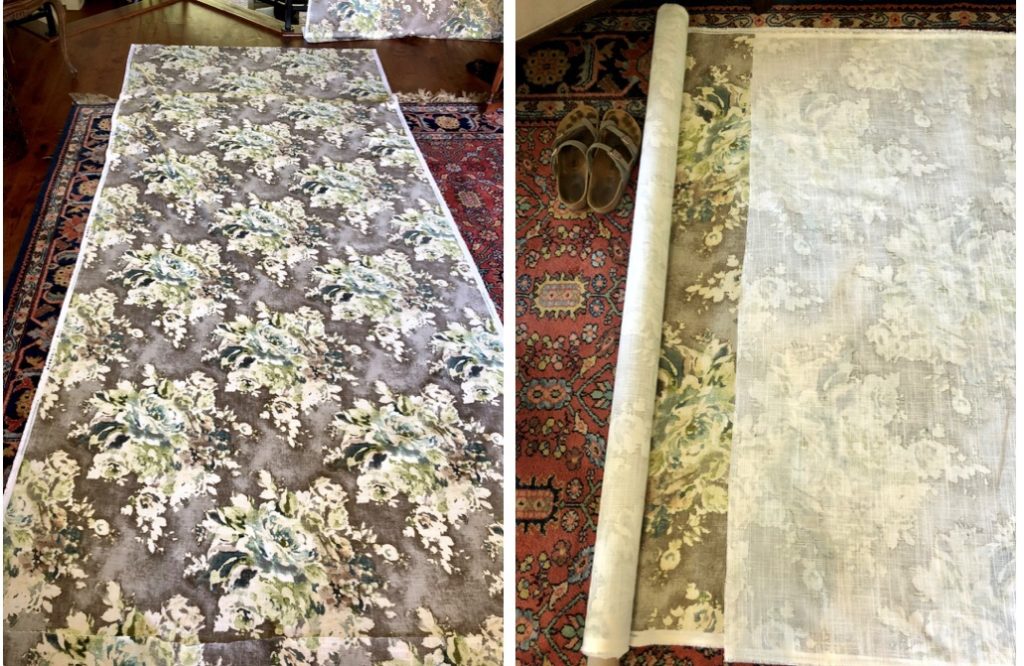
1. Measure your window (height and width) to see how many yards of fabric you will need to order. When you find the fabric you want to make the curtains out of check the width of the fabric and figure out how many panels you will need to cover your window.
After measuring things out I figured that I would only need four panels to fully cover the windows (it probably would look best with six panels, but I decided on four to save a few bucks, and because we usually leave those curtains open, and I can always add more later). Be sure to account for the hems! I did approximately one inch hems on each side, a four inch pocket/hem on top and bottom.
2. Order your fabric and a blackout liner. You don’t need a blackout liner if you’re okay with having more light in the room, but I ordered some so it will help preserve the fabric from bleaching by the sun, and also so it would help keep the heat/cold out during the summer and wintertime.
3. Once you have your fabric, find your biggest working space and get to work! Since we were still working on fully furnishing our formal living room, I used the floor in there to measure everything out. Measure the length of your curtain (don’t forget the hem!) and cut!
4. To keep from having to measure out the length of the curtain over and over, I just measured out one panel, and then placed that panel over the fabric that was still uncut, and repeated that over and over again until I had four panels of the patterned fabric and four panels of the blackout liner.
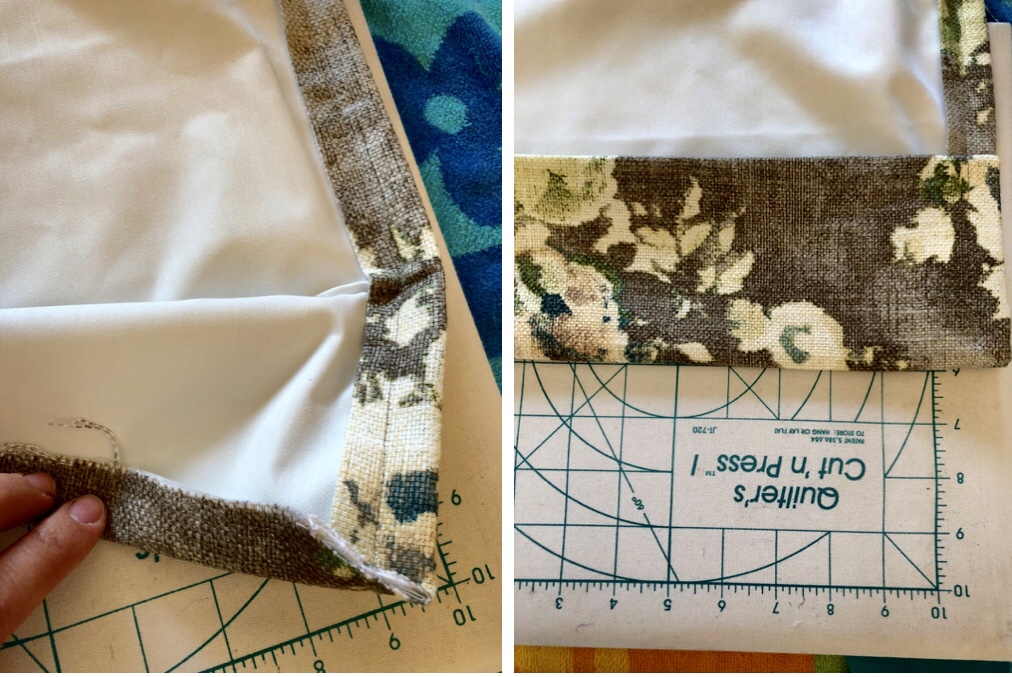
5. Next is the worst part of any sewing project: ironing the hems. It is very tedious, especially with curtains this long, but it is essential if you want all projects done right. To make it easier for me, I used the selvage as the measurement for my side hem (approximately and inch). With the wrong side of the fabric facing up, just fold the fabric on that white line and iron a crease. Then fold it over again, and iron another crease so the white is no longer showing.
6. After Ironing creases in the fabric panels, I cheated a little with the lining. Instead of ironing the hem on the sides of the blackout liner too, I just lined up the liner with the main fabric and folded the hems down and pinned them down until I was ready to sew the panels together.
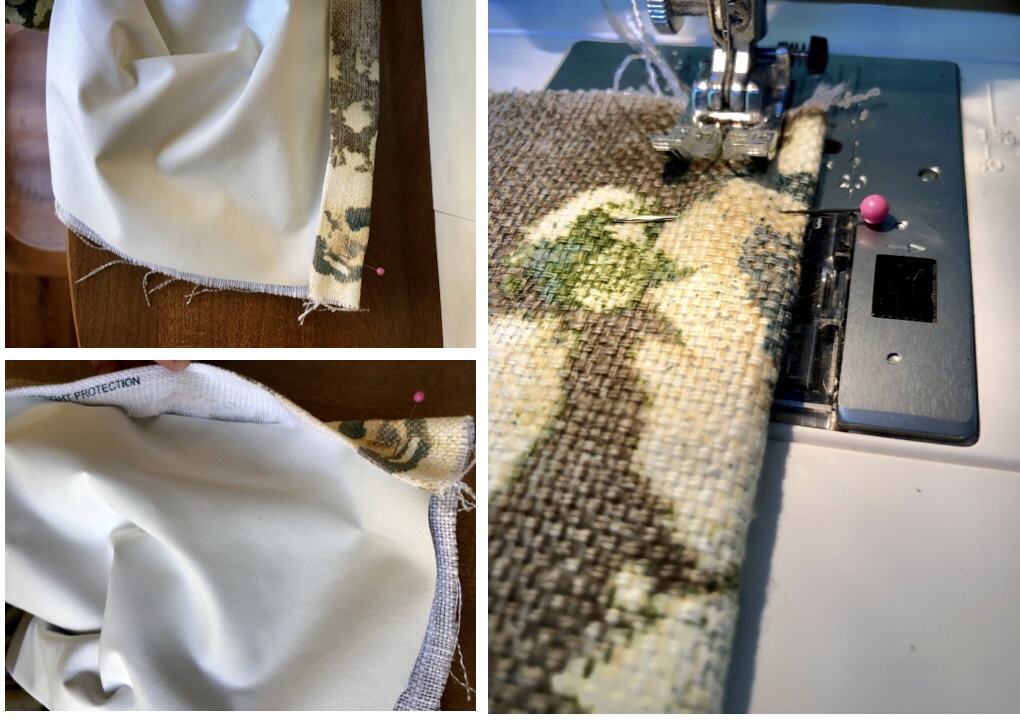
7. Sew your side hems together with a running stitch.
8. Next, it’s time to add the top and bottom hems. I did a four inch hem/pocket on the top and the bottom. To do this and make the hem look neat, I first ironed a one inch fold on the top of the fabric, then folded it over on a four inch fold and pressed the fabric to crease the hem. I cut the corners off the top of the fabric too (pictured below), so no part of the hem would stick out of the sides and also to keep that part of the hem from getting too bulky. Pin it down and sew!
9. Repeat for the bottom hem.
10. Hang your curtain rod and hang your curtains! You can either put the curtain rod through the four inch pocket, or use curtain rings like I did to hang them.
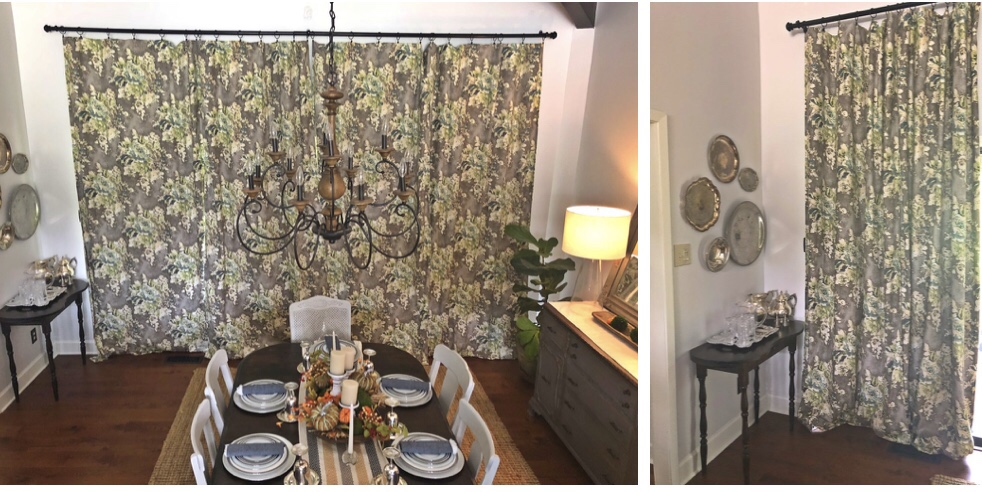
Chandelier (Seen on Fixer Upper!): Joss and Main | Lamps: Joss and Main | China: Kate Spade | Chargers: Joss and Main | Jute Rug: Similar Here | Curtain Rod and Rings: Joss and Main | Fabric on Curtains and Chairs: Fabric.com
Find everything to achieve this look here:
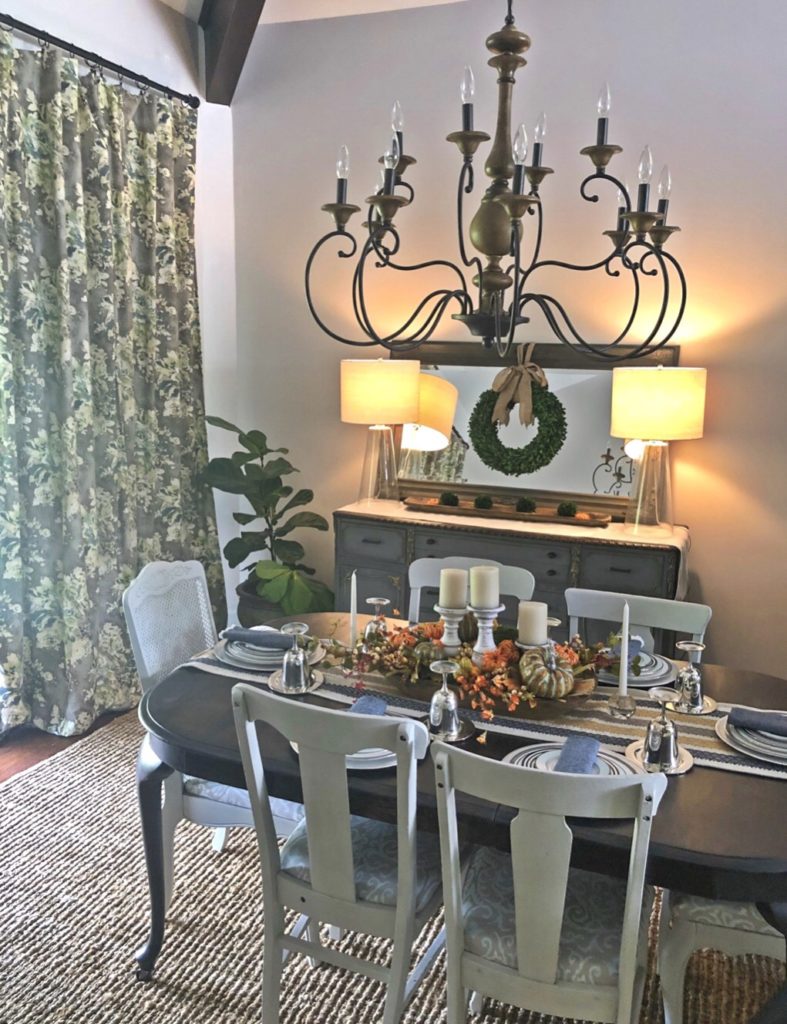
Looking at these pictures of the dining room really makes me want to get new dining chairs (or just re-paint them because I love a good excuse to do some chalk painting!). When I originally did the chairs, I just used some paint that I had left over from a previous project because I wasn’t sure what I was going to do in the dining room. I bought all six chairs for $40!
To share a little extra, here is a picture of the fall table-scape that I put together this year. I finally filled up the dough bowl I received as a Christmas gift over a year ago! Going to do my best to keep a seasonal thing going in it throughout the year.

Find Bread Bowls for your tablescape here:
Leave a comment and let me know what you think about this tutorial, and be sure to subscribe to Ship’s HQ so you can get all my DIY projects and other home inspiration straight to your inbox!


Recent Comments