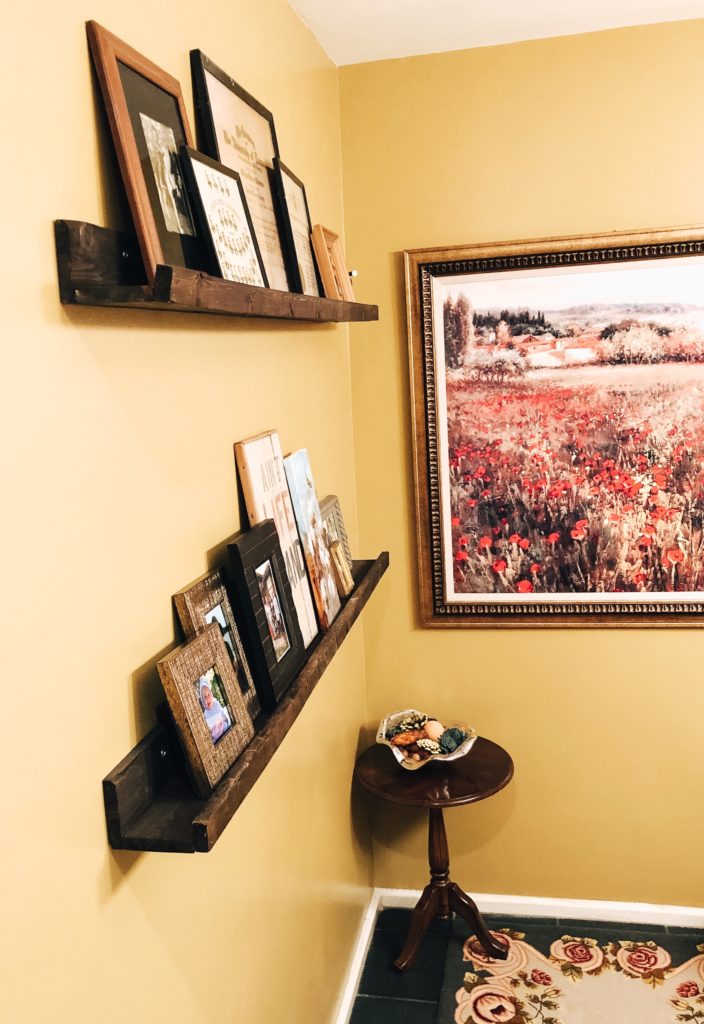
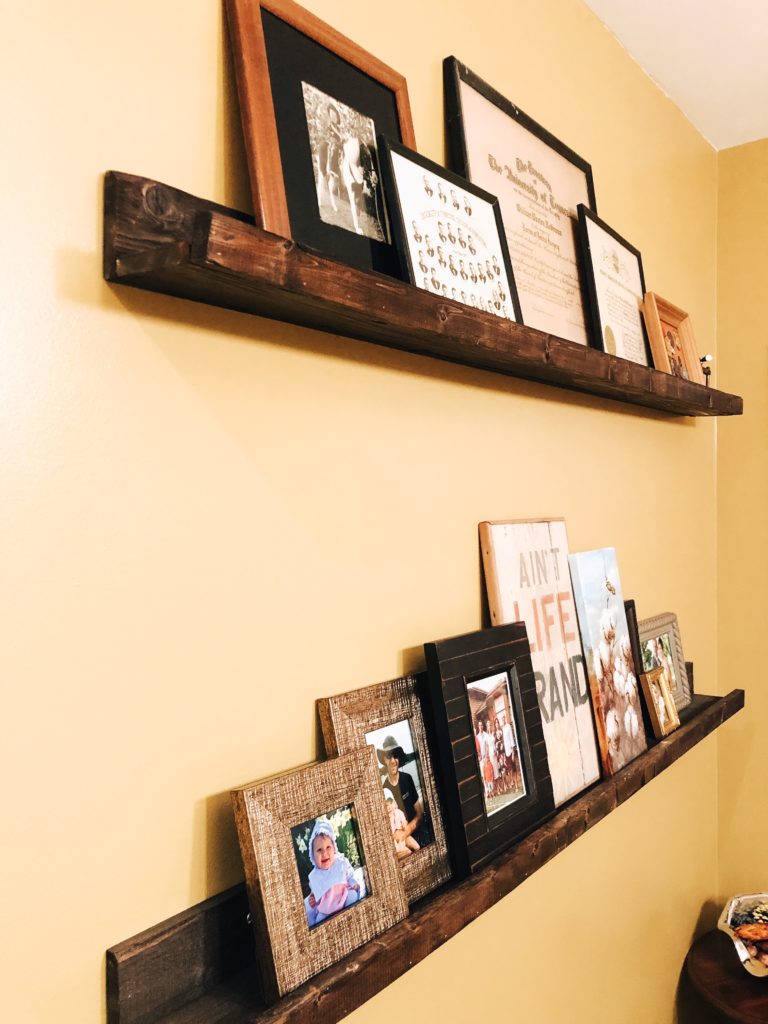
I recently made some Pottery Barn style picture shelves for one of our bathrooms to help spruce things up a bit in there, and add a little more character to the room. This project is so easy, and so affordable too! You can make these shelves for around $20, compared to hundreds of dollars from Pottery Barn. After all, it is nice to save money where you can when you’re a homeowner!
Disclaimer: If you purchase something from a link provided in this post, I may earn a small commission from your purchase. Headquarters by Ship appreciates your support and thanks you!
Now that the weather is nice, it is a great time to get outside and do some D.I.Y. projects! This is a quick project that you can finish in one weekend. The part that took the longest was waiting for the stain to dry!
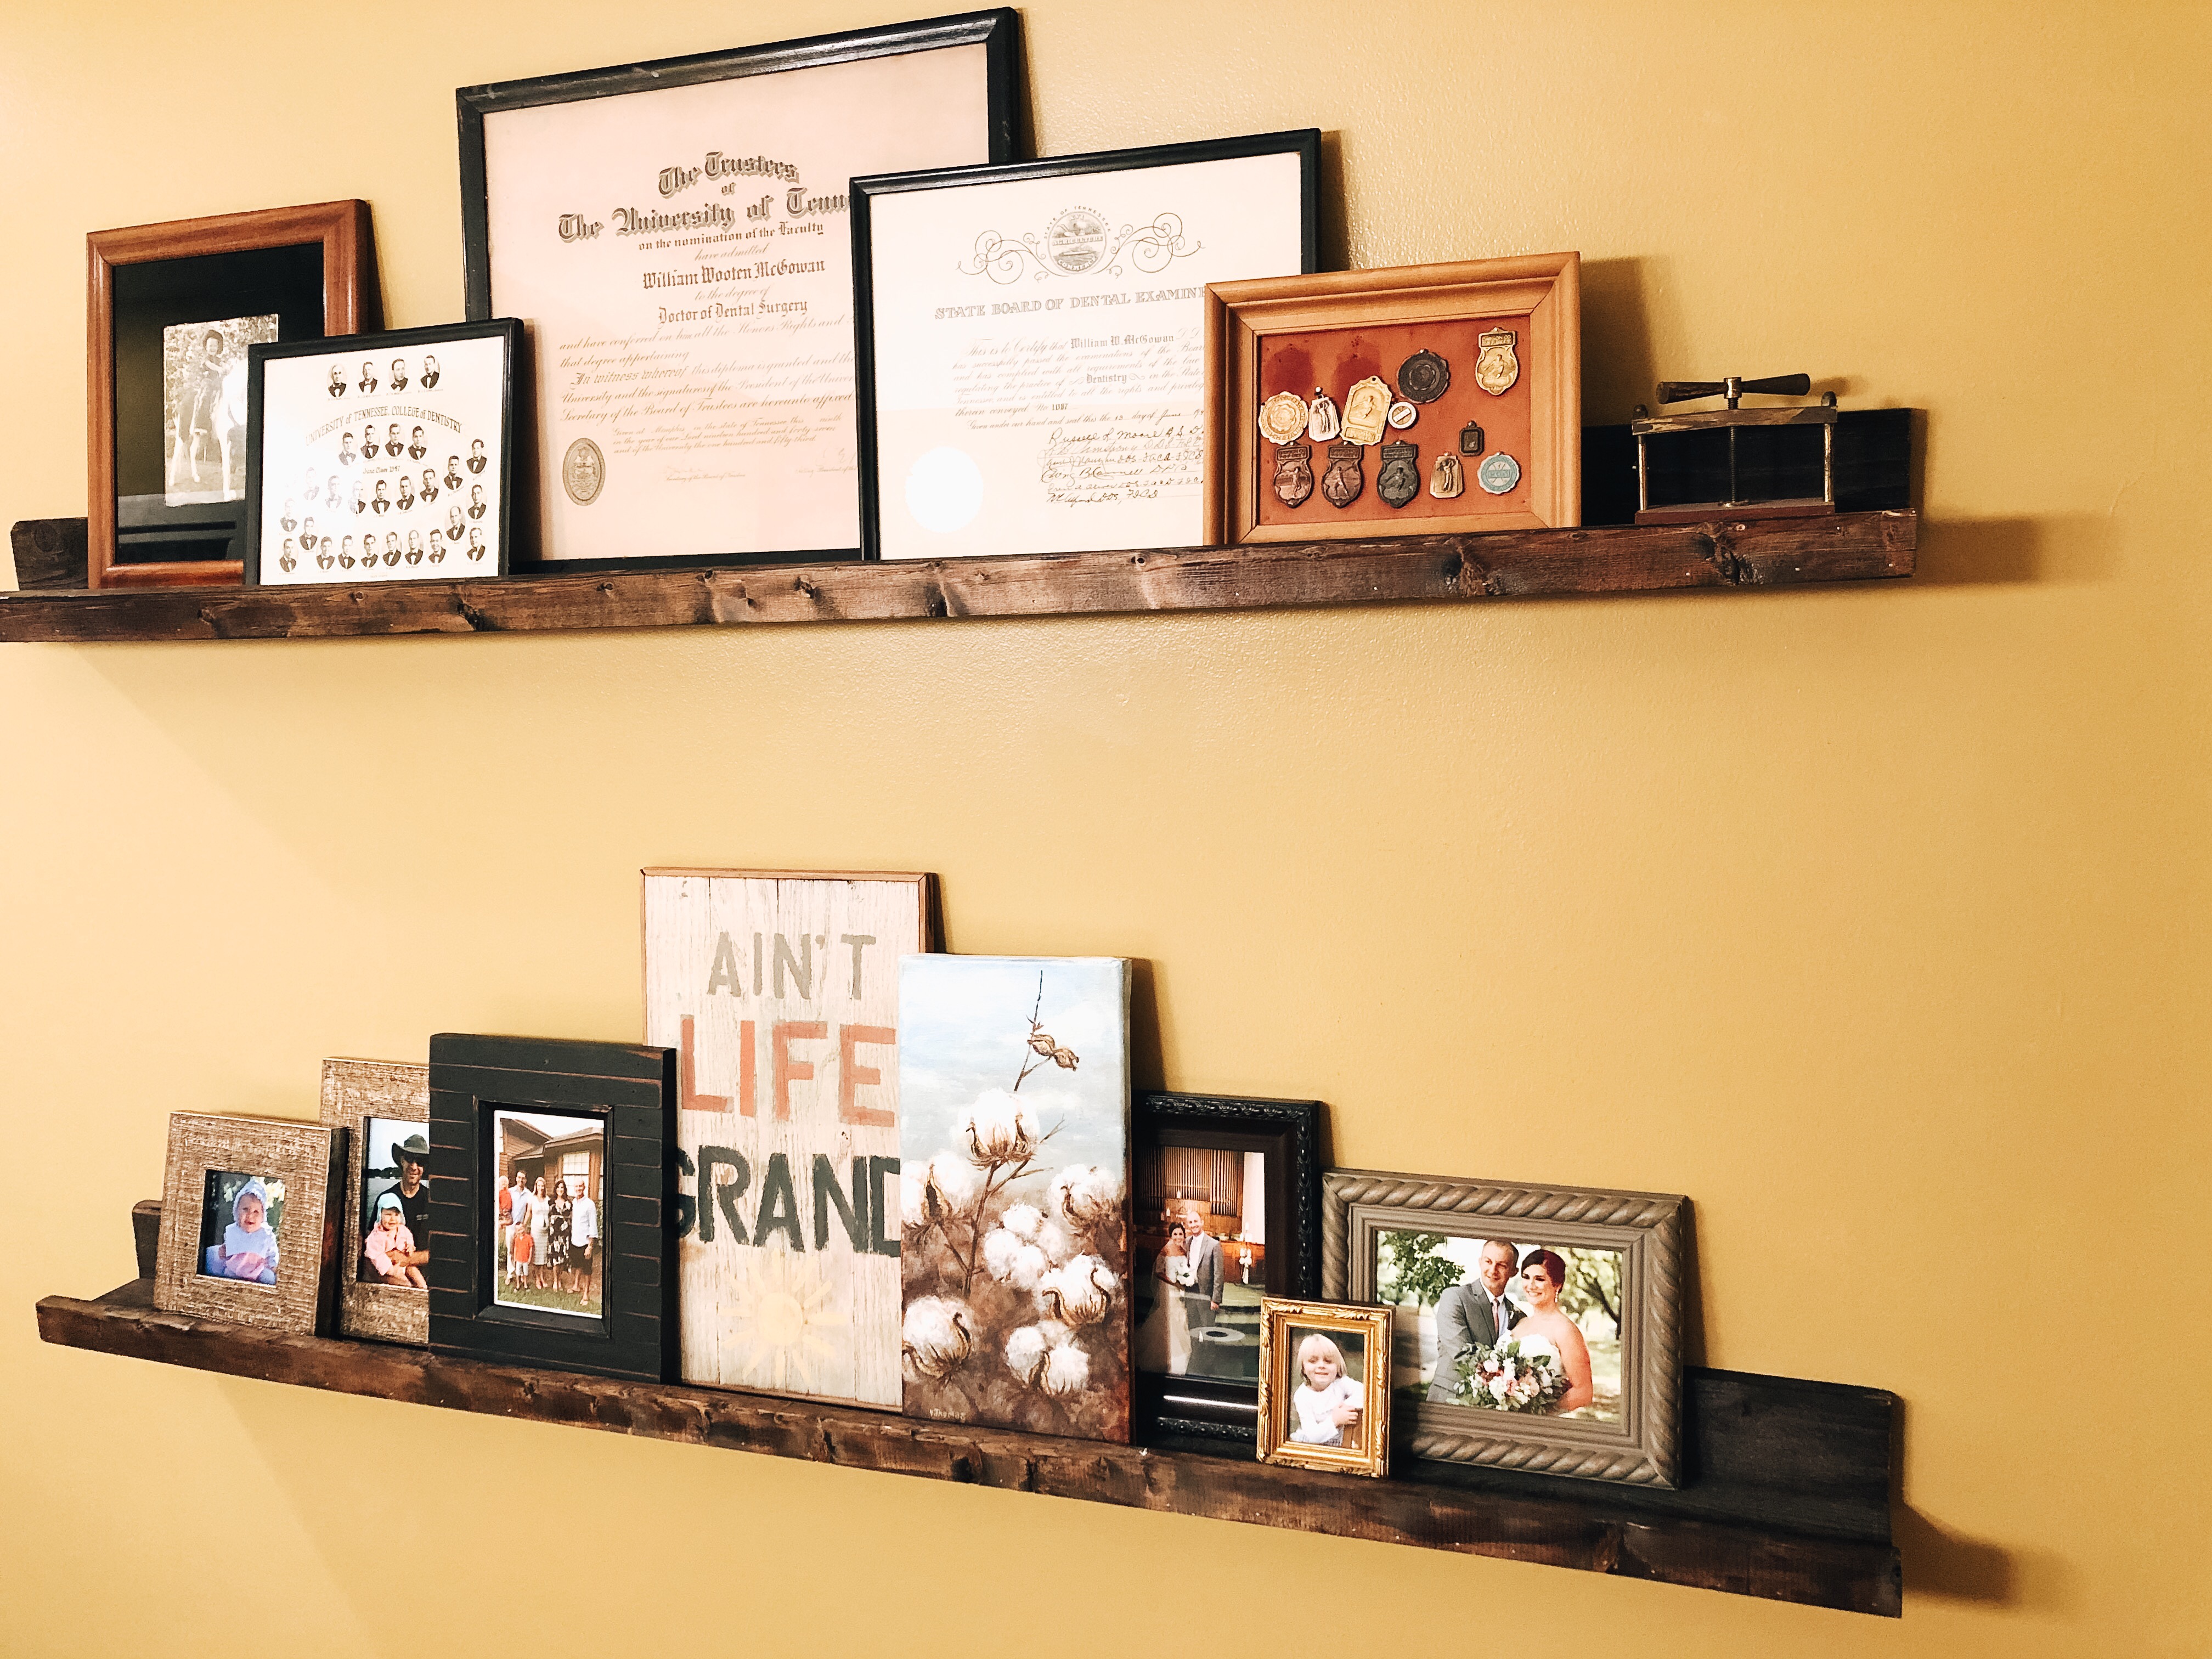
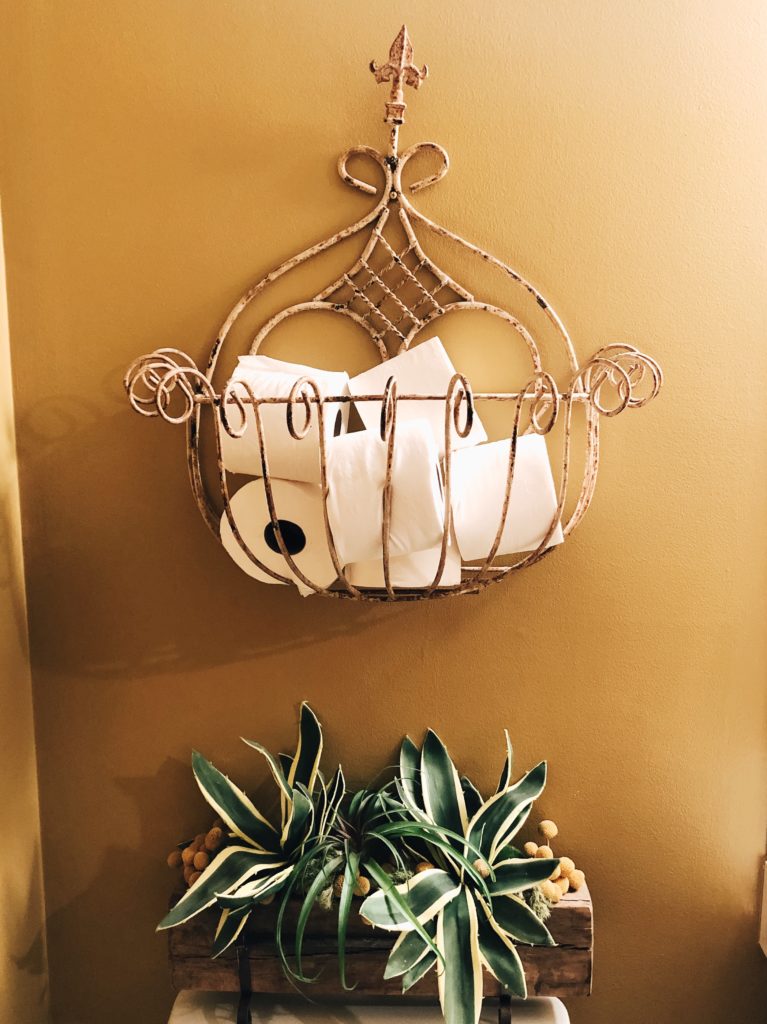
Side Note: The mustard color on the walls looks a lot better when you can see the whole room in person. The floors in the bathroom are a black slate, so to match that, along with some other decor that I have in the room, I decided on this color. I am kind of going for a warm, rustic, lodge vibe in the room.
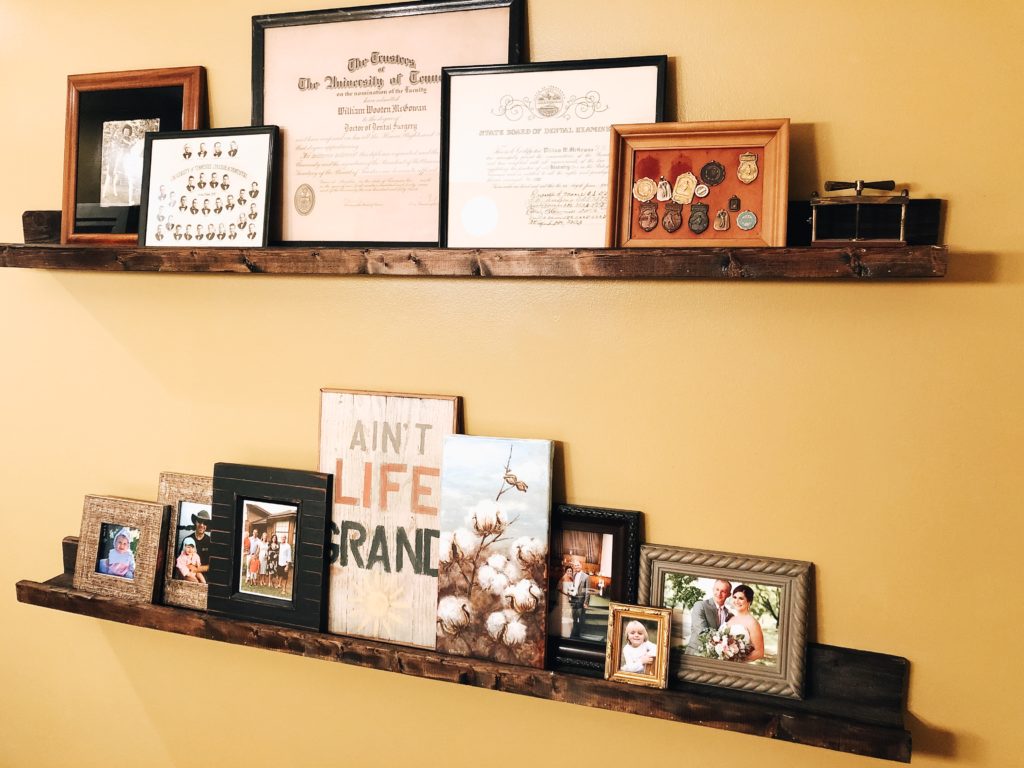
I’m still working on the layout of the frames too. I’ll probably change them up a few times before I’ll get them how I want them. I love having a long space to layer old family photos and mix in some newer family photos too.
Get Your Materials
- Two 1×4’s and one 1×2 for each shelf you build (mine were 5′ each)
- Stain/Paint Color of your choice
- Sand Paper/Sander
- Wood Glue
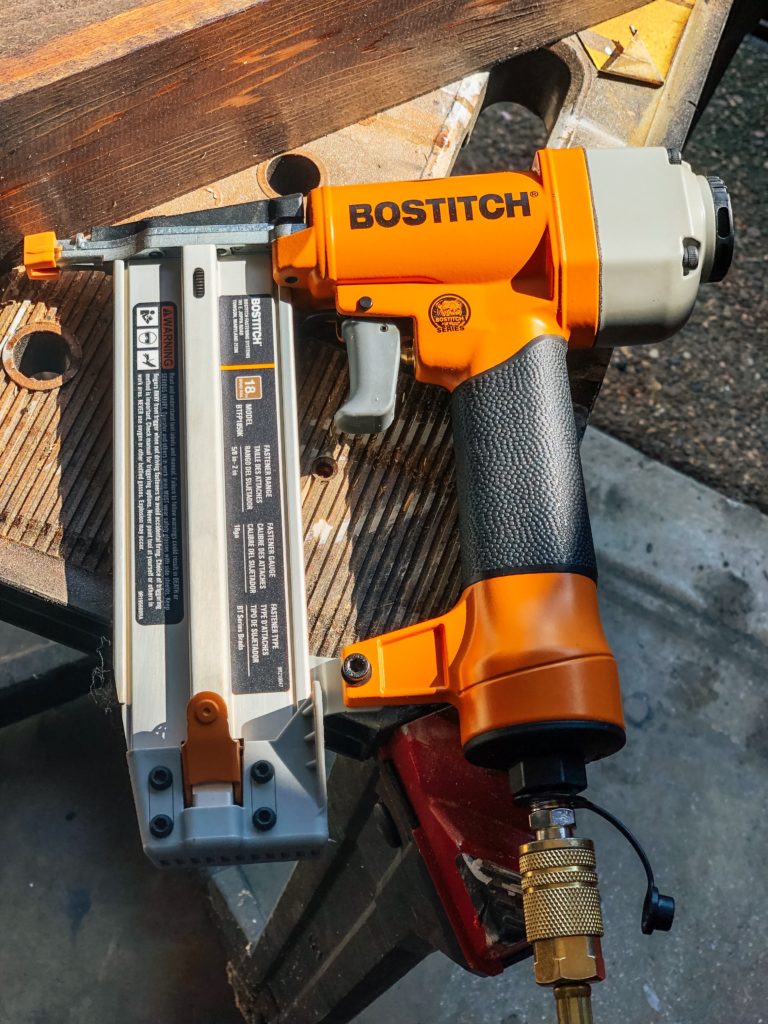
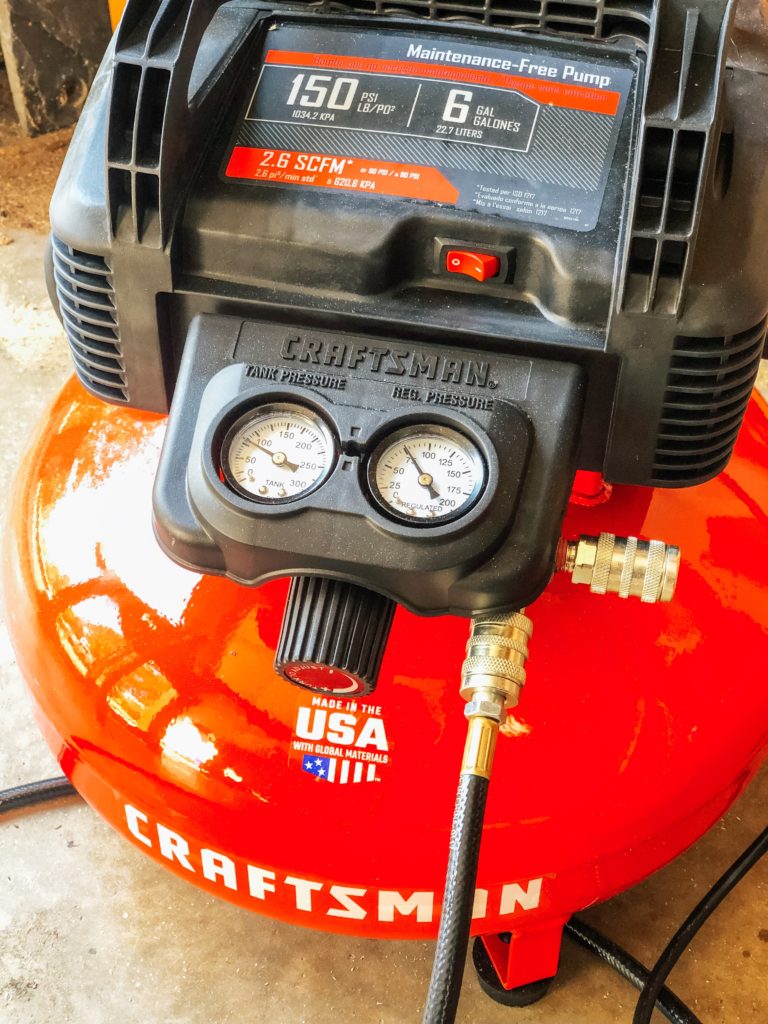
- Nail Gun and Air Compressor for Gun
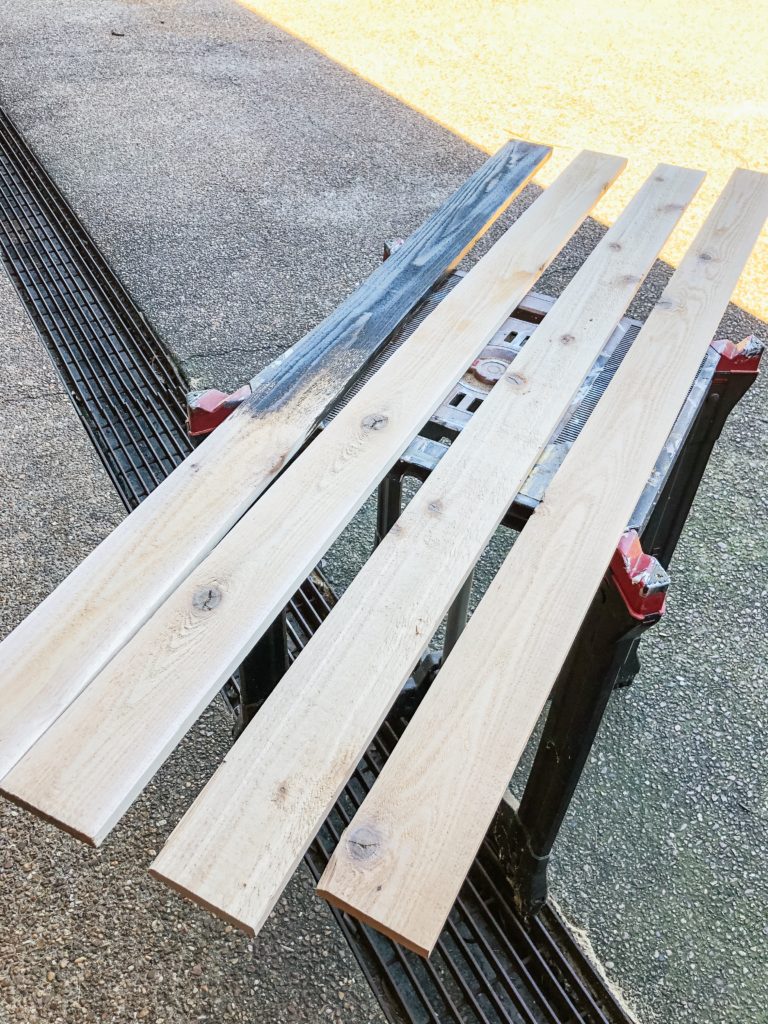
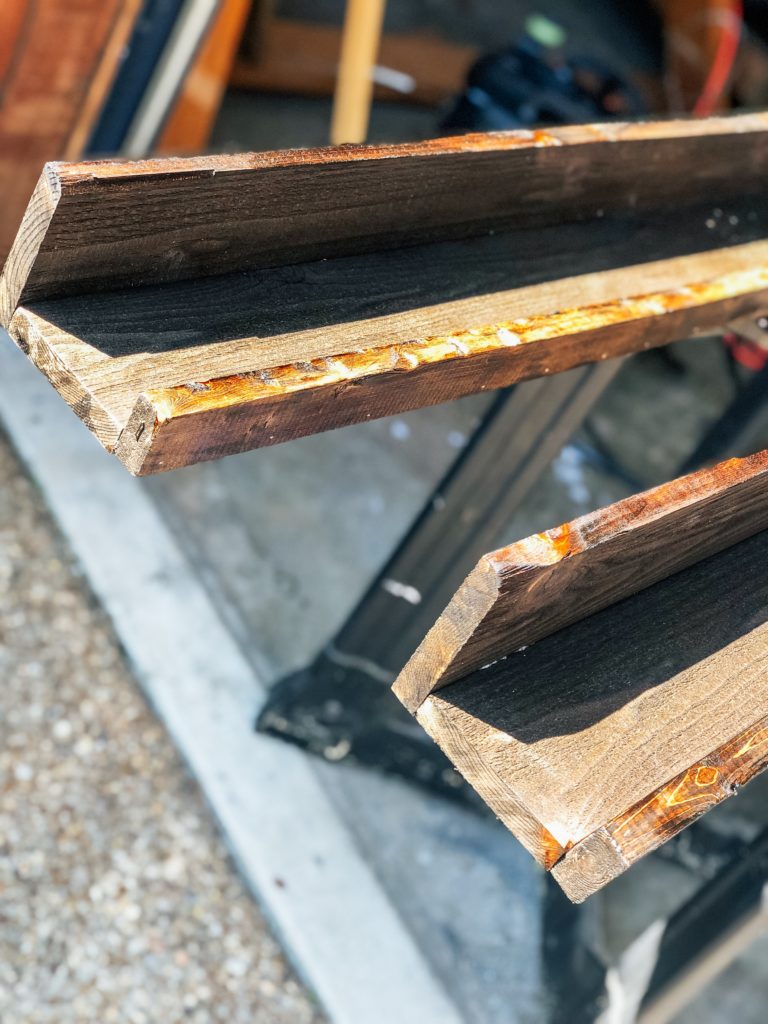
Prep Your Wood
My 1×4’s were cedar wood (that was all that was available on my trip to Home Depot when I went to get my supplies), so they needed a little bit of sanding before I applied the stain. I do like the rustic, natural look, so I didn’t sand them too much.
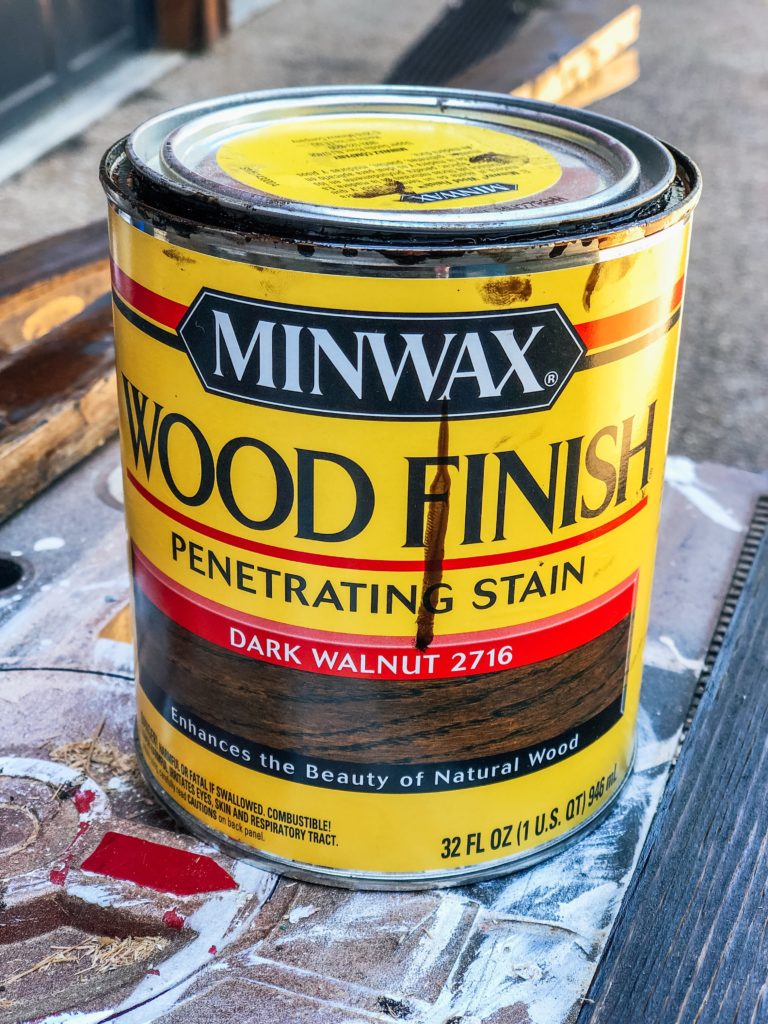
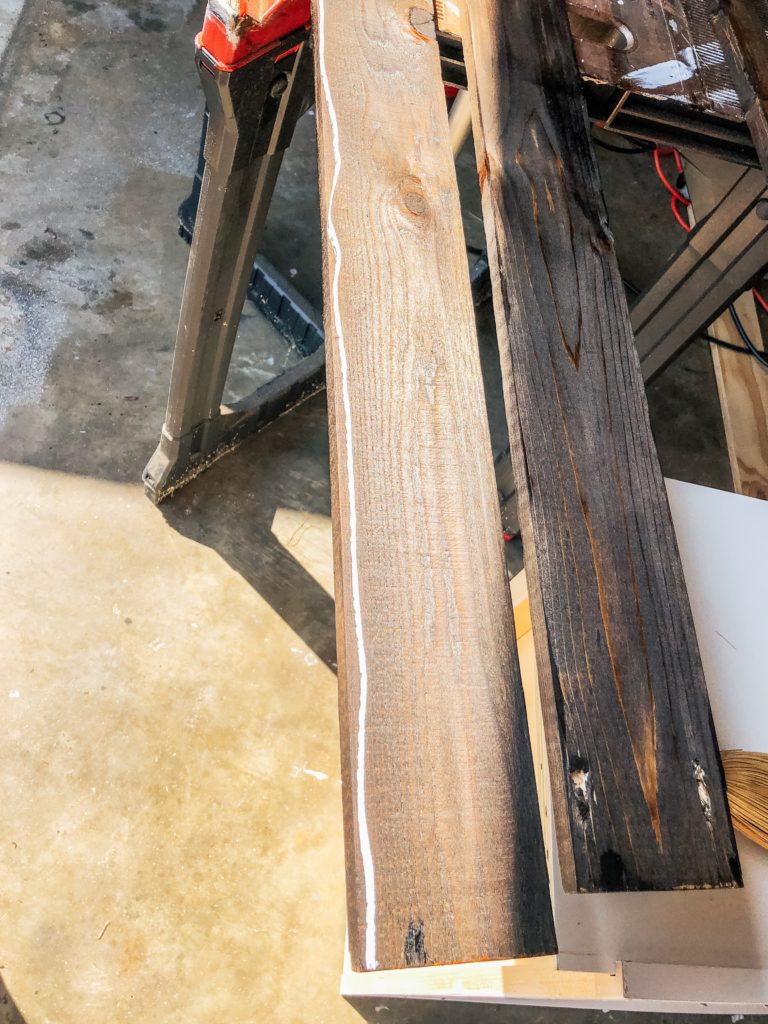
I used a dark walnut stain by Minwax that I had used previously on other furniture projects around the house. I only applied one coat of stain because I wanted to be able to see the wood grain in the shelves to keep that rustic look.
Assemble Your Shelves
Once the stain is dry, it’s time to assemble your shelves! Put a line of wood glue on one edge where you’re going to put the shelves together, then nail it together. I put a bunch of nails in there to make sure everything was nice and secure, and because it was just fun using the nail gun (this was my first project with my new gun:)!

Hang Them Up
Now, hanging up the shelves is the hardest part of this whole project! I got Will to help me hang them up because he is a perfectionist when it comes to making sure things are level and centered. We just drilled holes in each shelf and screwed it into the wall with some anchors and screws. Touch up the screws with some paint/stain, then assemble your pictures and ta-da! You’ve done it.


Stay tuned for a before and after of this bathroom. The walls started out a white color, but I decided that it just looked too sterile and boring, especially with the black floor. I’d still like to add some crown moulding to the walls, and also frame out the mirror, but these shelves were a good starting point to pulling this space together!
Here are some shelves if you don’t have time to DIY:


Recent Comments