Will and I planned a trip this year to hike the Canadian Rockies in Banff National Park in Banff, Alberta, Canada. Even if you’re not going to do the hardest trails, you still need to be prepared with some hiking basics. I’m sharing a run down on all the essentials we packed for our day hikes, and providing a few extra tips in case you’re going on a hiking trip anytime soon! If you’re hiking trip involves camping, you will want to pack more than is included in this guide.
Disclaimer: This post contains some affiliate links, which means I may earn a small commission if you purchase something from a link provided in this post.
Here are the basics of what you need to pack for your next hiking trip.
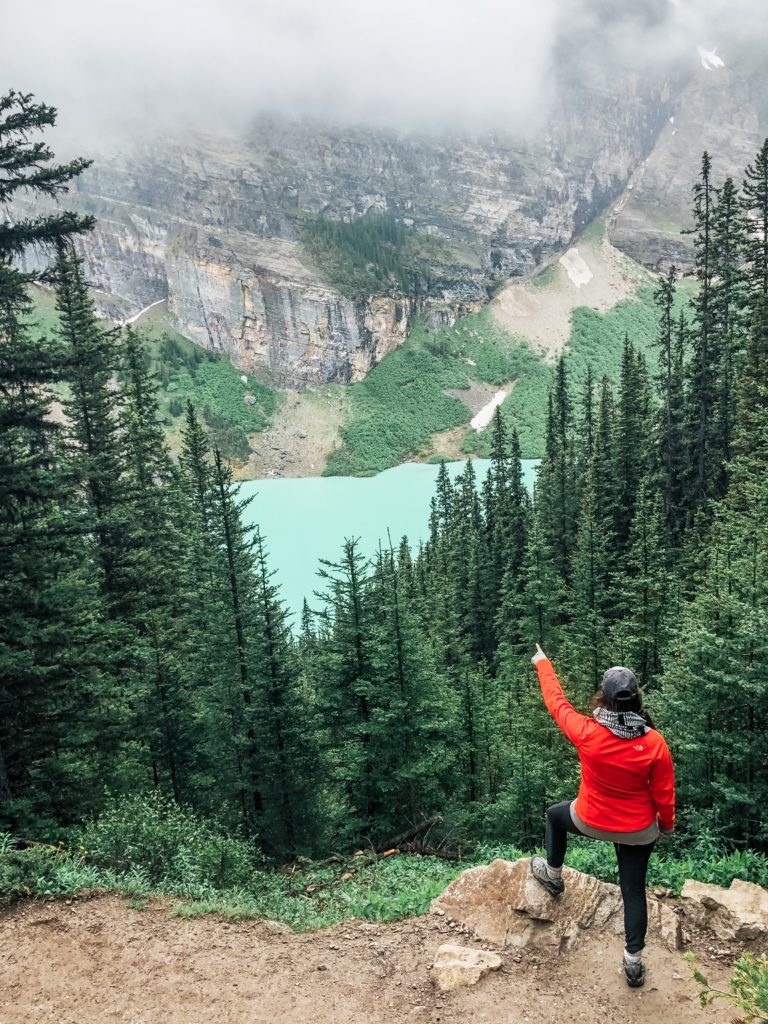
Jacket: North Face | Scarf: Lululemon Vinyasa Scarf (Under $30 and can be worn multiple ways) | Pants: Athleta Stellar Tight | Socks: Smart Wool | Shoes: Oboz Sawtooth II BDry
What to wear
It’s always a good idea to have the proper attire for what you are doing. Hiking is no different. You never know what kind of elements you might encounter, so you need to be prepared.
TAKE CARE OF YOUR FEET
When it comes to hiking, I think that it’s most important to start at the base, and make sure you have proper shoes, because your feet are carrying you everywhere! If you don’t have comfortable shoes with good tread, you won’t have a good hike.
I bought some waterproof Oboz for our trip and I love them! Hiking shoes aren’t the prettiest, but boy are they comfortable! After taking a trip to REI, and trying on almost every shoe they had, I went with THESE over the prettier looking hiking shoes that I originally had my eye on. They had the best arch support, and had a nice snug fit, which is good to help prevent blistering.
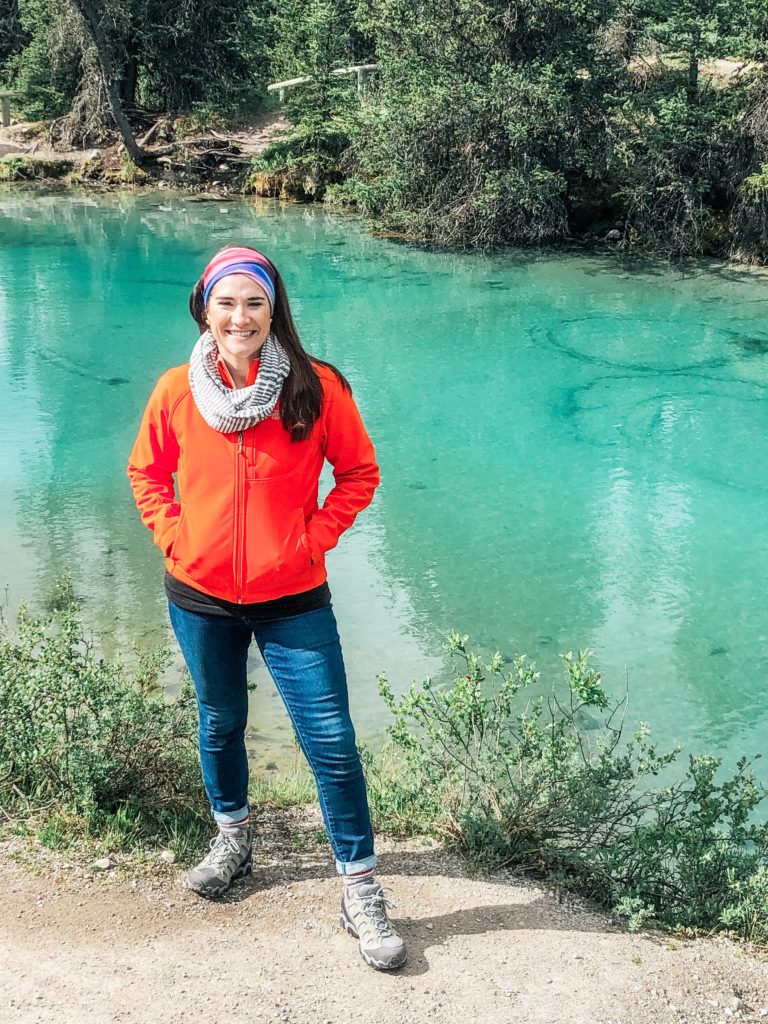
Multifunctional Headband: Buff | Scarf: Lululemon Vinyasa Scarf (On Sale! Multiple ways to wear ) | Jacket: North Face | Jeans: Athleta Sculptek | Shoes: Oboz
I recommend going to a store to try on a bunch of shoes if you’re not sure what you want because, although I thought Oboz were the best for me, your feet might require something different. And regardless of what kind of shoe you get, you probably should size up to accommodate your thick, wool socks that you will wear with your shoes.
LAYER UP
When hiking it is also essential to pack layers. It gets colder the higher in elevation you are, and in the mountains you never know when you might get rain (or snow sometimes) so pack accordingly.
As a rule of thumb, keep in mind that your hike will probably be, at least, ten degrees cooler than what your weather report says for the area where you are hiking.
It is always smart to pack sun glasses, a water proof/resistant jacket and some UPF protection in either a UPF pullover (HERE UNDER $20), hat, or a Buff multifunctional headband, that can be worn on your neck, over your face, on your head, etc. In case of rain, I also found that a ball cap worked best under my rain jacket to help keep rain out of my eyes while hiking.
If you’re hiking in a warm climate, here’s some adorable gear:
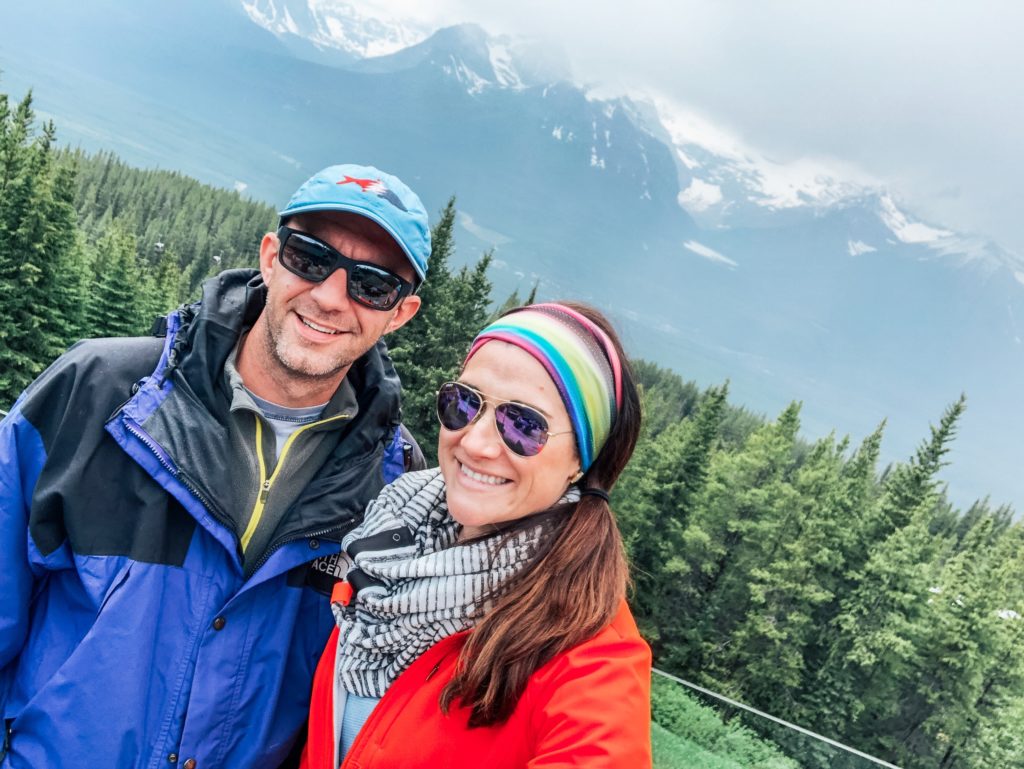
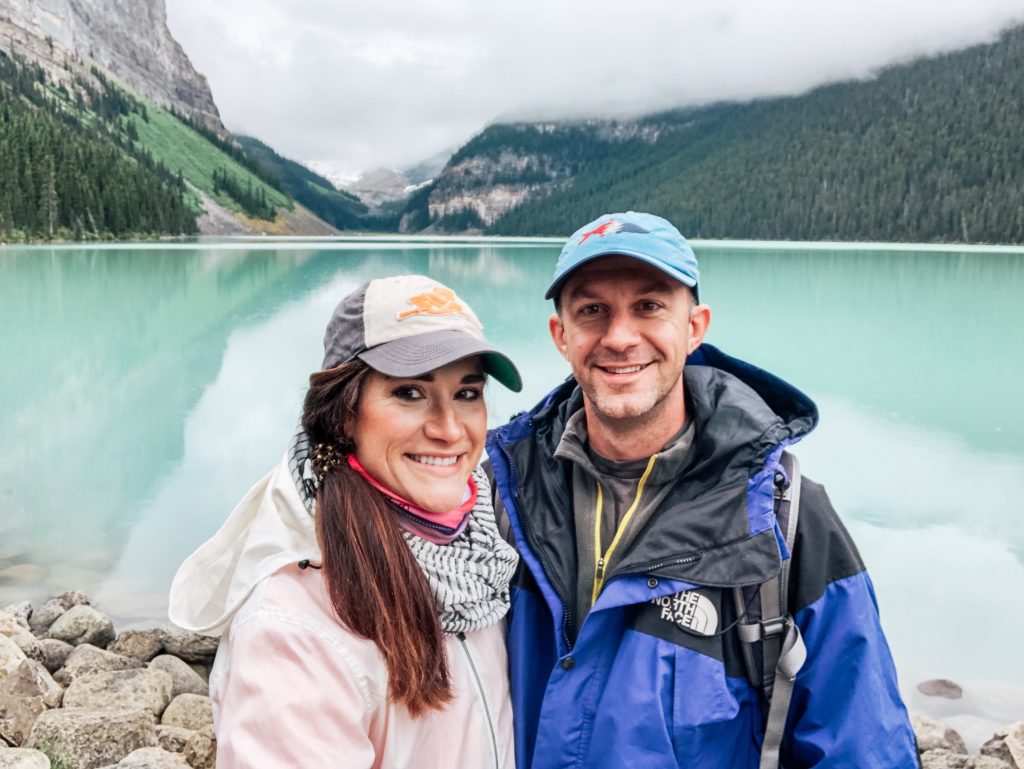
ON HER: Scarf: Lululemon Vinyasa Scarf (SALE Under $30!) | Base Layer: North Face (Similar Under $20, Multiple Colors) | Orange Jacket: North Face | Rain Jacket: North Face | Head Band/Neck Band: Buff | Sun Glasses: Diff | ON HIM: Hat: Pesca Muerta | Gortex Jacket: North Face (Similar Here) | Fleece: North Face
BASE LAYERS ARE VERY IMPORTANT
Your base layers are also very important when planning for a hike. If you’re hiking somewhere where it might be cold, make sure you have either a polyester or merino wool base layer. They wick away sweat and keep you warm. FIND LIGHTWEIGHT 100% MERINO WOOL FOR UNDER $60 HERE.
Cotton, on the other hand, will make you cold if you start sweating under a jacket (and could lead to hypothermia if you’re in cold temps), and I know this from experience. I did not get hypothermia, but on one of our days hiking, I wore a dry fit, Nike shirt that I thought would be fine as a base layer. It was only 15% cotton, so that’s no biggie, right?! WRONG! My North Face Jacket was so good at keeping the warmth in, I worked up a sweat during our hike, and ended up getting really cold! It was not fun, but I sucked it up and kept going because I wanted to see those beautiful views on our hike.
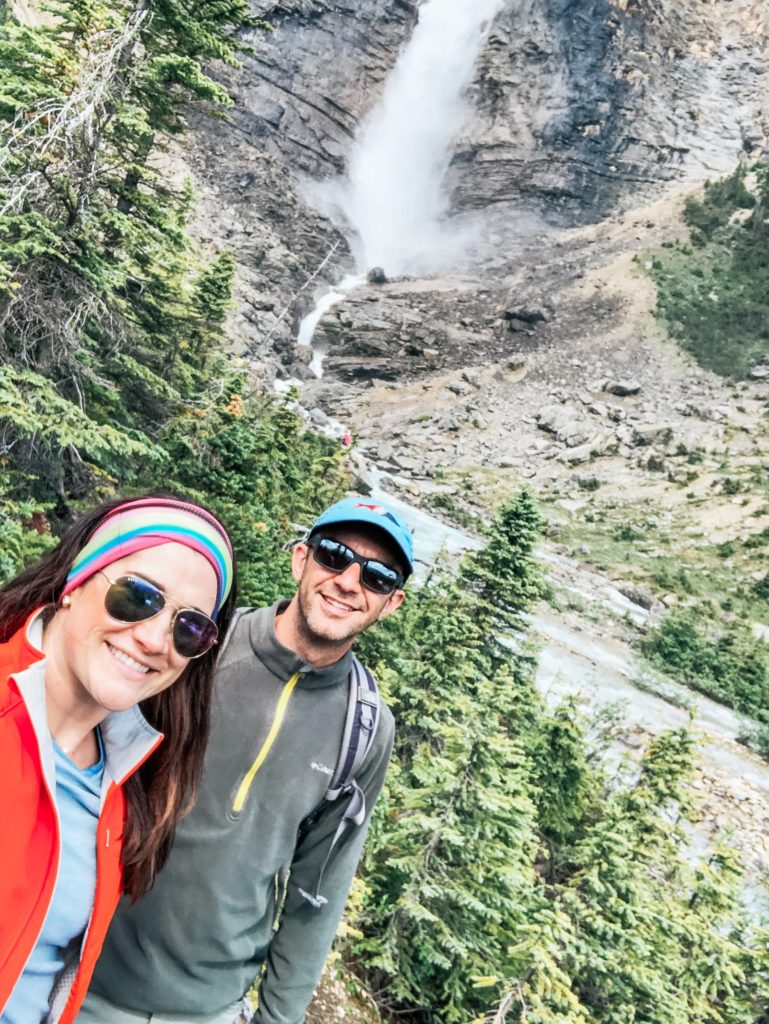
ON HER: Base Layer: North Face (Similar Under $20, Multiple Colors) | Jacket: North Face | Headband: Buff | Glasses: Diff | ON HIM: Backpack: North Face | Fleece: North Face | Pants: Wrangler (Under $25!) | Hat: Pesca Muerta
LOOK FOR VERSATILITY
When traveling, I also like to pack as light as possible, so I like some versatile pieces that I can wear out hiking, but will also work going out to eat later on as well.
For our trip I packed all of the pants that I have from Athleta. I love my Athleta Sculptek jeans because they’re jeans, which you can wear anywhere, but they’re also really stretchy (like yoga pants) so you can wear them hiking, or doing anything else athletic.
I also love Athleta’s jogger pants, and their stellar tights because they transition well from workouts to a day out on the town. I have no affiliation with Athleta, but I decided to try some of their products a couple years ago, and was really impressed with the quality of their leggings and pants. They have great stretch, thickness, don’t pill, and my pants that are 2+ years old still look brand new! If you haven’t tried Athleta yet, you definitely should.
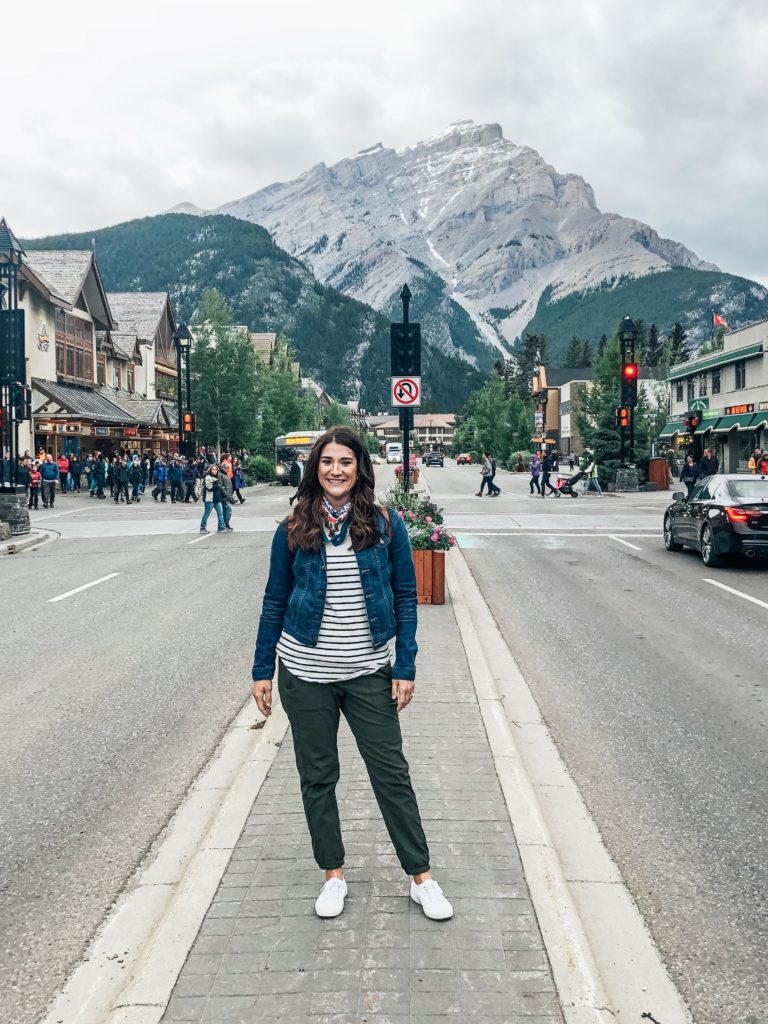
Jacket: Calvin Klein (Similar Here on Amazon) | Top: Seraphine | Jogger Pants: Athleta (Similar) | Shoes: Superga Coutu Classics | Bandana Scarf: Walmart
FOOD AND WATER
Hiking burns a ton of calories, so depending on how far you plan on going and the challenge level of your trails, pack some snacks! I always bring water with me wherever I go, but for our hiking trip we packed a couple nalgene bottles full of water before we left for the day.
A lot of hiking areas are remote, so it’s best to fill up before you leave your hotel in the morning because you might not have anywhere to buy a bottle or fill up your nalgene when you get to wherever you’re going.
We also started out for our hikes early, before any restaurants opened (except of course for McDonalds/Tim Hortons), so unless you want to start the day with fast food, granola/protein bars are a good way to start the day.
EXTRA
It’s kind of a given but you should bring a backpack so you can carry your food, water, sunscreen, bug spray, and layers around easily.
You also might want to bring a camera so you can take pictures of all the beautiful sights you’ll see on your hike. If you’re just relying on your phone for pictures, I know they’re a little silly, but selfie sticks are definitely worth packing so you can get your perfect shot! There aren’t always other people around to help you take a picture, and sometimes an arm’s reach is just not good enough, so buy a selfie stick and you can thank me later. 🙂 HERE IS A GOOD ONE FROM AMAZON.
If you’re planning on doing any steep hikes, you also might want to consider packing some walking sticks. We did not bring any to Banff, and there were a couple steep hikes that we went on with a lot of switchbacks, and on those trails I was really wishing that I packed some walking sticks. Many are retractable so you can pack them easily in your bag.
Depending on wildlife reports wherever you’re hiking, it might be a good idea too, to back some bear spray! Our hotel in Banff had bear spray for us to borrow for our hikes in case we encountered a grizzly or black bear (a lot gets left behind since you can’t take it on a plane). Check with your lodging to see if they provide anything like that too!
Thought of a hiking essential for day trips that I didn’t cover on this post? Comment and let me know!
Enjoyed this post? See WHERE WE HIKED, as well as WHAT WE ATE while in Banff. And be sure to subscribe to my email list, if you aren’t already, to receive more travel, cooking, and DIY inspiration!


Recent Comments