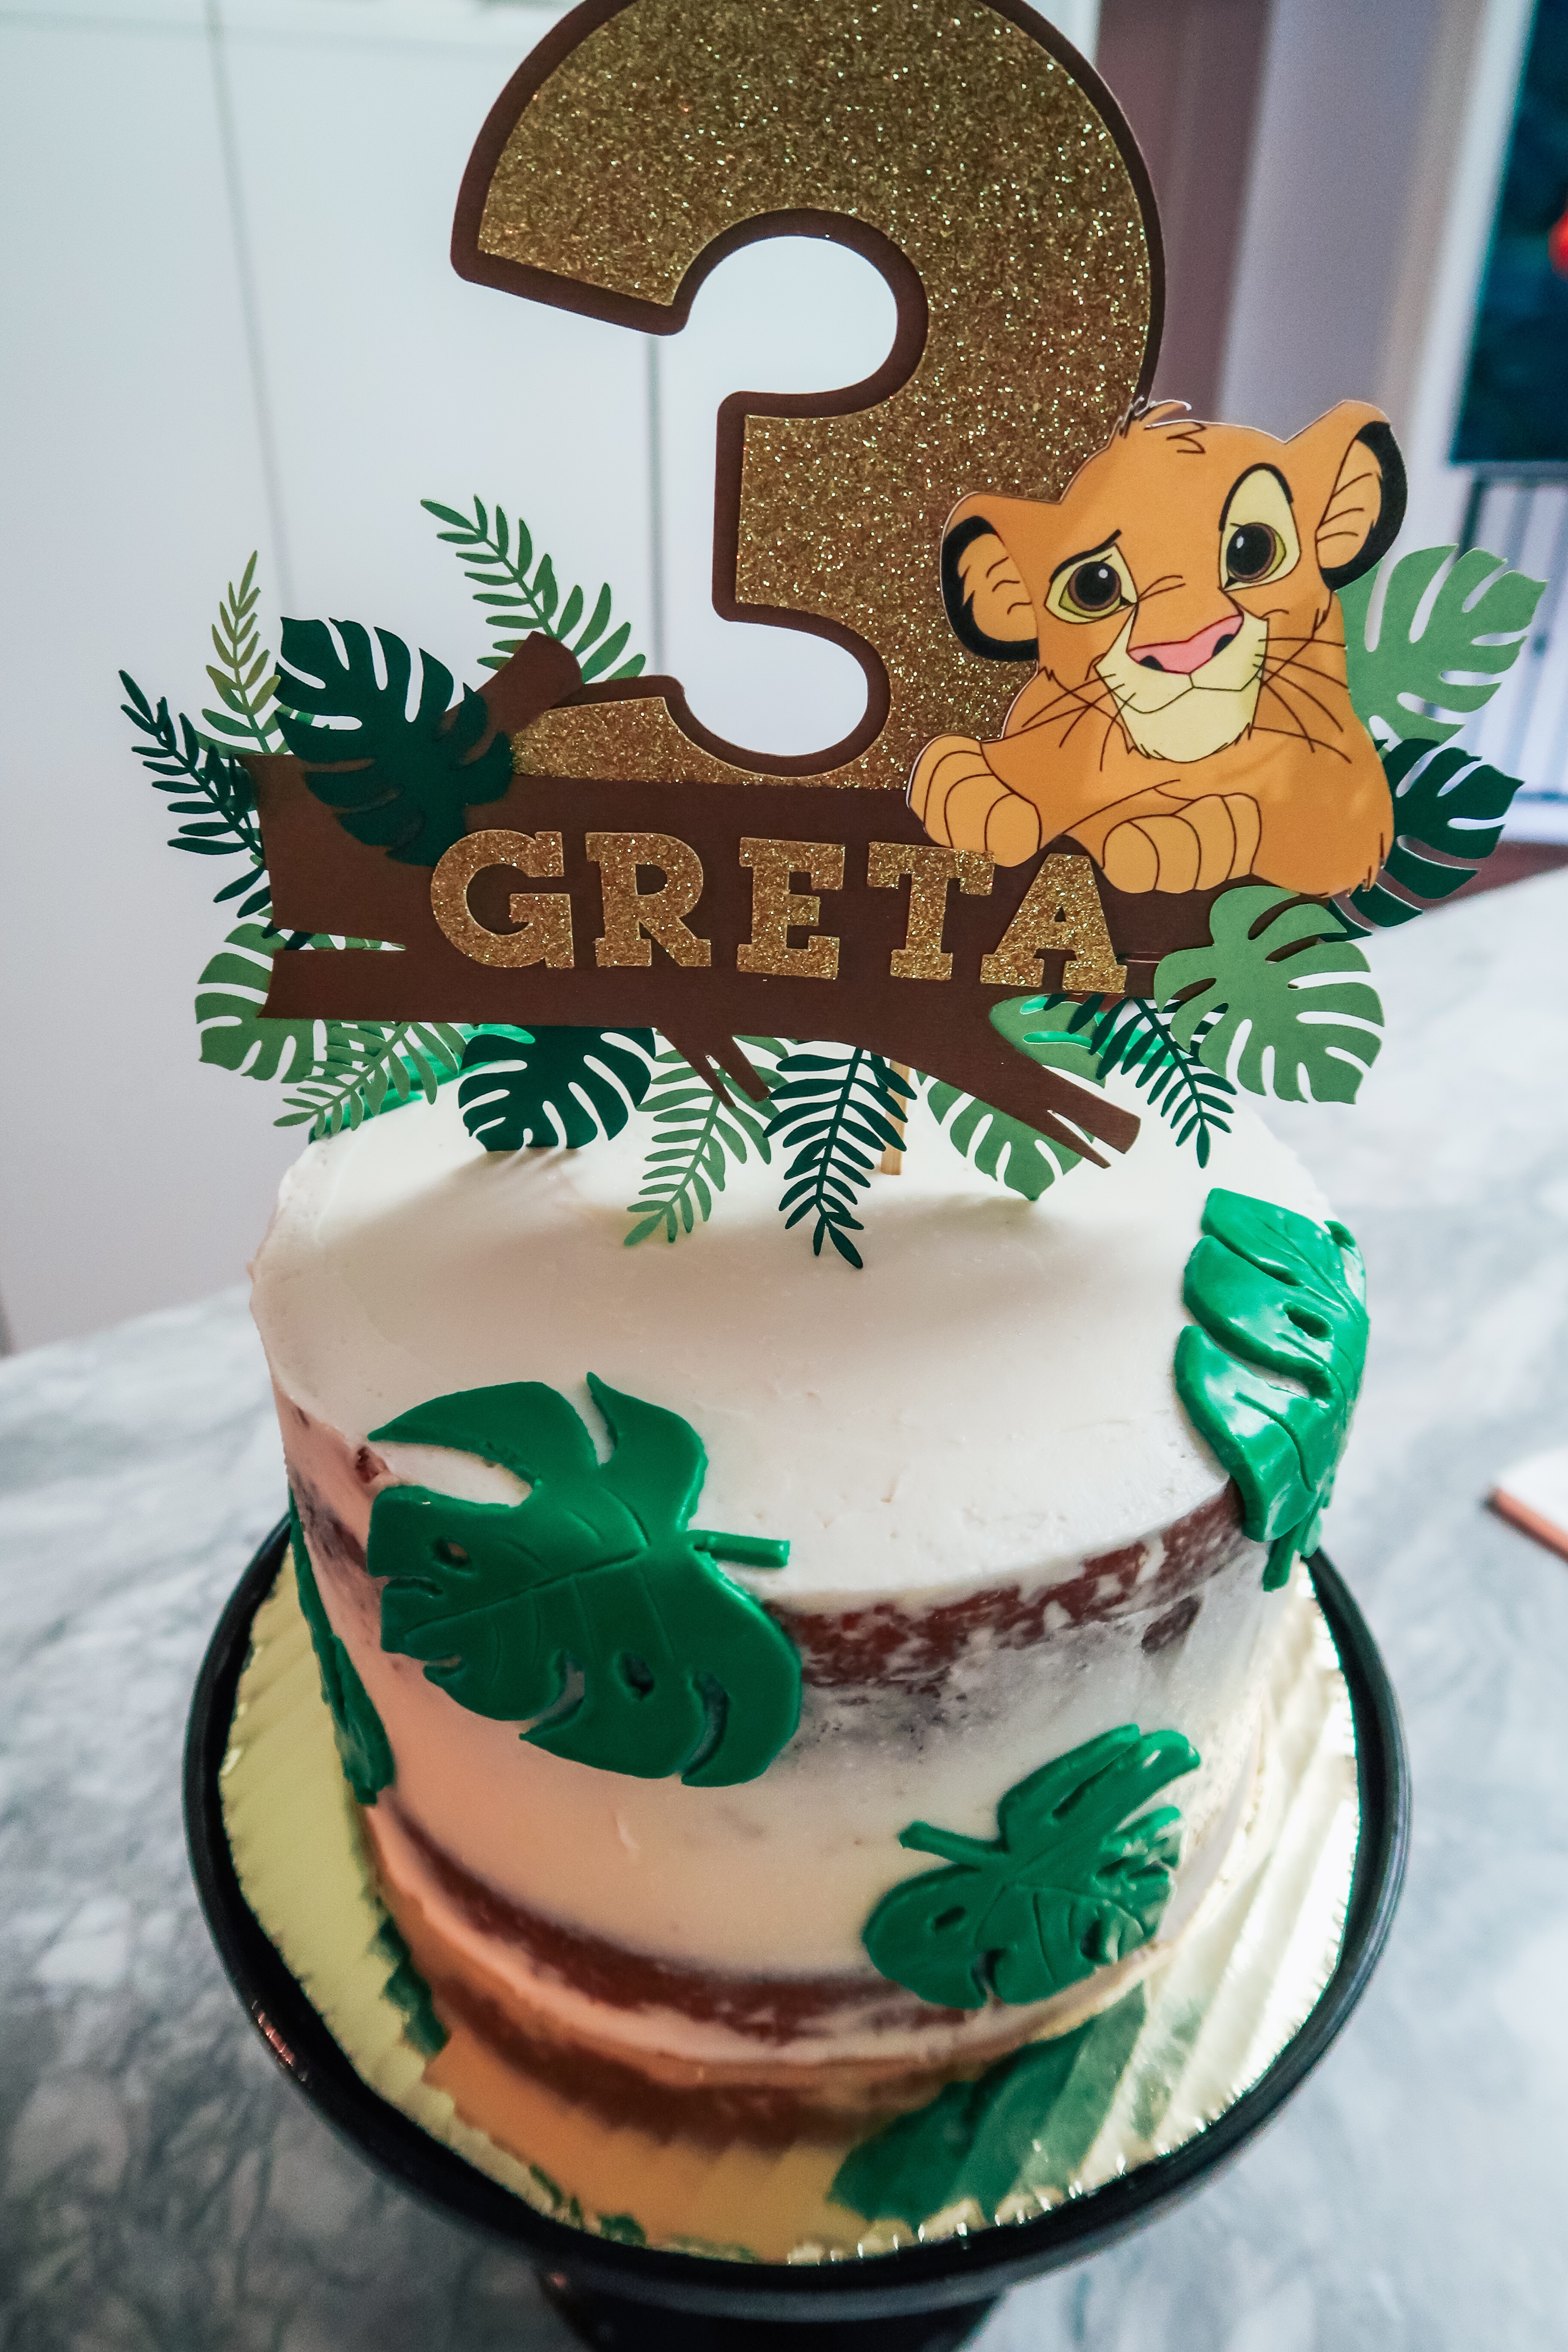
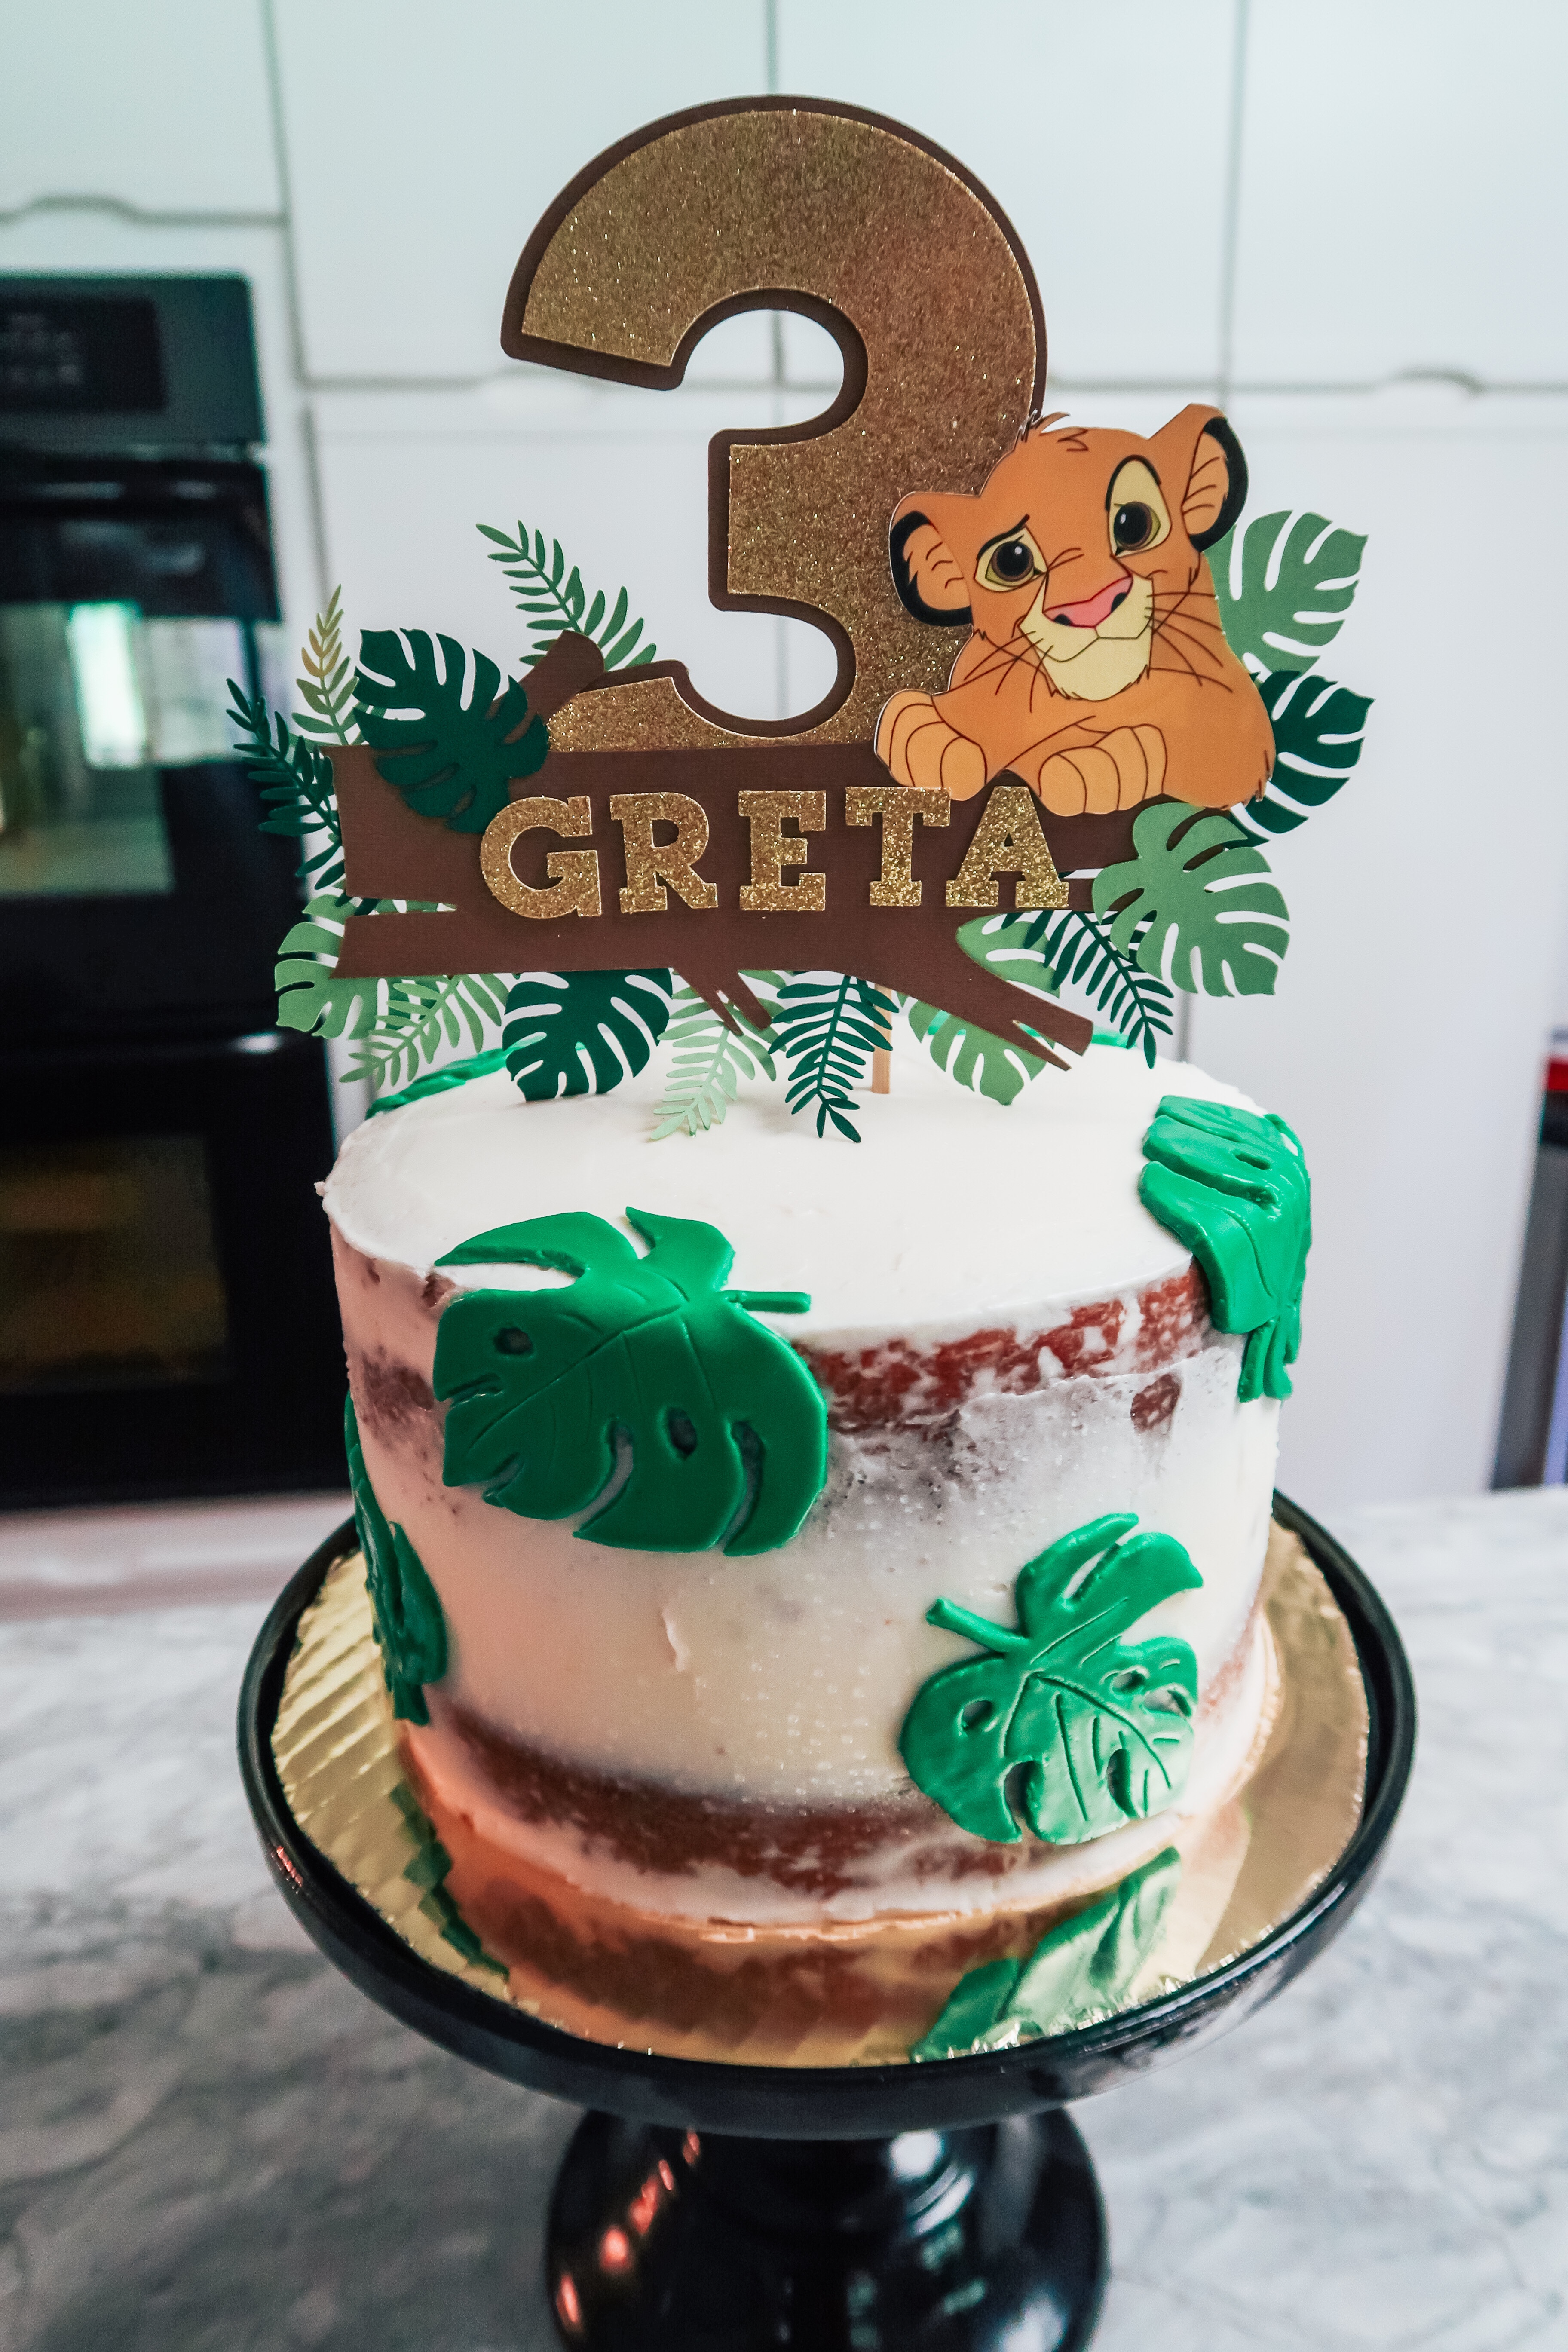
September is Greta’s birthday month, and since her FIRST BIRTHDAY party, I have made her birthday cake. This year Greta wanted a, “Hakuna Matata,” party, so after brainstorming about what kind of cake would fit a Lion King birthday party theme, this is what I came up with! In this post I’m reviewing how I decorated this cake and am also sharing the recipes I used in case you’d like to try to create something similar for your next party. Be sure to leave me a comment and let me know what you think!
Disclaimer: If you purchase something from a link provided in this post, I may earn a small commission from your purchase at no additional cost to you. Ship’s HQ appreciates your support and thanks you!
Although I always grew up with ice cream cakes as a birthday tradition, I like starting new traditions. I always wanted to be a mom that makes cakes for her kids, so once I had Greta it became a goal for me to make birthday cakes for my kiddos. I may be a little biased, but cakes made with mama’s TLC just seem a little better. In addition, making your own cake is also a lot cheaper compared to purchasing one from a bakery and they are also fun to make! So far I’ve been able to keep up with tradition, but we will see how things go as time progresses and our family grows.
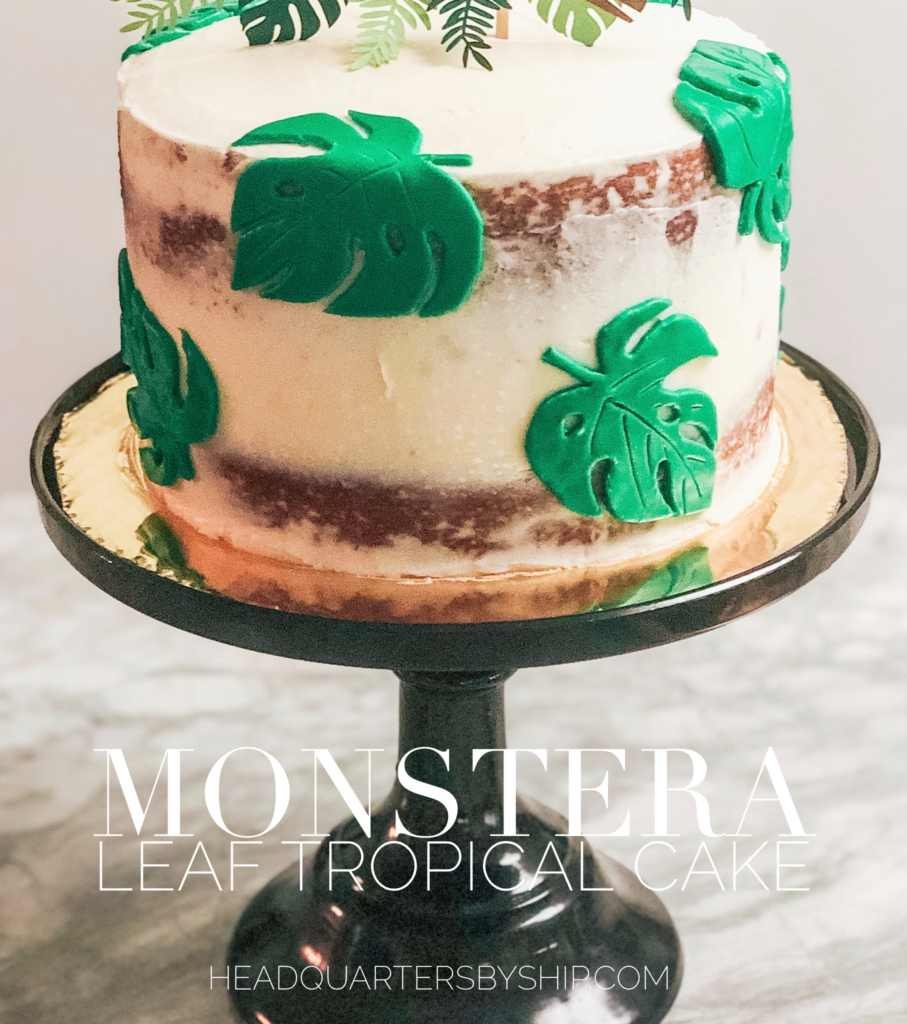
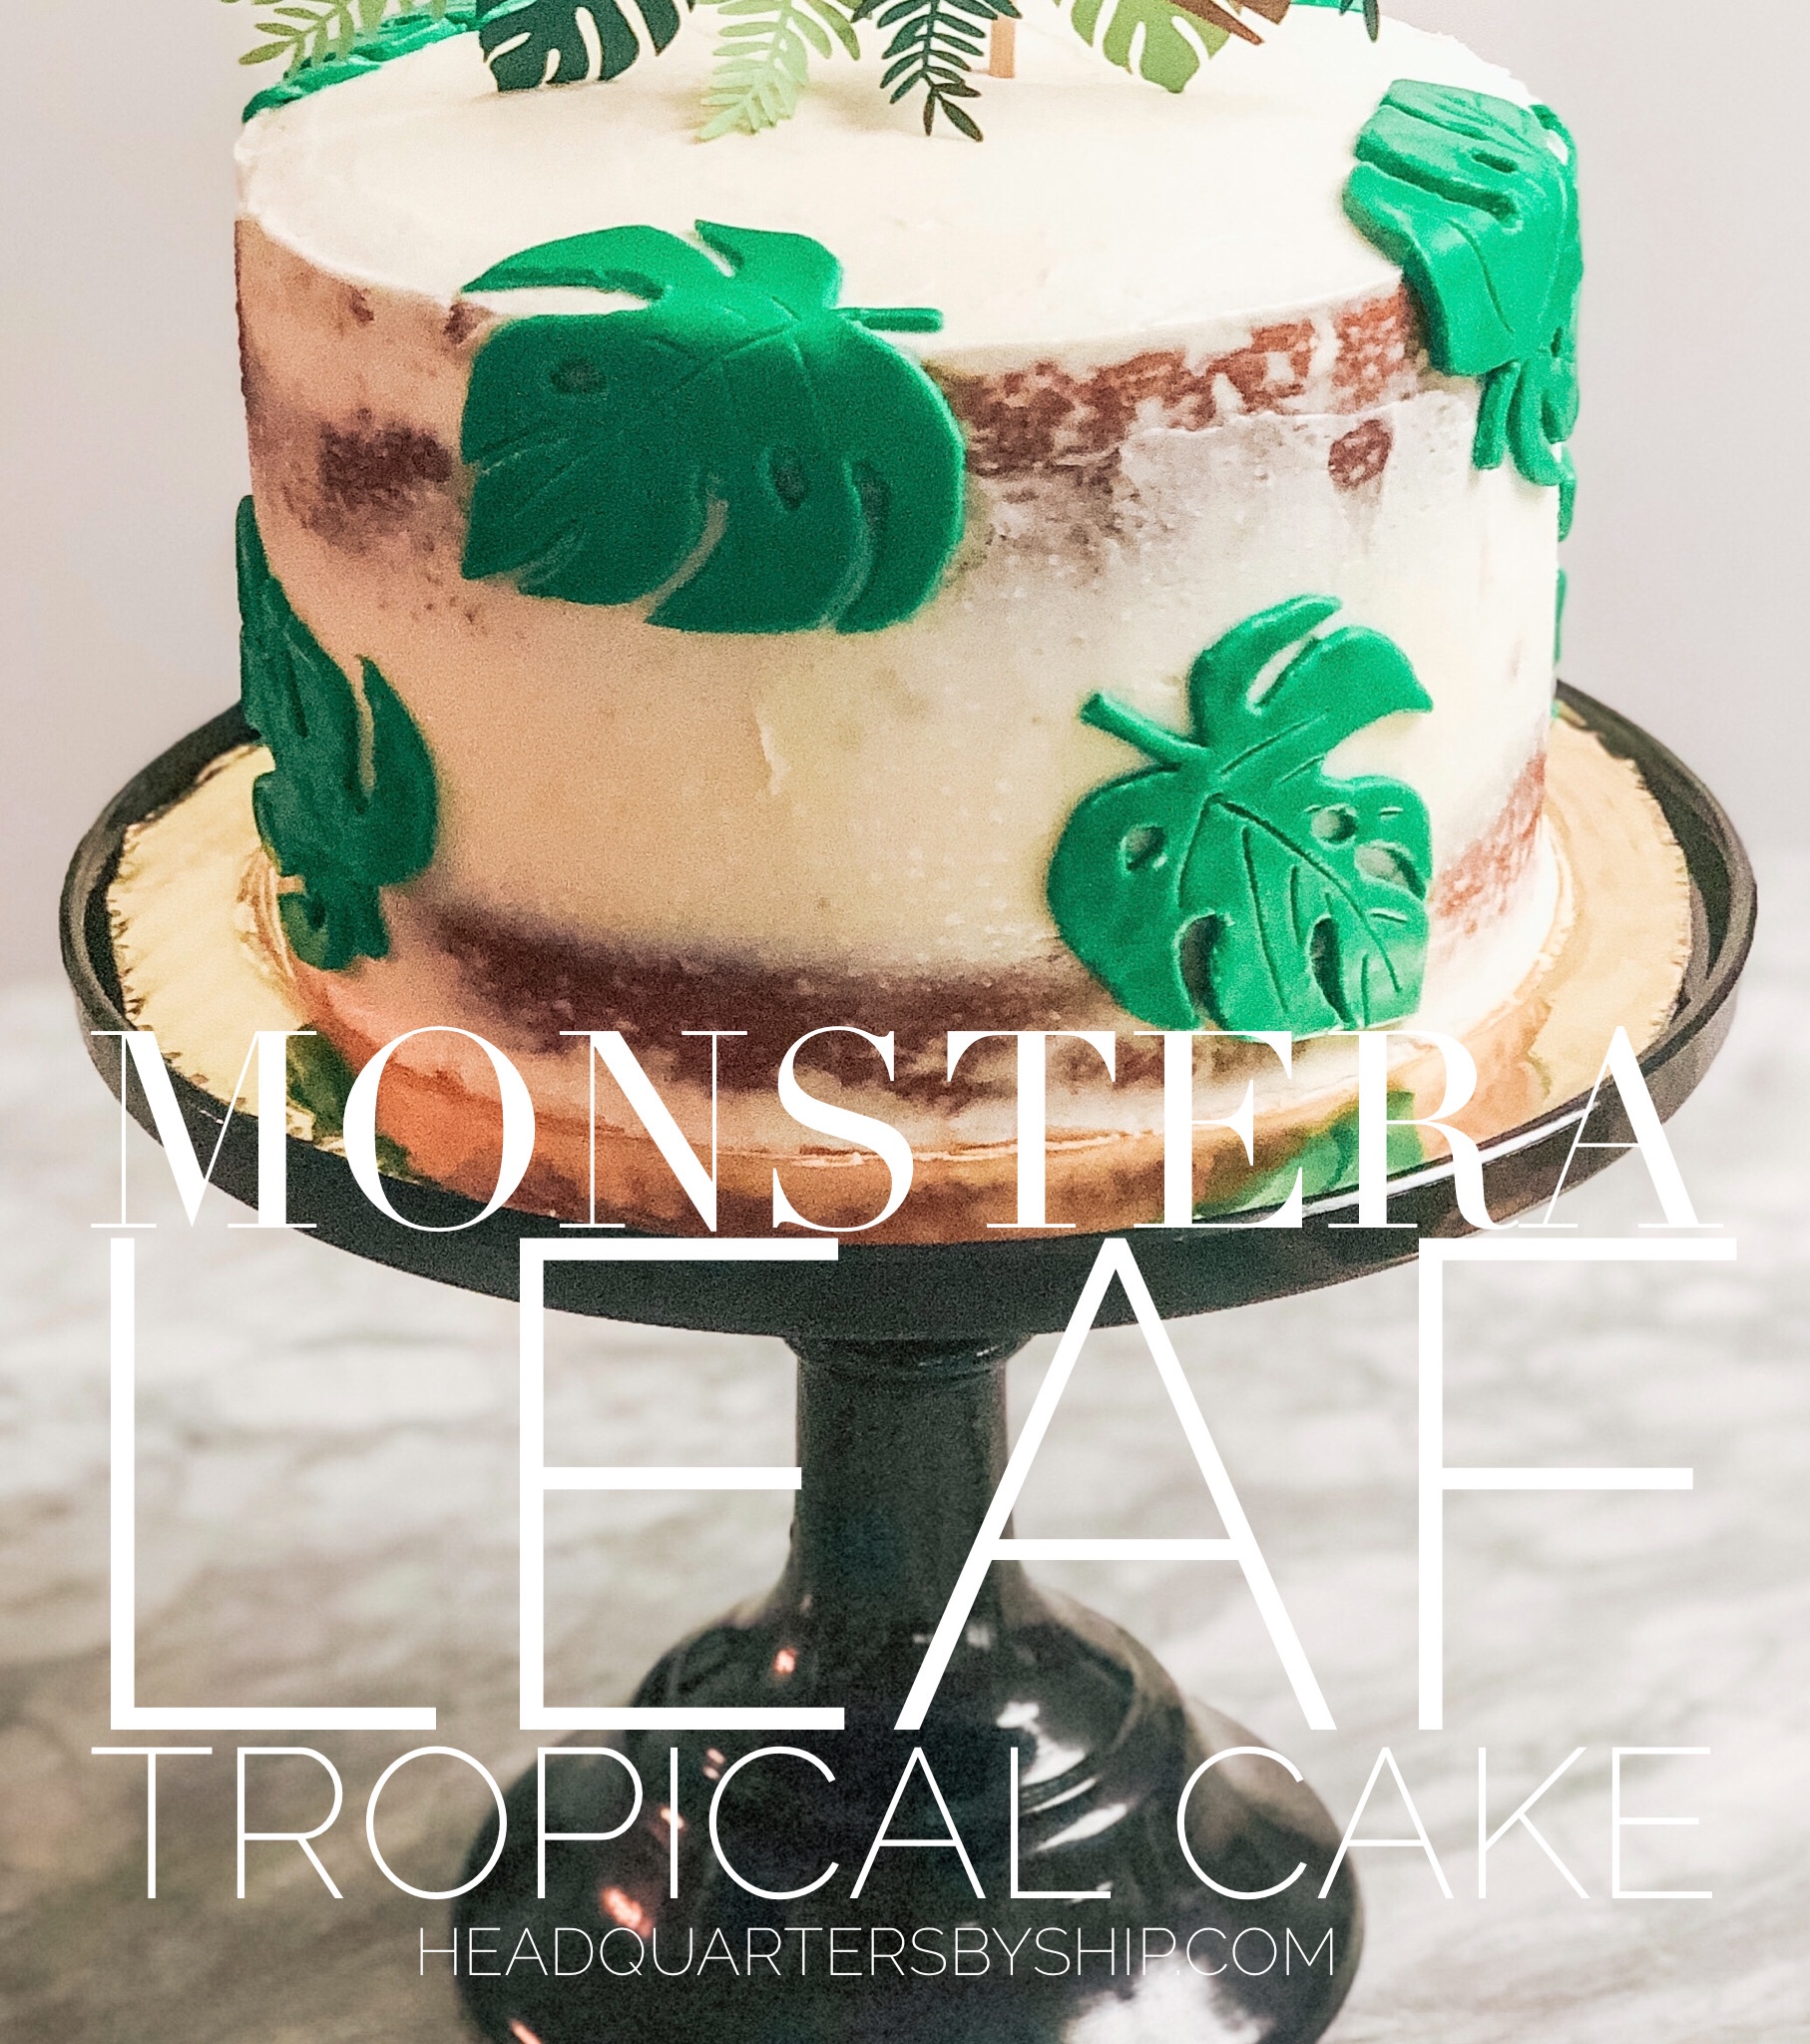
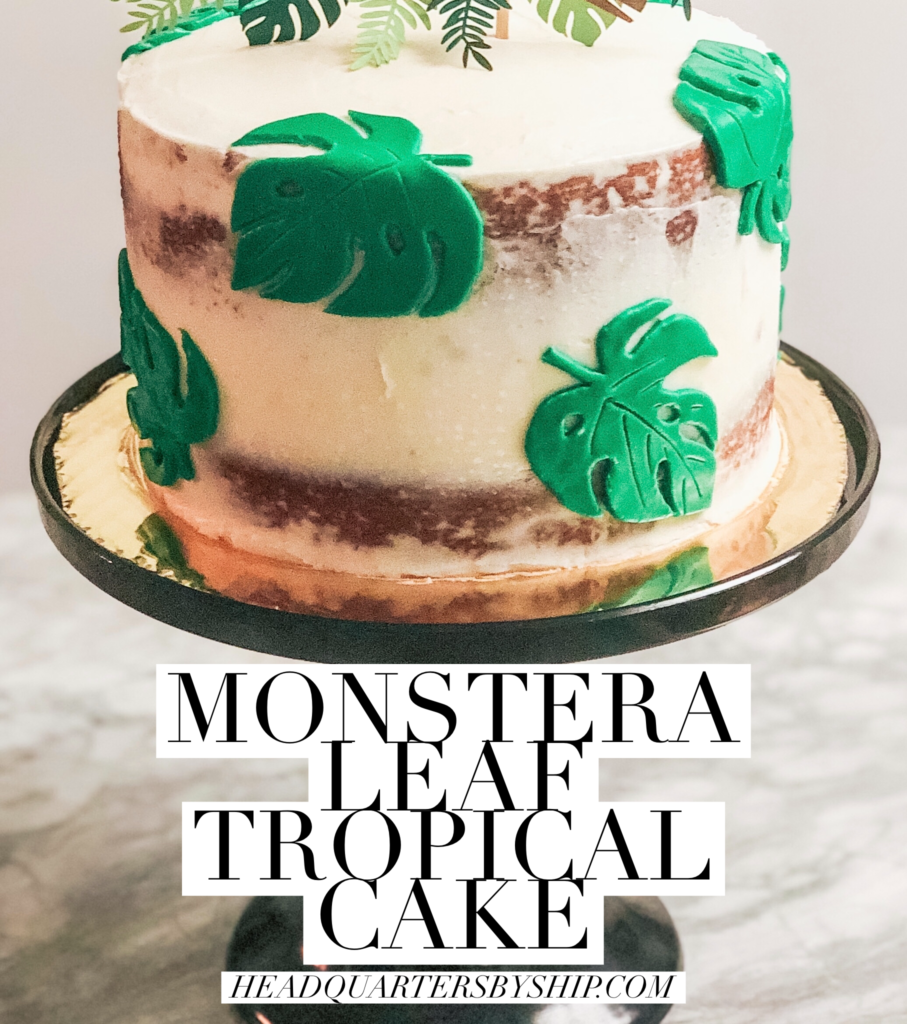
This year I wanted to create something more simple than the cakes from Greta’s FIRST and SECOND birthday parties. Even with things slowed down because of COVID, this year has just seemed really busy! With having two to tend to now, and with family coming into town for the party, I felt like I needed a cake that would be quick and easy to decorate this year. I decided to create this naked cake.
NAKED CAKE
I love naked cakes. They are very minimal, but there’s something sexy and sophisticated about them. If I knew about this trend prior to my wedding, I definitely would have done a naked cake. I thought one would be perfect for Greta’s THIRD BIRTHDAY PARTY because they have a rustic vibe, and I thought that would be a MIGHTY good fit for a jungle-ish, Lion King theme.
You don’t have to be good at frosting or decorating cakes to make a naked cake. If you’re new to cake decorating, this is a great place to start! To make this cake, I made two round VANILLA CAKES (I do prefer chocolate, but naked cakes look better with a vanilla, or white cake) and some BUTTERCREAM FROSTING. I purchased the GREEN FONDANT off of Amazon to save a little bit of time and since I only needed a little bit for my design.
ASSEMBLING THE CAKE
After making your cakes, cut the tops off with a bread knife so your cakes are flat and easily stackable. Add about a half inch of buttercream to the top of one of your cakes and sandwich them together. With your spatula, spread a thin layer of buttercream frosting around your cake as smooth as possible leaving some of the cake showing. Refrigerate cake for a little while to let your first layer of frosting harden.
After your first layer of frosting has set, add a second, thin layer of buttercream to your cake, making sure to leave some “naked” spots to achieve that rustic look. The second layer helps even out spots that might be uneven and makes everything look a bit neater. You could add a third layer if you want to tighten things up after that, but I liked how my cake looked after just two layers of frosting.
Refrigerate the cake until you’re ready to add your fondant detail.

MAKE AHEAD
To save time, there are a couple things that you can do beforehand when making your cake. I always make my cakes ahead of time to break up the amount of time it takes to actually make the cake. A cake will stay fresh in the freezer for up to a couple months if you really want to plan ahead. I always make mine at least two or three weeks in advance to have the cake ready to to decorate so I am less rushed when it comes down to the actual party time.
Ship’s Tip: To prevent freezer burn, wrap each cake layer tightly in cling wrap and then again in tinfoil prior to putting the cake in the freezer.
In addition to the cake, you can also make your buttercream frosting ahead of time and store it in an airtight container in the freezer (up to a few months). I don’t usually like to pre make buttercream, but this year I had a ton of leftover buttercream from a Spider Man Cake that I made for my nephew’s birthday back in July, so I placed it in one of my glass pyrex’s and froze it until I needed it for this cake. After taking it out to defrost, I put the frosting back in my Kitchenaid Mixer to mix back up and added a little bit more powdered sugar and milk to get it back to the right consistency.
Freezing the buttercream did change the consistency a little. Initially there were a lot of air pockets, so I had to mix the frosting for a little while (using the paddle attachment on my Kitchenaid Mixer) until the bubbles disappeared. If your buttercream is not perfect, it doesn’t really matter for a naked cake because you’re barely using any frosting anyway!
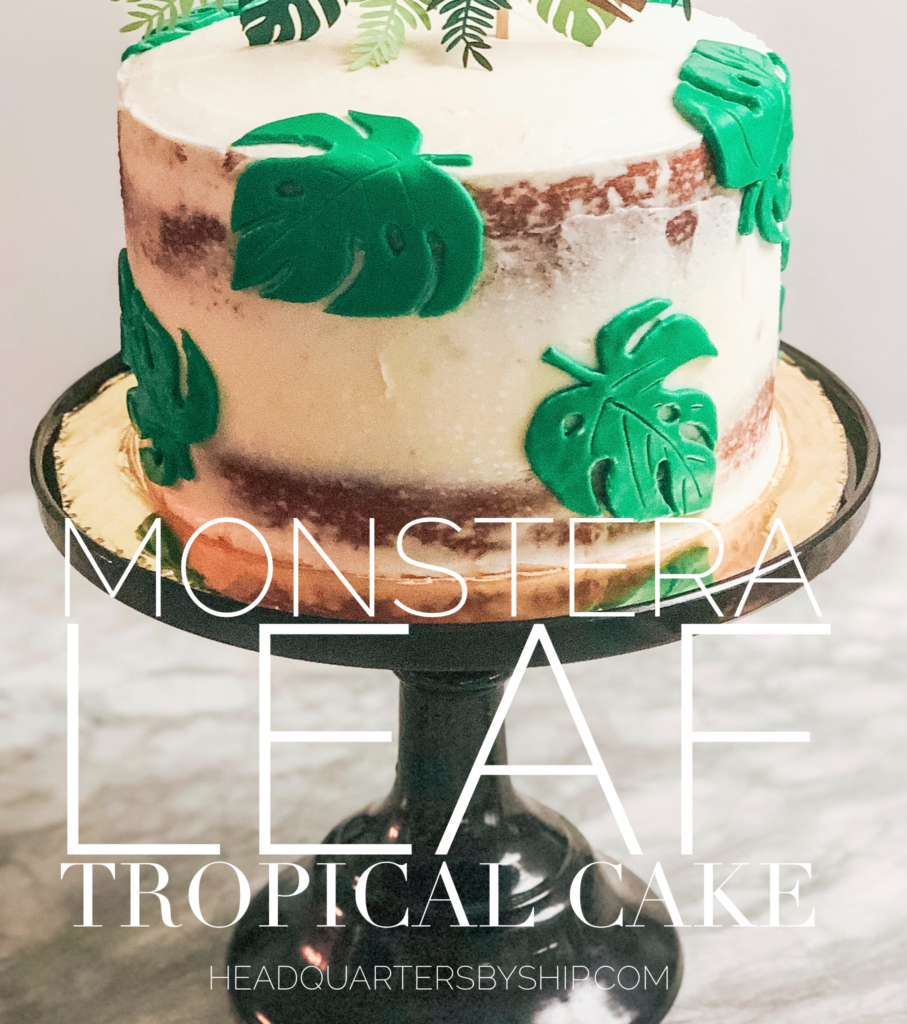
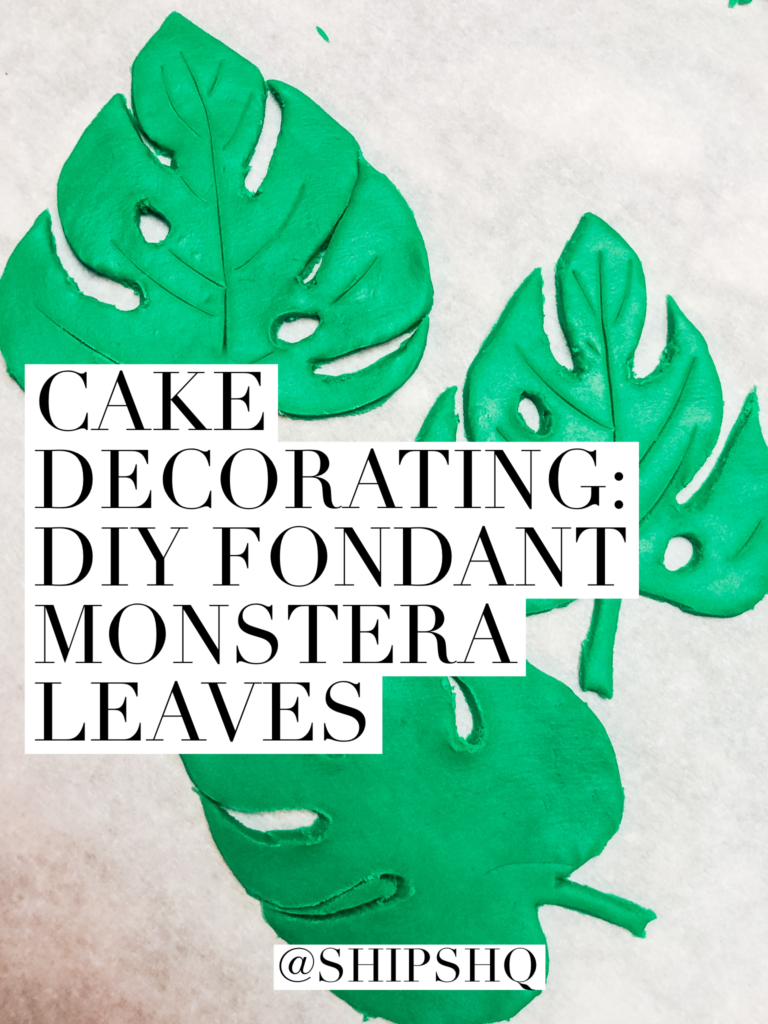
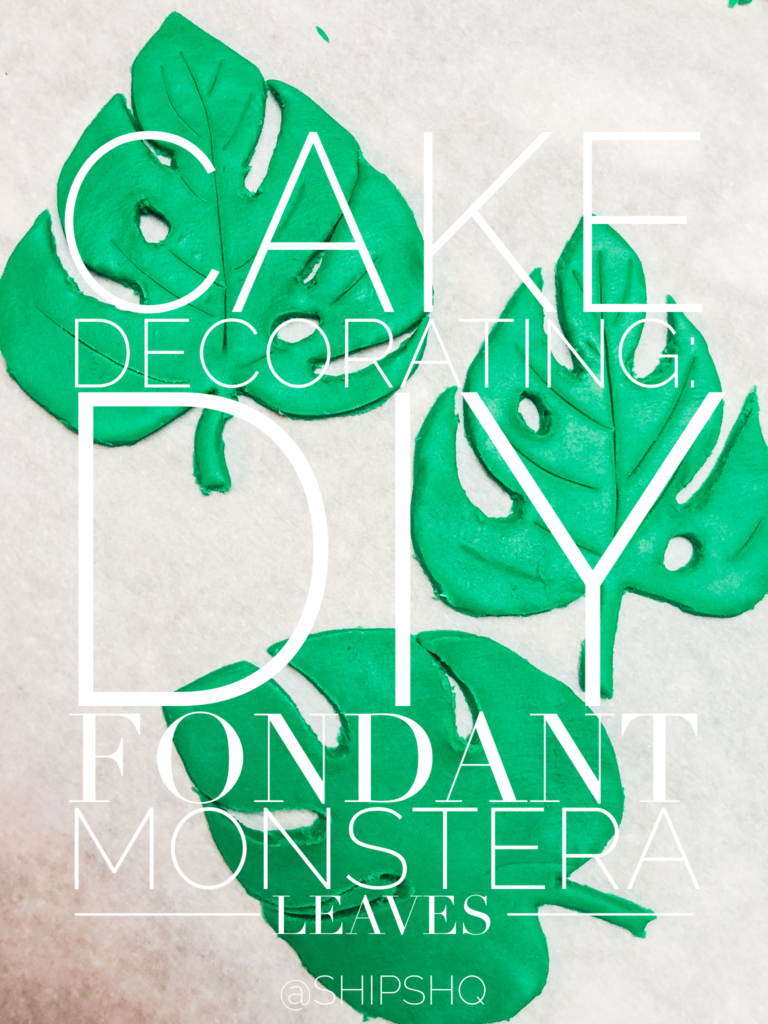
FONDANT MONSTERA LEAVES
This was my first time decorating with fondant. I was definitely winging it with this cake and have room to improve on my technique… If you’re questioning whether or not you can do this, just ask yourself: Can I draw a heart? If you answer yes to this, even if it’s a lopsided heart, roll up your sleeves because you can do this.
Now when it comes to the fondant, I did take a shortcut and bought a small package of fondant off Amazon for the cake. I only needed a little bit of it for this cake so I thought I’d save myself the time and just go with the packaged stuff. THIS GREEN FONDANT was the perfect color for the monstera leaves.
MAKING THE MONSTERA LEAVES
Aside from a general search on Pinterest for monstera leaf inspiration on cakes, I didn’t really research how to do them. Next time I will do a little research on how to make a smoother cut when free handing the fondant, but this is what I did for this cake:
HOW TO
- Break fondant into two pieces and roll each piece into a ball.
- Slightly flatten one ball, then roll it out with a rolling pin until it is about an eighth of an inch thick.
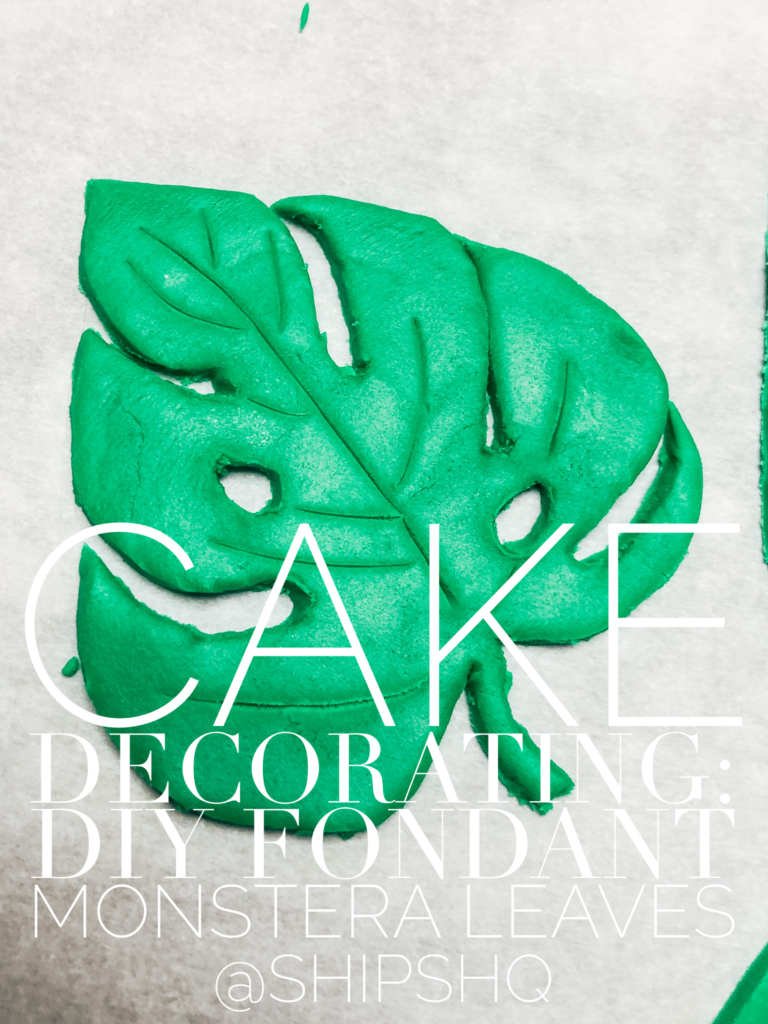
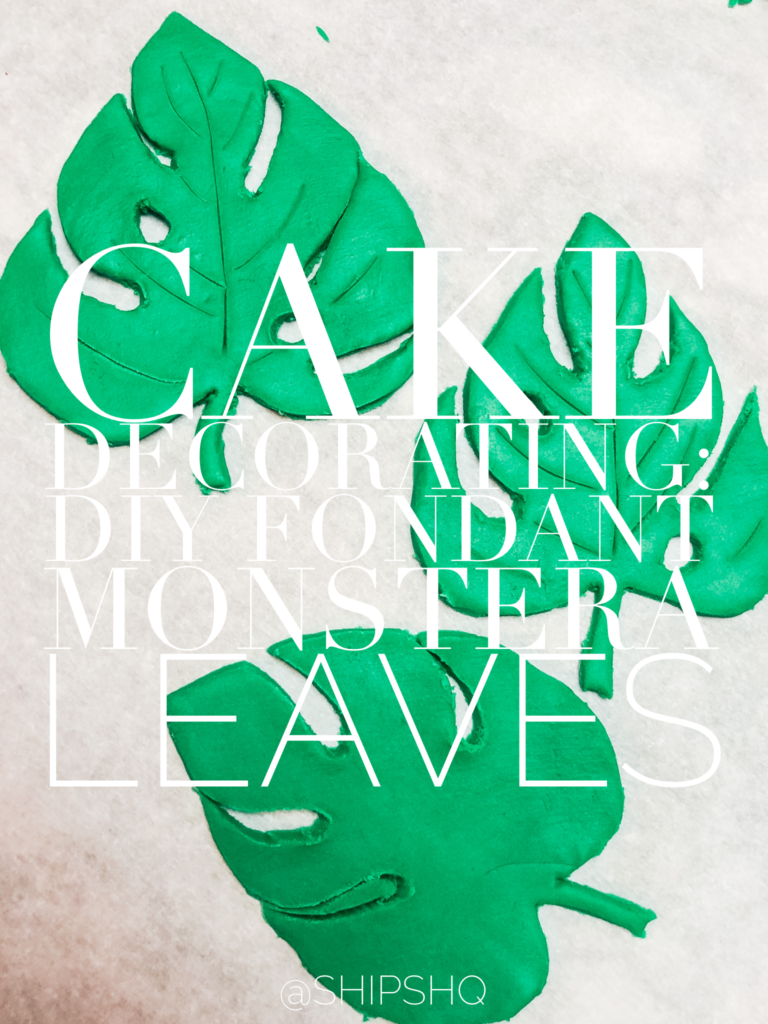
- Take your CUTTING TOOL and draw spade shapes (an upside down heart with a little stem) in the desired size that you want your leaves to be.
- Peel the excess fondant away from your leaves.
-
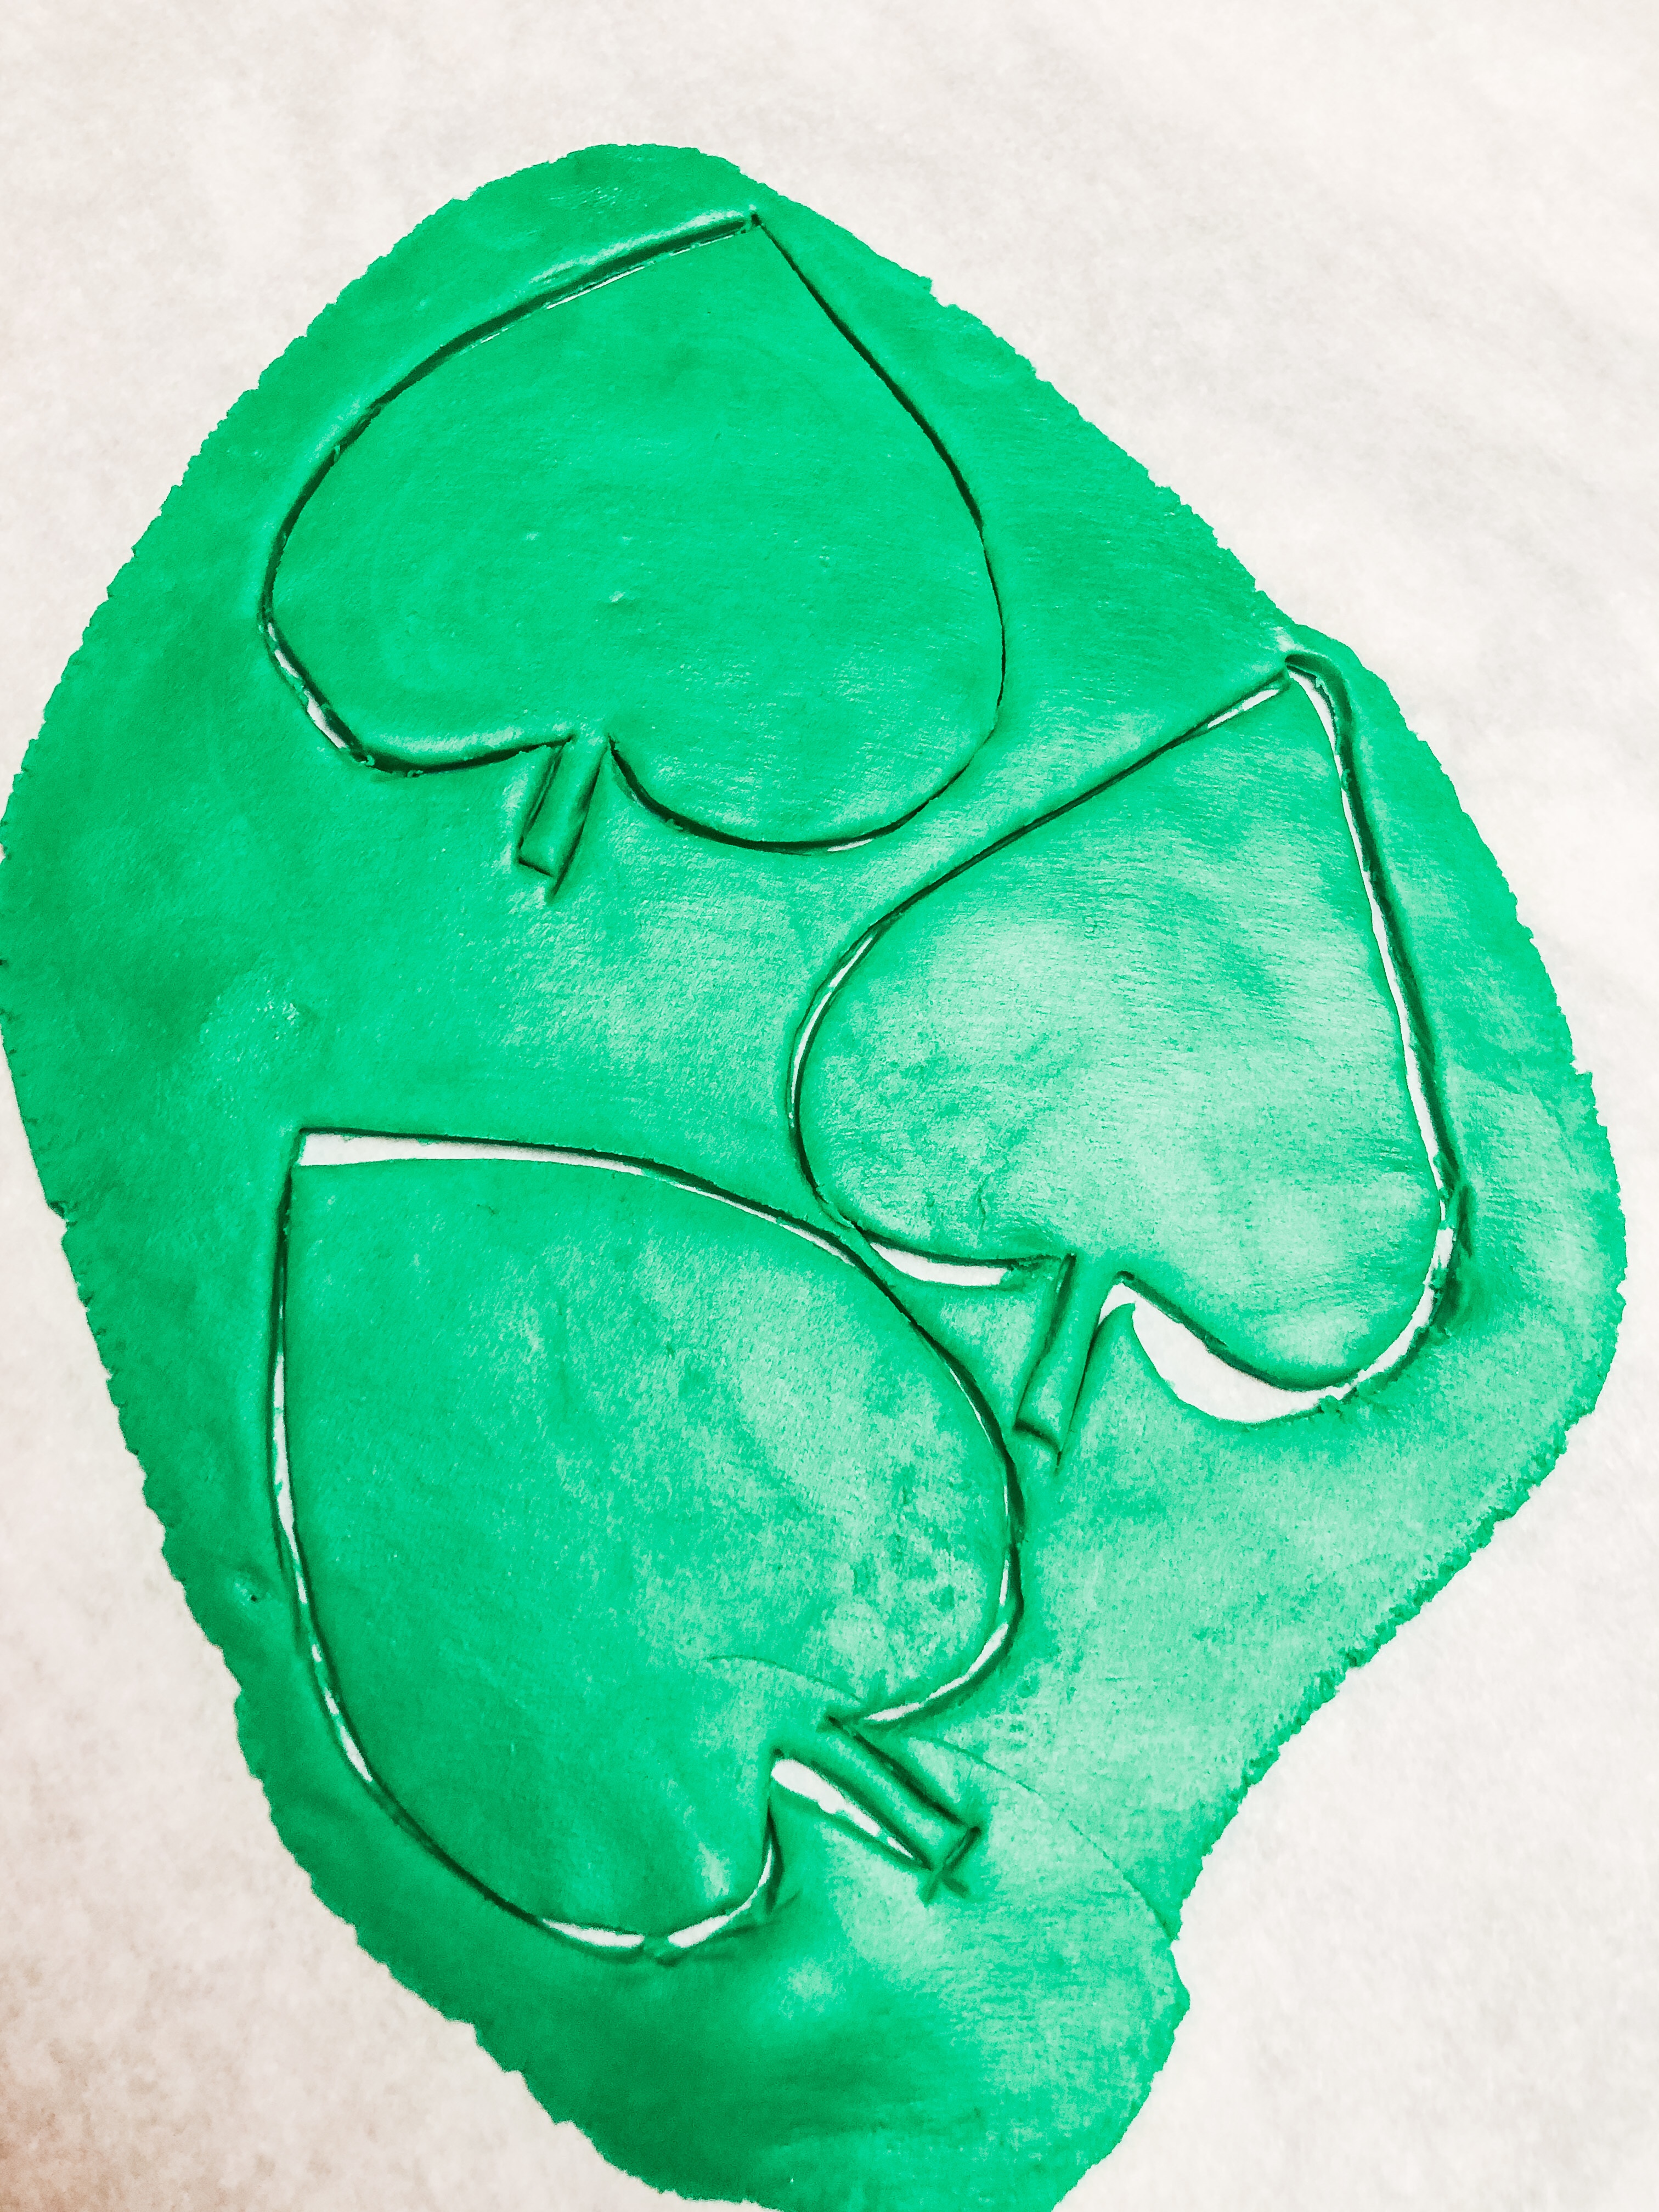
When drawing the spades as the base shape for your leaves, vary the sizes a little so the leaves turn out more natural looking. -
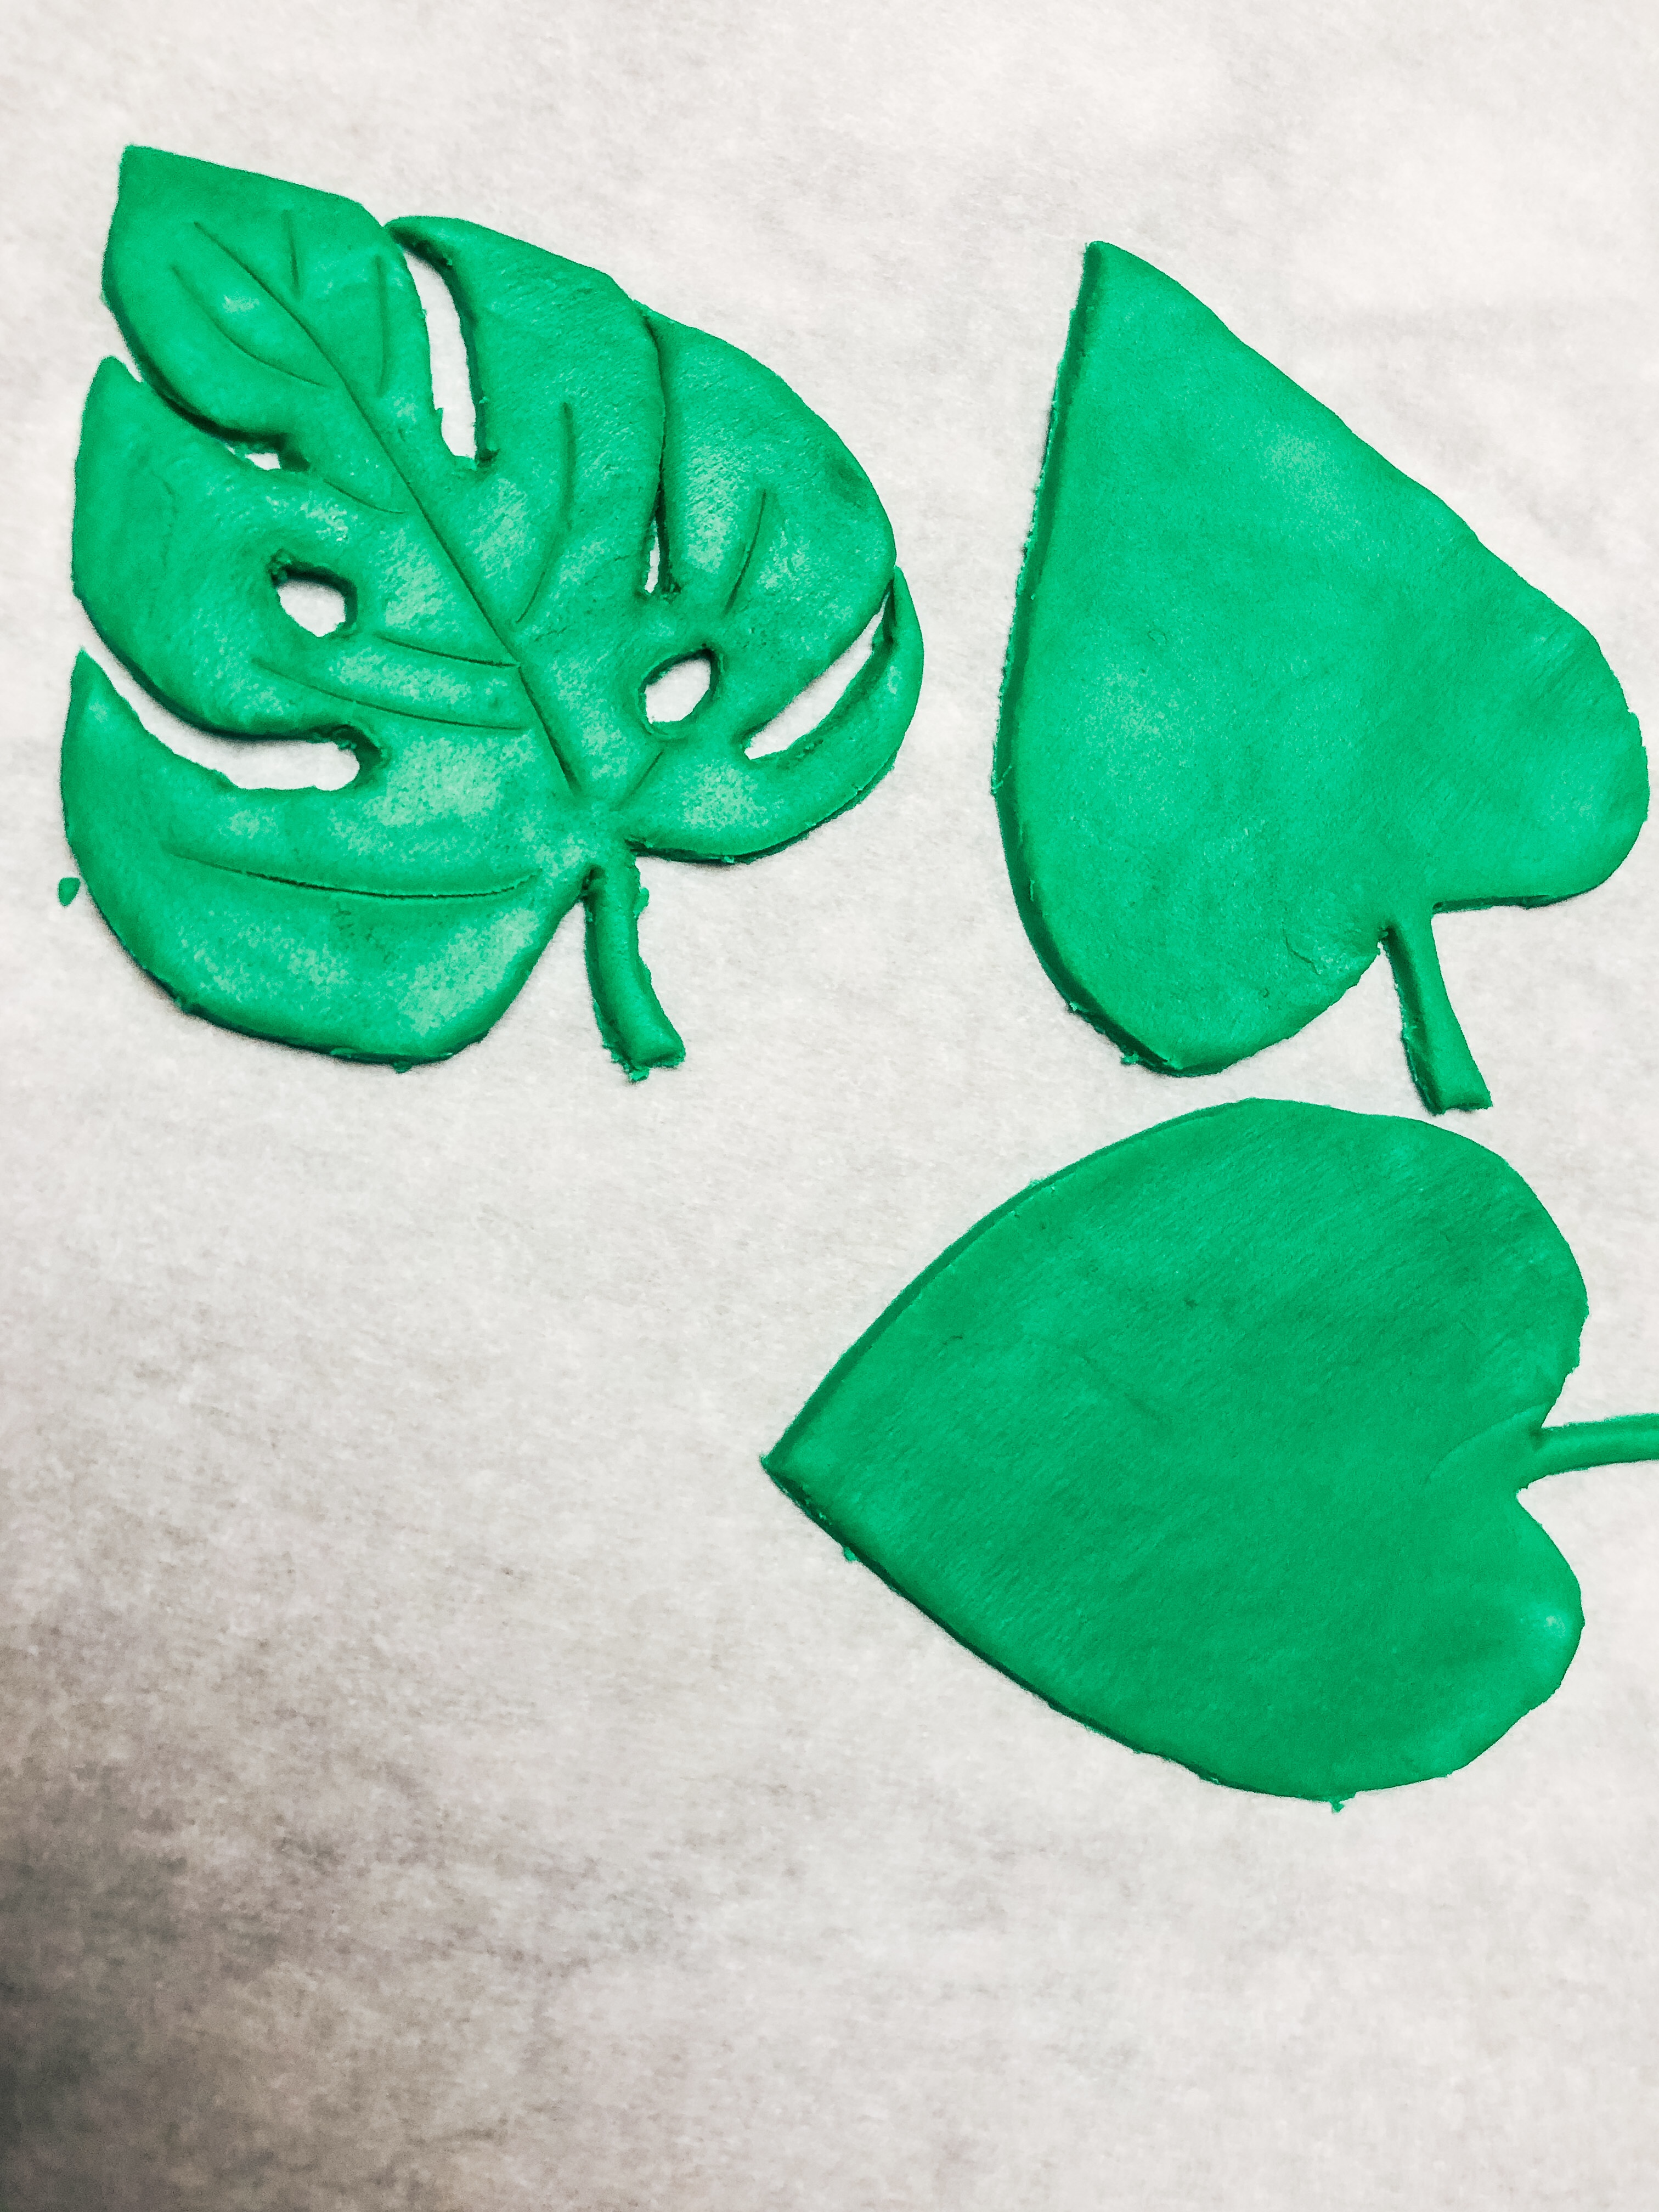
Peel away excess fondant and roll into another ball to reuse.
- Next, grab your cutting tool and cut out two to three long, tear drop shapes on each side of your leaf.
- Don’t forget to add a hole or two somewhere on the leaf to achieve a more authentic Monstera Leaf look.
- Then with the needle end of your cutting tool add a little more detail by drawing leaf marks on your monstera leaf.
- Add leaves to your cake and repeat steps as necessary to achieve your desired look.
-
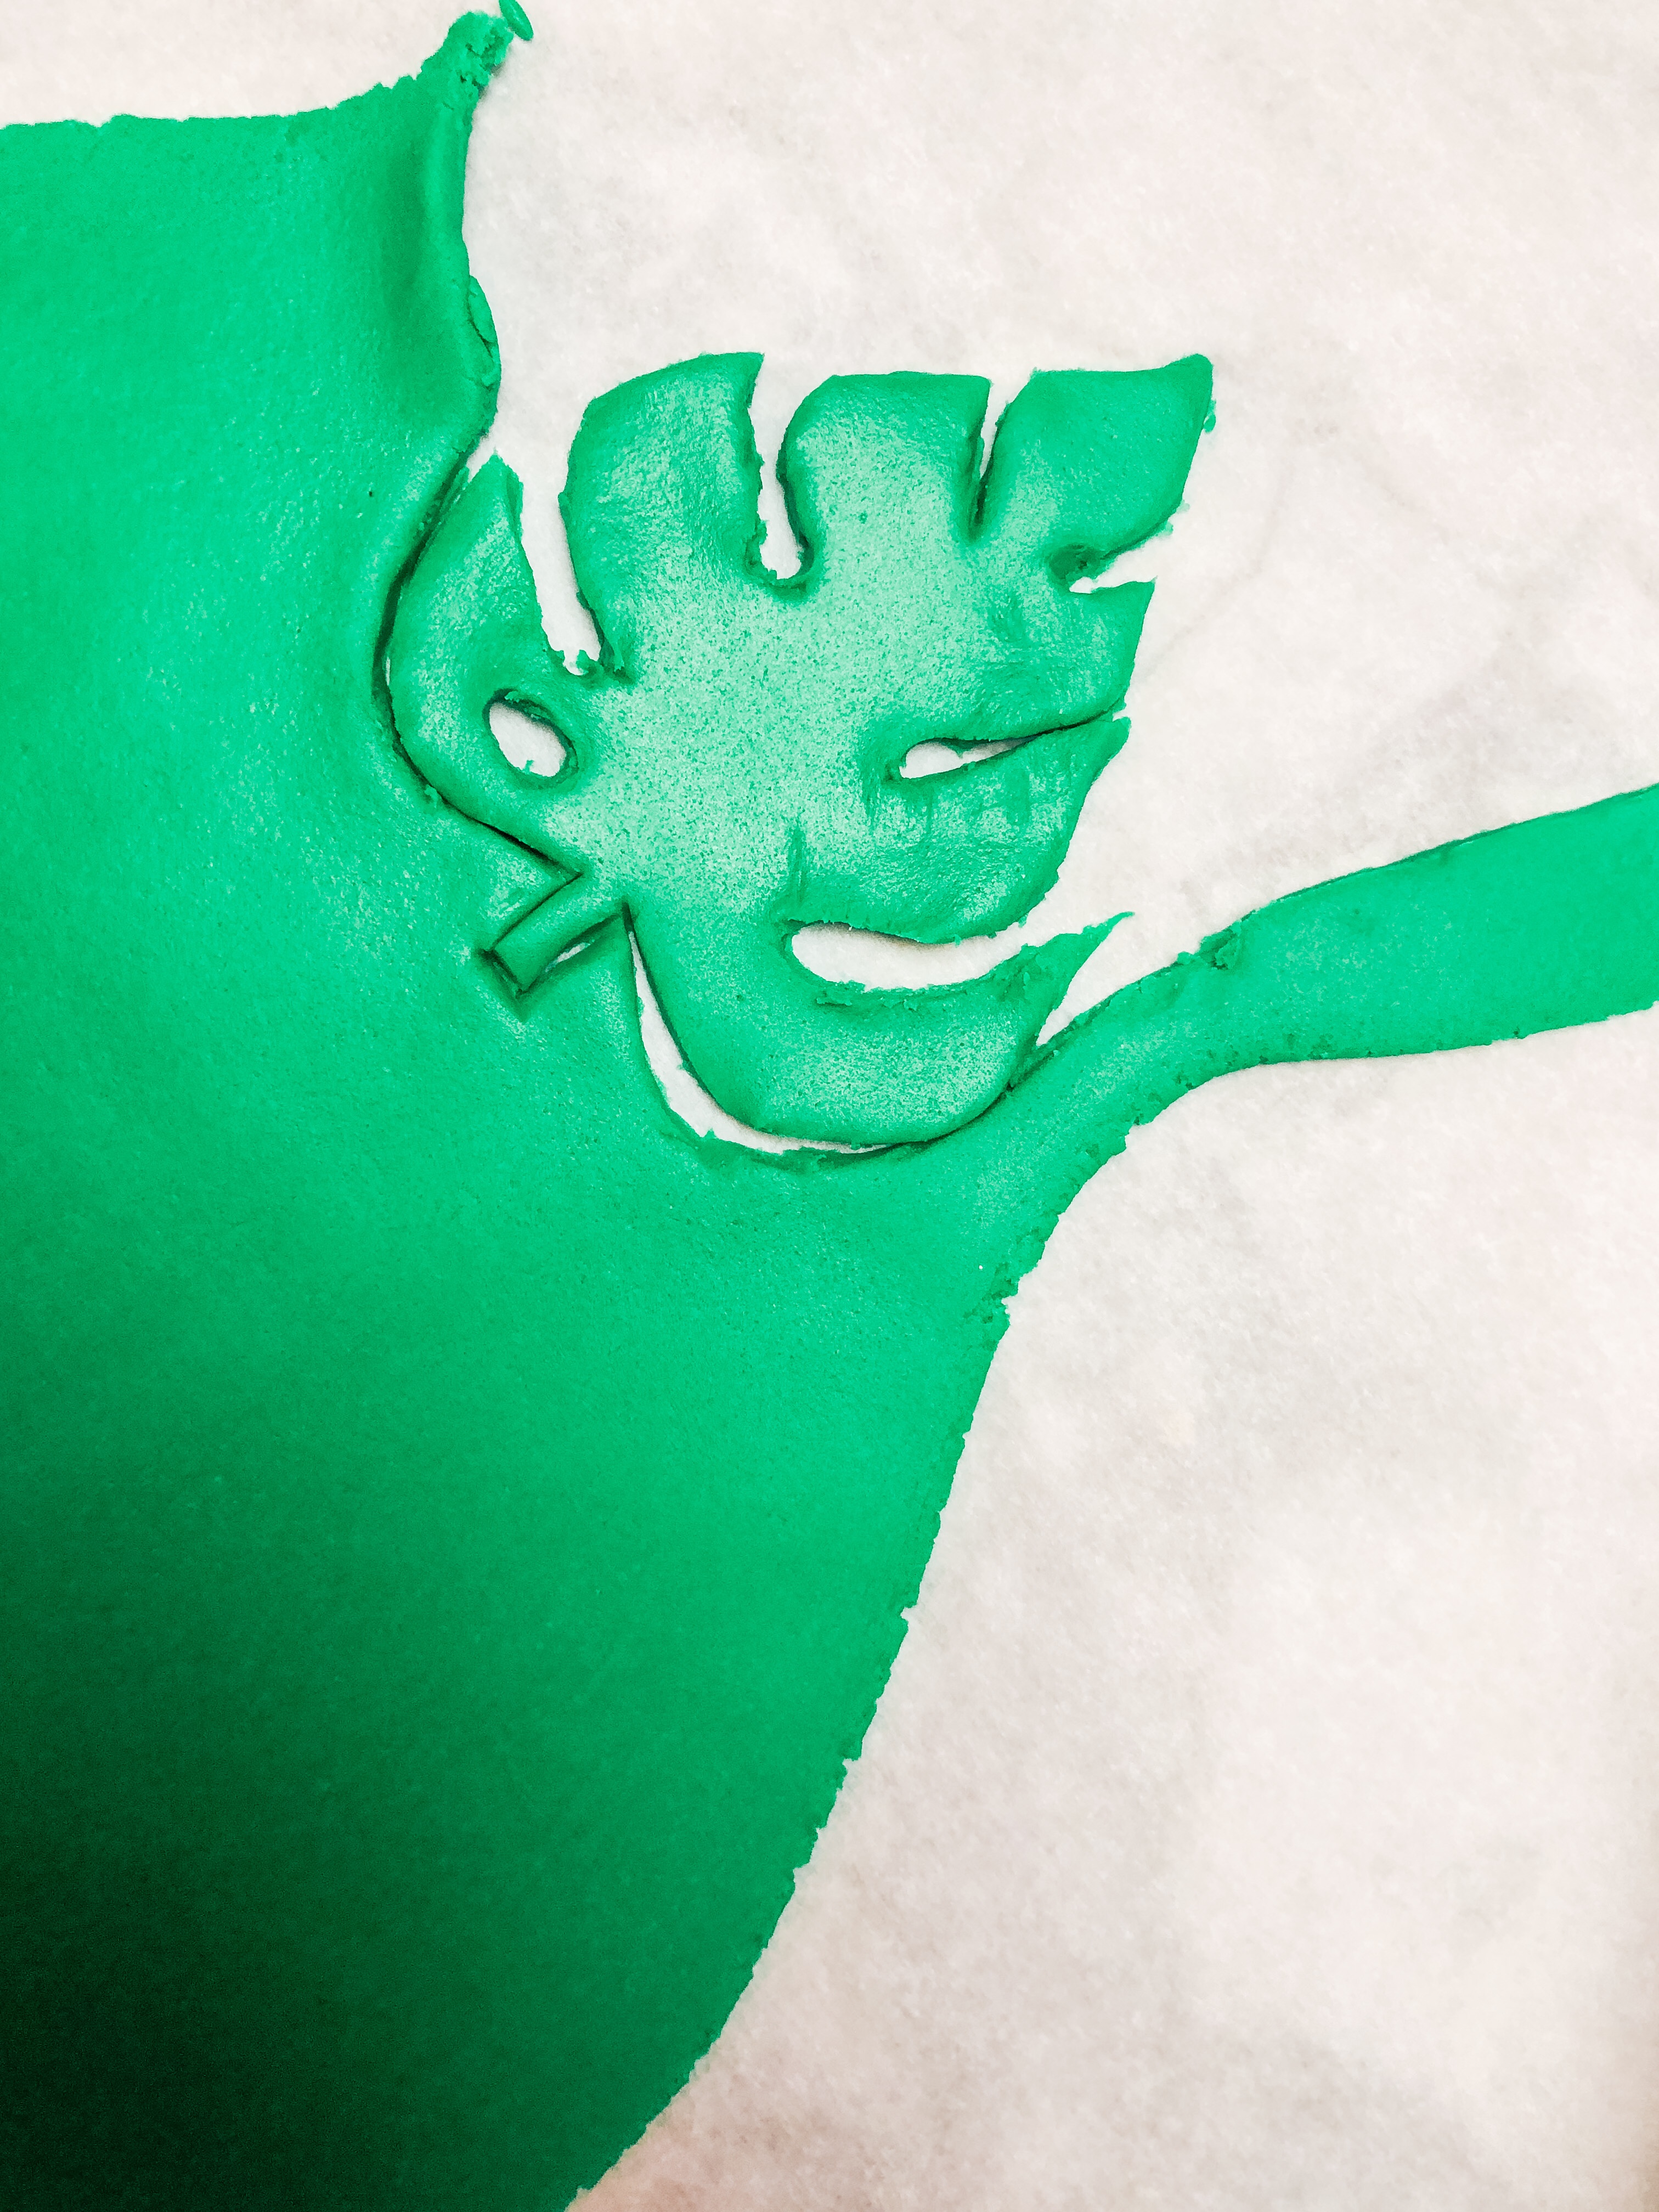
Use your scriber tool to cut leaves. -
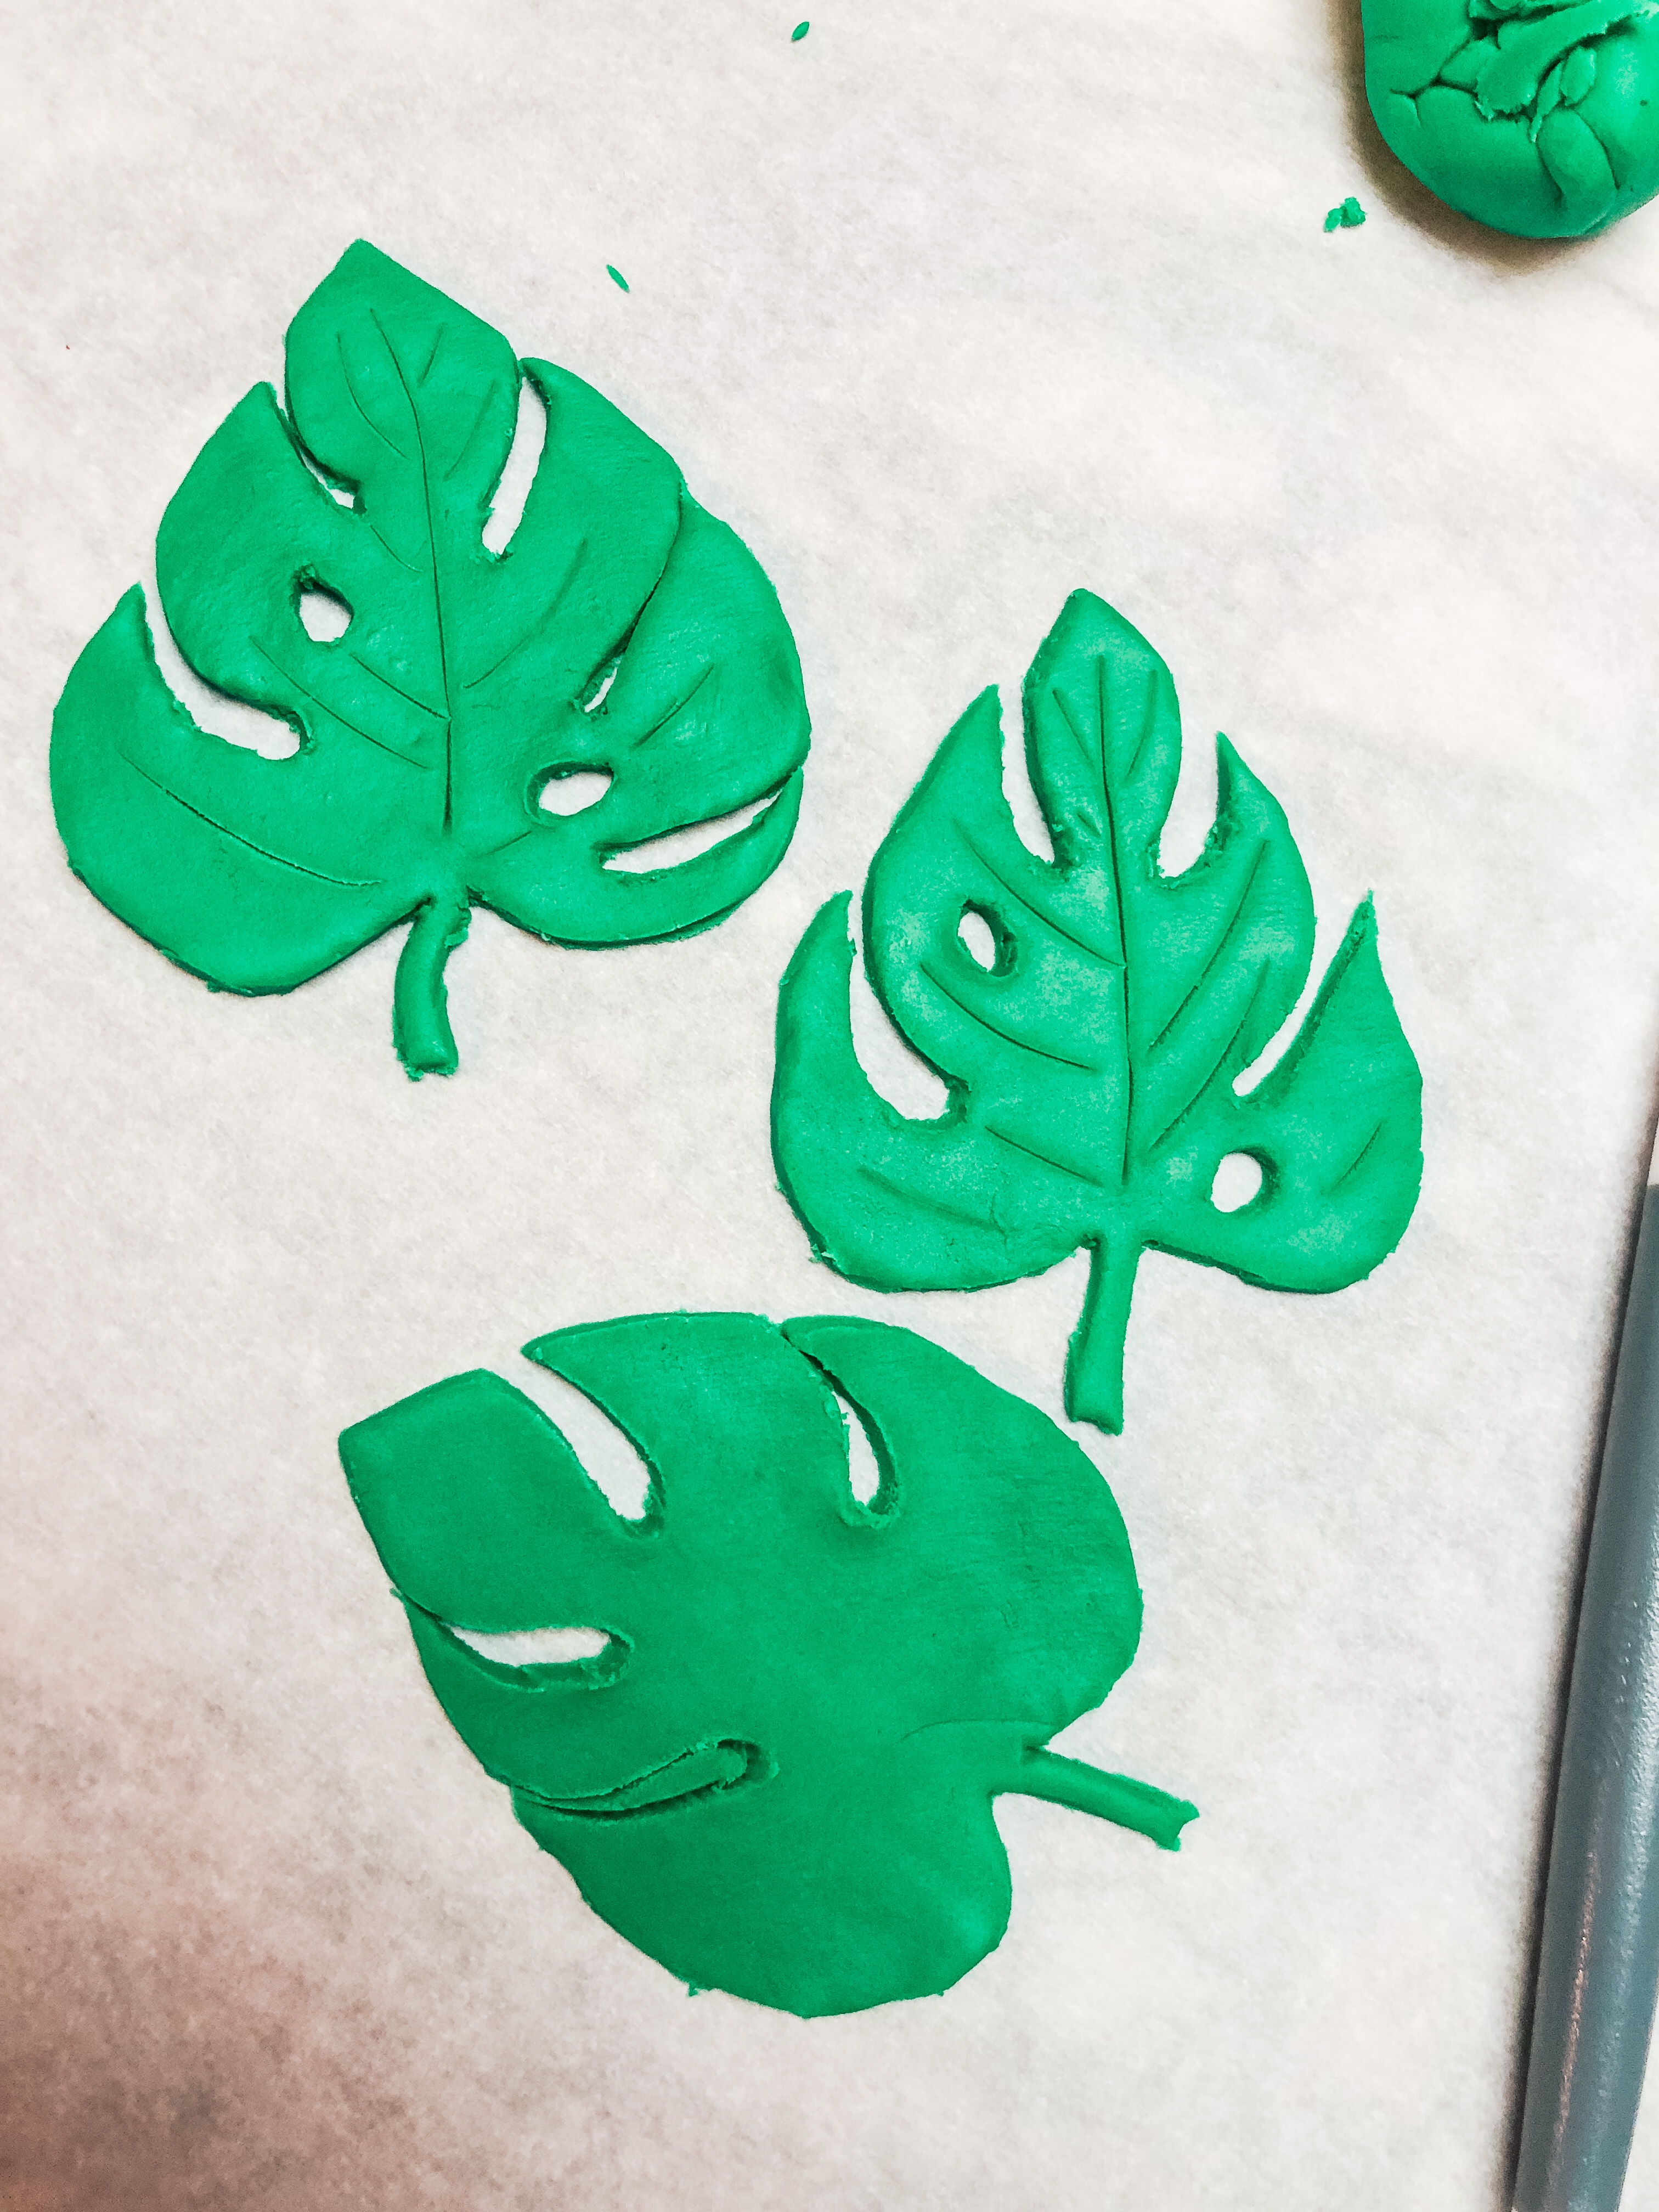
Cut the holes and add detail with your needle scriber.
SHOP THE POST
Find what you need to create this cake right here!
[show_shopthepost_widget id=”4215087″]
Stay tuned for my next post with ALL THE DETAILS from Greta’s Lion King themed birthday party, but in the meantime if you’re looking for inspiration check out:
Greta’s first birthday: A GOLF PAR-TEE
Greta’s second birthday: LET’S FLAMINGLE | A TROPICAL THEMED BIRTHDAY
If you’d like to give me some inspiration, I’m starting to brainstorm about what to do for Mattie’s first birthday coming up in January! Drop me a comment with your ideas, please!
You can also find inspiration for royal icing decorative cookies here.
If you’ve enjoyed this post, please subscribe to Ship’s HQ for more inspiration for recipes and achievable DIY projects. Also, please pin and re-share!


Recent Comments