After purchasing our home back in 2016, I couldn’t wait to hit the ground running on updating the interior of our home because everything was original and from the 80’s! While the 80’s was a rad decade for music and fashion, in my opinion, 80’s interior design could be erased from our design history books! Just kidding, because I think we can learn from ALL history (and especially learn things that we should not do or repeat).
Disclaimer: This post contains some links that I may earn a small commission off of if you purchase something from a link provided. Headquarters by Ship appreciates all your support, and thanks you!
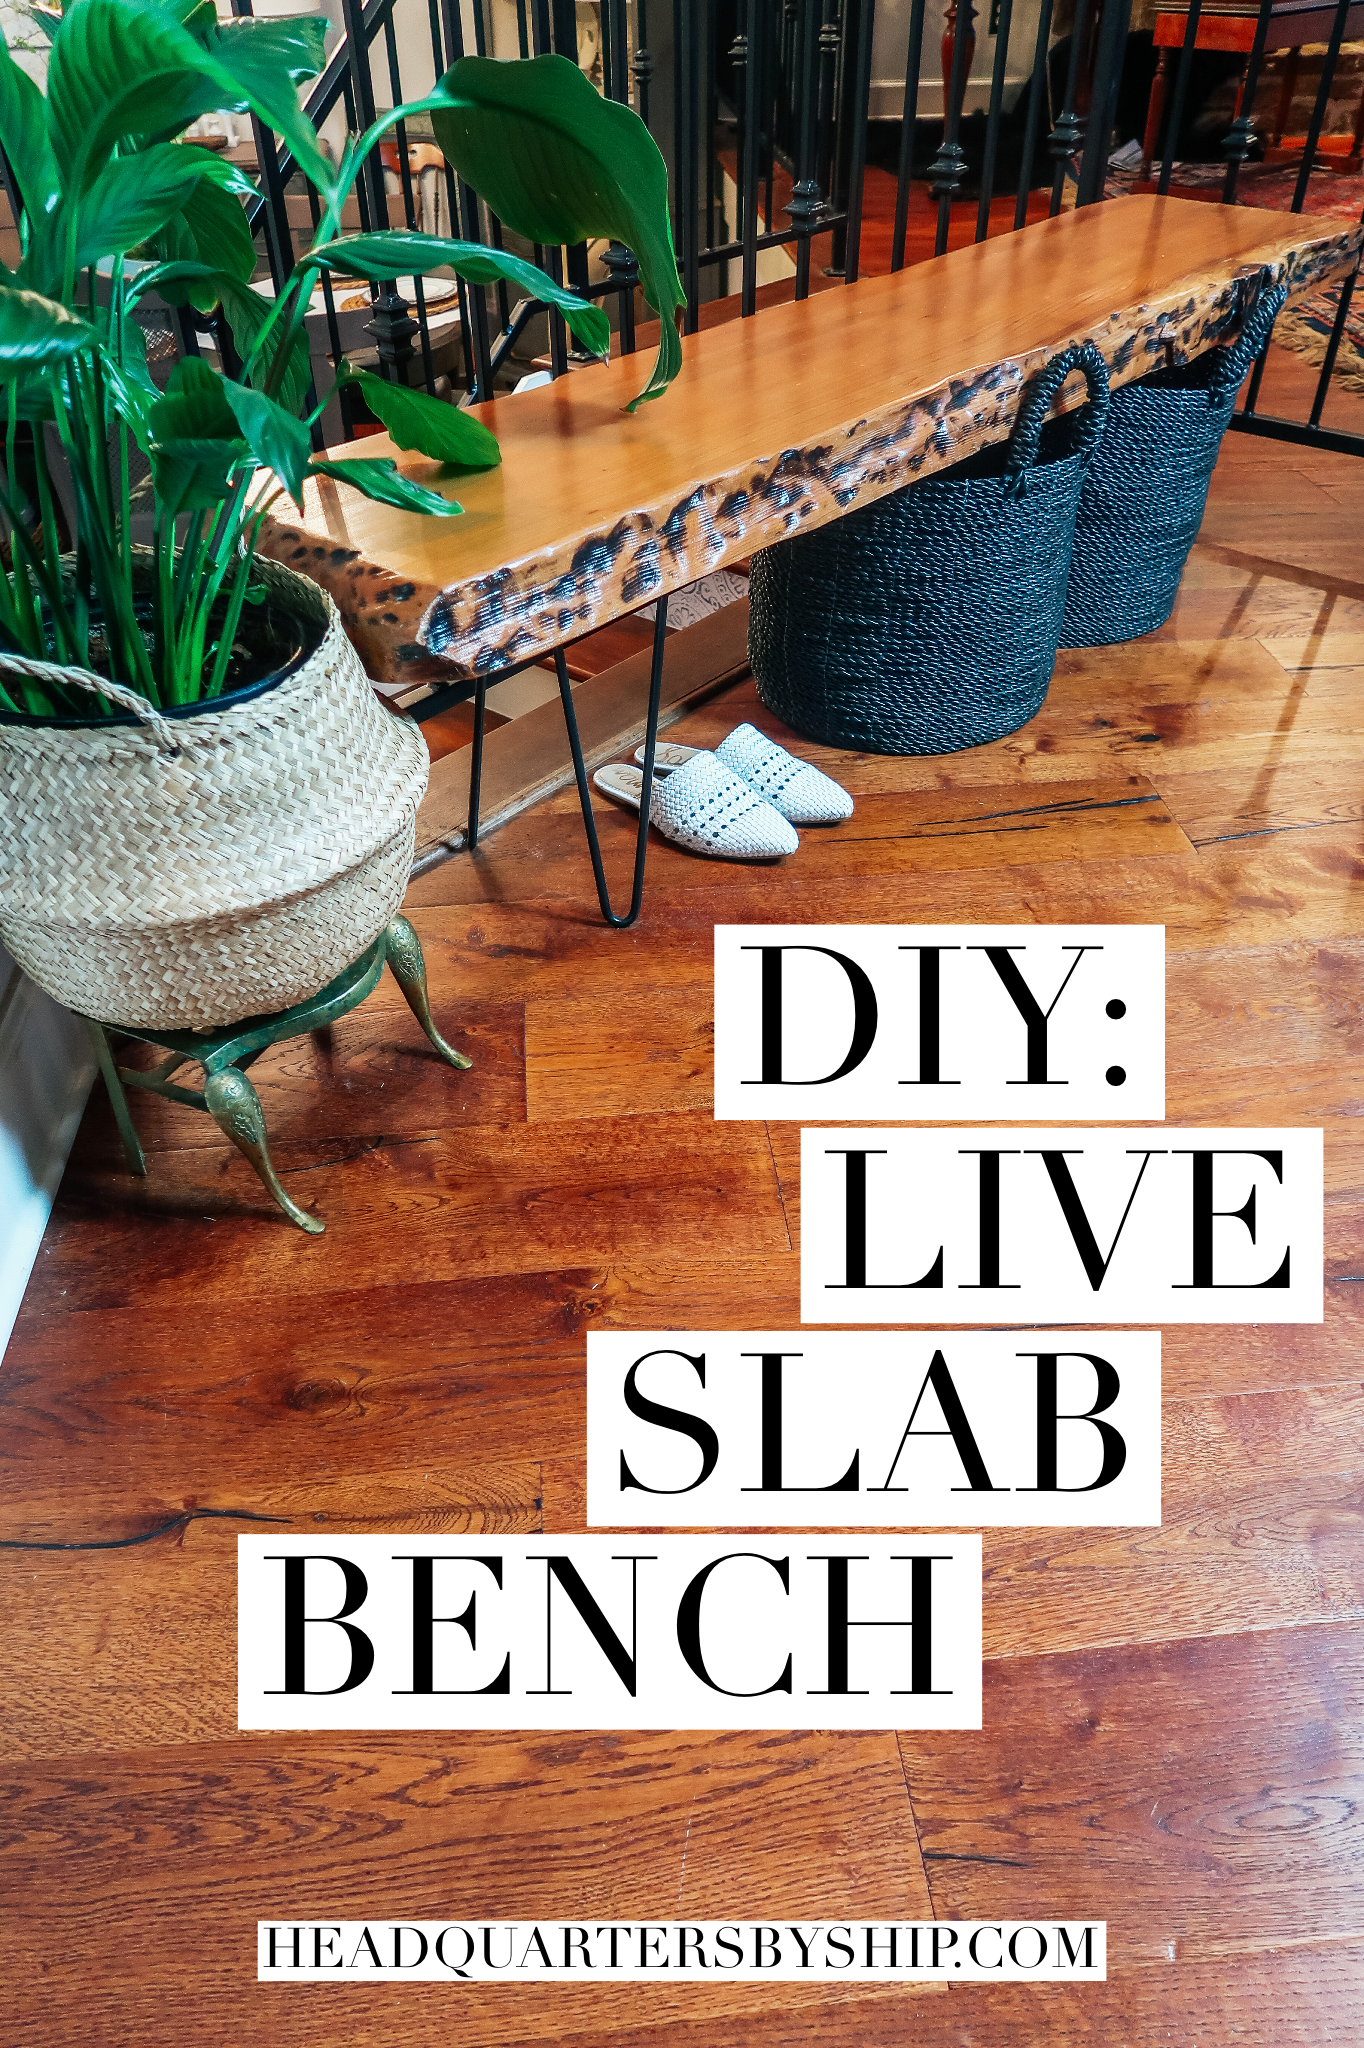
That being said, we made a lot of changes to the interior, with contractors taking care of the big stuff, and me working on the details and smaller projects that I could handle myself. One of these small (and EASY) projects I did is a Live Slab Bench pictured below!

I absolutely LOVE live slab dining tables and think that adding elements of natural wood pieces to rooms adds some interest and warmth…and they just look really cool!
I knew my husband would not go for the price tag of buying a brand new, live edge, dining table (although I have since found some very reasonably priced ones on Amazon!) with all the renovations we were doing, but I made my mind up that I wanted something live edge, so I decided to make a bench!
When looking for something random like a slab of wood, I always start online with eBay. I found the perfect live edge redwood piece for me that was rectangular like a bench. I wanted a rectangular shape for the versatility that it could give me because I thought that maybe I could use it as a coffee table depending on what kind of furniture we got for our den.
I also found some iron double hairpin legs because I thought some retro elements would match our house (and it would also keep the project pretty simple).
To start, you need:
- Live Edge Wood Slab
- Iron Double Hairpin Legs (4)
- Sander with fine grit sandpaper (a couple grades)
- High Gloss Polyurethane protective finish (and paint brush to apply)
- Drill
- Screws to attach your legs (12). Match size based on size of holes on hairpin legs and the thickness of your wood.
Find it all here:
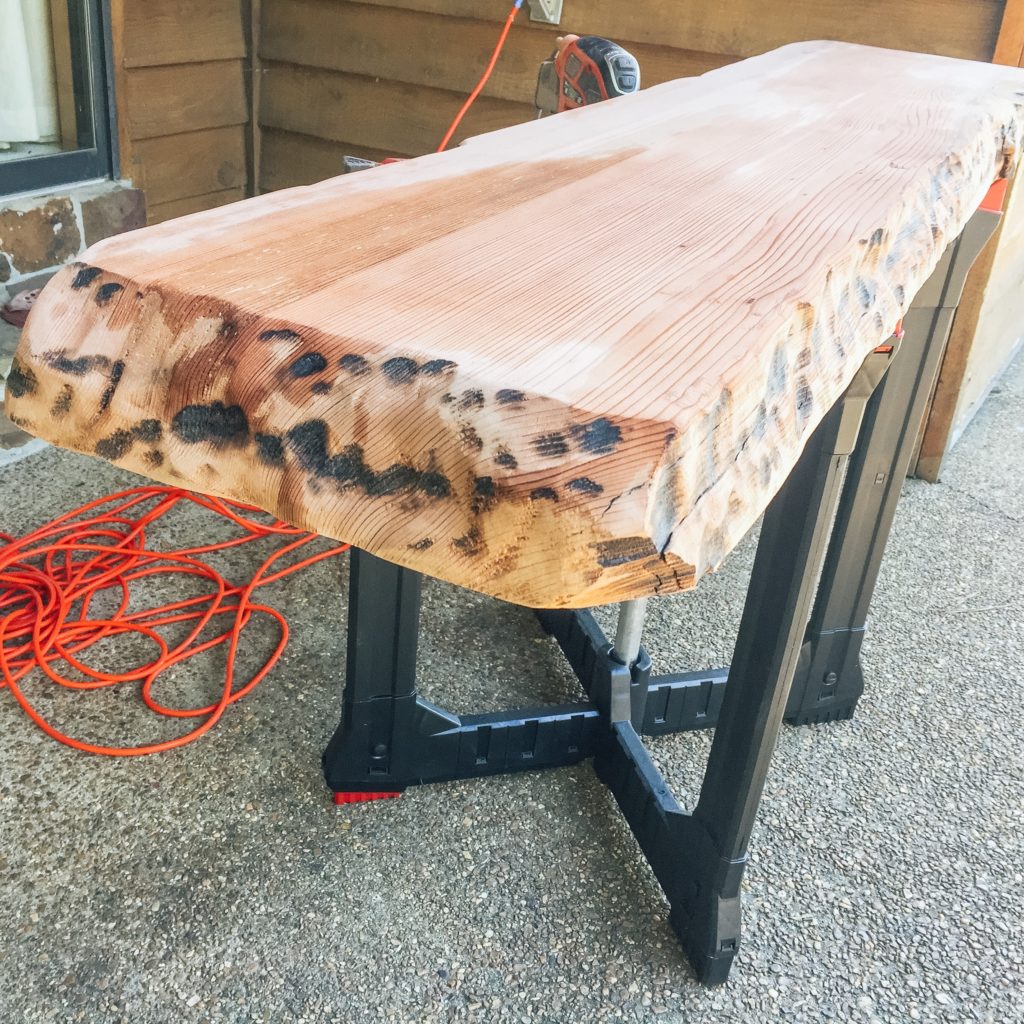
After gathering all the supplies for the project, I started out by sanding the live edge slabs, being careful to not over-sand it (and remove all the cool burn marks). The piece of redwood had already been put through a sander before it was shipped, so there wasn’t too much work that I needed to do there.
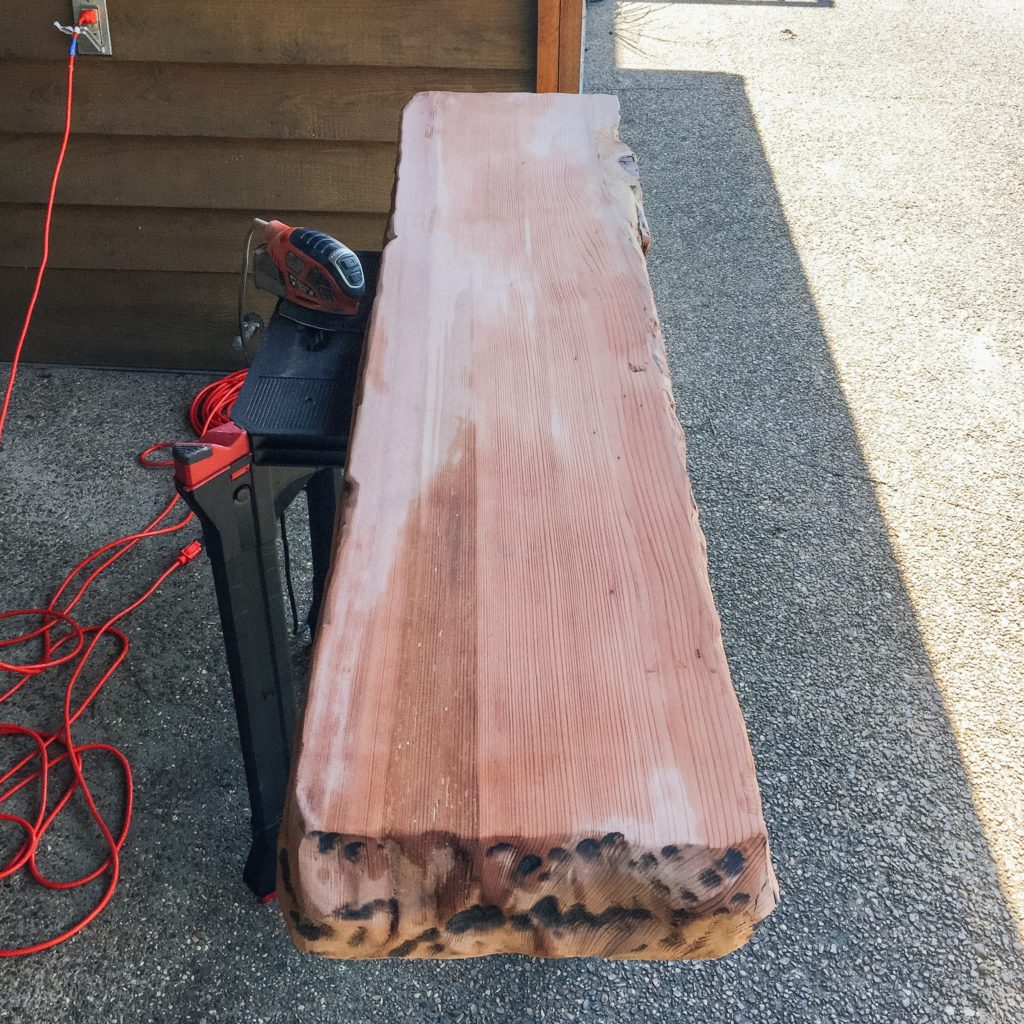
After sanding, I wiped down the wood with a wet rag to remove all the fine dust and let it dry. Next, I applied the high gloss, polyurethane with a paint brush. Be careful when applying your protective finish so you don’t get bubbles in the polyurethane. Use smooth, long strokes when applying (don’t go back and forth a lot or it might cloud up your gloss and add those bubbles you don’t want in there).
Apply 2 good coats letting it dry fully in between each coat. Waiting for the polyurethane to dry was probably the hardest part of this project because I was too excited about the bench, and wanted to get to the end to see the finished product!
Once everything was dry, it was time to apply the legs! I flipped the wood onto the wrong/bottom side and just spaced the legs out to where I thought they would look best. Once the legs are spaced out evenly, with one in each corner (or wherever you want to put them depending on the shape of your slab), I made a mark with a sharpie where I would be screwing the legs into the wood.

Once you have your marks you can get your drill out and drill holes into the wood so the screws go in easily! I just found screws from Home Depot that looked like a good fit for the size of the holes on the leg-plate. Once the holes are drilled, line the plates back up to them so you can screw in your screws. Repeat for each leg on your bench, flip it over, and ta-da! You have yourself a one of a kind piece of live-edge furniture.

In case you don’t want to DIY, here are some pre-made tables that I found on Amazon:
Leave a comment to let me know what you think of this project, and tell me if you have made something similar. Also, make sure to subscribe to Ship’s HQ so you can get all my DIY projects straight to your inbox!

Recent Comments