How To:
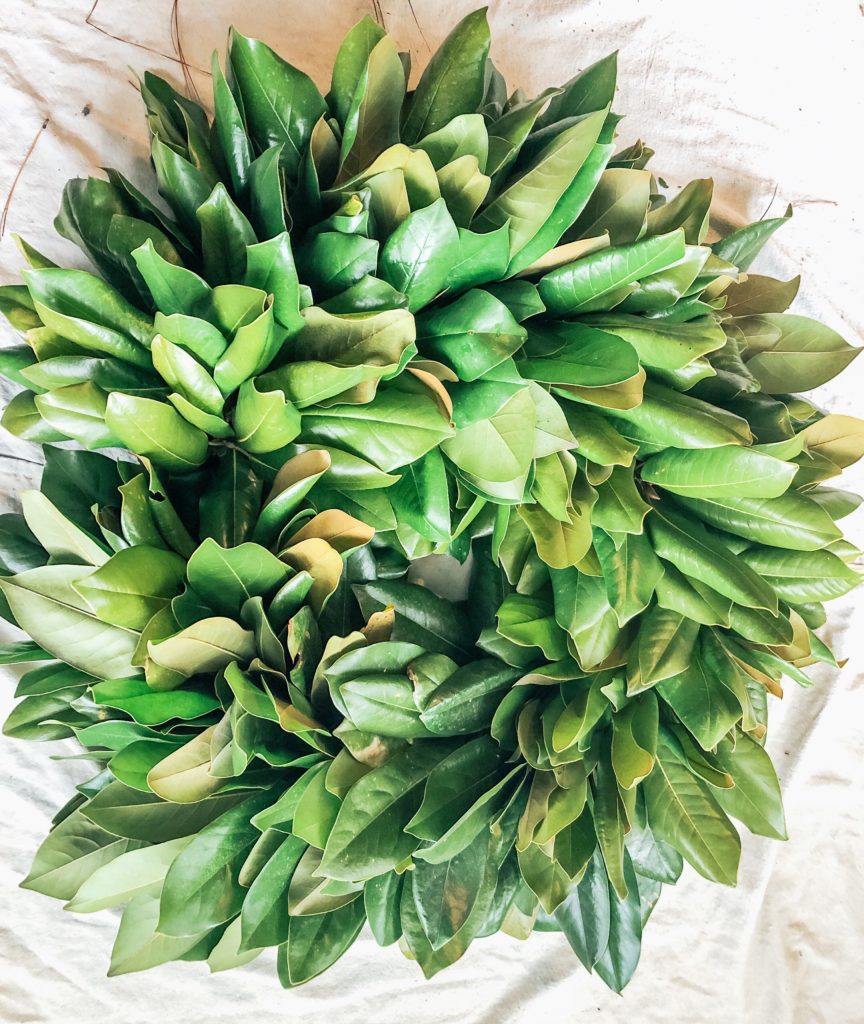
First, you have to go out and forage for your leaves. This could be the most difficult part if you do not have magnolia trees in your yard! Find a friend, or ask a stranger if you’ve scoped out a yard with a beautiful tree, and gather several bunches of magnolia leaves.
I trimmed at least 15 branches off my tree, and then cut 2-3 bunches off each branch for just one wreath. It takes a lot, but the end result is a full, beautiful wreath!
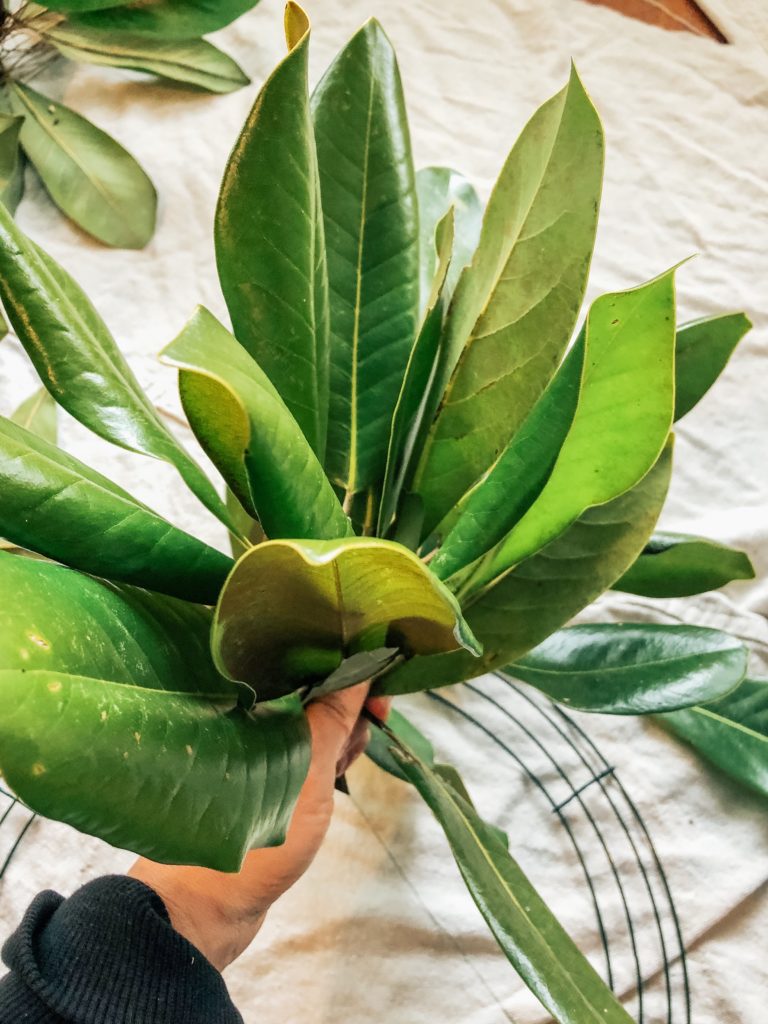
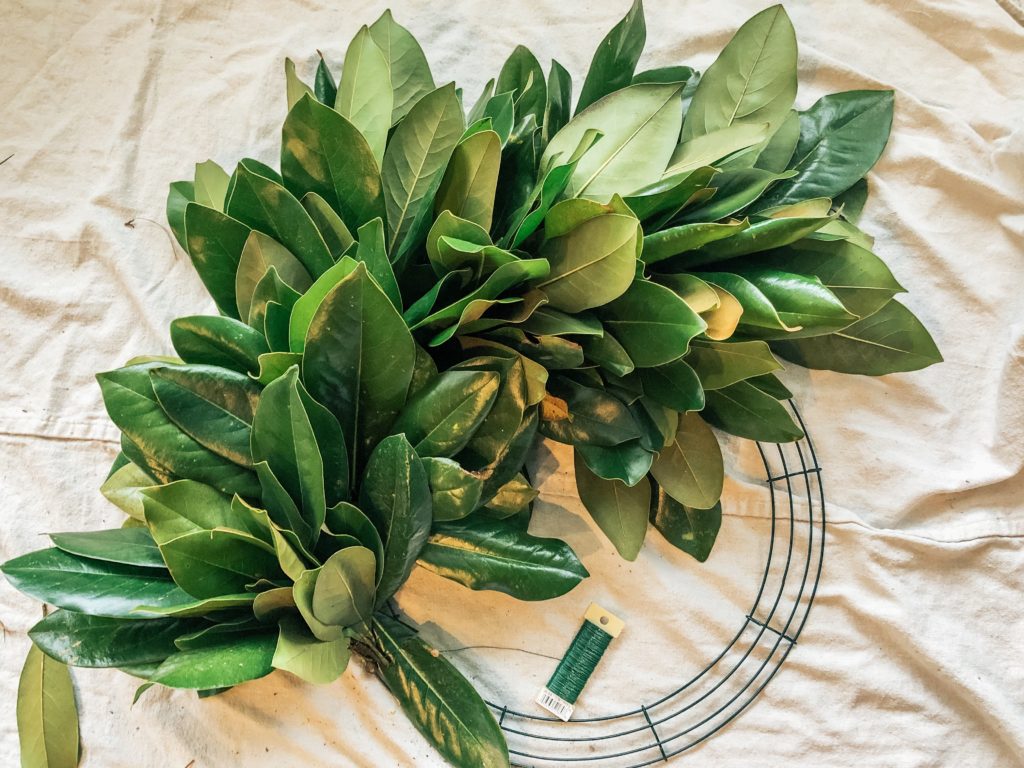
Once you have all your branches cut, you might want to wash/spray down what you have to get rid of extra dirt, and any bugs that might be hanging out on your supplies. Cut bunches of leaves off the branches and pick off the ugly leaves. Magnolia leaves grow naturally in clusters, so thank nature for doing part of the work for you.
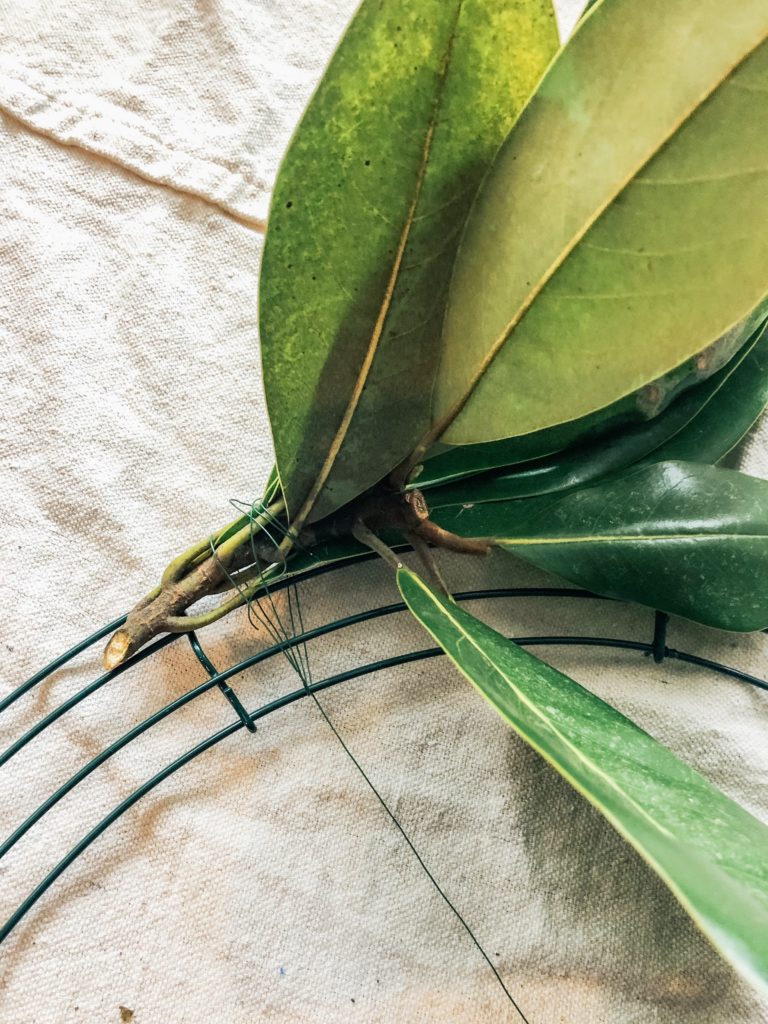

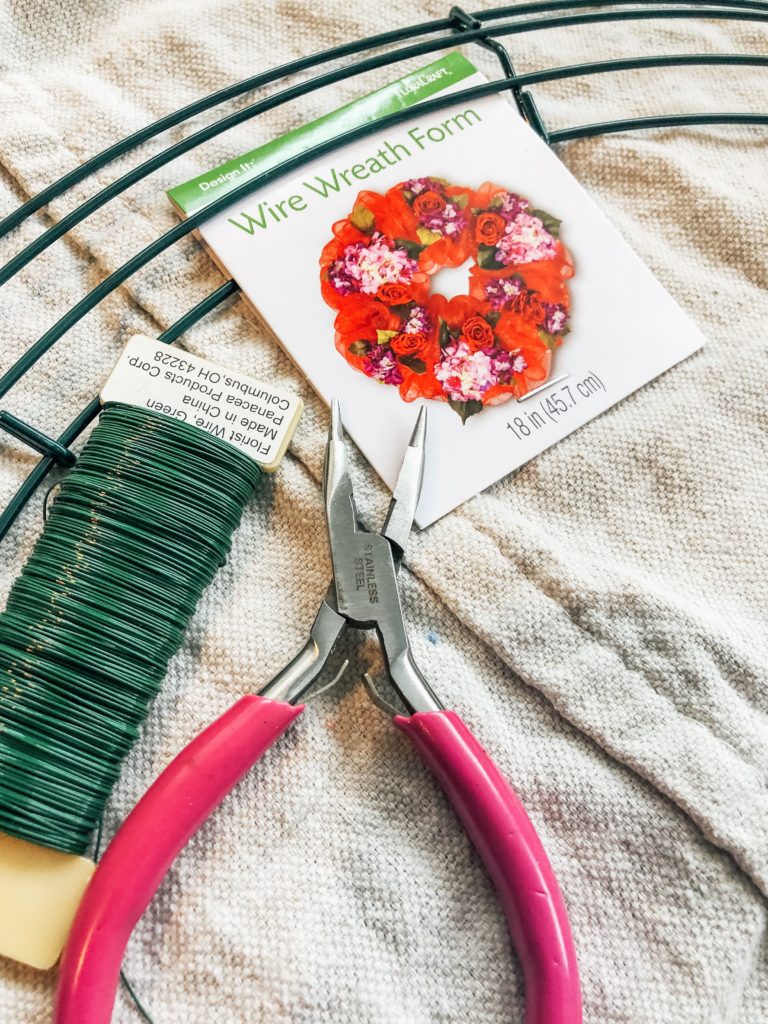
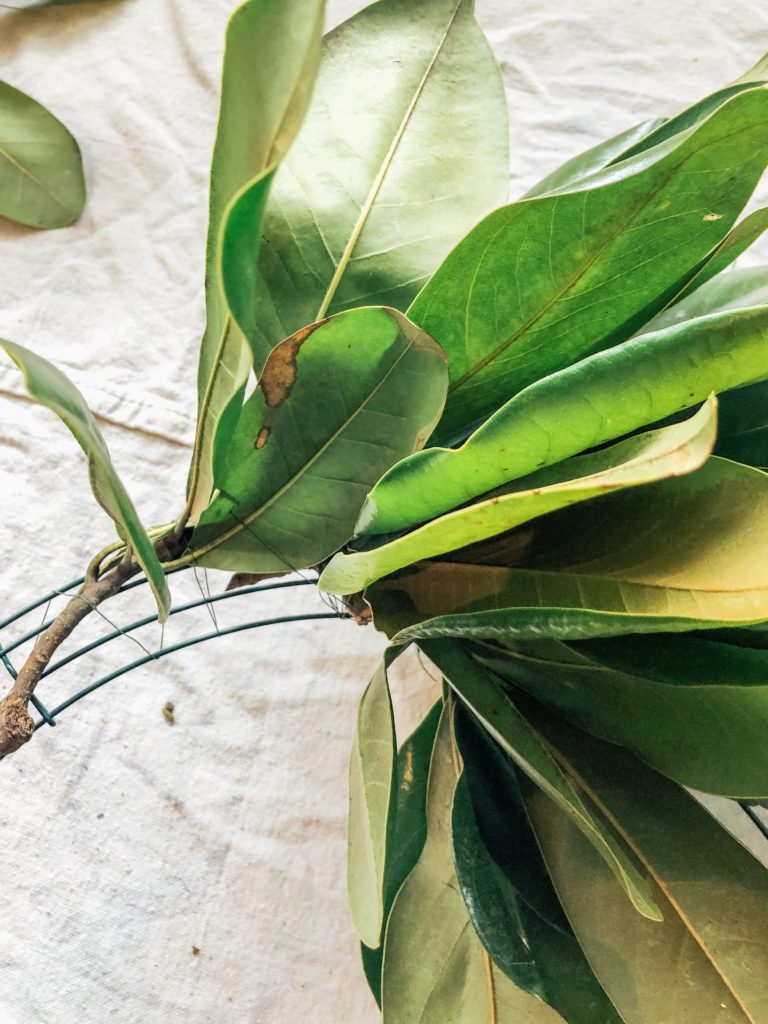
Once you’re done with all the prep work, it’s time to get started with assembly! Place your wire form on your work surface, grab your wire, and a couple bunches of leaves. To start things off, twist a little wire around your first bunch of leaves to hold them together, leaving a little wire hanging out to secure the first bunch to the form.
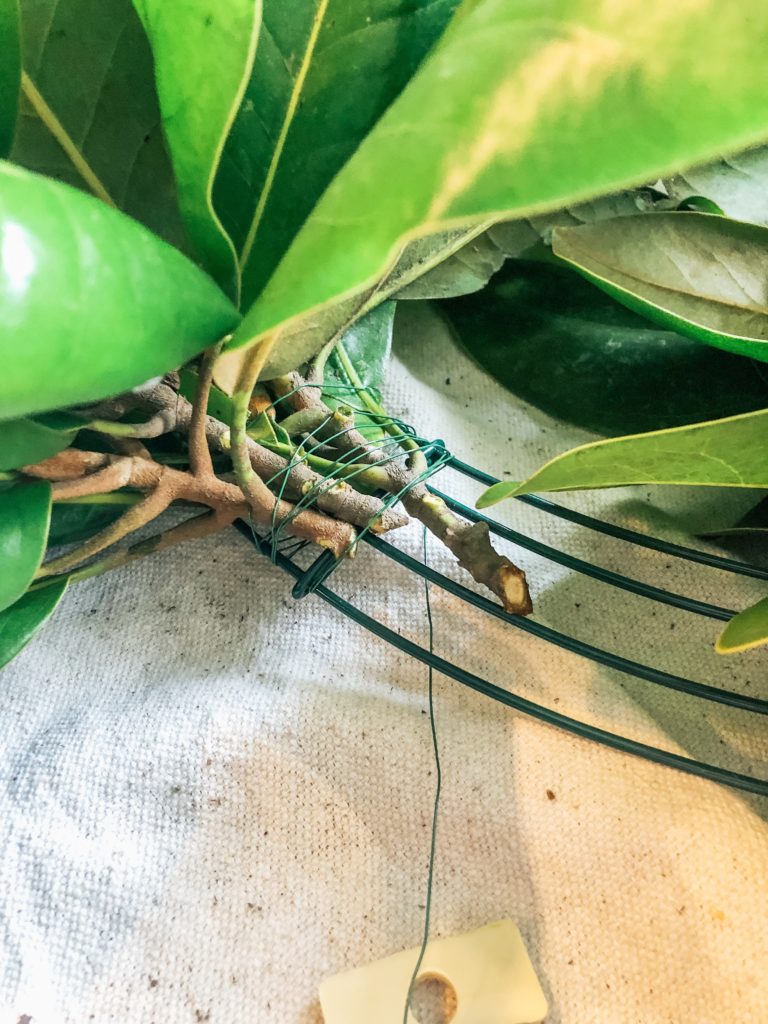
After twisting the bunch secure on the form, wrap the wire around the form and magnolia bunch a few times to secure it in place.
Keep the floral wire on it’s spool the whole time to make it easier to assemble. If you roll only a small amount of wire out at a time to wrap around your bunches it is easier to pull the wire tight to secure the leaves on the form.
After securing your first bunch on the outside of the wreath form, grab another bunch and place it next to your first on the inside of the wreath form. Secure to the form with wire by wrapping it around the form a few times.
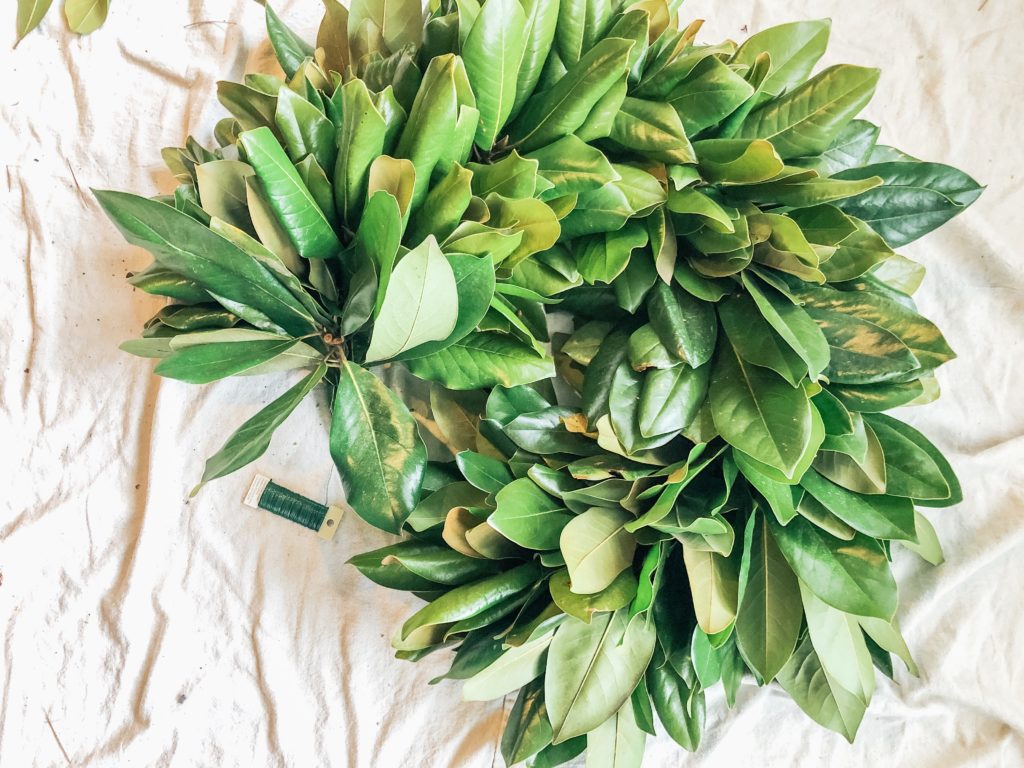
Keep repeating this process, alternating adding a bunches on the outside, and inside of the form. Be sure to keep the leaves going in the same direction, and cover the stems with each new bunch that you add to the form.

The wreath gets very full, so you may think to yourself, what in the world am I doing?! Just keep going, and everything will come around, full circle (pun intended :).
There’s not really an exact science to it either. My best tip is to use the natural shape of the leaves to figure out where to place your bunches, and secure everything really tight! You also want to place the bunches close together, so when things start to dry out your wreath will remain full and won’t start falling apart.
Some leaves may get crunched in the wire as well when you’re securing things down, but don’t worry. Keep going!
The hardest part of putting the wreath together is at the very end when you have to secure those last few bunches. Your wreath is so big and full, it almost seems impossible to add another bunch on there! Just keep securing bunches down, until you end up right where you started.
When you get to your last bunch, it is time to finally cut the wire! Unroll some extra length in the wire so you have enough wire to wrap around the form a few times, and tie it tightly in place on the back of the form, and ta-da! Pat yourself on the back because you just made a gorgeous wreath.
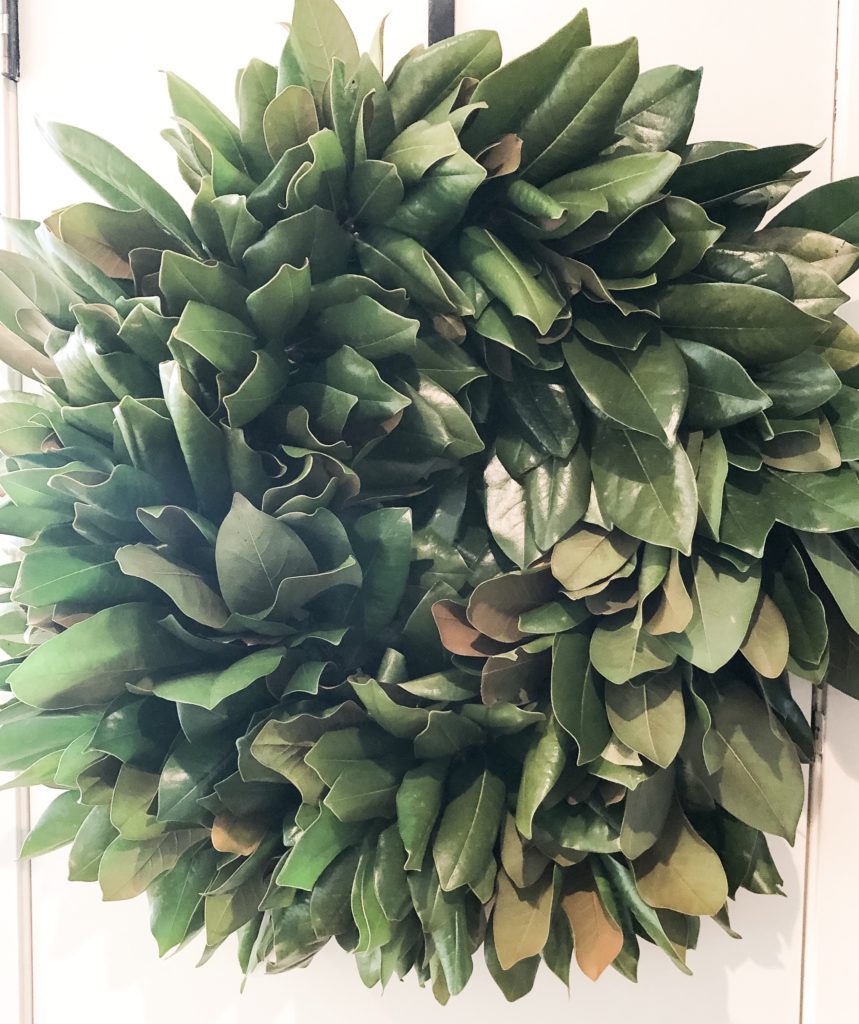
I hung this on my pantry door because our house was getting painted at the time, including our front door, so I couldn’t put it outside!
Make a bow with wire ribbon and tie onto your wreath to add a little extra, or just leave it as is.
In case you don’t have time to DIY:
Ship’s Tip:
Tie a little bit of ribbon, or rope on the back of the wire form so it is easier to hang on your wreath hanger.

Top: Garnet Hill (Similar Here)| Earrings: J. Crew (Similar Here)
Need a live video for a little more explanation?
Here is a YouTube video that I found you might find helpful from Trendy Trees:
What D.I.Y. would you like to see next? Want to see some other wreaths that I’ve made over the years? Comment and let me know!
Cheers,
Ship


Recent Comments